Accelerated 6300-CX Bedienungsanleitung

Accelerated Concepts, Inc. ©2015 Version 20150928 6300-CX User’s Guide
©2015 Accelerated Concepts, Inc. All rights reserved. Accelerated Concepts, the Accelerated
logo and all other Accelerated Concepts marks contained herein are trademarks of Accelerated
Concepts. All other marks contained herein are the property of their respective owners.
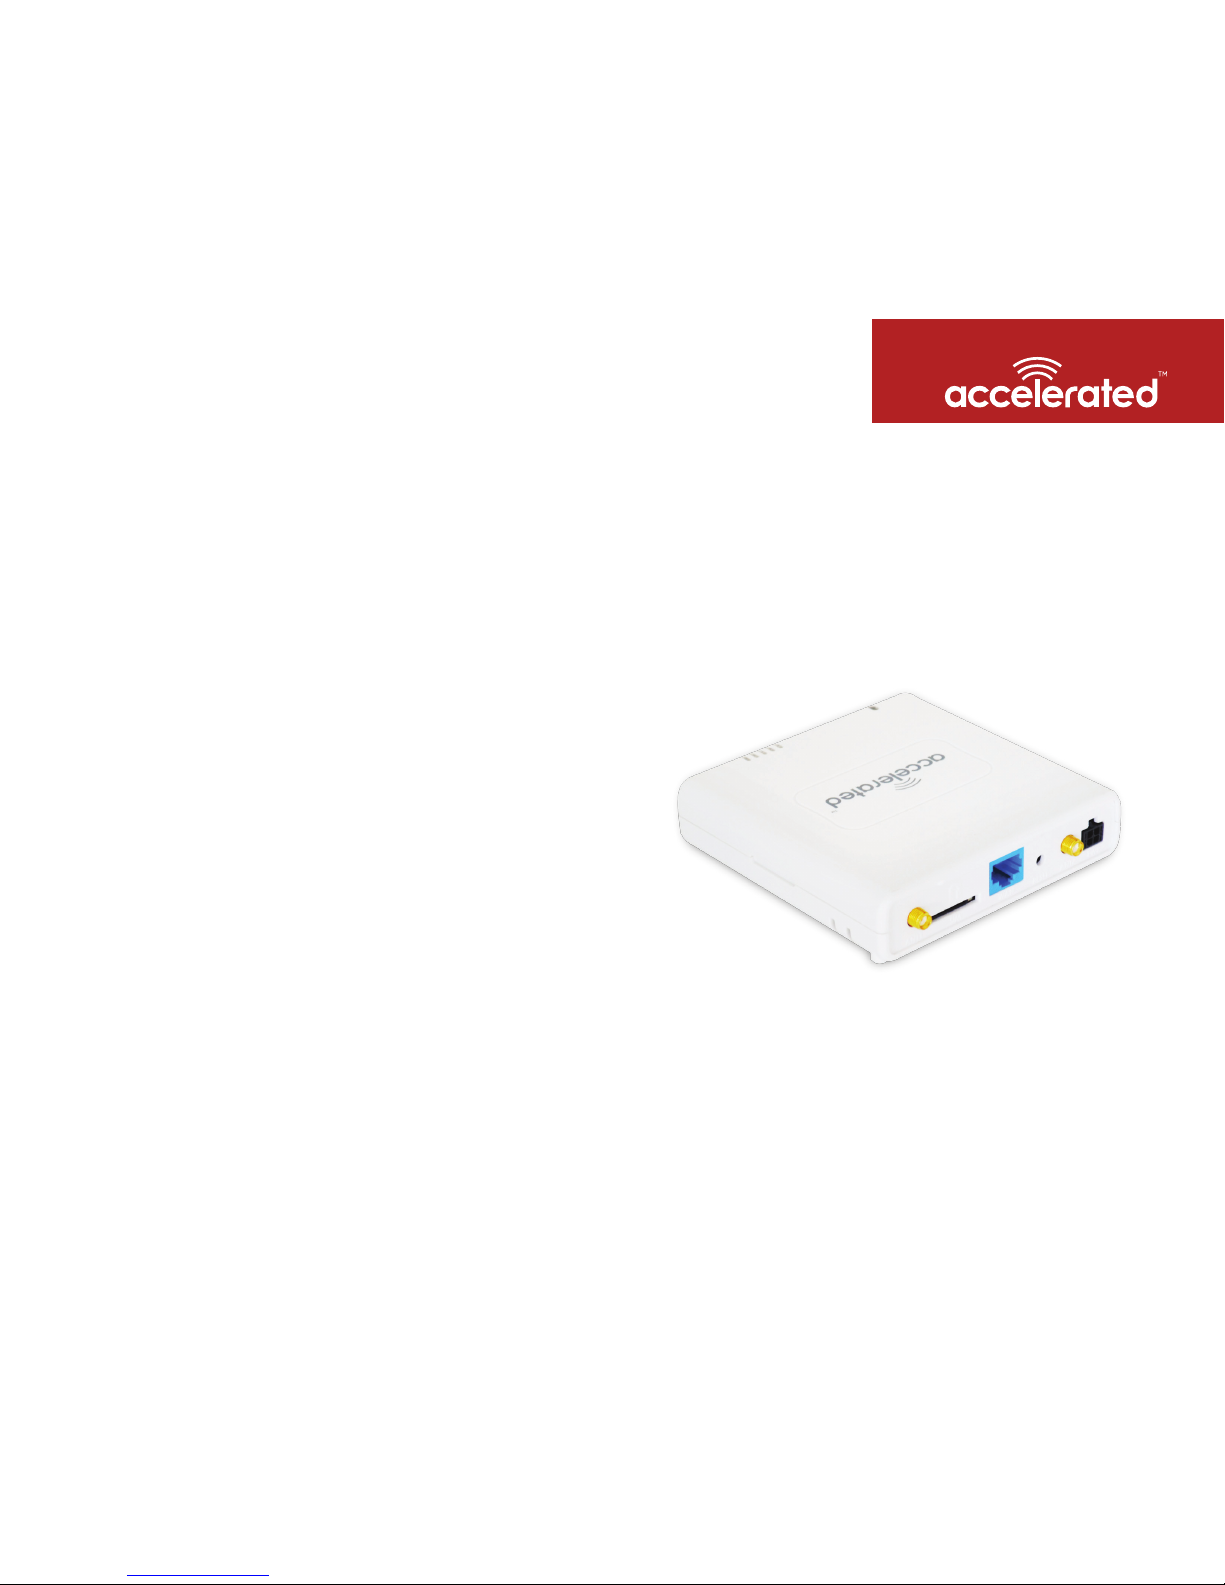
Images are shown for illustrative purposes only; individual experience may vary.
Accelerated 6300-CX
Cellular Extender
User’s Guide
Connected is Everything™
Accelerated Concepts, Inc. ©2015 6300-CX User’s Guide
ACCELERATED.COM
Preface
Accelerated Concepts reserves the right to revise this publication and
to make changes in the content thereof without obligation to notify
any person or organization of any revisions or changes.
©2015 Accelerated Concepts, Inc. All rights reserved. Accelerated Concepts, the Accelerated
logo and all other Accelerated Concepts marks contained herein are trademarks of Accelerated
Concepts. All other marks contained herein are the property of their respective owners.
Images are shown for illustrative purposes only; individual experience may vary.

Accelerated Concepts, Inc. ©2015 6300-CX User’s Guide
ACCELERATED.COM
WARNING CAUTION
WARNING CAUTION
TO COMPLY WITH FCC/IC RF EXPOSURE LIMITS AT LEAST
20cm SEPARATION DISTANCE MUST BE MAINTAINED
BETWEEN ANY ANTENNA OF THE UNIT AND ANY PART OF
THE USER AT ALL TIMES.
DO NOT USE AN ANTENNA THAT WASN’T SUPPLIED BY THE
MANUFACTURER. IF A DIFFERENT ANTENNA IS REQUIRED,
FIRST CONSULT ACCELERATED CONCEPTS INC. FOR
RECOMMENDATIONS THAT SUIT YOUR CIRCUMSTANCES.
THE UNIT MUST BE POWERED OFF WHERE BLASTING IS IN
PROGRESS, WHERE EXPLOSIVE ATMOSPHERES ARE PRESENT,
OR NEAR MEDICAL OR LIFE SUPPORT EQUIPMENT. DO NOT
POWER ON THE UNIT IN ANY AIRCRAFT.
BY PRESSING THE ERASE BUTTON WHEN POWERED UP,
THE CONFIGURATION OF THE 6300-CX IS ERASED AND THE
UNIT IS REVERTED TO FACTORY DEFAULT SETTINGS.

Accelerated Concepts, Inc. ©2015 6300-CX User’s Guide
ACCELERATED.COM
Contents
What’s in the Box................................................................................ 4
Ports and Connectors.......................................................................... 5
Device Status...................................................................................... 6
Signal Strength................................................................................... 7
Initial Setup ........................................................................................ 8
Site Survey.......................................................................................... 9
Site Survey Troubleshooting.................................................. 10
Physical Installation............................................................................ 11
Local Power............................................................................ 11
Remote Power....................................................................... 12
Remote Power Trouble Shooting........................................... 13
Configuring Device.............................................................................. 14
Network Managed Configuration.......................................... 14
Local Configuration ............................................................... 14
Troubleshooting................................................................................... 15
Resetting Your Device........................................................... 15
Establishing Backup Connectivity via Ethernet Port ............. 15
Out of Band SMS Commands................................................ 16
Advanced Configuration Using Accelerated View.............................. 17
Viewing & Editing Configuration........................................... 17
Upgrading Firmware .............................................................. 17
Defining a Custom APN......................................................... 18
Using Remote Commands ..................................................... 18
Immediately Update Device................................................... 18
Establishing WAN connectivity via Ethernet Port.................. 19
Passthrough/Bridge Mode..................................................... 19
Router Mode.......................................................................... 20
Learning More........................................................................ 20
Managing Device Locally.................................................................... 21
Connecting to the Device....................................................... 21
Manually Configuring PC to Connect to Device................22-23
Logging into Device................................................................ 24
Advanced Local Configuration............................................... 25
Upgrading Firmware............................................................... 26
Defining a Custom APN......................................................... 26
FAQs..................................................................................................... 27
Regulatory Guide................................................................................. 28
Software Licenses............................................................................... 29
Technical Support................................................................................ 30

Accelerated Concepts, Inc. ©2015 6300-CX User’s Guide 4 of 30
ACCELERATED.COM
Model 6300-CX Temporary Battery Pack
Ethernet Cable 2 Antennas
Passive Power over Ethernet (PoE)
Injector Cable
Mounting Bracket
6300-CX Welcome Card
Universal Power Supply Unit
Mounting Accessories
2 Wide Clips
2 Screws
2 Drywall Anchors
2 Narrow Clips
Velcro Strips
What’s in the Box

Accelerated Concepts, Inc. ©2015 6300-CX User’s Guide 5 of 30
ACCELERATED.COM
Ports and Connectors
Back of 6300-CX
Antenna
Connector 1
Attach both of the included antennas.
Antenna
Connector 2
SIM Slot WAN Port Erase Button Power Socket

Accelerated Concepts, Inc. ©2015 6300-CX User’s Guide 6 of 30
ACCELERATED.COM
Device Status
Initializing or starting up.
Solid Yellow
In the process of connecting to the cellular
network and to a device on its Ethernet port.
Is connected to 2G or 3G and in the process
of connecting to a device on its Ethernet port
(or nothing is connected to its Ethernet port).
Has Ethernet connection and is in the process of
connecting to cellular network with its modem.
Is connected to 4G LTE and in the process of
connecting to a device on its Ethernet port.
Is connected to 4G LTE and also has
an Ethernet connection.
Is connected to 2G or 3G and also
has an Ethernet connection.
Flashing Yellow
Flashing Green
Flashing White
Flashing Blue
Solid Blue
Solid Green
Is upgrading firmware WARNING: DO NOT
POWER OFF DURING FIRMWARE UPGRADE.
Alternating Red/Yellow
Once power has been established, your device will initialize and attempt to
connect to the network. Device initialization may take 30-60 seconds. By
default your Accelerated 6300-CX will attempt to use DHCP to establish an
Internet connection through its cellular modem.
Indicator lights on the Wireless Strength Indicator show you the Cellular
Network Signal Strength.
Network Indicator Light on the front left of the device indicates network status.
Network Status
Wireless Strength

Accelerated Concepts, Inc. ©2015 6300-CX User’s Guide 7 of 30
ACCELERATED.COM
Signal Strength
Signal Bars dBm Signal Strength Percent Quality
-113 to -99 0-23% Bad
-98 to -87 24-42% Marginal
-86 to -76 43-61% OK
-75 to -64 62-80% Good
-63 to -51 81-100% Excellent

Accelerated Concepts, Inc. ©2015 6300-CX User’s Guide 8 of 30
ACCELERATED.COM
Initial Setup
Back of 6300-CX
Insert the activated SIM card
provided by your cellular
network operator. You should
hear a click sound once the
SIM is completely inserted.
Attach both of the included
antennas; both antennas must
be installed for proper operation.
While gripping the metal connector
section with your thumb and
forefinger, and tighten until secure.
Do not tighten the antenna by
holding any part of the plastic
antenna housing.
Connect the power supply unit,
or if doing a site survey, attach
the temporary battery pack, and
follow the instructions in the
“Site Survey” section.
SIM Card
OR

Accelerated Concepts, Inc. ©2015 6300-CX User’s Guide 9 of 30
ACCELERATED.COM
Site Survey
A cellular site survey is not necessary if your anticipated installation location is known to have strong cellular signal
strength. If you are unsure of available cellular signal strength or are choosing between several installation locations,
follow the below instructions to perform a site survey to determine your best possible installation location.
After the optimal location has been determined, setup the 6300-CX with either the power supply unit or the POE injector cable.
Follow the steps in the “Initial Setup” section above. During a site survey it is useful to use the included
battery pack instead of the power supply unit to power the Accelerated 6300-CX. The battery pack will
power your device for approximately two hours while you perform your site survey. The battery pack is not
rechargeable and should be properly disposed of after use.
Move the Accelerated 6300-CX to different locations within your site to determine the best compromise
between signal strength and installation constraints. Since cellular signal strength may fluctuate, it is important
to wait at each location for 1 minute while observing the signal strength indicator on the front of the
device. Minimum cellular signal strength for proper operation is 2 bars.
After the optimal location has been determined, remove the battery pack and connect either the main power
supply unit or POE injector cable (see section labeled Using Remote Power for more information).
Strong Signal Weak Signal
Andere Handbücher für 6300-CX
1
Inhaltsverzeichnis
Andere Accelerated Extender Handbücher


