
Avery Dennison Monarch 9415 Service-Handbuch
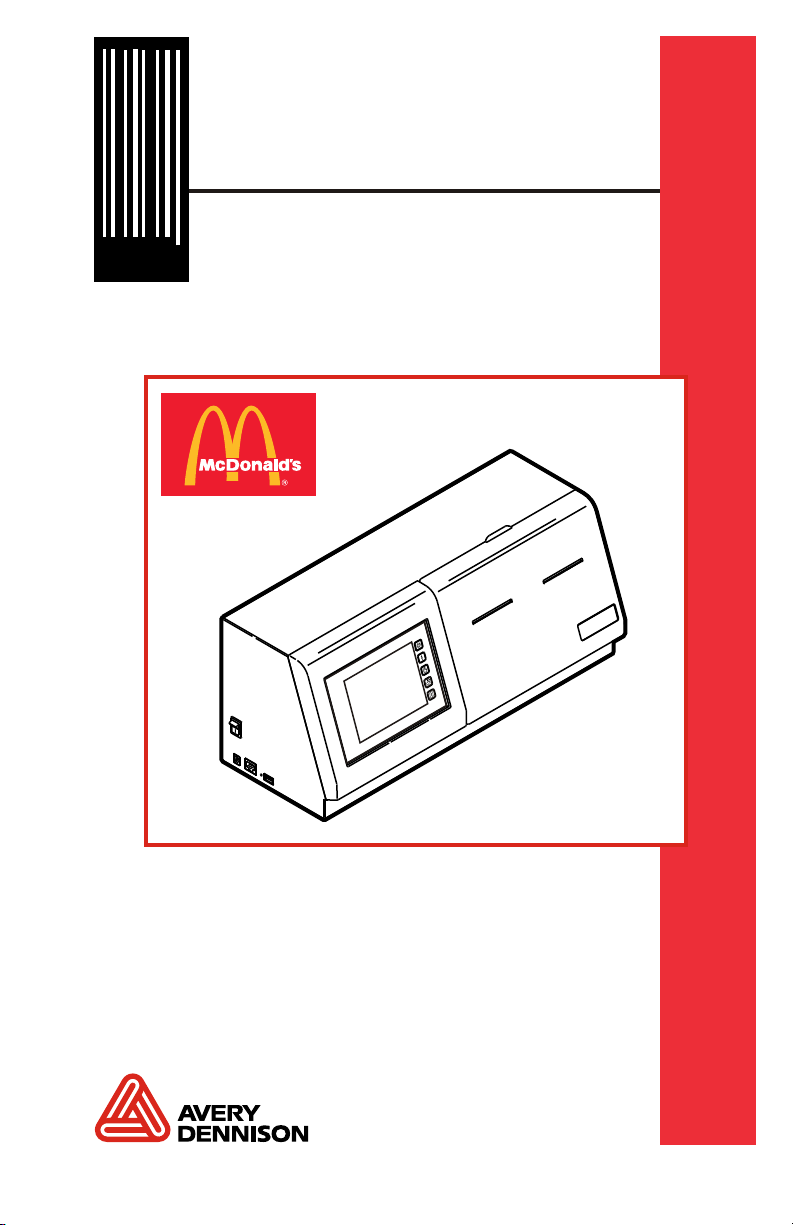
Operator's Handbook
©2007 Avery Dennison Corp. All rights reserved.
28028 28028
0 0
TC9415MCDOH Rev. AH 7/09
®
Monarch 9415™
Food Freshness System

Each product and program carries a respective written warranty, the
only warranty on which the customer can rely. Avery Dennison
reserves the right to make changes in the product, the programs,
and their availability at any time and without notice. Although Avery
Dennison has made every effort to provide complete and accurate
information in this manual, Avery Dennison shall not be liable for
any omissions or inaccuracies. Any update will be incorporated in a
later edition of this manual.
©2007 Avery Dennison Corporation. All rights reserved. No part of
this publication may be reproduced, transmitted, stored in a retrieval
system, or translated into any language in any form by any means,
without the prior written permission of Avery Dennison.
WARNING
This equipment has been tested and found to comply with the
limits for a Class A digital device, pursuant to Part 15 of the
FCC Rules. These limits are designed to provide reasonable
protection against harmful interference when the equipment is
operated in a commercial environment. This equipment
generates, uses, and can radiate radio frequency energy and,
if not installed and used in accordance with the instruction
manual, may cause harmful interference to radio
communications. Operation of this equipment in a residential
area is likely to cause harmful interference in which case the
user will be required to correct the interference at his own
expense.
CANADIAN D.O.C. WARNING
This digital apparatus does not exceed the Class A limits for
radio noise emissions from digital apparatus set out in the
Radio Interference Regulations of the Canadian Department of
Communications. Le présent appareil numérique n’émet pas
de bruits radioélectriques dépassant les limites applicables
aux appareils numériques de la classe A prescrites dans le
Réglement sur le brouillage radioélectrique édicte par le
ministère des Communications du Canada.
Trademarks
Monarch® and 9415 are trademarks of Avery Dennison Retail
Information Services LLC.
Avery Dennison® is a trademark of Avery Dennison Corp.
McDonald’s® is a trademark of McDonald’s Corp.
Avery Dennison Printer Systems Division
170 Monarch Lane
Miamisburg, OH 45342

i
TABLE OF CONTENTS
GETTING STARTED .......................................................... 1-1
Using This Manual ....................................................... 1-1
Audience .................................................................... 1-1
Unpacking the Freshness System .................................. 1-2
Installing the System.................................................... 1-3
Connecting the System’s Power Supply.......................... 1-4
Loading Labels ............................................................ 1-5
PRINTING LABELS ........................................................... 2-1
About the System ........................................................ 2-2
Calibrating the Touch Screen ........................................ 2-3
Printing Freshness Labels ............................................ 2-4
Printing Use First Labels .............................................. 2-6
Sleep Mode................................................................. 2-6
Configuring the System ................................................ 2-7
USING EDIT MODE ........................................................... 3-1
Entering Edit Mode ...................................................... 3-2
Adding and Removing Products..................................... 3-3
To add a product: ..................................................... 3-4
To remove a product: ................................................ 3-5
Editing Product Descriptions ......................................... 3-6
Editing Home Keys....................................................... 3-7
Saving Product Changes .............................................. 3-8
Exiting Edit Mode......................................................... 3-9

ii
CHANGING PRINTER SETTINGS ........................................4-1
Setting the Time and Date.............................................4-2
Adjusting the Touch Screen...........................................4-4
Selecting a Language ...................................................4-5
Changing the Password ................................................4-6
Adjusting the Distance to Tear Bar.................................4-7
Adjusting the Print Position ...........................................4-8
USING THE EDIT UTILITY..................................................5-1
Installing the Edit Utility................................................5-2
Configuring the Network Settings...................................5-3
On the printer: ..........................................................5-3
On your computer: ....................................................5-5
Uploading the Data File ................................................5-6
Editing the Data File.....................................................5-7
To edit product buttons:.............................................5-7
To edit home keys:....................................................5-8
Updating with USB .......................................................5-9
Killing Data Files........................................................5-11
Reading Data Files.....................................................5-13
Updating with Ethernet ...............................................5-14
Updating the Data File.............................................5-14
Updating the Application..........................................5-14
CARE & MAINTENANCE ....................................................6-1
Clearing Label Jams.....................................................6-2
Cleaning the Printhead .................................................6-3
Cleaning the Touch Screen Display................................6-4
Cleaning the System.....................................................6-4

iii
TROUBLESHOOTING ........................................................ 7-1
Technical Support........................................................ 7-3
SPECIFICATIONS .............................................................A-1
System Specifications ..................................................A-1

iv

Getting Started 1-1
GETTING STARTED
Use the Monarch9415™ Food Freshness
System (M0TPMCD) for product freshness and to
label inventory.
Information in this document supercedes information
in previous versions. Check our Web site for the latest
documentation and release information.
Using This Manual
Following is a summary of the contents of this manual.
Chapter Contents
1 Getting Started Unpacking and installing the
printer and loading supplies.
2 Printing Labels Printing labels and configuring
the printer.
3 Using Edit Mode Making changes to the product
menu.
4 Changing Printer
Settings
Setting time and date, language,
password, print position, etc.
5 Using the Edit
Utility
Installing and using the Edit
Utility, and updating the printer
with USB.
6 Care &
Maintenance
Clearing supply jams and
cleaning the printer.
7 Troubleshooting Common problems and their
solutions.
A Specifications Printer specifications.
Audience
The Operator's Handbook is for the person who prints
and applies labels, and configures and updates the
Food Freshness System.
1

1-2Operator’s Handbook
Unpacking the Freshness System
After you unpack the system, you should have the
following:
♦ 9415 system
♦ power supply
♦ 4 wall anchors
♦ wall mount template
Keep all packaging material in case you need to move
or return the system.
Caution: Do not touch the electrical connectors
while setting up the system. Static
electricity can damage or destroy the
electronic components.
Getting Started 1-3
Installing the System
To install the system on the wall:
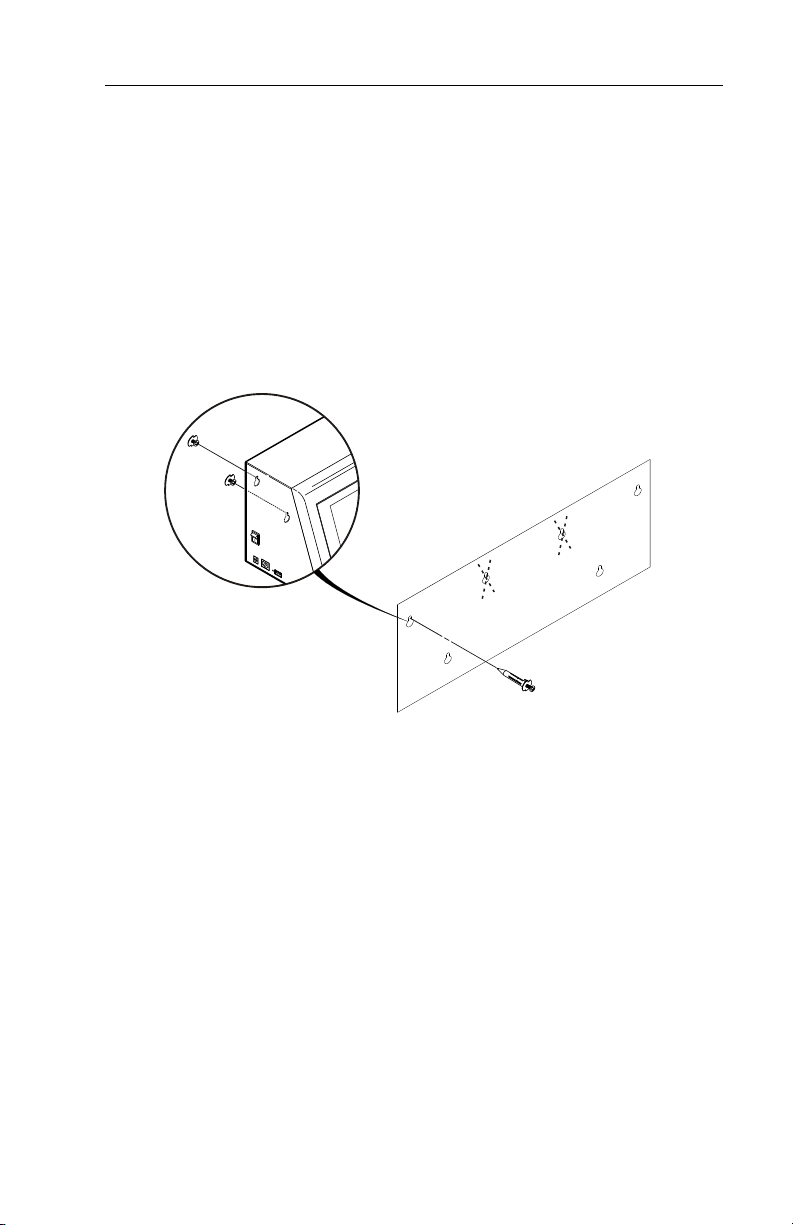
1. Select a suitable location for the system on a wall.
Leave enough room on the left side to connect a
USB drive for updating.
2. Tape the wall mount template to the wall in the
selected location.
Caution: The template must be level or the system
will not install correctly.
3. Install the four wall anchors according to the four
outside holes indicated on the template.
4. Remove the template.
5. Lower the supply door on the system so you can
see the mounting holes on the back.
6. Attach the system to the wall anchors using the
corresponding holes on the back of the system.
7. Press down firmly on the system to lock it in
place.
8. Close the supply door.
1-4Operator’s Handbook
Connecting the System’s Power Supply
To connect the power supply to the system:
1. Turn off the system. Press the power switch on
the side of the system to the off (O) position.
2. Place the power supply in a suitable location,
preferably on a table, near an electrical outlet.
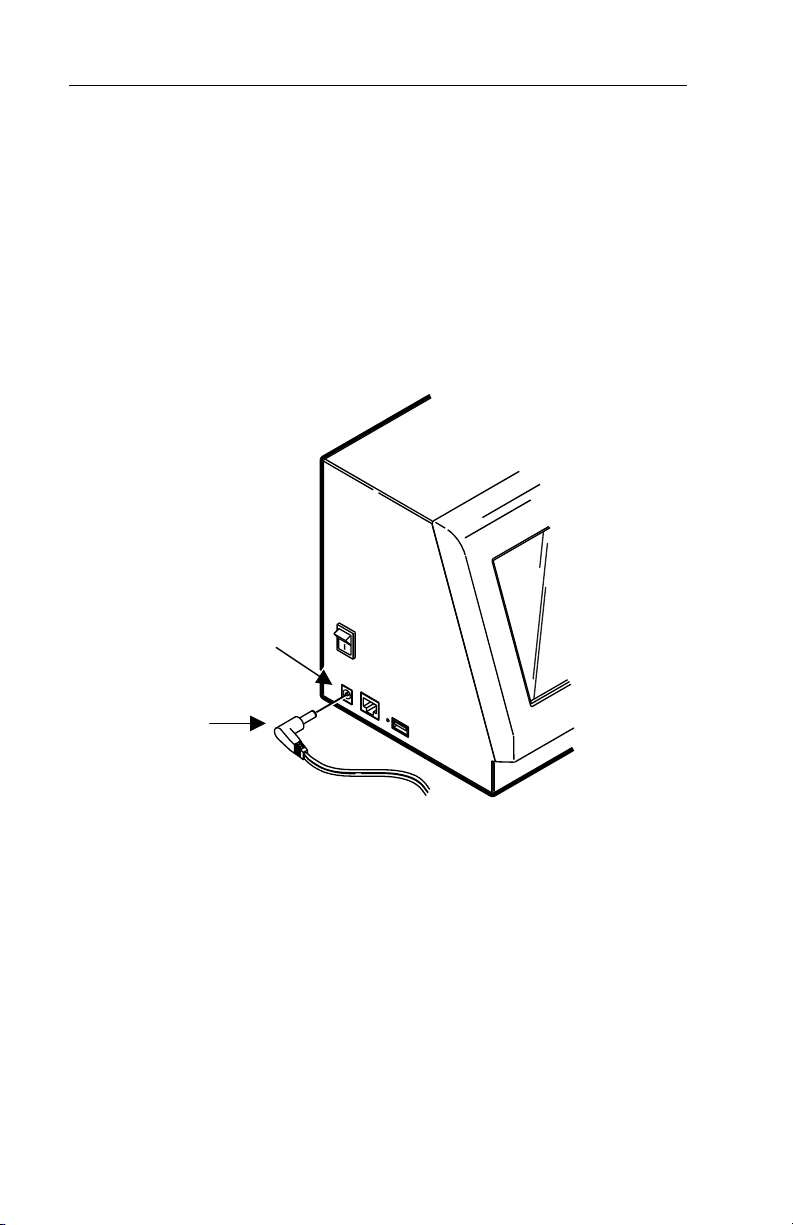
3. Plug the three-hole end of the AC adapter cable
into the three-pronged outlet in the system’s
power supply.
4. Plug the L-shaped end of the power supply cable
into the socket on the side of the system.
5. Plug the three-pronged end of the AC adapter
cord into a grounded electrical outlet.
Warning: The system and power supply should
never be operated in a location where
either one can get wet. Personal injury
could result.
Power socket
L-Shaped
Connector
Andere Handbücher für Monarch 9415
2
Inhaltsverzeichnis
Andere Avery Dennison Küchengerät Handbücher


