BAZOO SNAKE Bedienungsanleitung

bazoo VGA CAM “SNAKE”
1
U
UU
Users
serssers
sers G
G G
Guide
uideuide
uide
GB
GBGB
GB
Bedienungsanleitung
BedienungsanleitungBedienungsanleitung
Bedienungsanleitung D
D D
D
Notice d'emploi
Notice d'emploiNotice d'emploi
Notice d'emploi F
F F
F
Instrucciones de uso
Instrucciones de usoInstrucciones de uso
Instrucciones de uso E
E E
E
Istruzioni per l'uso
Istruzioni per l'usoIstruzioni per l'uso
Istruzioni per l'uso I
I I
I
Gebruiksaanwijzing
GebruiksaanwijzingGebruiksaanwijzing
Gebruiksaanwijzing NL
NL NL
NL
Instru ões de uso P
Instru ões de uso PInstru ões de uso P
Instru ões de uso P
Instrukcja obsługi
Instrukcja obsługiInstrukcja obsługi
Instrukcja obsługi PL
PL PL
PL
Brugermanualer
BrugermanualerBrugermanualer
Brugermanualer DK
DK DK
DK
Bruksanvisning
BruksanvisningBruksanvisning
Bruksanvisning S
S S
S
EDV Nr. 22873
EDV Nr. 22873EDV Nr. 22873
EDV Nr. 22873
B_VGA CAM SNAKE
B_VGA CAM SNAKE B_VGA CAM SNAKE
B_VGA CAM SNAKE
bazoo VGA CAM “SNAKE”
2
GB
Introduction
Thank you for purchasing the bazoo webcam “SNAKE”. You have made an excellent choice by deciding
in favor of an innovative technology which provides you with unique benefits. Take a few minutes to
read this instruction manual carefully. It will help you to understand the product.
System Requirements
•IBM-Compatible PC
•Free USB 2.0 port
•Windows 2000 / XP / Vista
•CPU: 500MHz or faster and 128MB RAM or more.
Package Contents
•One bazoo “SNAKE” webcam
•One CD Disk
•One user manual
Note: If any part is missing, please contact your dealer immediately for a replacement.
Driver Software Insta ation
Figure1: USB Controller Card Layout
Attention:
Make sure to install driver and software BEFORE plugging the camera into USB port.
1. Insert the software CD into the CD-ROM drive of your computer.
2. The installation program will run automatically. If the installation does not auto play, please run
“autorun.exe
autorun.exeautorun.exe
autorun.exe” from the CD-ROM’s root directory to install.
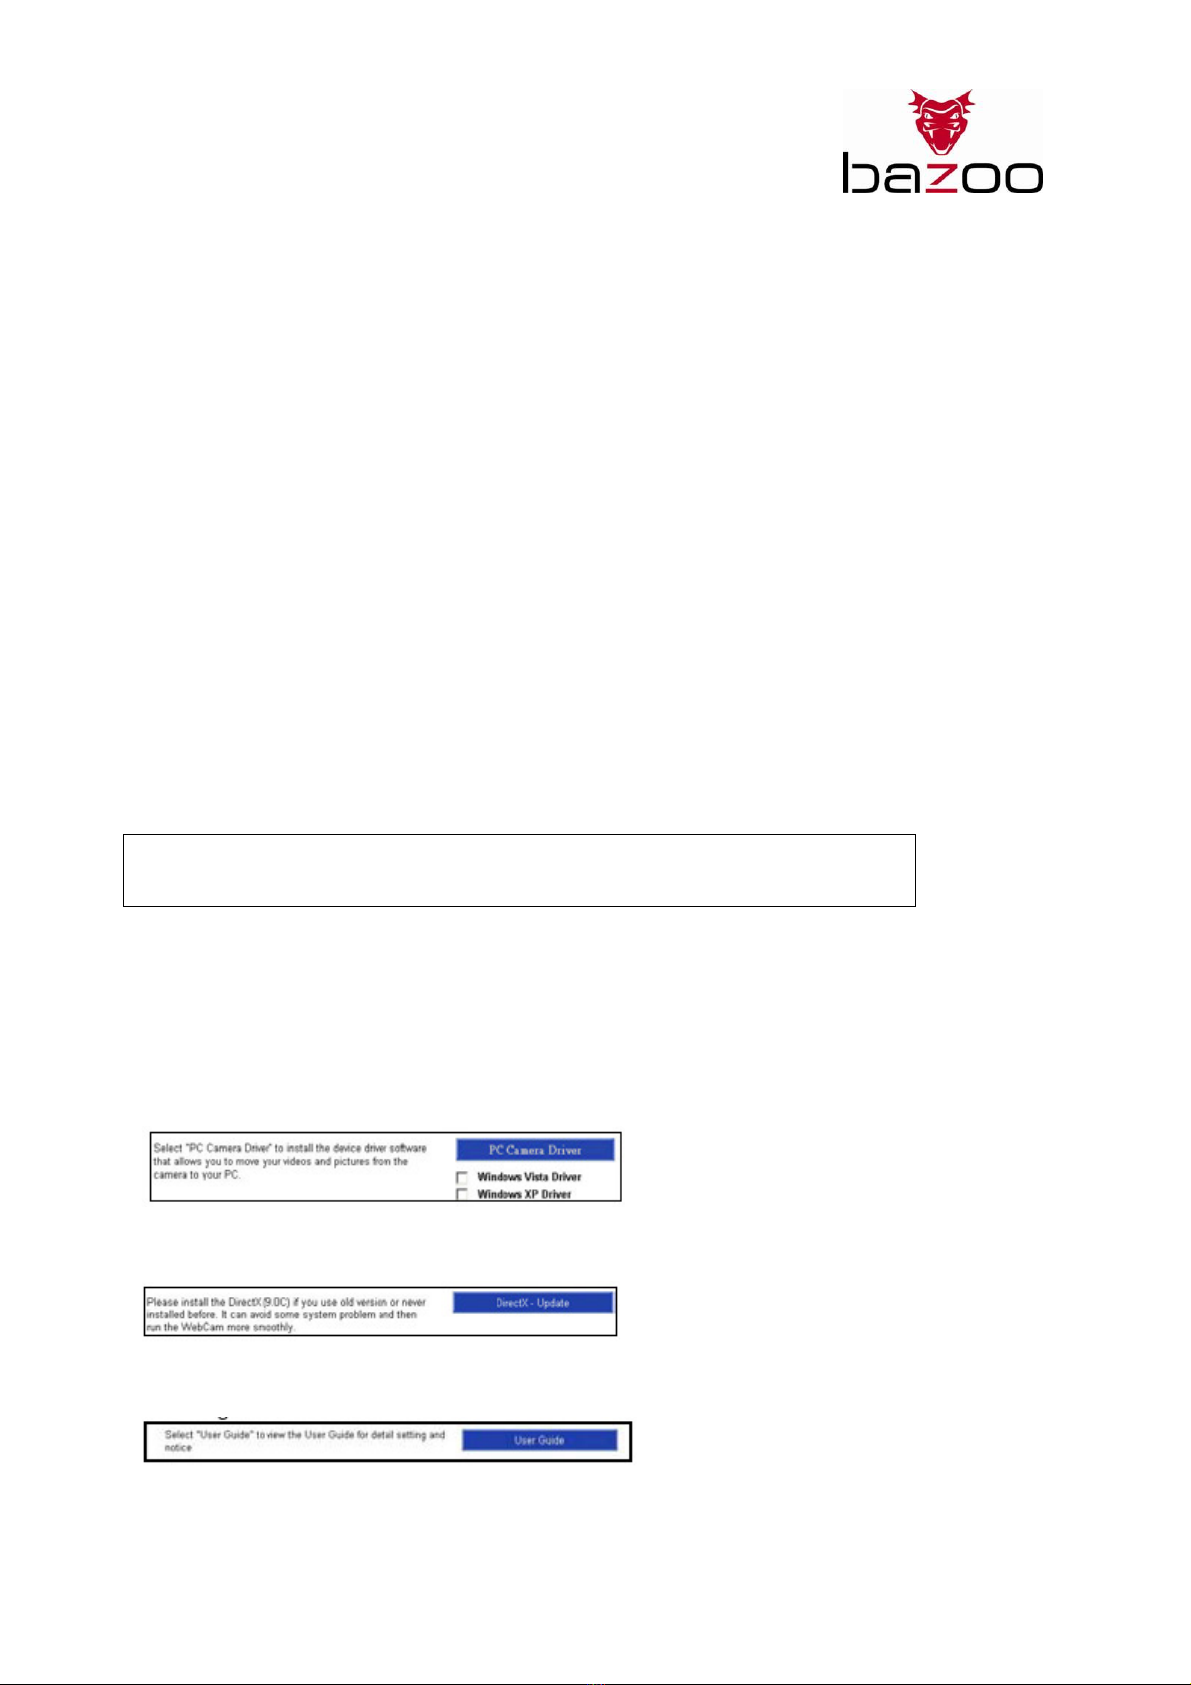
3. Click the “PC Camera Driver” icon and select your operation system to install device driver.
4. Click “DirectX-Update” to install DirectX (9.0C) if you use old version or never installed before.
5. Select “User Guide” to know more about detail setting.

bazoo VGA CAM “SNAKE”
3
6. After driver installation, please click separately “ArcSoft WebCam Companion” icon, and then follow
the on-screen instruction to install the application software.
7. The wizard will install ArcSoft suite.
8. After first time installation, the system will restart; there will be a new icon on the desktop.
9. Connect your WebCam to an available USB port on your computer. Windows should now detect your
new device.
Hardware Insta ation
1. Plug the enclosed USB cable into camera and USB port on the PC separately, and then follow the on
screen instructions to install the Hardware. To avoid low voltage, we recommend user to plug the cable
connector to USB port on PC directly.
2. Please select AMCAP and enable “preview function” to view the video after first-time installation. If
there is no video shown, please remove and connect again to make sure of well USB connection.
Notice:
Please download the latest update of “Service Pack”
“Service Pack” “Service Pack”
“Service Pack” (from Start Windows Update) to keep the
camera running smoothly.
Attention:
If you have more than one image device in your system, please select the Web Camera as the PC
Camera device. In this way, you can use this camera to capture images.

bazoo VGA CAM “SNAKE”
4
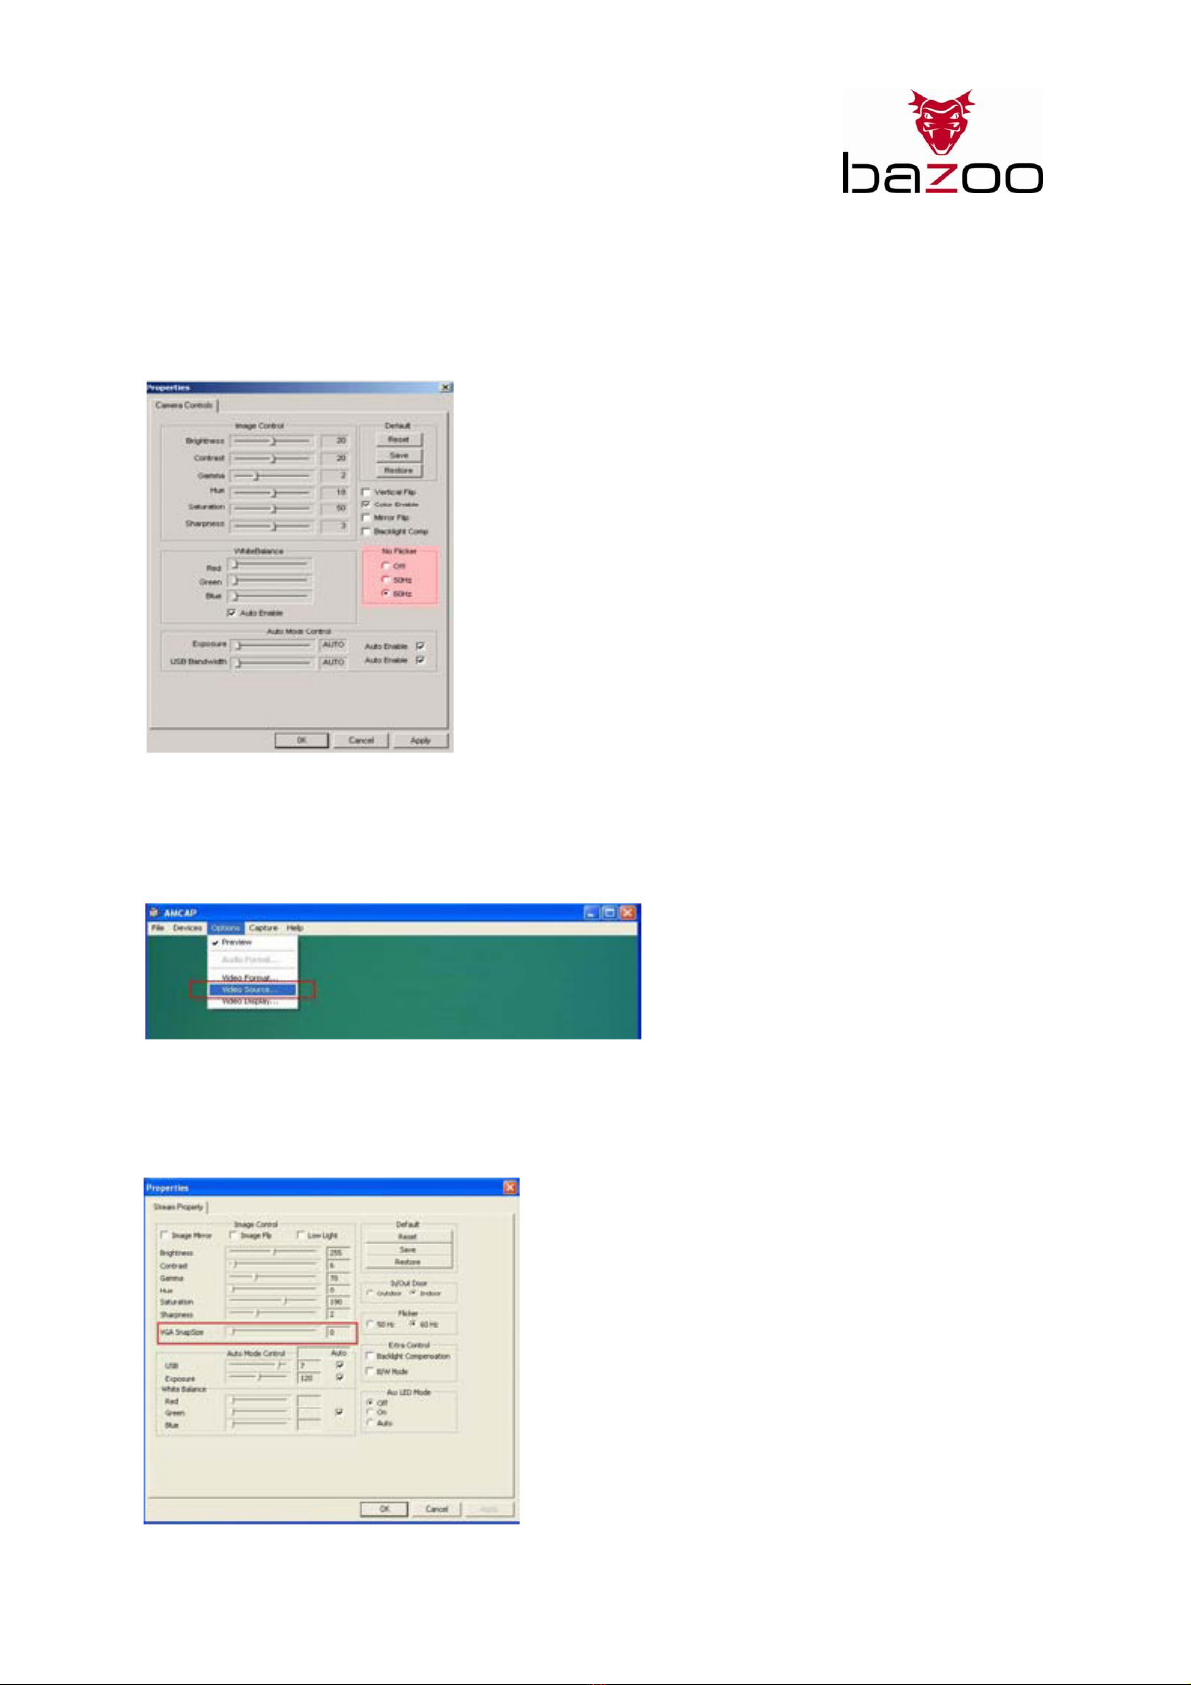
Power Source Adjustment
Choose the mode of “50Hz” or “60Hz” according to your power source environment or video output
signal system to avoid the blurry image.
Amcap Option Video Capture Fliter OK
Snap Size Adjustment
1. Start AMCAP-Software dialogue box. Please select “Option” and then click “Video Source…” or Video
Capture Filter” to continue.
2. When the “Properties” dialogue box pops up, please select “VGA SnapSize” and click mouse button to
choose the VGA snap size as you need. There are four selections as below:
640 x 480, 800 x 600, 1024 x 768, 1280 x 1024

bazoo VGA CAM “SNAKE”
5
3. Move the mouse cursor to any empty space on screen. Right click the mouse button and select
“Properties” to pop up the “Display Properties” dialogue box.
4. Please select “Settings” and then adjust the screen resolution to match the “VGA SnapSize” you
selected before.
Driver Uninsta ation
Run the “Uninstall
UninstallUninstall
Uninstall” from “Start”
Start” Start”
Start” “Programs
ProgramsPrograms
Programs
” ( “Cammaestro” icon to uninstall device driver.
Please follow the on screen instructions to uninstall the driver.
ArcSoft Uninsta ation
Select ( Control Panel ( Add or Remove Programs. Choose “ArcSoft WebCam Companion” to remove.
Please follow the on screen instruction to uninstall the software program.

bazoo VGA CAM “SNAKE”
6
D
Ein eitung
Vielen Dank für den Kauf der bazoo webcam “SNAKE”. Sie haben eine exzellente Wahl getroffen, indem
Sie sich für eine innovative Technologie entschieden haben, die Ihnen einzigartige Vorteile bringt.
Nehmen Sie sich ein paar Minuten Zeit, um diese Anleitung sorgfältig zu lesen. Dies wird Ihnen helfen,
die verschiedenen Funktionalitäten zu verstehen und zu beherrschen.
Systemvorausse
SystemvorausseSystemvorausse
Systemvoraussetzungen
tzungentzungen
tzungen
•IBM-kompatibler PC
•Freier USB 2.0 port
•Windows 2000 / XP / Vista
•CPU 500MHz oder schneller und 128 MB RAM oder mehr
Packungsinhalt
•Eine bazoo “SNAKE” Webcam
•Eine CD ROM
•Eine Bedienungsanleitung
Anmerkung: Sollte der Inhalt der Verpackung unvollständig sein, wenden Sie sich bitte umgehend an
ihren Händler für Ersatz.
Insta ieren der Software
Achtung:
Installieren Sie erst den Treiber und die Software, BEVOR Sie die Kamera an den USB-Port anschließen.
1. Legen Sie die Software CD in das CD-ROM Laufwerk Ihres Computers ein.
2. Warten Sie einige Sekunden, das Setup beginnt automatisch.
Sollte das ArcSoft Setup nicht automatisch beginnen, klicken Sie auf “Start” auf der Taskleiste und
dann auf “Ausführen”. Suchen Sie die Datei “autorun.exe
autorun.exeautorun.exe
autorun.exe“ auf der Software-CD und klicken dann auf
“OK”.
3. Klicken Sie auf das “ PC Camera Driver”-Symbol”. Die Installation wird automatisch vervollständigt.
4. Klicken Sie auf “DirectX-Update”, um DirecttX (9.0C) zu installieren, falls notwendig.
5. Wählen Sie “User Guide”, um die Bedienungsanleitung zu öffnen.

bazoo VGA CAM “SNAKE”
7
6. Nach der Treiber-Installation klicken Sie bitte auf das “ArcSoft WebCam Companion” Icon und folgen
Sie den Anweisungen auf dem Bildschirm.
7. Der Wizard wird Sie durch die Installation der ArcSoft Suite führen.
8. Nach der Erstinstallation werden Sie vom System aufgefordert, den Computer neu zu starten. Nach
dem Neustart finden Sie ein neues Icon auf dem Desktop:
9. Verbinden Sie die Webcam erst jetzt mit einem freien USB port Ihres Computers. Windows erkennt
jetzt die neue Hardware.
Hardware Insta ation
1. Stecken Sie den USB-Stecker der Kamera mit einem freien USB-Port Ihres Computers und folgen den
Anweisungen auf dem Bildschirm, um die Hardware zu installieren. Um eine optimale
Stromversorgung sicherzustellen, wird empfohlen die Kamera direkt am USB-Anschluß des Computers
anzuschließen.
2. Wählen Sie das Programm AMCAP und aktivieren Sie die „Vorschaufunktion“, um das Videobild
erstmalig zu sehen. Falls Sie kein Videobild sehen, trennen Sie die Kamera vom Computer und
verbinden Sie sie erneut, um eine korrekte USB-Verbindung sicherzustellen.
Hinweis:
Bitte laden Sie das neueste Update des Windows - “Service Pack”
“Service Pack” “Service Pack”
“Service Pack” ( Start Windows Update), um einen
optimalen Betrieb der Kamera zu gewährleisten.
Achtung:
Falls Sie mehr als ein Videogerät an Ihrem System angeschlossen haben, wählen Sie die Webcam als
PC-Kamera-Gerät.
bazoo VGA CAM “SNAKE”
8
Einste en der Netzfrequenz Ihres Stromnetzes
Wählen Sie entweder “50Hz” oder “60Hz” entsprechend Ihrem Stromnetz oder Video-
Wiedergabesystem, um ein flimmerndes Bild zu vermeiden.
Amcap Option Video Capture Fliter OK
Snap-Shot Größenanpassung:
1. Öffnen Sie die“AMCAP”-Software und wählen “Optionen” und klicken dann auf “Video Source…” oder
Video Capture Filter”.
2. Im Untermenü “Eigenschaften” wählen Sie bitte “VGA snap size” und wählen die gewünschte
Bildgröße aus. Es stehen 4 Auswahlmöglichkeiten zur Verfügung:
640 x 480, 800 x 600, 1024 x 768, 1280 x 1024

bazoo VGA CAM “SNAKE”
9
3. Bewegen Sie den Mauszeiger auf ein leeres Feld des Bildschirms. Klicken Sie mit der rechten
Maustaste und wählen Sie “Eigenschaften”, um die Displayeigenschaften anzuzeigen.
4. Wählen Sie “Einstellungen” und stellen die Bildschirmauflösung so ein, dass sie der mit der zuvor
gewählten Einstellung “VGA Snap Size“ übereinstimmt.
Treiber Deinsta ation
Starten Sie “Uninstall
UninstallUninstall
Uninstall” durch Klicken auf das “Start”
Start” Start”
Start” “Programs
ProgramsPrograms
Programs” “Cammaestro
CammaestroCammaestro
Cammaestro” – Icon, um die
Gerätetreiber zu deinstallieren.
Folgen Sie bitten den Anweisungen auf dem Bildschirm.
ArcSoft Deinsta ation
Wählen Sie Systemsteuerung Installieren oder Entfernen von Programmen. Wählen Sie “ArcSoft
WebCam Companion”, um die Software zu deinstallieren. Bitte folgen Sie den Anweisungen auf dem
Bildschirm.

bazoo VGA CAM “SNAKE”
10
F
Introduction
Nous vous remercions d’avoir acheter la caméra web bazoo « SNAKE ». Vous avez fait un excellent
choix en vous décidant en faveur d’une technologie innovatrice qui vous offre des avantages uniques.
Prenez quelques minutes pour lire ce mode d’emploi attentivement. Il vous aidera à bien comprendre
le produit.
Configuration requise :
PC compatible IBM
•Port USB libre
•Windows 2000 / XP / Vista
•586/133 CPU et 32 Mo RAM ou plus
Périmètre de livraison
•Une caméra web bazoo « SNAKE »
•Un Cd-rom
•Un mode d’emploi
Remarque : S'il manque une pièce, veuillez vous adresser sans délai à votre revendeur pour un
remplacement.
Insta ation du pi ote
Figure 1 : Carte de contrôle USB
Attention :
Veuillez installer le pilote et le logiciel AVANT de brancher la caméra dans le port USB.
1. Insérez le CD fourni dans le lecteur de CD-ROM de l’ordinateur.
2. Le logiciel d’installation démarre automatiquement. Si ce n’est pas le cas, veuillez lancer le
« autorun.exe
autorun.exeautorun.exe
autorun.exe » se trouvant dans le registre du Cd-rom.
3. Cliquez sur l’icône du « Pilote caméra PC » et sélectionnez votre système d’exploitation afin de
pouvoir installer le pilote.
4. Cliquez « DirectX-Update » pour installer DirectX (9.0C) si vous utilisez une version plus anicenne ou
si vous ne l’avez pas encore installé.
5. Sélectionner « Userguide » pour obtenir plus d'informations sur le paramétrage.
Inhaltsverzeichnis
Sprachen:


