3. Have patient stand in the center of the platform, standing up straight, and
looking ahead.
NOTE: Make sure patient stands still, and remains on the platform until the
numbers have stopped changing on the screen.
4. Turn the LCD screen OFF by pressing the OFF button when nished noting down
measurements.
4.2 Taking Measurements with Parameters Set Up
1. Ensure the Master Power Switch is set to ON, on the back of the LCD Display.
2. Turn the scale ON using the ON/TARE/+ button. If needed press this button
again to TARE the scale back to 0.00 lbs/kgs.
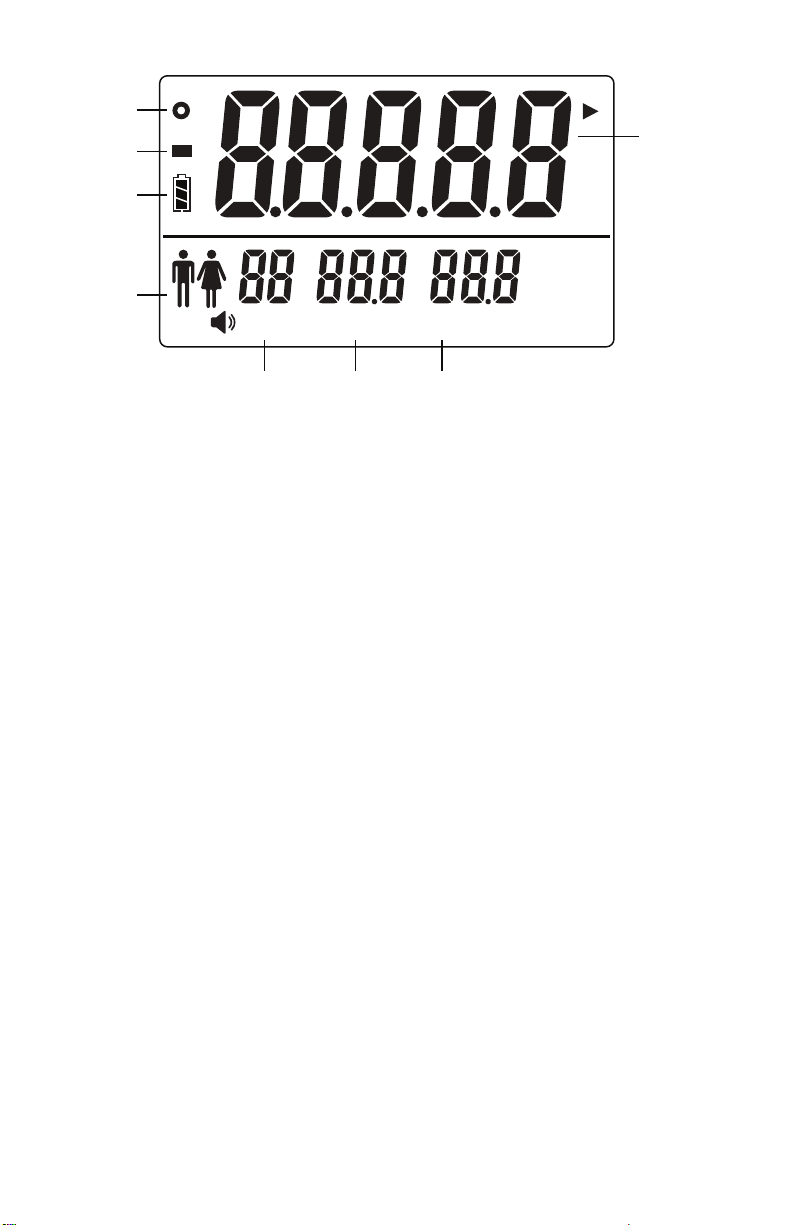
3. Set Measurement Parameters
a. Gender: Press SET button until the male/female icon ashes, press ON/
TARE/+ button or UNIT/- button to make gender selection, press SET
button again to conrm choice.
b. Age: Press SET button until the age icon ashes, press ON/TARE/+
button or UNIT/- button to make changes to the patient’s age. Press SET
button again to conrm choice.
4. Have patient stand in the center of the platform, standing up straight, and
looking ahead.
NOTE: Make sure patient stands still, and remains on the platform until the
numbers have stopped changing on the screen.
5. Turn the LCD screen OFF by pressing the OFF button when nished noting down
measurements.
4.3 Rotating the LCD Display
Rotational Centeraxis
90˚ Revolve
The LCD display can be rotated 90°
backwards.
To rotate the LCD screen:
1. Unscrew, and completely remove the
black headed knurled screw from the top
of the LCD hinge.
2. Using a rm grip, guide the LCD screen
backwards (or forwards if already in
the backward position) 90°, so that the
knurled screw can now enter into the
newly aligned holes.
3. Screw the knurled screw back into the top
of the LCD hinge until tight.