4.0 Installation
The Lemur-Z is designed to be mounted in a kiosk. Appendix H shows the mounting hole locations.
Prior to site preparation and installation, the printer should be powered up and run in the self-test mode.
•Lay the printer flat on a counter top.
•Install optional items onto the printer.
oAdjustable infeed guide (P/N 424050 or 424069-Z-7)
oCentering infeed guide (P/N 424069-Z-5 or 424069-Z-8) would have been installed
oBase Mounting Zebra Adaptor (P/N 424077)
oPrinter Mounting Plate (P/N 424213)
oReceipt roll holder (P/N 424051-U)
oLow paper sensors (P/N 424078 or 424084)
•Attach the round DC connector of the 24VDC power supply into the printer.
•Plug the AC cord into the 24VDC power supply. The printer will automatically power up once the AC cord is
plugged into its AC source. To power off the printer unplug the AC cord from the power supply.
•Wait five seconds after power up, during this time you will hear the cutter knife cycle. Begin loading media
through the entrance slot with a smooth motion until the printer automatically positions the media. See section
6.0 Media Load Procedure.
•After the media is automatically positioned (the green READY led will be illuminated), press the center TEST
button located on the control panel to print a self-test.
•When the Lemur-Z leaves the factory, it is configured for use with receipt rolled stock (stock with no black
timing mark). If you will use the printer with stock that has a black timing mark then it will need to be
taken out of paper mode. See Appendix C –DOWNLOADING SOFTWARE COMMANDS to download the
appropriate software command.
o<pmd> this will configure the printer for use with media with a black timing mark.
o<pmr> this will configure the printer for use with receipt stock without a black timing mark.
•Verify that the printer properly works with your system by doing a printout through your computer system. You
may also use our customer-based program to test the printer independently of your software application (see
Appendix B)
You may now install the printer in its permanent location. Adequate room should be provided behind the printer for the
smooth feeding of the media.
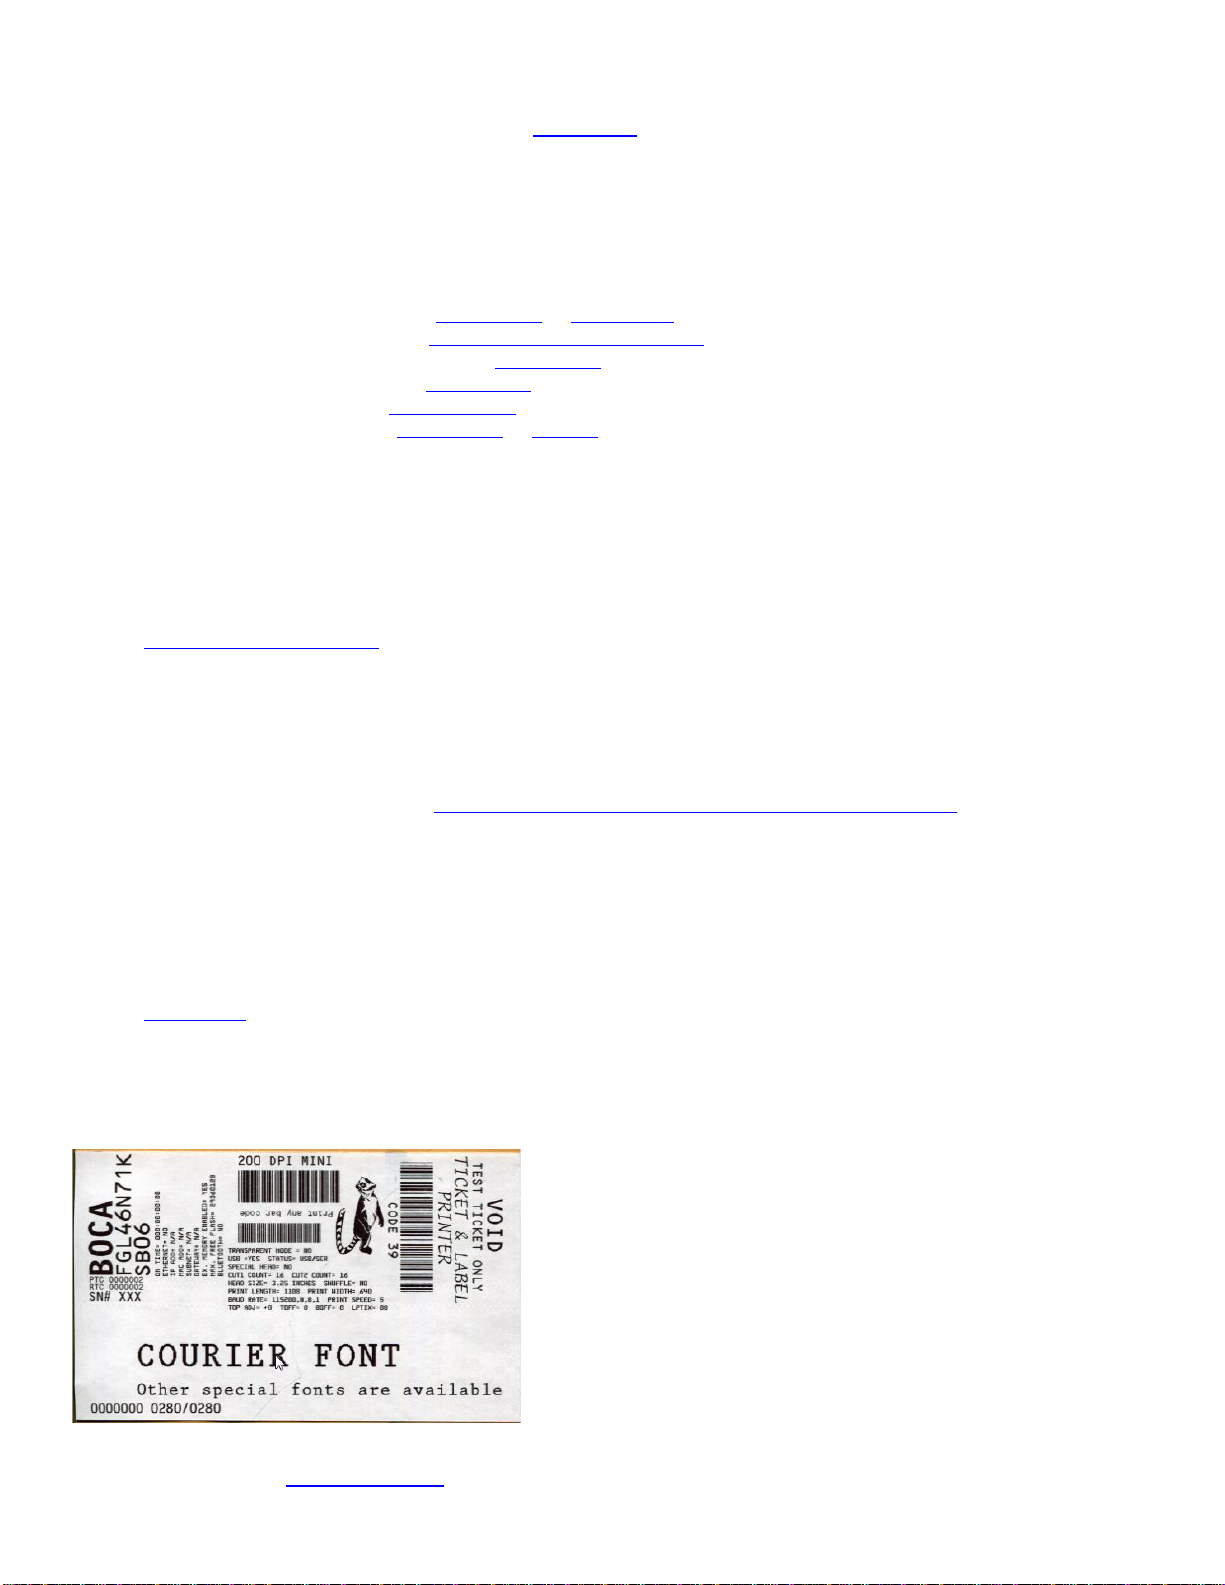
Below is a typical self-test printout
Your printout may vary depending on printer configuration and media used.
Click here to return to > Table of Contents