6 Quick Start Guide
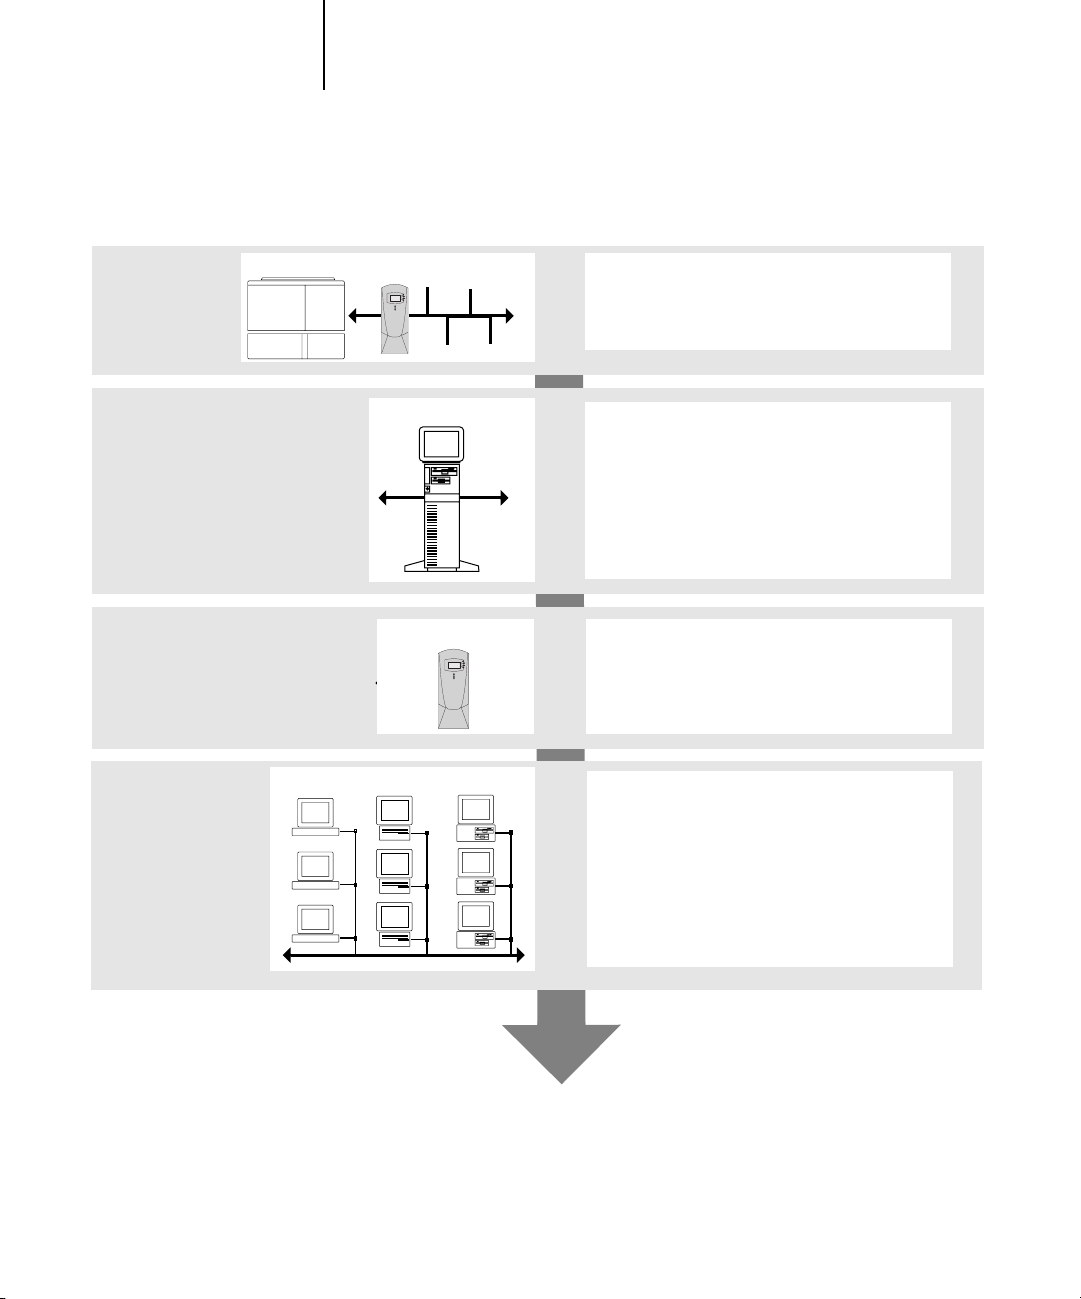
Connecting the E-820 to a functioning network
N
OTE
:
When you add the E-820 to a network, it is assumed that a network
administrator has already installed a network cabling system and has connected
workstations and servers. For examples of different networks, see the
Configuration
Guide
.
•Prepare a network node for the E-820.
•Route the cable to a location near the copier where the E-820 will be installed
and attach the cable to the network interface of the E-820.
For more information, see Chapter 1 of the
Configuration Guide
.
• Connect the E-820 to the copier and print a test page.
For detailed instructions, see the
Configuration Guide
.
T
O
PREPARE
FOR
E-820
CONFIGURATION
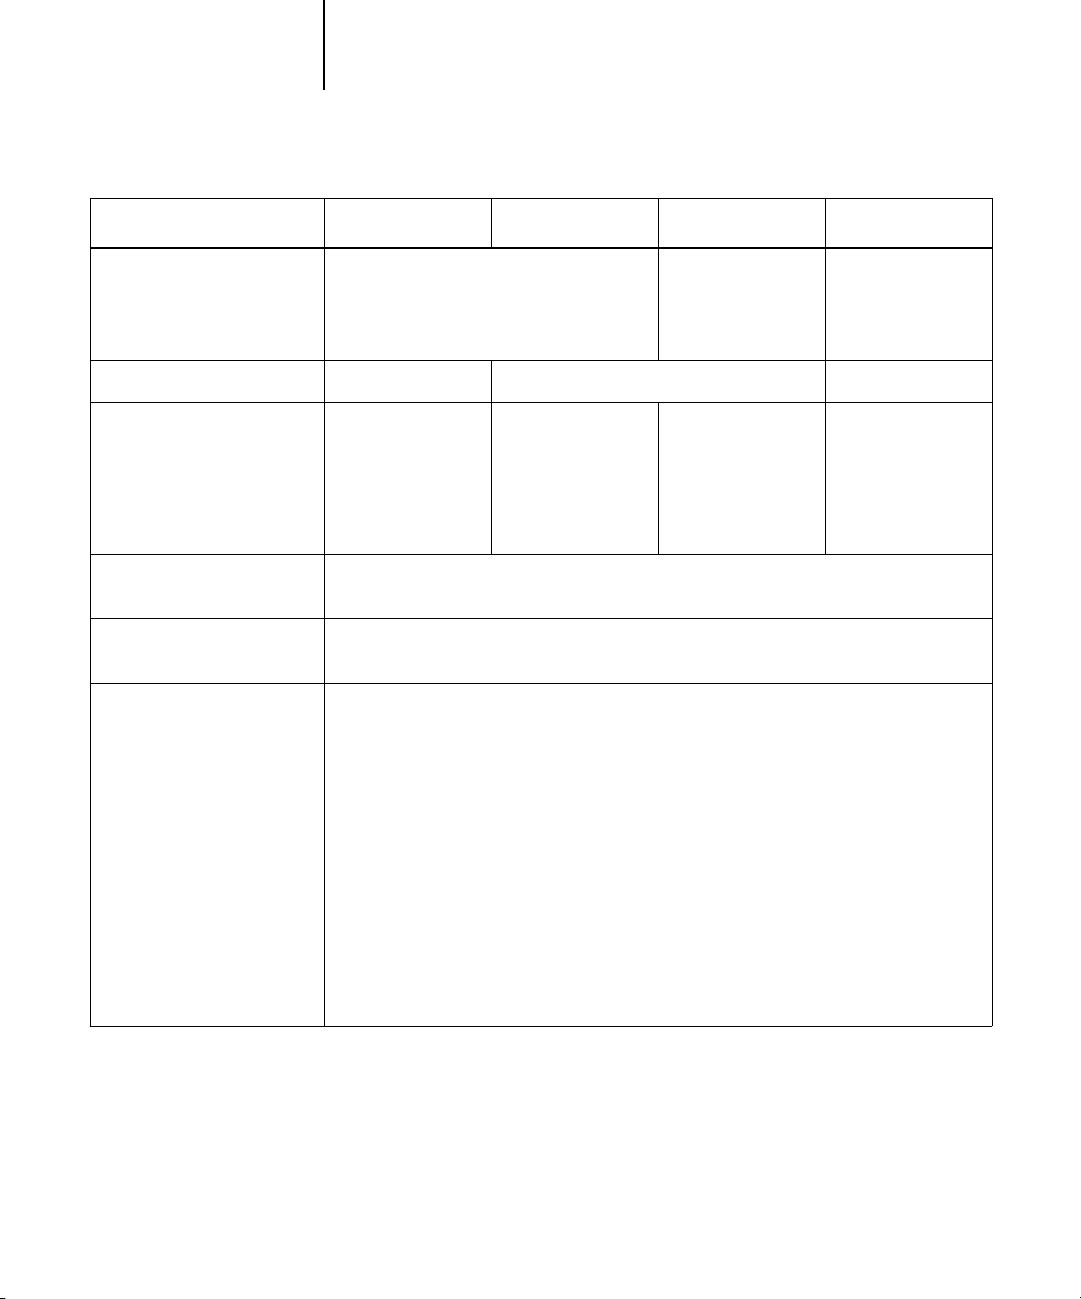
1. Print a copier test page to verify the copier is functioning normally.
2. To confirm this connection, turn on the copier and the E-820 and print a Test Page
from the E-820 Control Panel.
To print a Test Page, press the Menu button on the Control Panel to access the
Functions menu. Choose Print Pages, and then choose Test Page.
3. With both the copier and the E-820 turned off, connect the network cable to the
E-820.
The network should already be installed and operational.
4. Turn on the copier and the E-820.
Configuring the network server
If you require a network server, you must configure that server to provide client access
to the E-820 as a color printer. To configure a network server in a Windows or UNIX
network environment, see the
Configuration Guide
. For Token Ring, Novell, and
Windows NT/2000 (using TCP/IP) networks, the network servers must be configured
for printing to the E-820 before you configure E-820 network settings in Setup.
For more information, see the
Configuration Guide
.