Empava EMPV-36GR12 Bedienungsanleitung

EMPV-36GR12
Installation Instructions
IMPORTANT SAFETY INSTRUCTIONS
Carefully read the important information
regarding installation, safety and maintenance.
Keep these instructions for future reference.
Designed and Engineered in USA
Distributed by Empava Appliances Inc.
Add: 15253 Don Julian Road, City of Industry, CA, 91745 USA
Tel: (888) 682 - 8882
WWW.EMPAVA.COM
36" Freestanding Range
Gas Cooktop
and Oven
Appliances

2

TABLE OF CONTENTS
RANGE SAFETY................................................................................................... 4
INSTALLATION REQUIREMENTS ......................................................................... 8
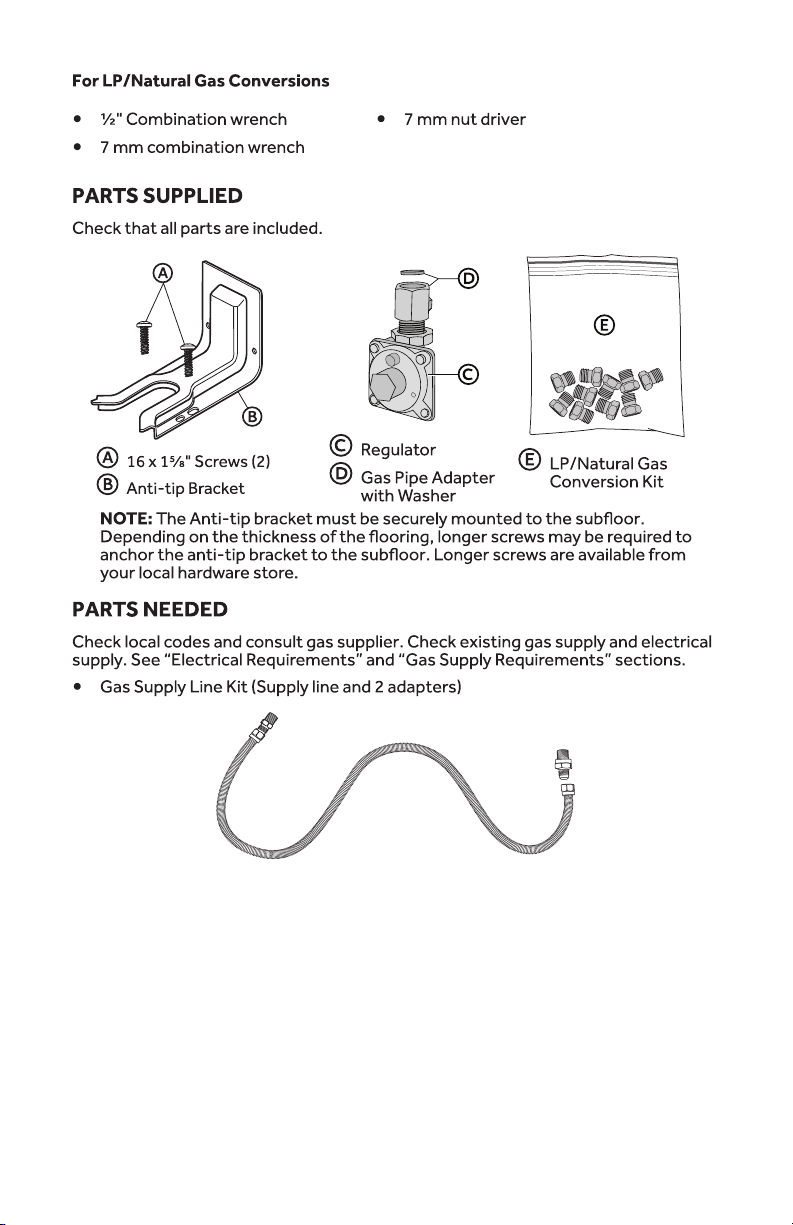
Tools and Parts...............................................................................................................8
Location Requirements...............................................................................................10
Electrical Requirements ..............................................................................................13
Gas Supply Requirements...........................................................................................16
INSTALLATION INSTRUCTIONS........................................................................ 19
Step 1 - Unpack Range ................................................................................................ 19
Step 2 - Make Gas Connection....................................................................................22
Step 3 - Make Electrical Connection...........................................................................24
Step 4 - Install Range ...................................................................................................24
Step 5 - Level the Range (if needed) ..........................................................................25
Step 6 - Check Operation of Electronic Ignition System...........................................26
GAS CONVERSION............................................................................................ 27
Step 1 - Adjust the Regulator......................................................................................31
Step 2 - Change Burner Ori ices .................................................................................32
Step 3 - Adjust Burner Flames ....................................................................................34
Step 4 - Testing Flame Stability................................................................................... 53
Step 5 - Flame Re-Check.............................................................................................35
3
WARNING
A child or adult can tip the range and be killed.
See installaction in structions for details.
Failure to do so can result in death or serious burns to
children or adults.
Re-engage the anti-tip device if the range is moved. Do
not operate the range without the anti-tip device in
place and engaged.
Engage the range to the anti-tip device by [state how for
the two or more possible loctions]. Ensure the anti-tip
device is re-engaged when the rangeis moved [state
how for the two or more possible loctions].
Install the anti-tip device to the structure and / or the
range. Verify the anti-tip device has been properly
installed and engaged [state how for the two or more
possible loctions].
WARNING
Never Operate the Top Surface Cooking Section of this
Appliance Unattended
Failure to follow this warning statement could result in
fire, explosion, or burn hazard that could cause property
damage, personal injury, or death.
If a fire should occur, keep away from the appliance and
immediately call your fire department.
DO NOT ATTEMPT TO EXTINGUISH AN OIL/GREASE FIRE
WITH WATER.
RANGE SAFETY
4
Your safety and the safety of others are very important.
We have provided many important safety messages in
this manual and on your appliance. Always read and
obey all safety messages.
DANGER
WARNING
CAUTION
This is the safety alert symbol.
This symbol alerts you to potential hazards
that can kill or hurt you and others. All
safety messages will follow the safety alert
symbol and either the word “DANGER,”
“WARNING” or “CAUTION.”
These words mean:
An imminently hazardous
situation. You could be killed or
seriously injured if you don’t
immediately follow instructions.
A potentially hazardous situation
which, if not avoided, could result
in death or serious bodily injury.
A potentially hazardous situation
which, if not avoided, may result
in moderate or minor injury.
All safety messages will tell you what the potential hazard
is, tell you how to reduce the chance of injury, and tell you
what can happen if the instructions are not followed.
5
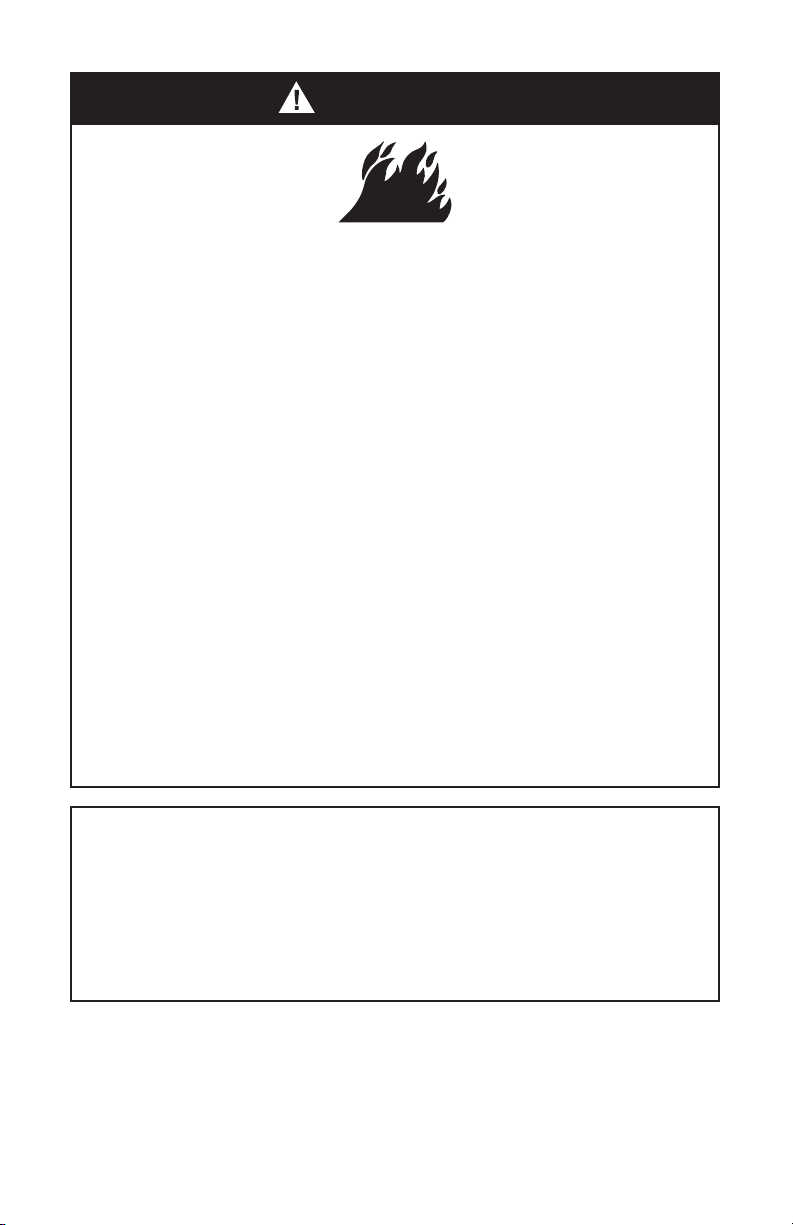
WARNING
Fire Hazard
If the information in this manual is not followed exactly,
a fire or explosion may result causing property damage,
personal injury or death.
- WHAT TO DO IF YOU SMELL GAS
- Installation and service must be performed by a qualified
installer, service agency or the gas supplier.
- Do not store or use gasoline or other ammable vapors
and liquids in the vicinity of this or any other appliance.
•Do not try to light any appliance.
•Do not touch any electrical switch.
•Do not use any phone in your building.
•Clear the room, building, or area of all occupants.
If you cannot reach your gas supplier, call the fire
department.
•Immediately call your gas supplier from a neighbor’s
phone. Follow the gas supplier’s instructions.
•
WARNING: Gas leaks cannot always be detected by smell.
Gas suppliers recommend that you use a gas detector
approved by UL or CSA.
For more information, contact your gas supplier.
If a gas leak is detected, follow the “What to do if you smell
gas” instructions.
6
State of California Proposition 65 Warnings:
WARNING: This product contains one or more chemicals
known to the State of California to cause cancer.
WARNING: This product contains one or more chemicals
known to the State of California to cause birth defects or
other reproductive harm.
In the State of Massachusetts, the following installation
instructions apply:
•Installations and repairs must be performed by a qualified
or licensed contractor, plumber, or gasfitter qualified or
licensed by the State of Massachusetts.
•If using a ball valve, it shall be a T-handle type.
A flexible gas connector, when used, must not exceed 3
feet.
•
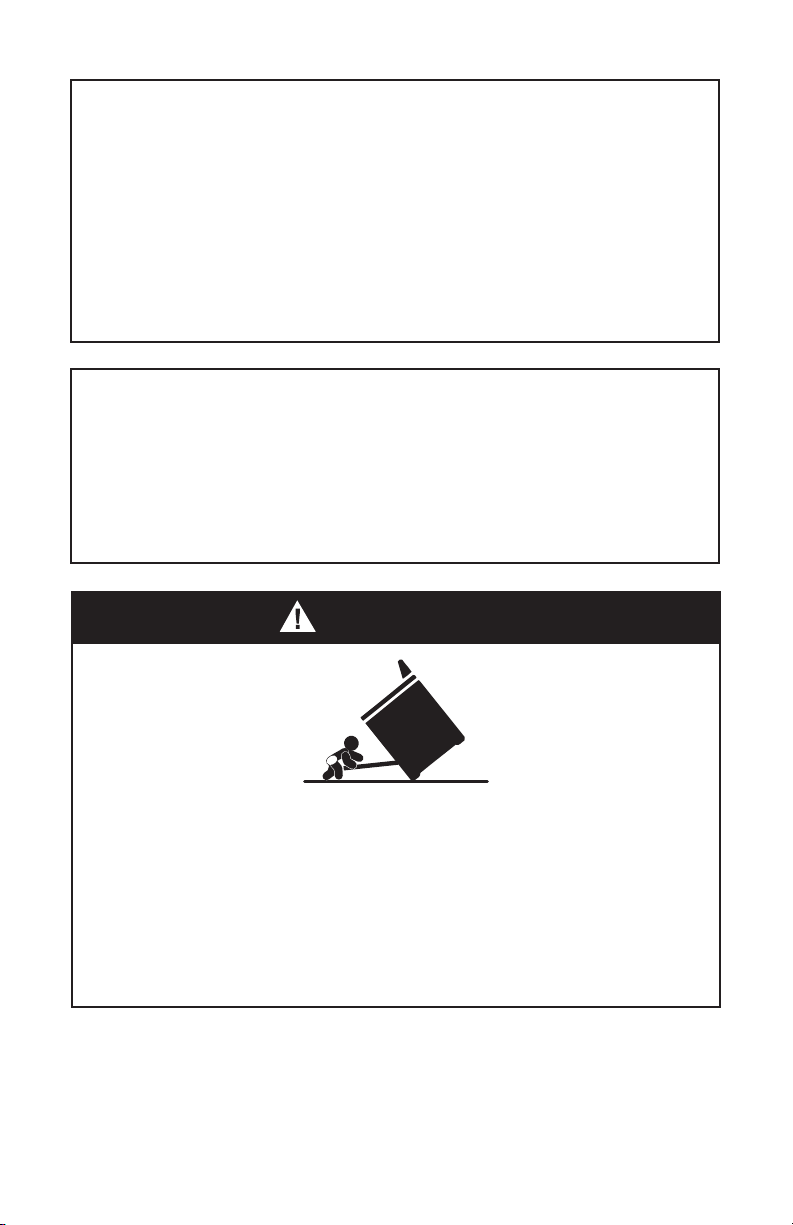
WARNING
Tip Over Hazard
A child or adult can tip the range and be killed.
Connect anti-tip bracket to rear range foot.
Reconnect the anti-tip bracket, if the range is moved.
Failure to follow these instructions can result in death or
serious burns to children and adults.
7

INSTALLATION REQUIREMENTS
TOOLS AND PARTS
Gather the required tools and parts before starting installation. Read and follow the
instructions provided with any tools listed here.
TOOLS NEEDED
•Tape measure
•Flat-blade screwdriver
•Phillips screwdriver
•Level
•Cordless electric drill
•Hammer
•Wrench or pliers
•Pipe wrench
•10" Adjustable Wrenches (2)
•
•¼" nut driver
•
•Marker or pencil
•Masking tape
•Pipe-joint compound resistant to LP gas
•
•Noncorrosive leak-detection solution
8
9
LOCATION REQUIREMENTS
VENTILATION
IMPORTANT:
combustion and ventilation air.
•
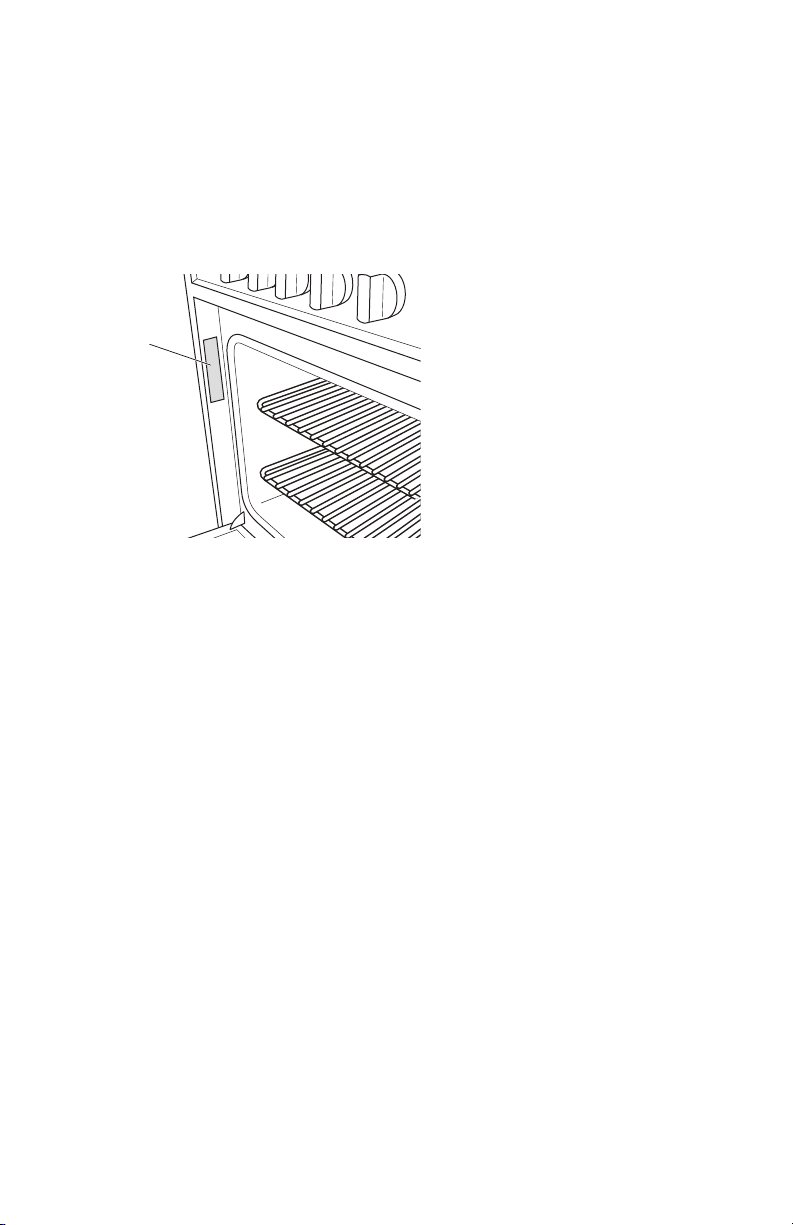
on the model/serial rating plate. The model/serial rating plate is located on the
left-hand side of the oven frame. Open oven door to view label. See label on back
panel of range for additional element and oven power ratings.
a
a Rating Plate
TEMPERATURE
IMPORTANT: This oven has been designed in accordance with the requirements of
temperatures of 194F (90°C).
•Some cabinet and building materials are not designed to withstand the heat
produced by the oven for baking and self-cleaning. Check with your builder
or cabinet supplier to make sure that the materials used will not discolor,
delaminate or sustain other damage.
•
withstand at least 200°F (93°C).
•Use an insulated pad or ¼" (0.64 cm) plywood under range if installing range over
carpeting.
GENERAL
•The range should be located for convenient use in the kitchen.
•Recessed installations must provide complete enclosure of the sides and rear of
the range.
•
cabinet storage space located above the surface units should be avoided. If
cabinet storage is to be provided, the risk can be reduced by installing a range
hood or microwave hood combination that projects horizontally a minimum of 5"
(12.7 cm) beyond the bottom of the cabinets.
•
•Do not seal the range to the side cabinets.
•Grounded electrical supply is required. See “Electrical Requirements” section.
•Proper gas supply connection must be available. See “Gas Supply Requirements”
section.
10
Inhaltsverzeichnis
Andere Empava Kochfeld Handbücher

Empava
Empava EMPV-12GC29 Bedienungsanleitung

Empava
Empava HQ4W Bedienungsanleitung

Empava
Empava EMPV-IDC24 Technisches Datenblatt

Empava
Empava EMPV-24GC4B67A Bedienungsanleitung

Empava
Empava EMPV-36EC01 Technisches Datenblatt

Empava
Empava EMPV-30GC0A2 Bedienungsanleitung

Empava
Empava JZT-HQ4B67AAZXA Bedienungsanleitung

Empava
Empava EMPV-24GC28 Bedienungsanleitung

Empava
Empava EMPV-12REC10 Bedienungsanleitung

Empava
Empava EMPV-30GC37 Bedienungsanleitung


