
Fortec Star DISTEC Video Wall Series Bedienungsanleitung
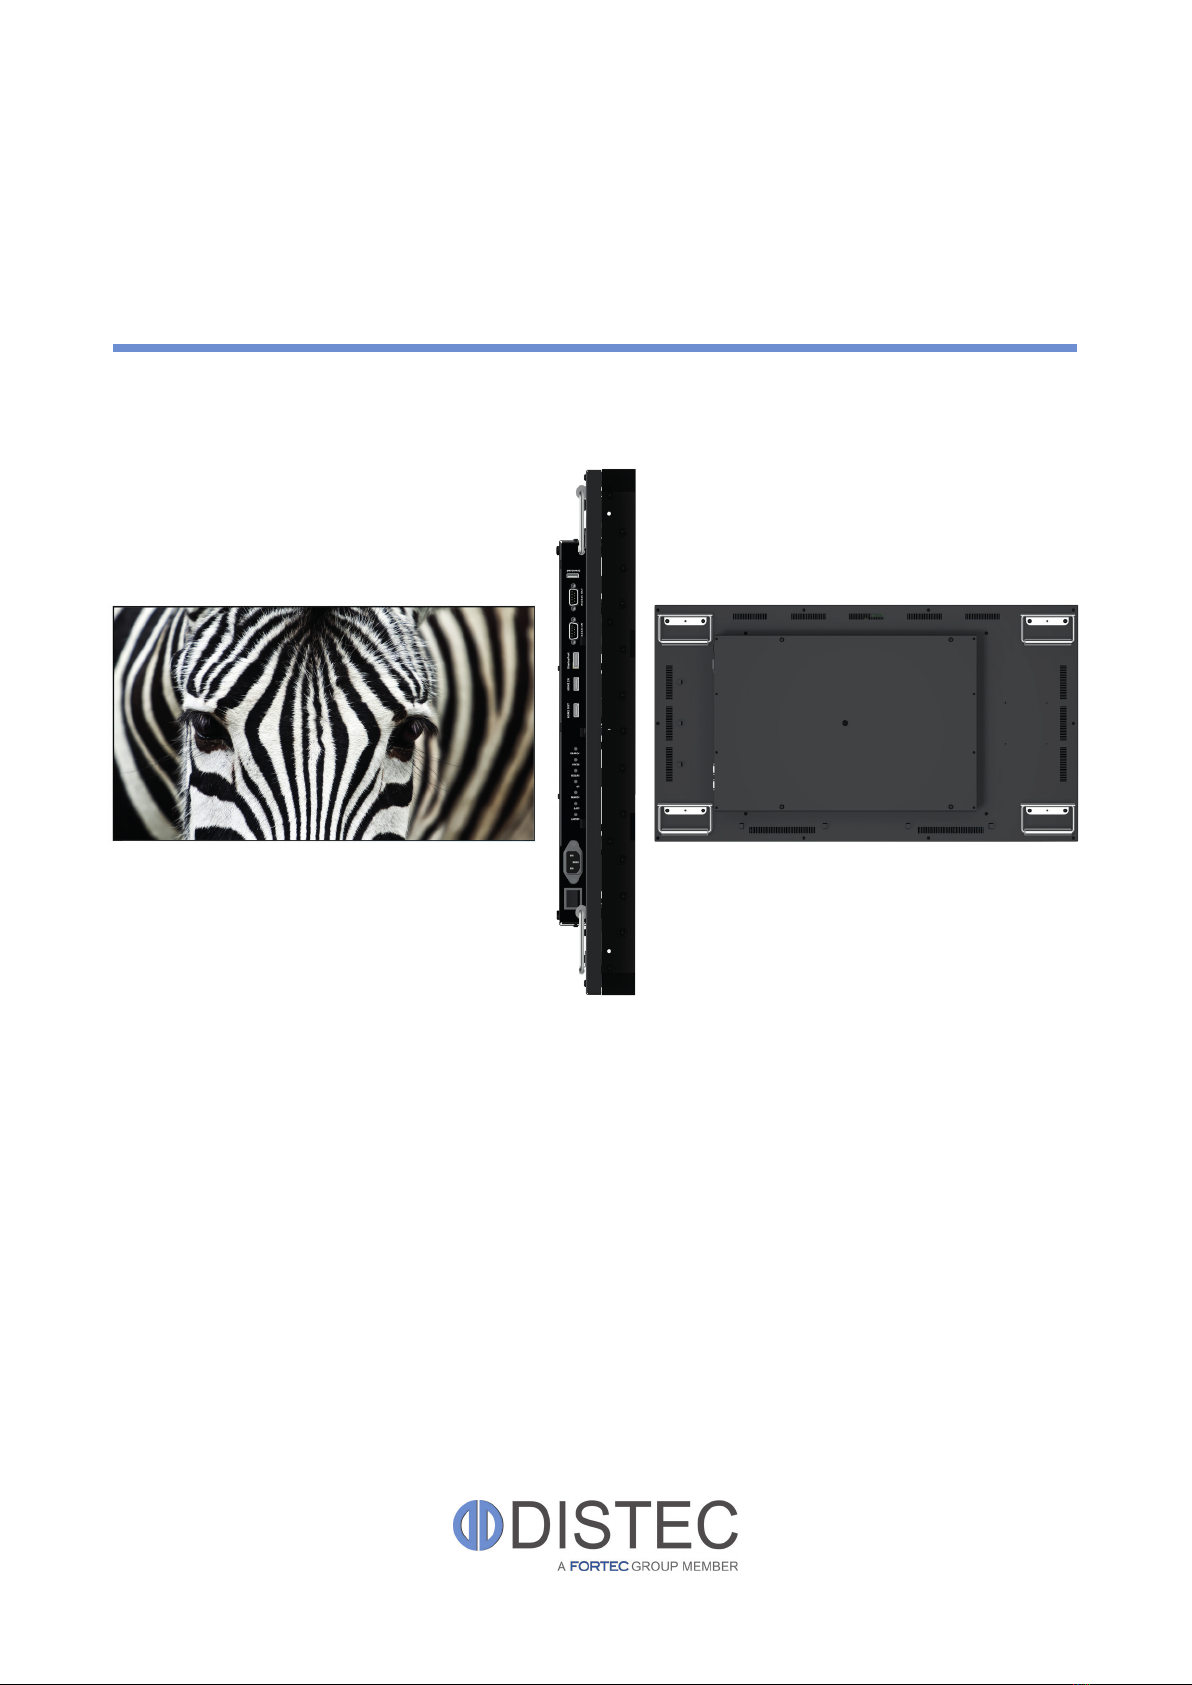
USER MANUAL
Video wall series
Video wall monitors with
diagonal of 116.8 cm (46“)
201808_manual_video_wall_EN.pdf

2
Copyright
The contents of this manual are subject to change without notice.
© 2018 Distec GmbH. All rights reserved.
Reproduction of this manual in parts or entirely without the previous authorization of Distec GmbH is prohibited.
Distec GmbH is not liable for errors and collateral or subsequent damage which result from supply, deployment or any other utilisation of this document.
All product names mentioned in this document are trademarks or registered trademarks of their due owners.
3
Table of contents
Table of contents
1. Generalspecication..................................................................................4
2. Scope of delivery........................................................................................4
3. General Safety Regulations .......................................................................5
4. First Installation..........................................................................................8
5. Video wall monitor controller...................................................................10
6. Maintenance ............................................................................................24
7. Warranty / Service ...................................................................................24
8. Disposal....................................................................................................26
9. Declaration of Conformity ........................................................................27
General specication
4
1. General specication
Scope of Document
This user manual is valid for Video wall monitors 116.8 cm (46“).
Important note: This user manual is complemented by other additional documents when indicated.
All documents are also available for download from Distec GmbH web site: www.distec.de/en.
Video wall variants:
Monitor with integrated Wandlerkarte, je 1 x RS232 (in & out), je 1 x HDMI (in & out), 1 x Display Port in, IR sensor.
2. Scope of delivery
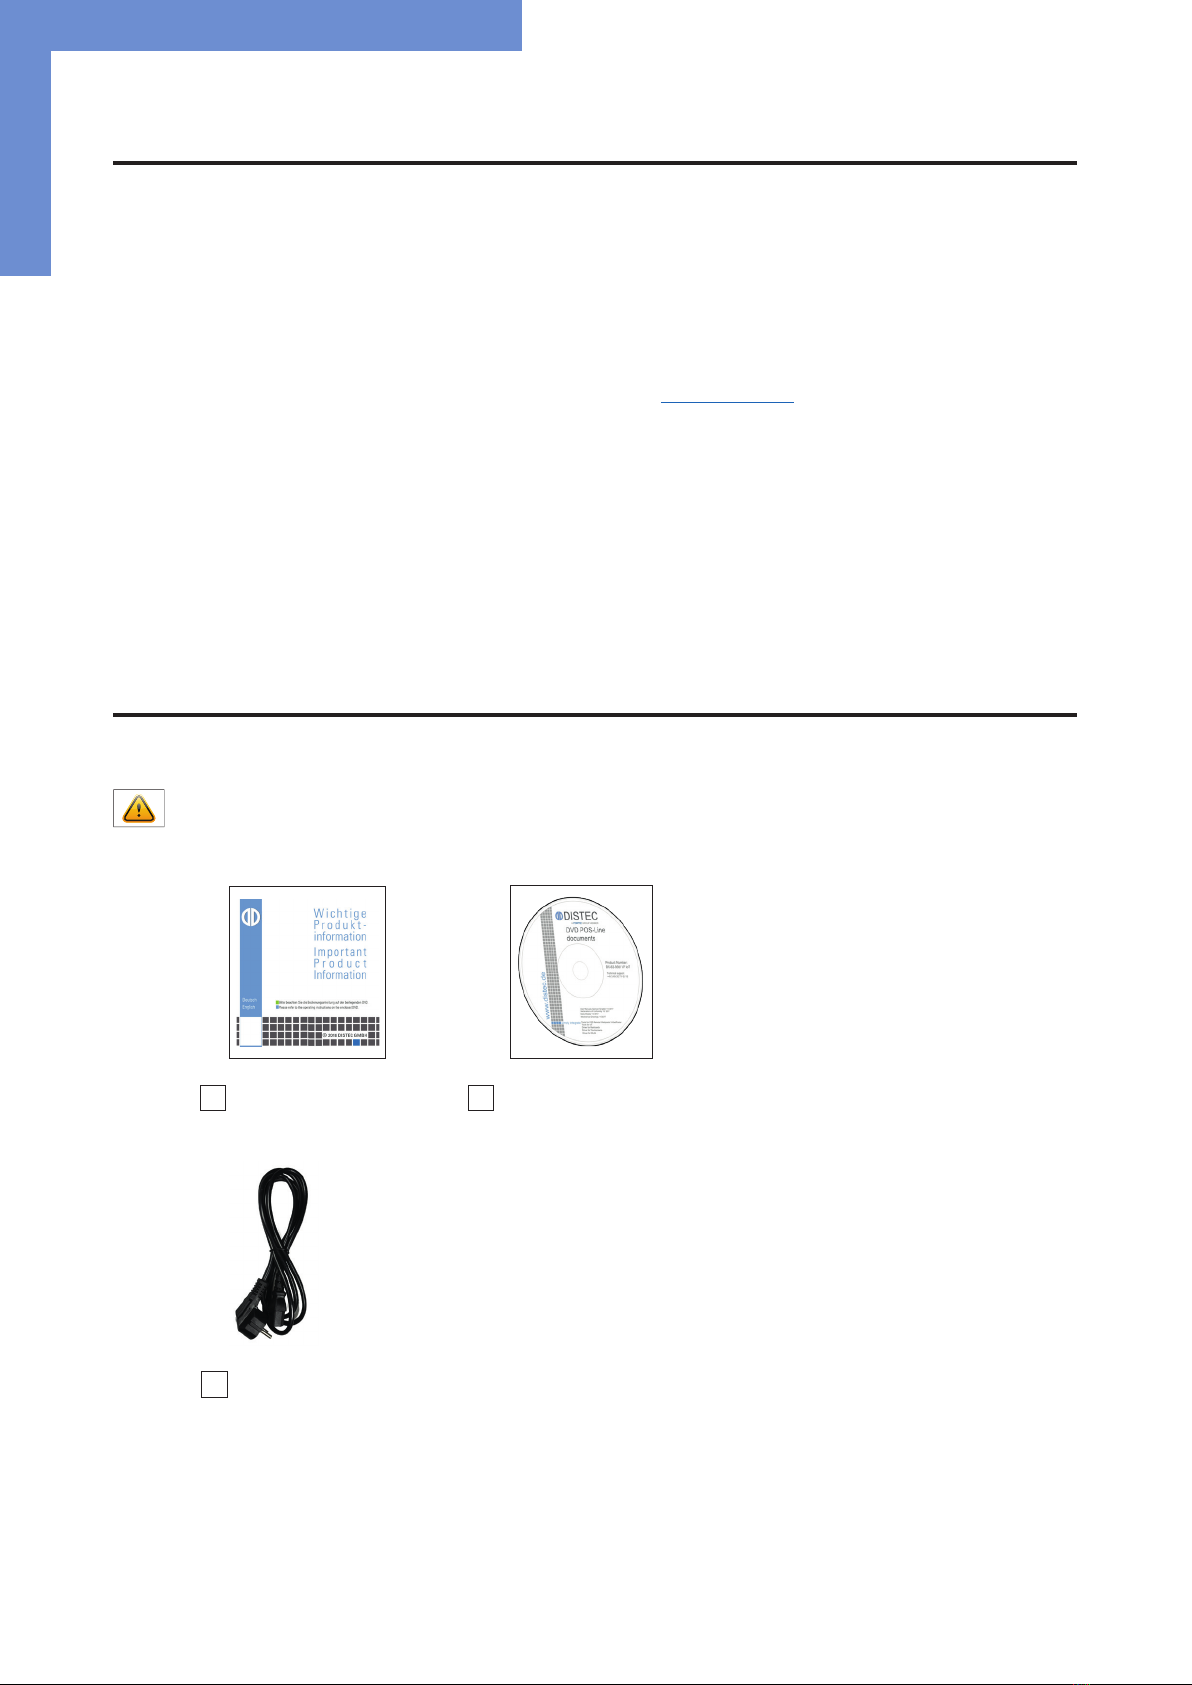
When unpacking the monitor, please check if the following accessories are included in the shipment:
Note: Pictures can differ from actually supplied products.
Product information Accompanying-DVD (Manuals, Datasheets, Driver, Drawings
Power cable

General Safety Regulations
5
3. General Safety Regulations
Safety information
Please read this safety information carefully for your personal safety and for the prevention of property damage.
In case of a malfunction, immediately disconnect the power plug and contact your dealer or the next Distec GmbH service centre. A
malfunction is also considered if the housing, a control element or cable is damaged or if liquids or other objects penetrate the monitor.
Please read the safety information carefully before installing the device. If you have any doubts about whether the device may be used
in a particular environment, please contact our service partner.
Repairs
Repairs may only be carried out by authorized technical personnel. Unauthorized access or improper repairs might cause serious prop-
erty damage or cause danger to the user. In addition to that, any legitimate warranty claim expires.
Electrical connection
Disconnect the monitor from socket before executing any work. Do not touch or connect data cables or power cables during thunder-
storms.
System start-up
Before the system start-up let the monitor adjust to the room temperature. Do not expose the device to direct heat sources. In case
of condensation, please wait a minimum of 12 hours before switching on the monitor. The monitor shall only be installed and used
according to this documentation data sheets. Only qualied personnel may perform the initial installation and system setup.
Qualied personnel
Qualied personnel, in terms of the safety information of this documentation, are persons who are qualied to activate, ground and
label devices, systems and circuits according to the safety standards.
Operation
For a proper and safe utilization of the product, adequate transportation, storage, installation, assembly, careful handling and main-
tenance are essential. The device is only certied for in-door operation. Extreme ambient conditions shall be avoided and the monitor
shall be protected from dust, humidity and heat. Do not expose the monitor to direct sunlight.
Transport
Unpack the monitor at the place of installation. Use only original packaging for transportation. Please observe these rules for any later
transport.
Condensation
Avoid condensation during transport at low temperatures or at extreme uctuations of temperature.
General Safety Regulations
6
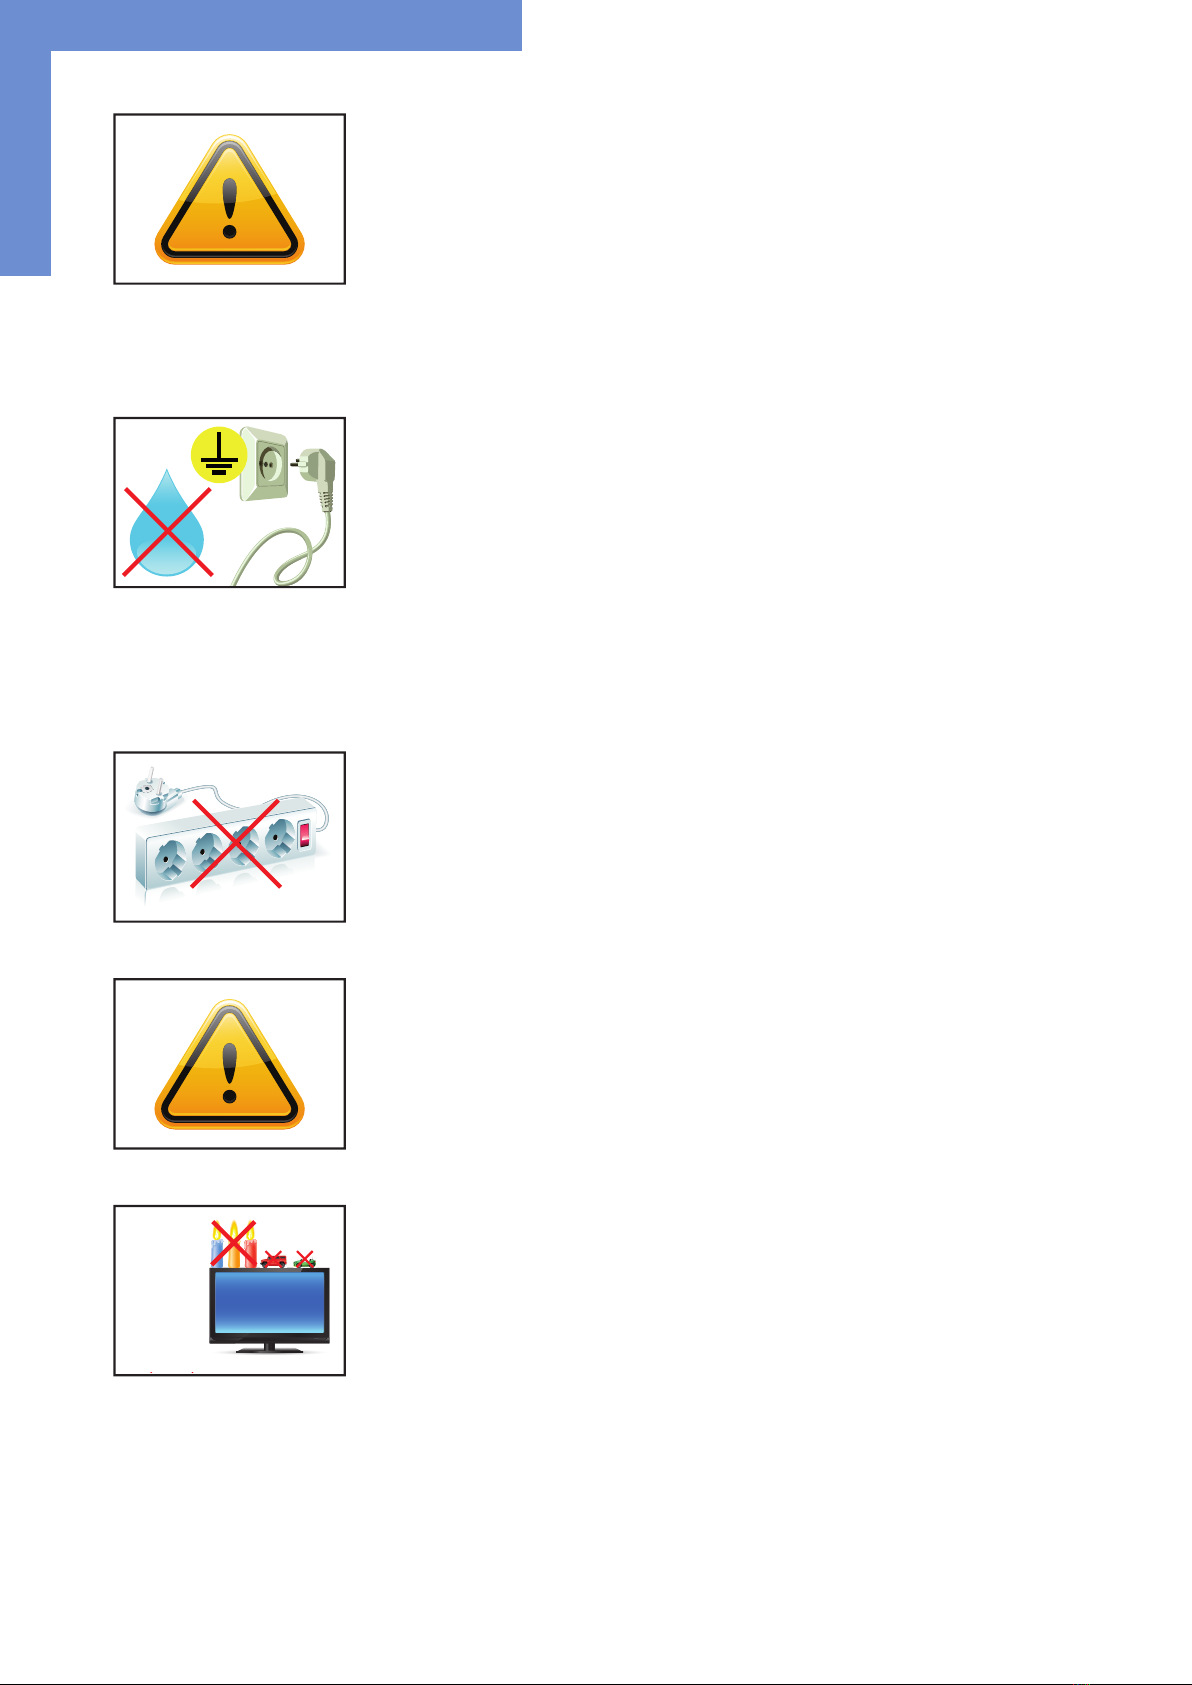
• Do not put objects onto the device.
• Do not place candles, heaters or humidier near the device.
• Keep the device away from replaces and ammable materials.
• According to the size, devices may be difcult to handle and very heavy. Ensure that at
least two people lift and carry the device.
• Put down the device slowly and carefully to avoid damaging the LCD screen. Ensure that
the device stands stable.
• Keep packaging away from children. Danger of suffocation!
• Use our specied and professionally mounted wall mounting only.
• Do not use extension block to plug several devices into a single socket.
• Do not use damaged or loose sockets to plug in the device.
• Plug the device in earthed sockets only.
• Operate the device with the power cables included in the delivery packet only.
• Use undamaged power cables only.
• When plugging in and out, do not touch the power cable with wet hands.
• Ensure that the power cable is plugged in the socket safely and correctly.
• Use for devices with external power supply only the supplied original power supply, or
an equivalent Low Power Source (LPS).
Safety guidelines for the handling of LCD monitors
• If the device is not used for a long period of time, unplug the power cable.
• Do not unplug the power cable while the device is powerd on, except for emergencies.
• To unplug the device without problems, sockets have to be easily accessible.
• Ensure that the power cable does not get pinched or kinked.
• Do not place heavy objects on the power cable.
General Safety Regulations
7
• Attention! High voltage! Never open the device by yourself.
• In case of unusual noises, burnt smell or smoke unplug the power cable.
• Do not insert objects into the device through the ventilation slots.
• If the same picture is displayed over a longer period of time, an after-image may arise.
• When exchanging batteries of the remote control, pay attention to the polarity. Keep
batteries away from children and ensure an environmentally correct disposal.
• Protect your device from water splash.
• When cleaning, please make sure that no liquids get into the device.
• Screens and surfaces can be easily scratched. Therefore, please use the prescribed
cloth only.
• Please use a soft, moist cloth for cleaning.
• For cleaning the screen, please use only commercially available screen cleaner. Do not
spray the cleaner directly to the device but onto a cloth.
• Please clean ventilation slots regularly to ensure a good air circulation.
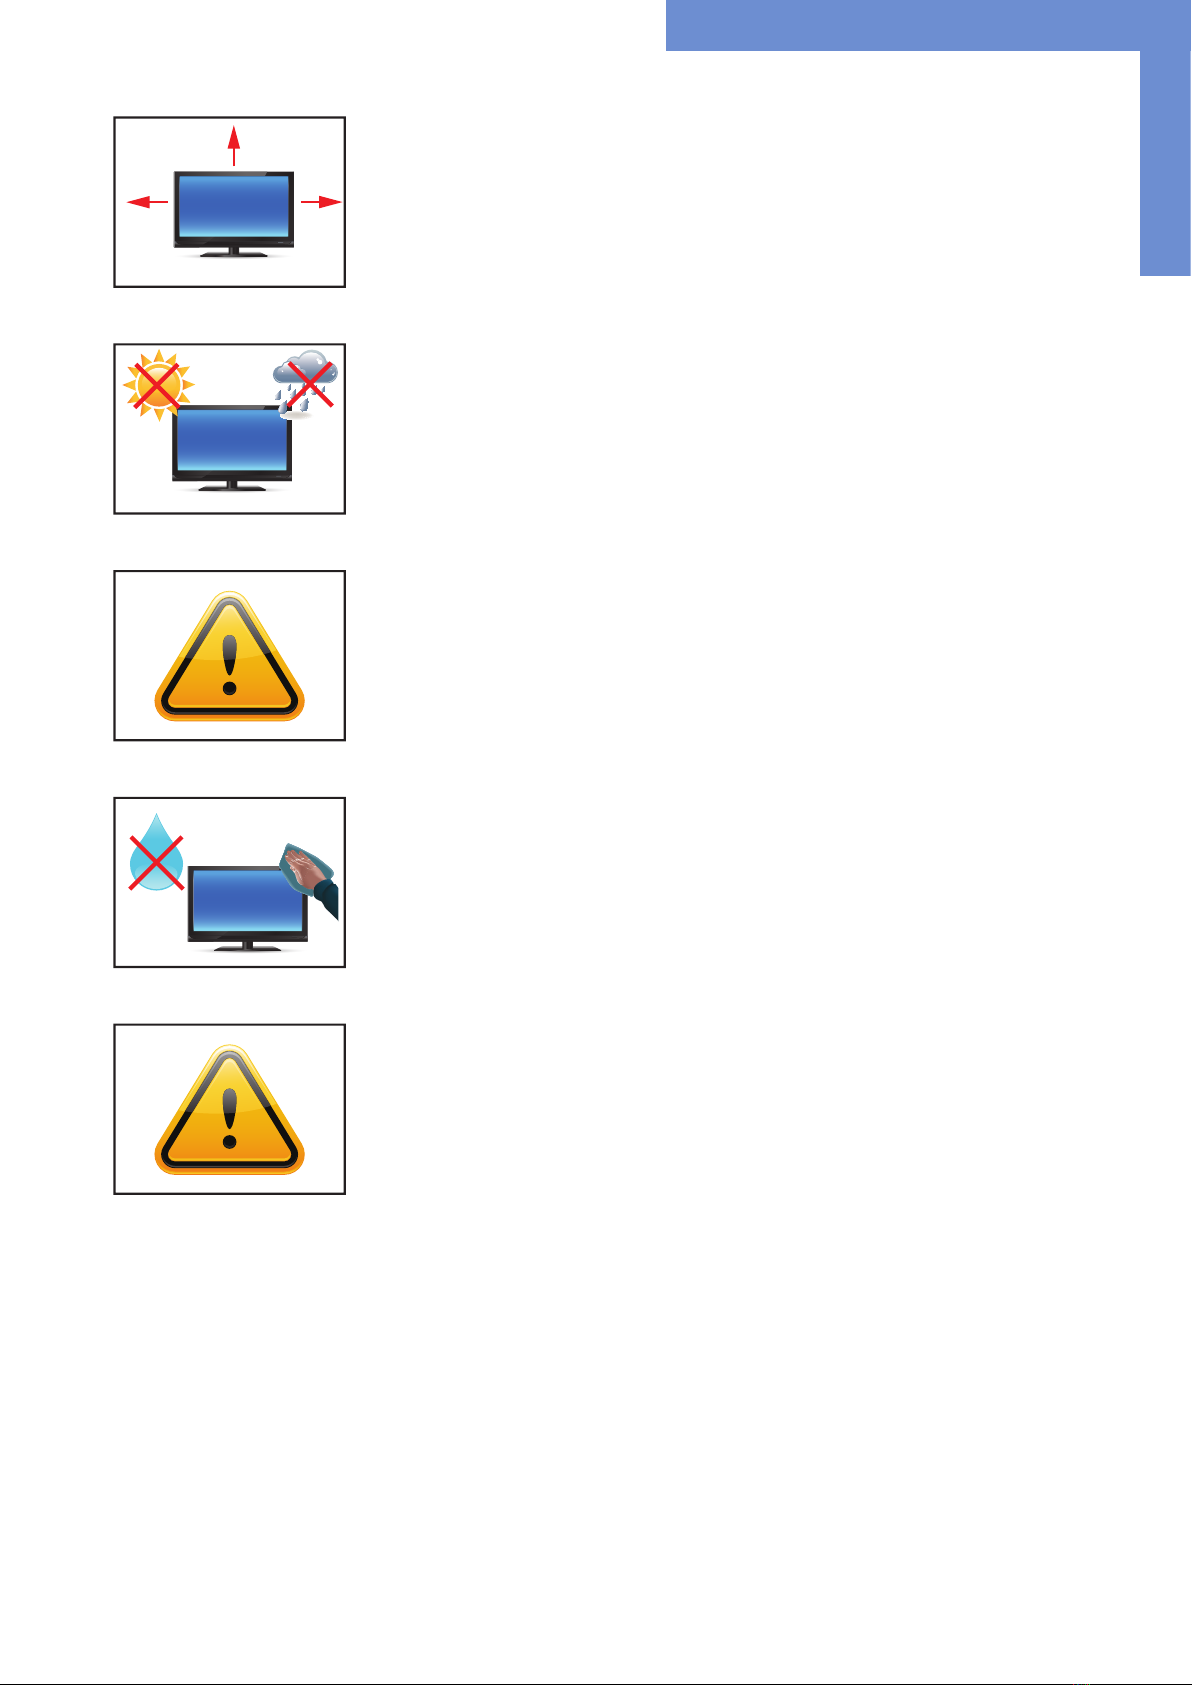
• Do not install the device in places where it is exposed to environmental impacts such
as rain or direct sunlight.
• Do not install the device in places where it is exposed to high humidity, dust or smoke.
In case of doubt, please contact your sales partner.
• Ensure sufcient ventilation of the device.
• Keep a minimum distance of at least 10 mm devices to the wall, for devices with inte-
grated PC of at least 40 mm.
• Ensure compliance with the operating temperature.
First Installation
8
4. First Installation
Position of connectors and controls
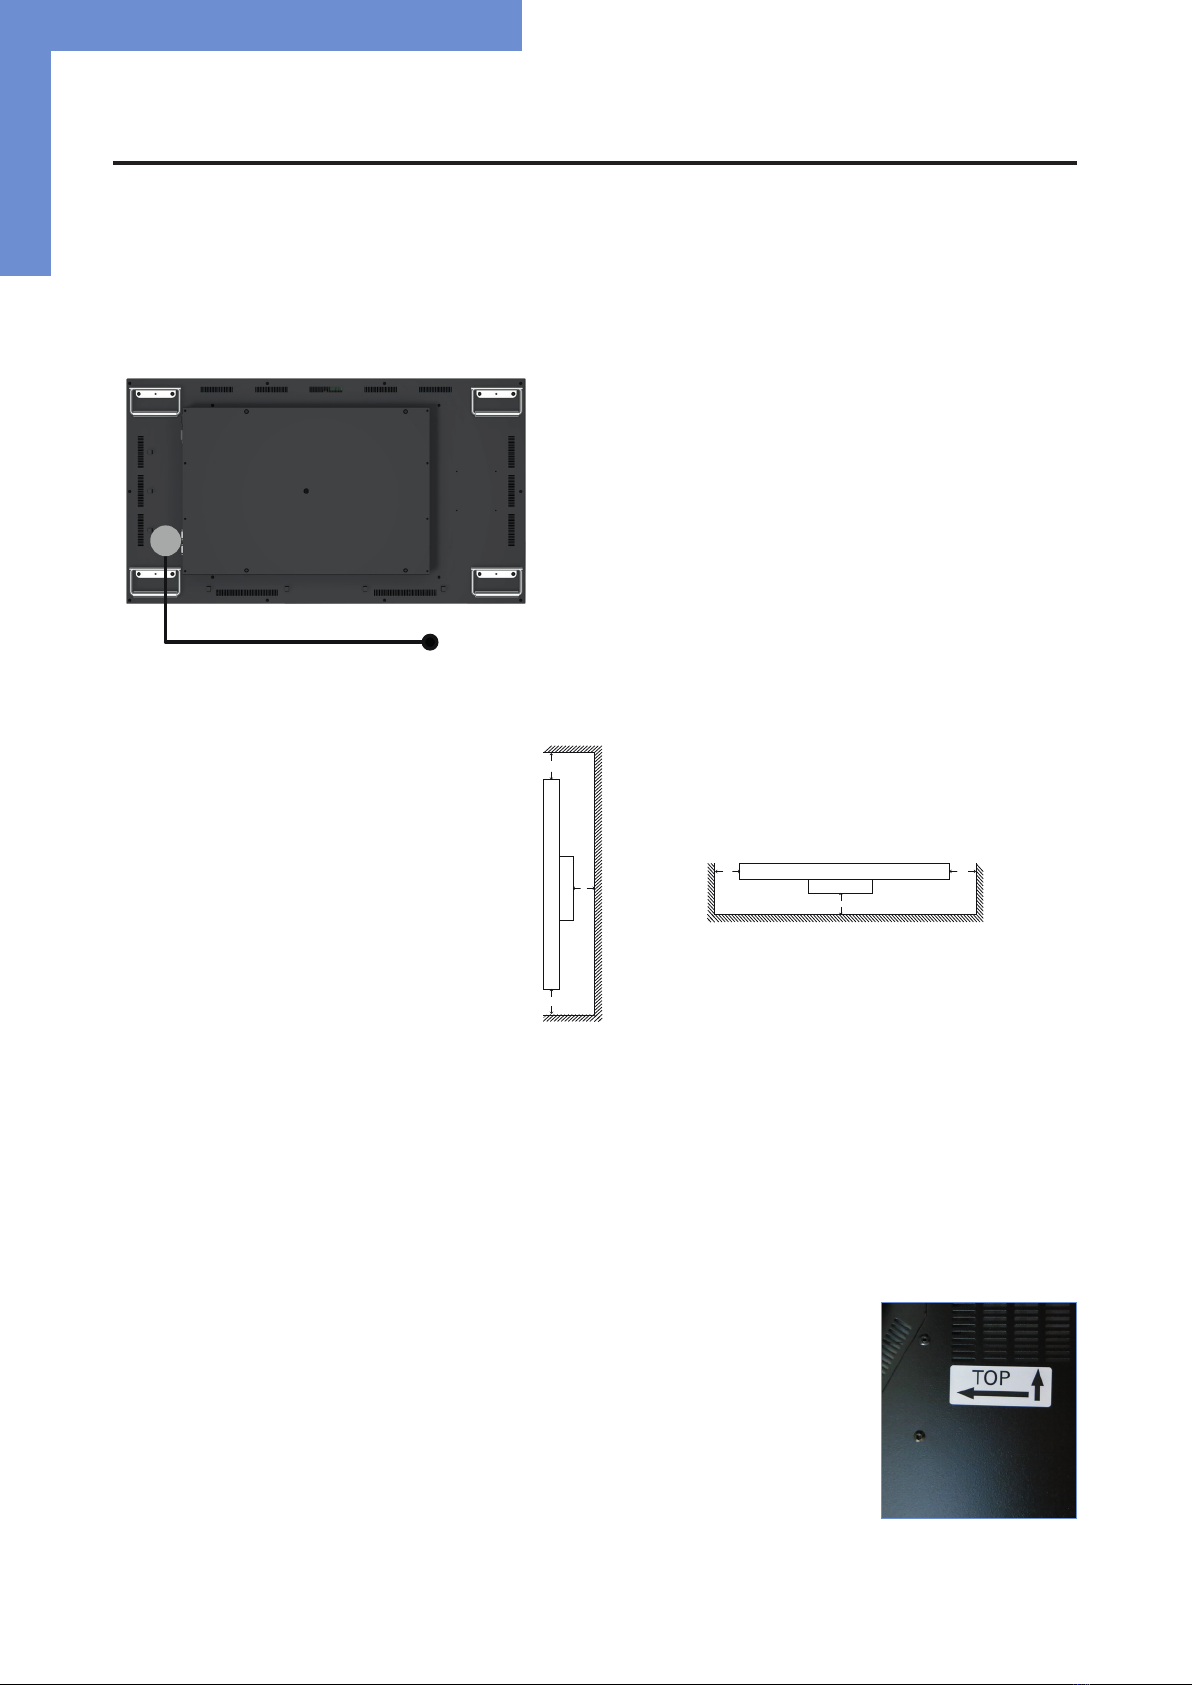
All connectors for power and cables are located at the bottom of the back side of the display.
Data cable connectors, OSD menu buttons,
Connection for power cable and on / off switch
Mounting
Distance to wall:
• devices without integrated PC: min.10 mm
• devices with integrated PC: min. 40 mm
Mounting with VESA compatible brackets
Video wall displays are shipped with factory installed mounting angles for VESA compatible brackets. The mounting angles are, wi-
thout further modication suited for landscape or portrait mode and comply with the minimum required distances between the back
side of the display and the wall.
The operating position of the device is perpendicular (90 degrees to the oor). Pay attention to the permissible tilt angle for wall
mounting. The device can be operated both in landscape mode and in portrait mode. The information is
for positioning to note on the back of the device, always.
For mounting on the pre-assembled VESA brackets, a suitable wall bracket must be used whose load-be-
aring capacity corresponds to the weight of the monitor. For fastening to the VESA brackets, use 4 metal
screws of size M6x25. To mount / dismantle the lifting aid (eyebolts), please refer to the enclosed “Moun-
ting Instructions” on the enclosed DVD.
VESA standards: MIS-F 400 x 400 mm (M6)
A
B
CDD
C
A: 50 mm
B: 50 mm
C: 10 mm
C: 10 mm
D: 0 mm
side view
top view
top
bottom
First Installation
9
Allowed tilt angle for mounting
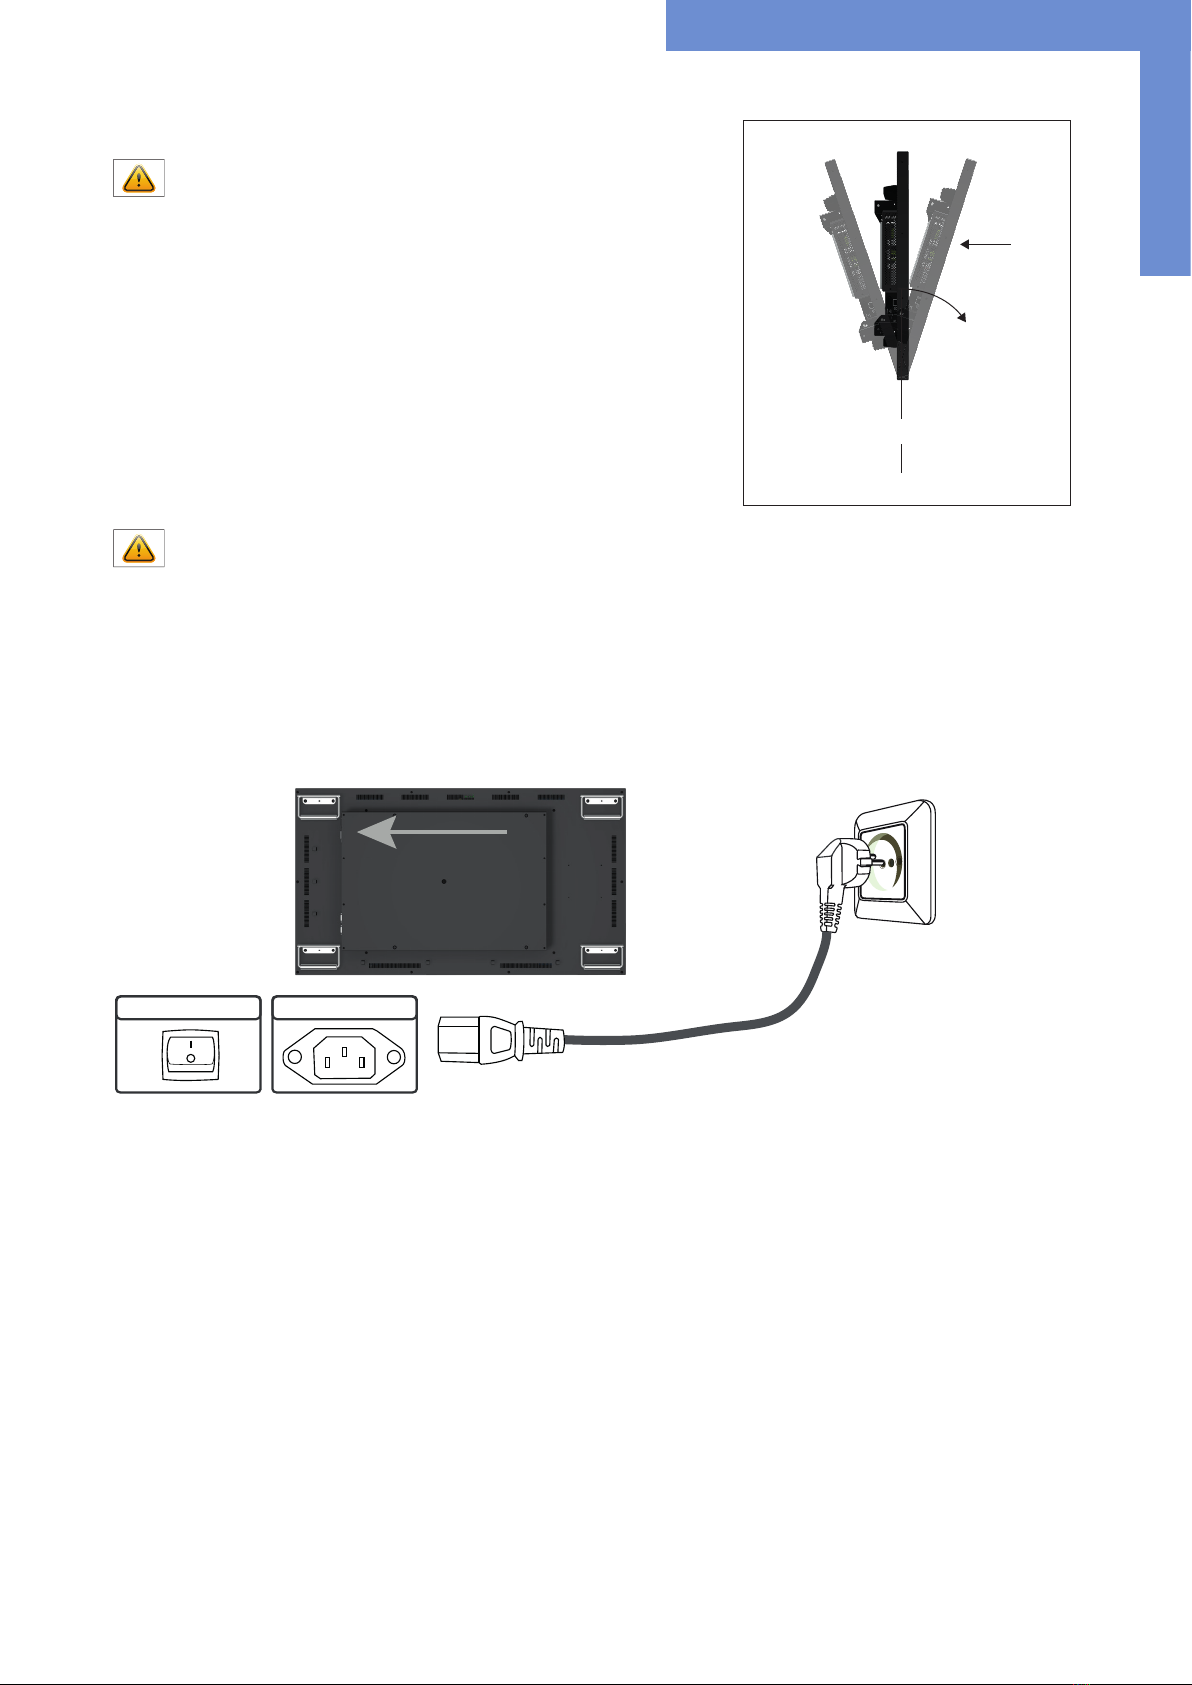
Attention! All monitors are not allowed to be mounted with a tilt angle of
-30° - +30°.
Connecting to power
The video wall monitor requires an AC voltage of 100-240 V AC. The standard deli-
very includes a suitable power cable for connecting the power supply.
Please pay attention that there is a suitable socket near the device, as a disconnec-
ting device.
Note: Install all data cables to external devices before connecting the dis-
play to power.
• Switch the on/of switch in position off.
• Connect the power cable to the display.
• Connect the power cable to a power socket.
• Switch the display on .
On/O Button Power supply
0˚bis -30˚
tilt angle
monitor
-30˚bis 0˚
Video wall monitor controller
10
5. Video wall monitor controller
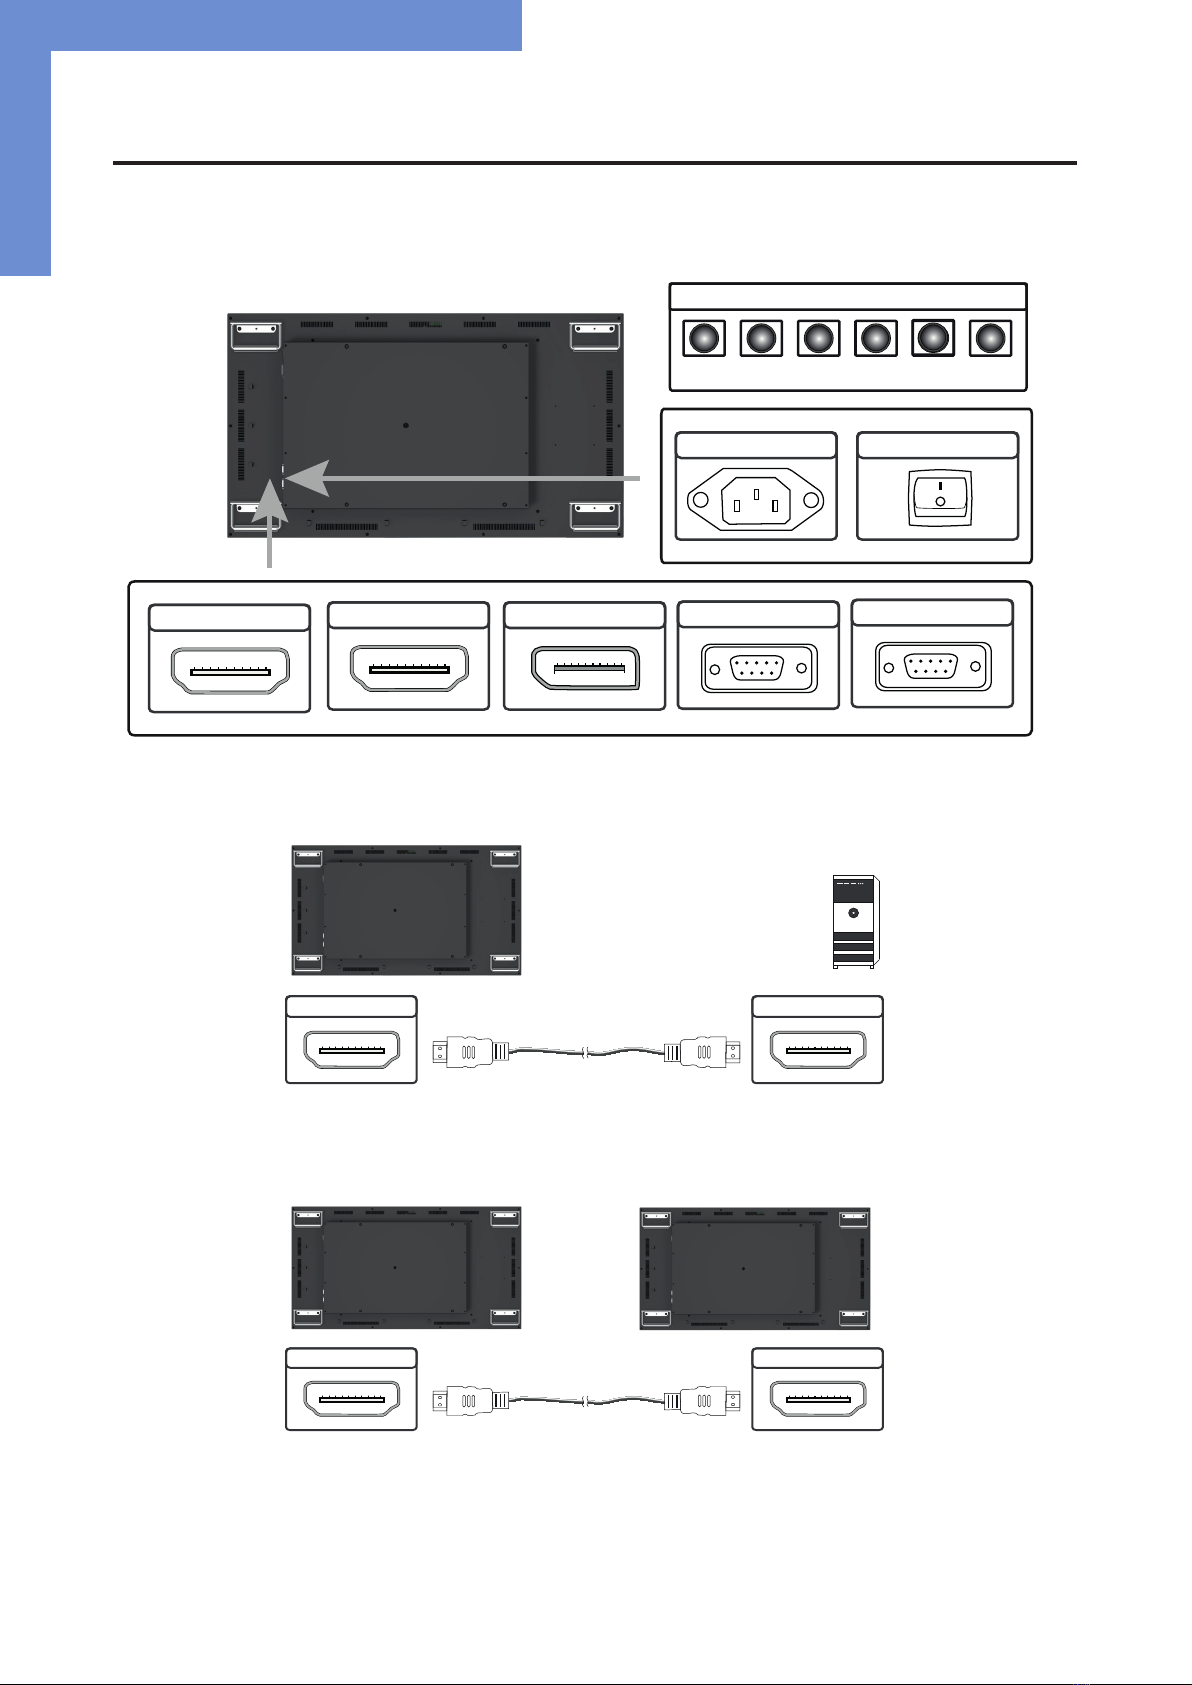
Video Wall Moitors have the following connections and controls:
Connect to a PC r an external device with HDMI cable
Connect to a monitor with HDMI cable
Power supply On/ o button
LED
OSD Tastatur
KEYBOARD
DisplayPort
HDMI IN HDMI OUT RS232 RS232
RS232 IN RS232 OUT
HDMI HDMI
HDMI HDMI
Inhaltsverzeichnis
Andere Fortec Star Monitor Handbücher

Fortec Star
Fortec Star ECO-Line Series Bedienungsanleitung

Fortec Star
Fortec Star Distec XTRA-Line Bartype 37 Series Bedienungsanleitung

Fortec Star
Fortec Star DISTEC XTRA-Line 27 Series Bedienungsanleitung

Fortec Star
Fortec Star DISTEC BLO-Line Series Bedienungsanleitung

Fortec Star
Fortec Star DISTEC POS-Line High Brightness Series Bedienungsanleitung

Fortec Star
Fortec Star DISTEC Brilan 4K Series Bedienungsanleitung

Fortec Star
Fortec Star Distec POS-Line Series Bedienungsanleitung

Fortec Star
Fortec Star POS-PRO Series Bedienungsanleitung


