
Gefen EXT-DSC Bedienungsanleitung
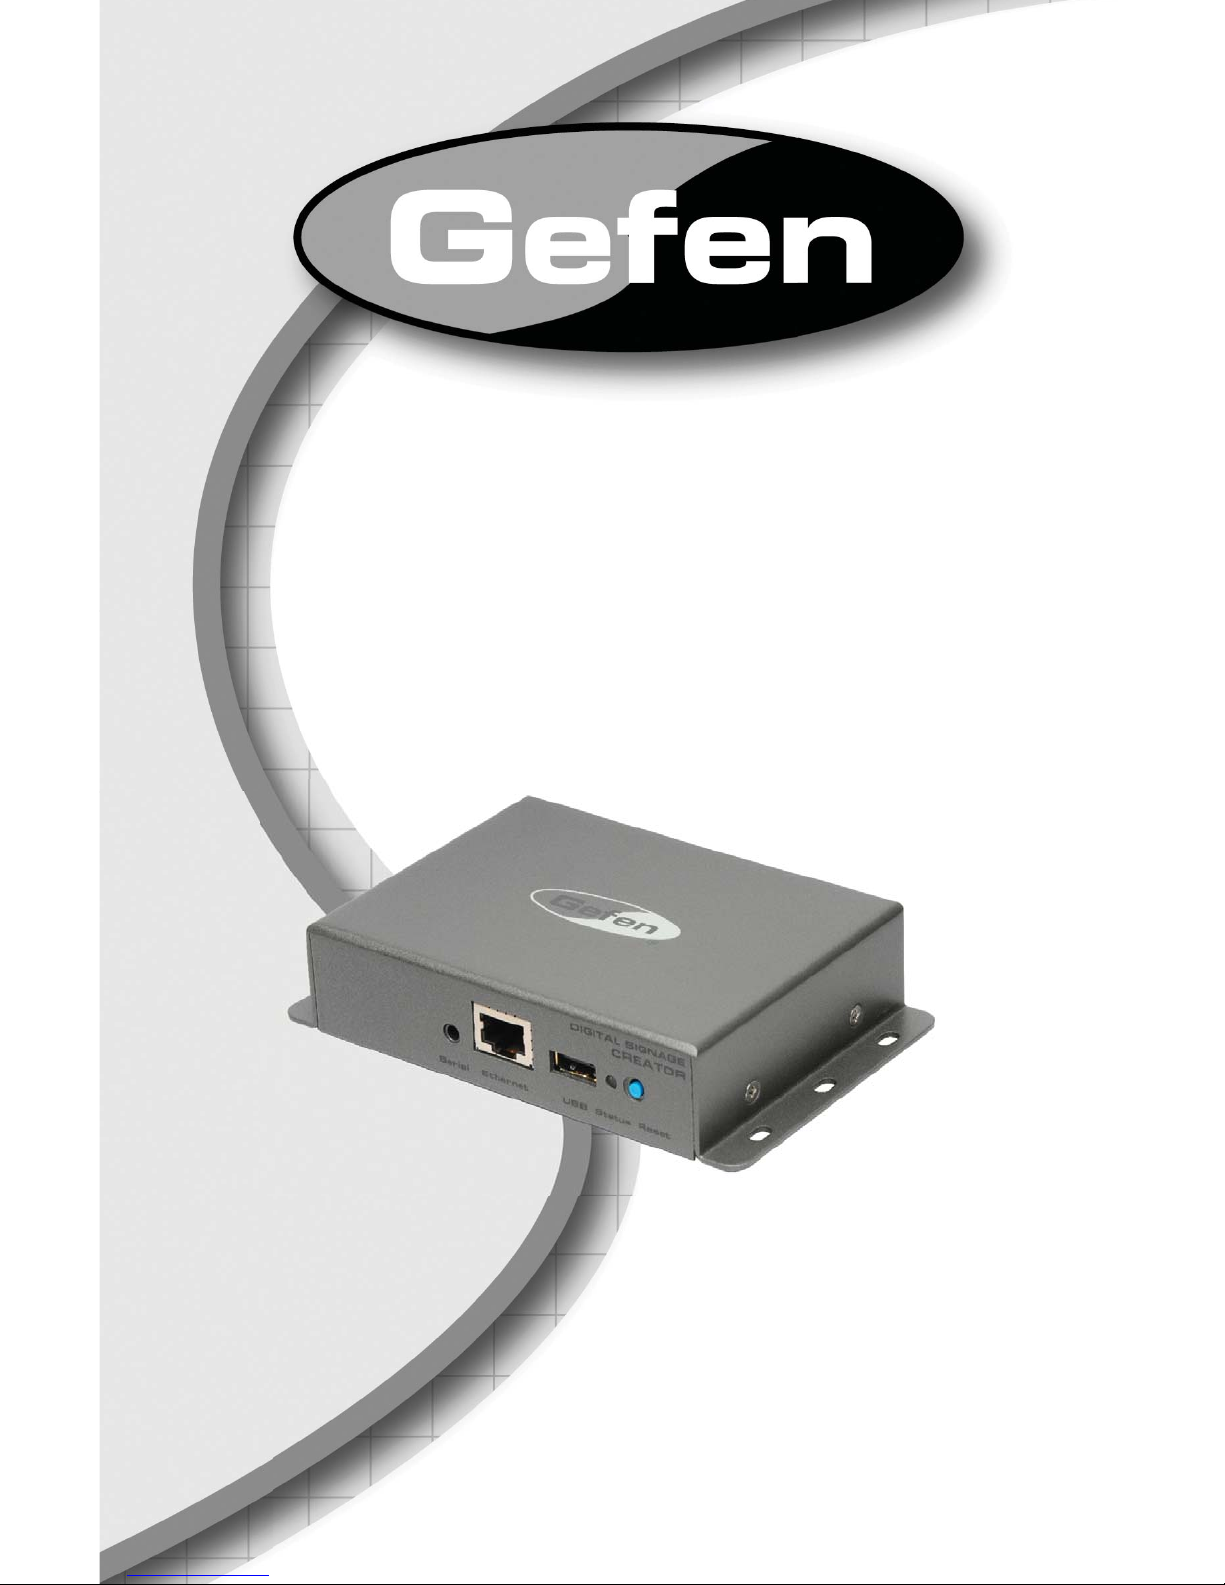
®
Digital Signage
Creator
Digital Signage Creator
Hardware Manual
www.gefen.com

Technical Support:
Telephone (818) 772-9100
(800) 545-6900
Fax (818) 772-9120
Technical Support Hours:
8:00 AM to 5:00 PM PST Monday thru Friday PST
Write To:
Gefen, LLC
c/o Customer Service
20600 Nordhoff St
Chatsworth, CA 91311
www.gefen.com
Notice
Gefen, LLC reserves the right to make changes in the hardware, packaging, and
any accompanying documentation without prior written notice.
Digital Signage Creator is a trademark of Gefen, LLC
© 2011 Gefen, LLC. All rights reserved
All trademarks are the property of their respective owners.
ASKING FOR ASSISTANCE
Rev X7

CONTENTS
1 Introduction
2 Operation Notes
3 Features
4 Panel Layout
5 Panel Descriptions
6 Connecting And Operating The Digital Signage Creator
6 How to Connect the Digital Signage Creator
7 Accessing the Digital Signage Creator HTTP Server
8 Using the Digital Signage Creator Web Interface
25 DHCP Configuration
26 Static IP Configuration
30 Configuring a USB Drive with the Digital Signage Creator
32 Configuring Network Credentials for Remote Servers
34 Administering User Rights
49 Connecting to the Digital Signage Creator (Mac OS X)
50 Using the Digital Signage Creator HTTP Server
52 Content Access Modes
53 Configuring the RS-232 Serial Interface
53 Resetting to the Factory Default Settings
55 Specifications
57 Warranty
CONTENTS

1
Congratulations on your purchase of the Digital Signage Creator. Your complete
satisfaction is very important to us.
Gefen
Gefen delivers innovative, progressive computer and electronics add-on solutions
that harness integration, extension, distribution and conversion technologies.
Gefen’s reliable, plug-and-play products supplement cross-platform computer
systems, professional audio/video environments and HDTV systems of all sizes
with hard-working solutions that are easy to implement and simple to operate.
The Gefen Digital Signage Creator
The Gefen Digital Signage Creator (Digital Signage Creator) enriches digital
signage projects with high quality video, audio, images, animations and text.
All these media types can be retrieved by Digital Signage Creator from local or
network resources and can be combined and rendered on any type of digital
displays following specific graphical layouts and time schedules.
Digital Signage Creator extends the basic functionalities of state of the art media
players supporting Hyper Media content. The term hypermedia is used as a
logical extension of the term hypertext, in which graphics, audio, video, plain text
and hyperlinks intertwine to create a generally non-linear medium of information.
Digital Signage Creator brings hypermedia content to digital displays in several
ways.
How It Works
The Gefen Digital Signage Creator simplifies the publishing and maintenance of
your digital signage project.
Connected to digital displays through HDMI and VGA, Digital Signage Creator is
capable of rendering combinations of media elements from a rich set of formats:
audio, video, vector graphics, pictures and text. Digital Signage Creator natively
implements the open standards required to schedule, update, stream, and
animate each supported media. Distributing content from a central location onto
a specific display is as easy as publishing a Web page.
As a network device, Digital Signage Creator offers plug-and-play functionalities
that simplify installation, remote maintenance and monitoring. From anywhere,
your network of digital displays is under control.
INTRODUCTION

READ THESE NOTES BEFORE INSTALLING OR
OPERATING THE DIGITAL SIGNAGE CREATOR
• This manual covers operation of the Digital Signage Creator hardware.
Please see the Digital Signage Director manual for software operation.
• The Digital Signage Creator uses DHCP by default. The unit is always
reachable at http://gef-dsc-xxxxxxxxxxxx.local from Zeroconf enabled
computers on the local network. Replace “x” with the MAC address of the
unit (without the colons). This is located on a sticker underneath the unit.
2
OPERATION NOTES

3
Features
• Comprehensive software suite which includes content creation and
management features
• Built-in layout templates that quickly allows users to get a project started
• Selectable output resolutions supporting 4:3 and 16:9, 16:10 computer and
HDTV to 720p
• Supports both horizontal and vertical display types
• Direct iCal support for scheduling
• Multiple content publishing options (local and remote)
• Built-in HTTP Web server for management from any browser
• Natively supports multiple Web-streaming formats including RSS andASX
• Serial RS-232 port for two way control of external devices
• Compact form-factor for easy placement
• Internal storage: 1.5GB solid state
• Expandable storage capacity via USB 2.0 port. (Supporting USB flash drive
or HDD)
• Only 2 W of power making this a “Green” energy saving product
• Two Channel L/R Audio output
• VGA port supporting 1024x768
• HDMI port supporting 1280x720 720p
Package Includes
(1) Digital Signage Creator
(1) 5V DC Locking Power Supply
(1) 6 ft Locking HDMI Cable (M-M)
(1) User Manual
FEATURES
4
Front Panel
Back Panel
1
6
2
7
3
8
54
9
PANEL LAYOUT

5
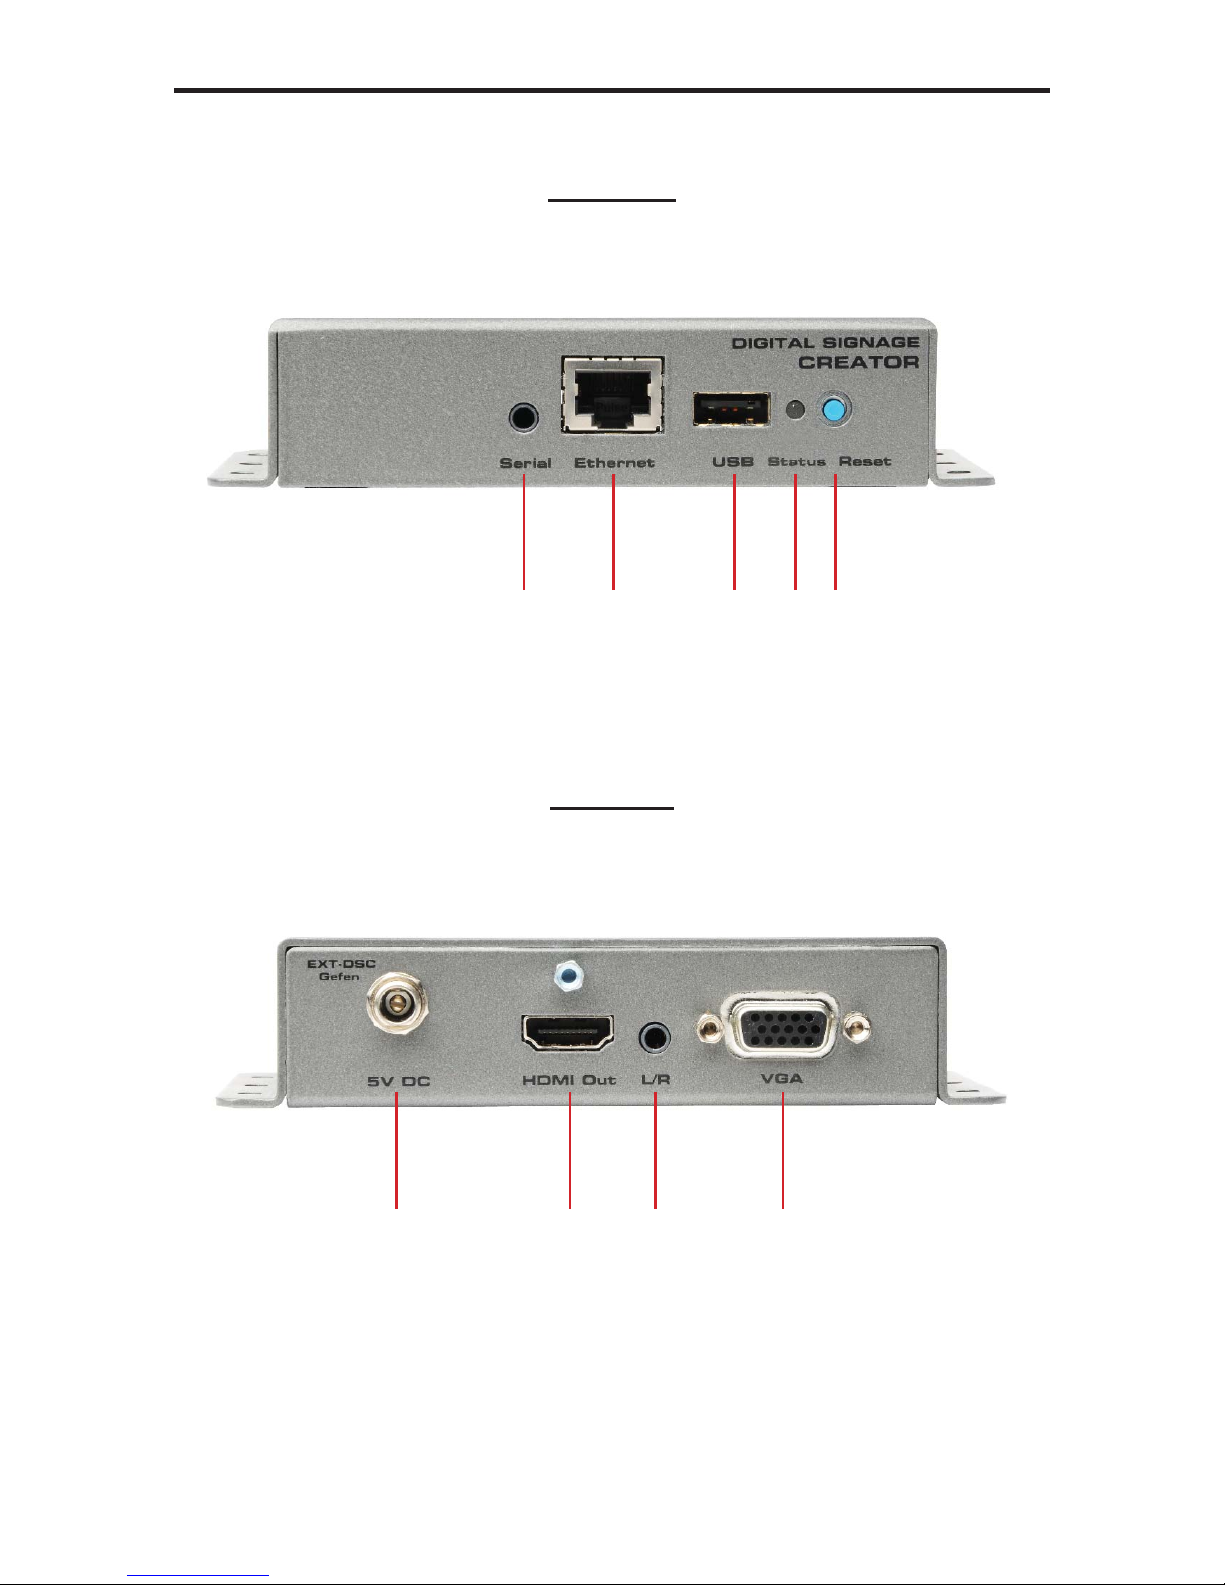
1 Mini-Plug to RS-232 Serial Port
This port is used to control functions and features using serial communications.
2 Ethernet Port
Connects the Digital Signage Creator to the network using Ethernet cabling.
When connected, the Digital Signage Creator unit can be controlled using the
built-in Web interface of the DSD (Digital Signage Director) software.
3 USB Port
Connect a USB cable to this port. This port supports USB 2.0 (up to 10
Mbps) and can be used to connect external storage devices and touchscreen
controllers.
4 Status Indicator
This LED will flash bright green when the Digital Signage Creator is operating
normally. If the Digital Signage Creator encounters an error, the LED will flash
red or orange.
5 Reset Button
Press and hold this button for about five seconds to reboot the Digital Signage
Creator unit.
6 5V DC Locking Power Connector
Connect the included 5V DC locking power supply to this connector.
7 HDMI Output
Connect an HDTV display to this HDMI port.
8 3.5mm L/R Analog Stereo mini-jack Output
This port is used to connect an external be used to output audio to an external
audio amplifier/device. This port will accept a standard 3.5 mm analog stereo
connector.
9 VGA Output
Connect a VGAdisplay to this port.
PANEL DESCRIPTIONS

6
How to Connect the Digital Signage Creator
1. Connect an HDTV display to the output port on the rear panel of the Digital
Signage Creator using the included 6 foot HDMI cable.
NOTE: A VGA monitor can also be connected to the Digital Signage Creator.
The HDMI and VGA ports are active at all times.
2. Connect an amplified speaker or audio device to the 3.5mm L/R analog
stereo output for external audio support.
3. Optionally connect a 3.5mm to DB-9 serial cable to the 3.5mm mini-plug
serial port. This port is used to control the Digital Signage Creator using
RS-232.
4. Connects the Digital Signage Creator to the network using Ethernet cabling.
NOTE: If the Digital Signage Creator is connected directly to the PC, a
crossover cable must be used.
5. Connect the 5V locking power supply to the Digital Signage Creator. Do not
overtighten the locking connector. Plug the power supply into an available
wall outlet. The Status Indicator on the front of the unit will begin flashing
bright green indicating that the Digital Signage Creator is powered.
CONNECTING AND OPERATING
THE DIGITAL SIGNAGE CREATOR
Using HDMI
Using VGA
Gefen Digital
Signage Creator
®
EXT-DSC
VGA CABLE
ETHERNET CABLE
HDMI CABLE
USB Flash Drive*
*USB Device, used for additional storage, is optional
Router

7
Accessing the Digital Signage Creator HTTP Server (PC)
This procedure is required to access the Digital Signage Creator for the first time,
administer the HTTP server, or to publish content on a Digital Signage Creator
unit.
Use this procedure only if the default network configuration has not
been modified. See Resetting the Digital Signage Creator to the Factory
Default Settings on page 53 to make sure that the Digital Signage
Creator has the default network configuration.
1. Connect the PC to the Digital Signage Creator according to the instructions
on page 6.
2. Configure the network on the PC.
• The PC must be assigned a static IP address by the NetworkAdministrator.
This address must be on the same subnet as the Digital Signage Creator
unit.
• An IP address automatically assigned by a DHCP server located on the
same network as the Digital Signage Creator unit.
3. Once the PC has been configured, verify the following:
• The Digital Signage Creator has completed the boot process (allow about
one minute after the Digital Signage Creator has been powered). If the
Digital Signage Creator is connected to an HDTV display, the default screen
should be displayed.
• Check that the LED on the front panel of the Digital Signage Creator is
flashing bright green.
• Open a Web browser and enter the following address:
http://gef-dsc-[MAC address].local
Do not include the colons when entering the MAC address.
Example: http://gef-dsc-01c91011132.local
6. The browser will connect to the Digital Signage Creator HTTP Server and
display the screen shown on the following page:
CONNECTING AND OPERATING
THE DIGITAL SIGNAGE CREATOR
Andere Handbücher für EXT-DSC
1
Inhaltsverzeichnis
Andere Gefen Medienplayer Handbücher


