Hama 53106 Bedienungsanleitung

00053106/08.09
All listed brands are trademarks of the corresponding companies. Errors and omissions excepted,
and subject to technical changes. Our general terms of delivery and payment are applied.
Hama GmbH & Co KG
D-86651 Monheim/Germany
www.hama.com

SATA HDD Docking Station,
USB 2.0 + eSATA
SATA HDD Docking Station
Station d’accueil HDD SATA
COMPUTER
00053106

2
Übersicht:
Verpackungsinhalt
Sicherheitshinweise
1. Installationshinweise
2. Festplatten einsetzen
3. Treiberinstallation
4. Backup-Software
4.1 Installation
4.2 Konfiguration
4.3 Erstellen von Backups
5. Kontakt und Supportinformationen
Verpackungsinhalt
• Sata HDD Docking Station
• Netzteil
• eSATA Anschlusskabel
• USB Anschlusskabel
• Treiber Cd
• Installationsanleitung
Sicherheitshinweise:
• Betreiben Sie dieses Gerät weder in feuchter noch
staubiger Umgebung.
• Betreiben Sie dieses Gerät nicht auf Heizkörpern oder
in der nähe von Wärmequellen
• Dieses Gerät ist nur für den Inneneinsatz bestimmt
• Schützen Sie das Gerät während des Betriebes vor
Druck- und Stoßeinwirkungen
• Gerät nicht während des Betriebes öffnen und
bewegen
1. Installationshinweise
Die Festplatte darf niemals von dem Computer getrennt
werden, solange noch ein Datentransfer stattfindet! Ein
Datenverlust wäre dann nicht auszuschließen.
Die Firma Hama GmbH & Co. KG haftet unter keinen Um-
ständen für den Verlust von Daten, die auf Datenträgern
gespeichert werden.
2. Einsetzen der Festplatte
Hinweis: Achten Sie daruaf, dass statische Elektrizität
sowohl die Festplatte als auch die Docking Station
beschädigen kann. Entladen Sie sich durch Berühren
eines metallischen Geganstandes.
Schließen Sie das beiliegende Netzteil an der Docking
Station an. Verbinden Sie anschließend die Docking
Station über USB oder eSATA mit Ihrem PC.
Achten Sie bitte darauf, dass der Kippschalter zum Ein-
und Ausschalten der Dockingstation bei einsetzen der
Festplatte auf Aus steht. Setzen Sie anschließend
die SATA Festplatte in die Docking Station ein und
schalten Sie den Kippschalter auf Ein.
Zum Abstecken der Festplatte gehen Sie wie folgt vor
(USB Betrieb):
Klicken Sie auf den Button für „Hardware sicher
entfernen“ der sich in der Taskleiste befindet.
Wählen Sie anschließend „USB Massenspeichergerät“
und klicken Sie auf „Beenden“.
3. Treiberinstallation:
Die Treiber für das Gerät sind in Windows 2000, XP und
Vista bereits integriert und werden durch das System
automatisch installiert. die Docking Station kann nach
dem Anschließen und einem Neustart ohne weitere
Treiberinstallation verwendet werden.
4. Backup Software
4.1 Installation
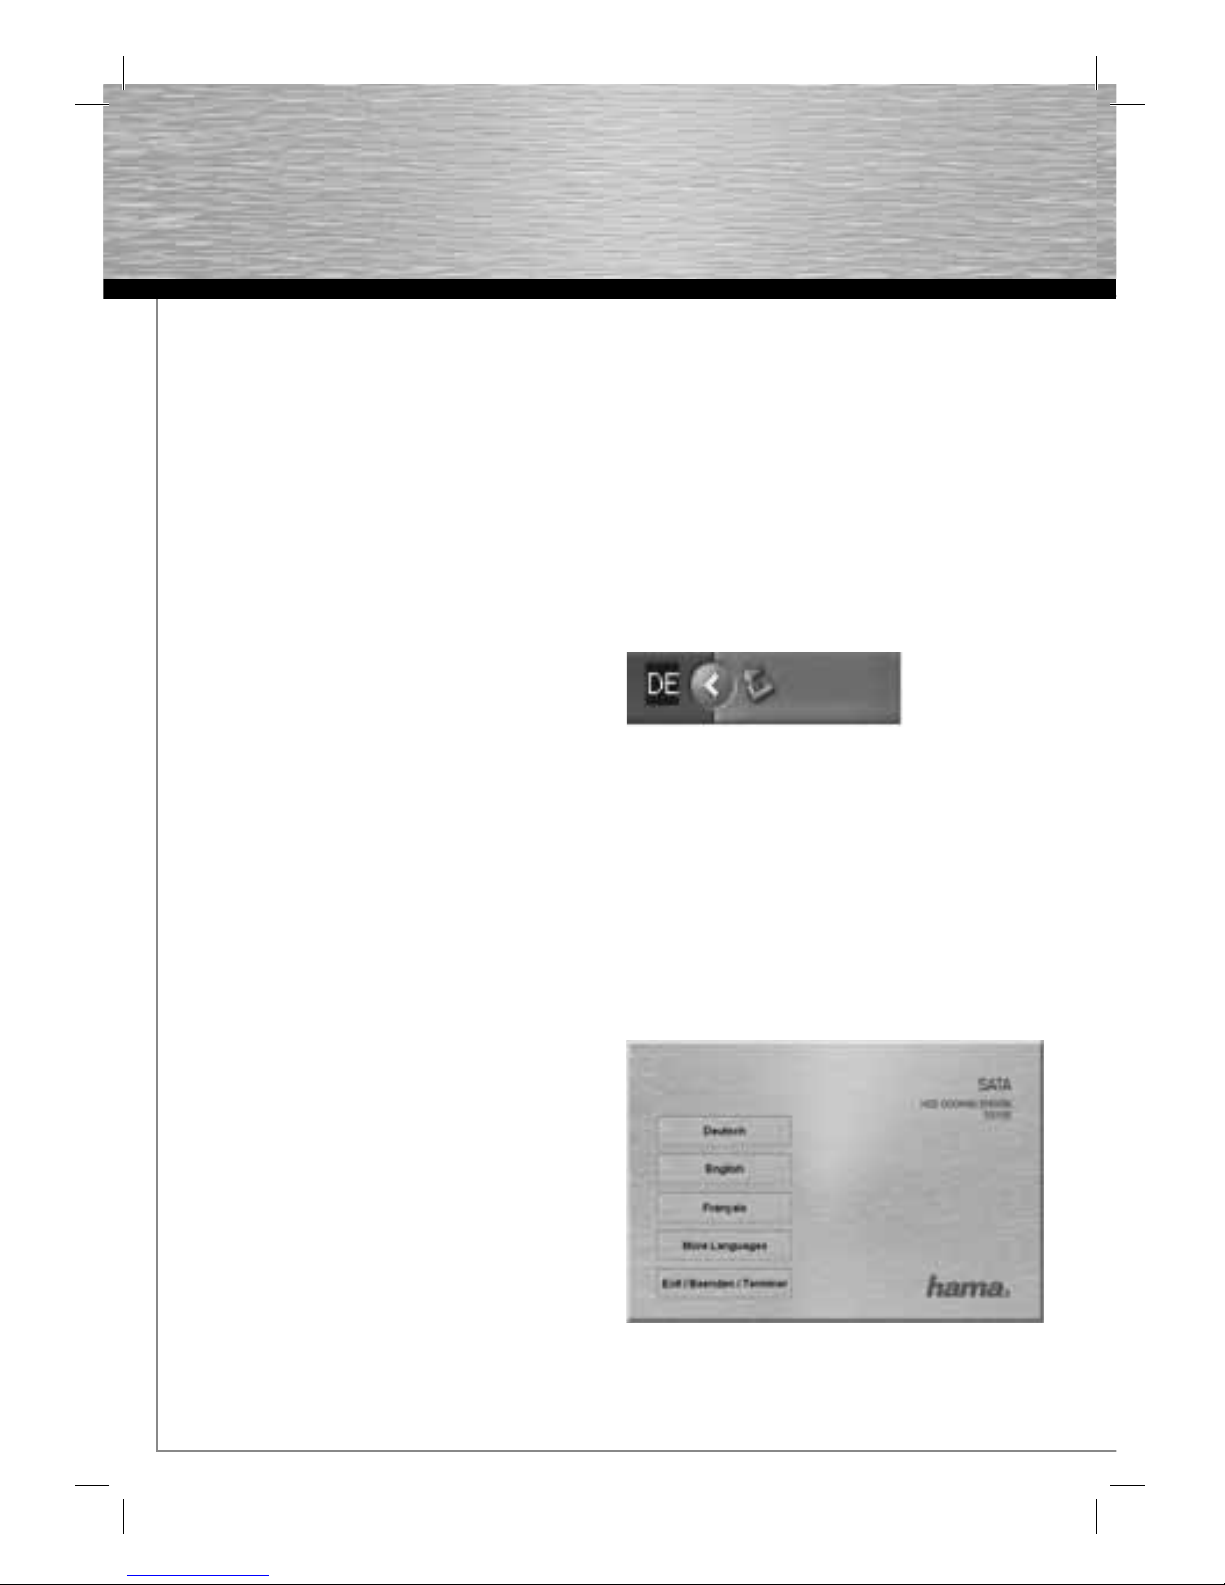
Legen Sie die beiliegende Treiber/InstallationsCD in das
CD-Romlaufwerk Ihres PC´s ein. Wählen Sie nach dem
Starten des Autorunmenüs die entsprechende Sprache
aus.
dBedienungsanleitung

3
Wählen Sie nun „Backup Tool Installieren“ -
Die Installation wird nun automatisch gestartet.
Klicken Sie auf „Installieren“ um mit der Installation zu
beginnen.
Stimmen Sie den Lizenzvereinbarungen zu.
Wählen Sie den Ordner indem das Backup Tool
installiert werden soll. Mit einem Klick auf
„Durchsuchen“ können Sie den Ordner ändern.
Das Backup Tool wird installiert.
Das Backup Tool wurde erfolgreich installiert und
automatisch gestartet.

4
4.2 Konfiguration
Starten Sie das Backup Tool mit einem Doppelklick auf
das lila farbene EX Symbol, das sich im Systemtray am
unteren rechten Bildschirmrand befindet.
Wechlsen Sie auf den 2. Reiter von Links, um die zu
sichernden Daten auszuwählen.
Wählen Sie nun im Fenster „Dateibackup“ die
entsprechenden Festplatten und Ordner aus,
die Sie sichern möchten.
Klicken Sie nun den Button „Minimieren“ an, um die
Sicherungsoftware im Hintergrund laufen zu lassen.
4.3 Sicherung Starten
Drücken Sie auf den Backupknopf am Festplattenge-
häuse um die Sicherung zu starten.
Drücken Sie nun nochmals den Backupknopf am
Gehäuse oder klicken Sie mit der Maus auf „Start“.
Das Backup wird auf die Festplatte kopiert.
Wenn dieses Fenster erscheint, wurde die Sicherung
erfolgreich abgeschlossen.

5
gOperating Instruction
5. Kontakt- und Supportinformationen
Bei defekten Produkten:
Bitte wenden Sie sich bei Produktreklamationen an
Ihren Händler oder an die Hama Produktberatung.
Internet/World Wide Web
Produktunterstützung, neue Treiber oder Produktinfor-
mationen bekommen Sie unter www.hama.com
Support Hotline – Hama Produktberatung:
Tel. +49 (0) 9091 / 502-115
Fax +49 (0) 9091 / 502-272
e-mail: [email protected]

6
Overview:
Package contents
Safety notes
1. Installation Instructions
2. Inserting the Hard Drive
3. Installing the Drivers
4. Backup Software
4.1 Installation
4.2 Configuration
4.3 Creating backups
5. Contact and Support Information
Package contents
• Sata HDD docking station
• Power supply unit
• eSATA connection cable
• USB connection cable
• Driver CD
• Installation instructions
Safety instructions
• Do not operate the device in damp or dusty
environments
• Do not operate this device on radiators or near
heat sources
• This device is designed for indoor use only
• Protect the device from pressure and impact
during operation
• Do not open or move the device during operation
1. Installation Instructions
Never disconnect the hard drive from the computer
while data is being transferred. You may lose data if you
do so.
Under no circumstance does Hama GmbH & Co KG
accept liability for loss of data stored on data storage
media.
2. Inserting the Hard Drive
Note: Be aware that static electricity can damage
both the hard drive and the docking station. Discharge
yourself by touching a metal object.
Connect the included power supply unit to the docking
station. Then connect the docking station to your PC via
USB or eSATA.
Make sure that the toggle switch used for switching the
docking station on and off is set to “Off” when inserting
the hard drive. Next, insert the SATA hard drive into
the docking station and switch the toggle switch to
„On”.
To remove the hard drive, proceed as follows
(USB operation):
Click the “Safely Remove Hardware” button in the
taskbar.
Then, select “USB Mass Storage Device” and click
“Exit”.
3. Installing the Drivers:
The drivers for the unit are already included in Windows
2000, XP and Vista. The system installs them automati-
cally. The docking station can be used without any
further driver installation after connecting and
restarting.
4. Backup Software
4.1 Installation
Insert the enclosed driver/installation CD into the CD-
ROM drive of your PC.
After the autorun menu starts, select your language.
gUser manual

7
gOperating Instruction
Now select “Install Backup Tool”. Installation starts
automatically.
Click “Install” to start the installation.
Accept the licence agreement.
Select the folder in which the Backup Tool is to be in-
stalled. You can change the folder by clicking “Browse”.
The Backup Tool is installed.
The Backup Tool has been successfully installed and
automatically started.

8
dBedienungsanleitung
4.2 Configuration
Double-click the purple EX icon to start the Backup Tool.
This symbol is located in the notification area (system
tray) at the bottom right of the screen
Navigate to the second tab from the left to select the
data to be backed up.
In the “File Backup” window, now select the hard
drives and folders that you wish to back up.
Click the “Minimize” button to have the backup soft-
ware run in the background.
4.3 Starting the backup
Press the backup button on the hard drive housing to
start the backup.
Press the backup button on the housing again or click
“Start”.
The backup is copied to the hard drive.
When this window appears, the backup has been
successfully completed.

9
gOperating Instruction
5. Support and Contact Information
If products are defective:
Please contact your dealer or Hama Product Consulting
if you have any product claims.
Internet / World Wide Web:
Product support, new drivers or product information can
be found at www.hama.com
Support Hotline – Hama Product Consulting:
Tel. +49 (0) 9091 / 502-115
Fax +49 (0) 9091 / 502-272
E-mail: [email protected]
Andere Handbücher für 53106
1
Inhaltsverzeichnis
Sprachen:
Andere Hama Dockingstation Handbücher

Hama
Hama 53161 Bedienungsanleitung

Hama
Hama P2223773 Bedienungsanleitung

Hama
Hama The Cube Bedienungsanleitung

Hama
Hama 106351 Bedienungsanleitung

Hama
Hama 53106 Bedienungsanleitung

Hama
Hama 53161 Bedienungsanleitung

Hama
Hama 123567 Bedienungsanleitung

Hama
Hama 115468 Bedienungsanleitung

Hama
Hama 53106 Bedienungsanleitung


