
Inoi HV-670 Bedienungsanleitung
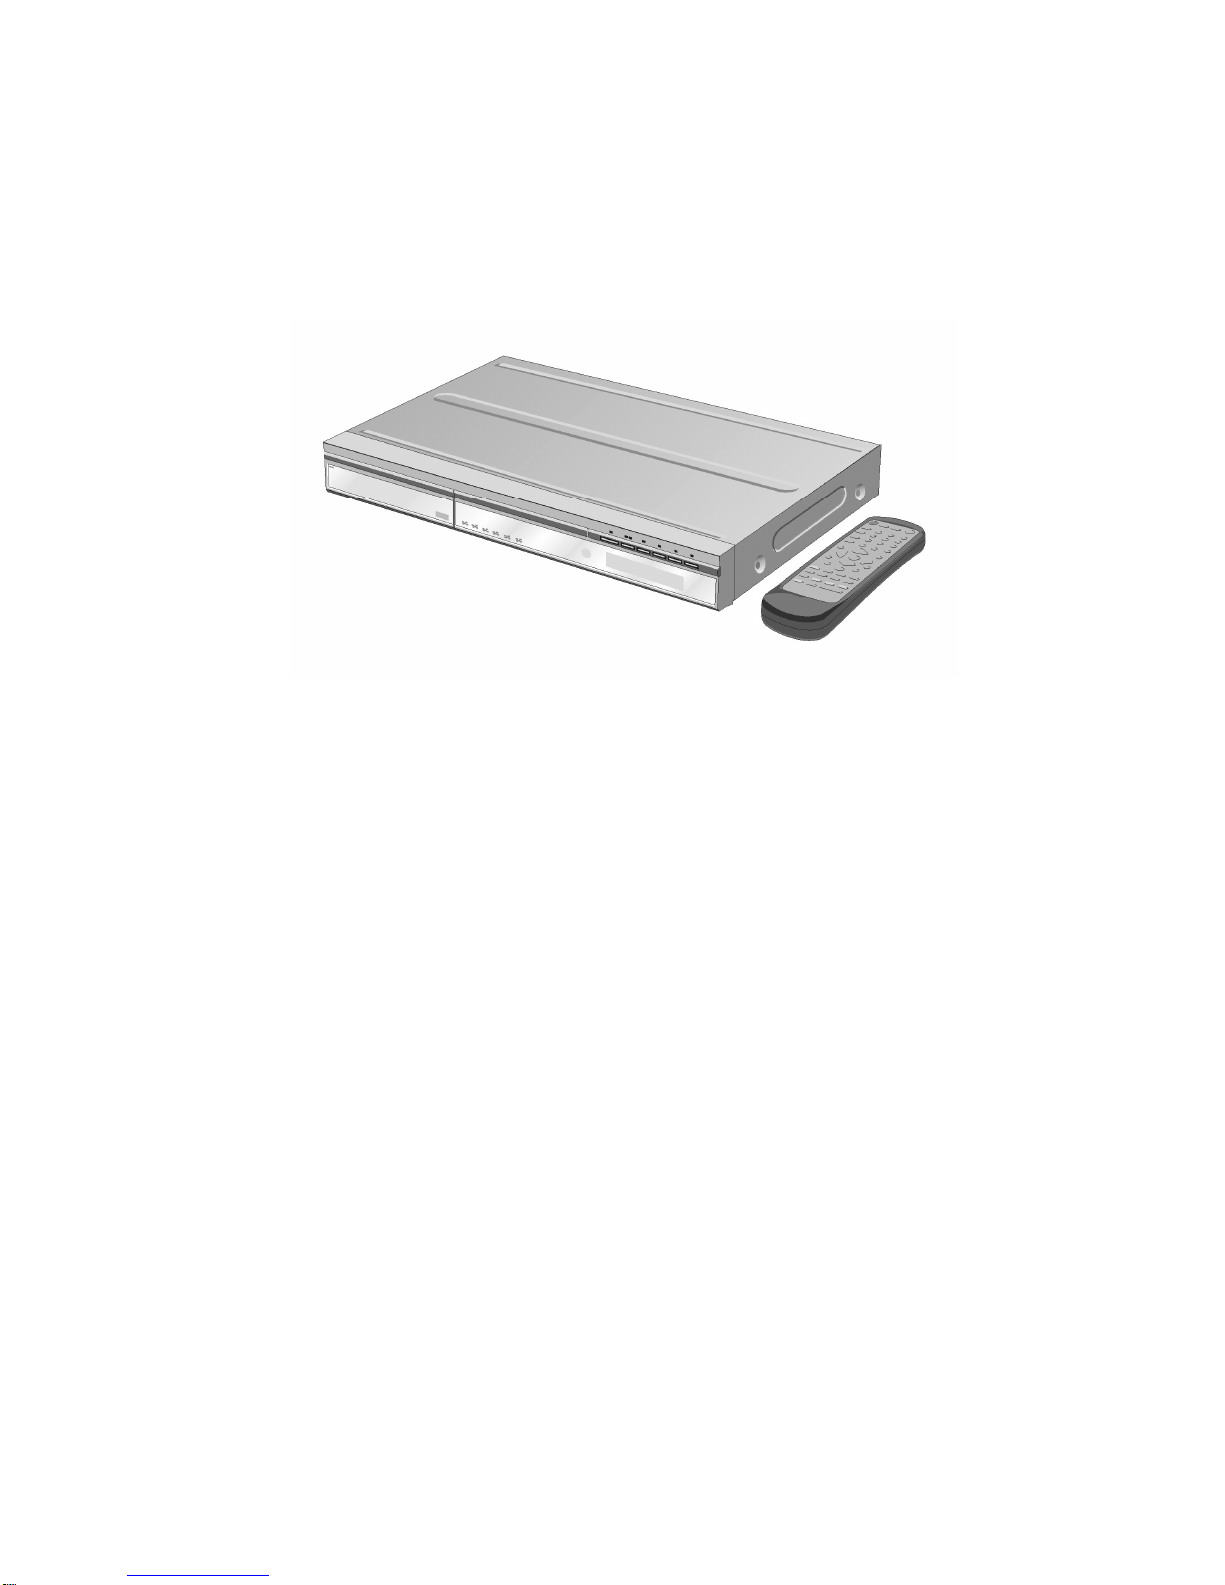
HDD / DVD PLAYER
HV-670
User’s Manual

2

3
Contents
CONTENTS............................................................................................................3
IMPORTANT SAFETY INSTRUCTIONS..........................................................5
FEATURE ...............................................................................................................6
CONTENT OF THE PACKING BOX..................................................................7
FRONTAND REAR PANELS..............................................................................8
FRONT PANEL .......................................................................................................8
REAR PANEL..........................................................................................................9
REMOTE CONTROL .........................................................................................10
CONNECTING TV ..............................................................................................13
USING COMPOSITE VIDEO JACK (CVBS).............................................................13
USING S-VIDEO JACK ..........................................................................................14
USING COMPONENT VIDEO JACKS (Y/PB/PR)......................................................15
OPTIONAL:CONNECTING TO AN AUDIO SYSTEM .................................................16
OPTIONAL:CONNECTING TO A DIGITAL RECEIVER ..............................................16
REMOVABLE HARD DISK DRIVE .................................................................17
CONNECT WITH HV-670.................................................................................17
DETACH FROM HV-670 PLAYER...................................................................17
HDD OPERATIONS............................................................................................18
DISC OPERATIONS............................................................................................21
SETUP MENU ......................................................................................................24
GENERAL SETUP MENU .......................................................................................24

4
AUDIO SETUP ......................................................................................................27
VIDEO SETUP.......................................................................................................29
PREFERENCES MENU...........................................................................................32
SPECIFICATIONS...............................................................................................35
GLOSSARY ..........................................................................................................37
TROUBLESHOOTING.......................................................................................41

5
IMPORTANT SAFETY INSTRUCTIONS
1. Please do not drop this device or collide it with hard objects.
2. Please do not place or keep this device in high temperature, or
under direct sunlight (ex. In a car).
3. Please keep this device out of humid environment (ex. A bathroom
filled with steam).
4. Please use a SOFT cloth to wipe clean the surface of this device.
5. Please keep this device away from chemicals.
Warranty
We, as the manufacturer or product provider, guarantee that all of our
products are fully tested to be free from defects in material and
workmanship. During the warranty period, should this device fail under
normal use in the recommended environment due to improper material
or workmanship, we will repair this device or replace it with a
comparable one. However, defective conditions or damages caused
by the following reasons are not in the extent of our Warranty
(Nonetheless, we can offer paid repair service):
1. Damages caused by accident, abuse, alteration, improper usage or
installation.
2. Damages caused by shipment or delivery.
3. Damages caused by not conforming to manual instruction.
4. Damages caused by Acts of Nature or electrical sources.
This device is required to be used with other devices that conform to
industrial recommended standards. We will not be liable for any
damages caused to this device or to other devices that are resulted
from any third party devices. We shall in no event be liable for any
consequential, indirect, or incidental damages (ex. Lost in profits, lost in
business investment, lost in goodwill, lost in data) which are caused by
using this device. We are also not responsible for damages or failure
of any third party equipment, even if we have been advised of the
possibility.

6
Feature
Removable Hard Disk Drive
This player supports removable hard disk drive (not included). You
can record video or download movie from Internet, and save them to
removable hard disk drive through USB 2.0 interface. After that, just put
removable hard disk drive into this player, then you can watch video or
movie on big TV.
Firmware Upgradeable through CD-R or HDD.
MP3 file, JPEG file, MPEG1 file, MPEG2 file, DivX/MPEG4(AVI) file
playback capability. Note that Q-PEL, Global Motion Compensation
(GMC) DivX or Xvid file is not supported.
Both of NTFS and FAT32 file system are supported.
Both of NTSC and PAL system are supported.
Components Output and Progressive Scan support.
DTS digital output and Dolby digital output.
7
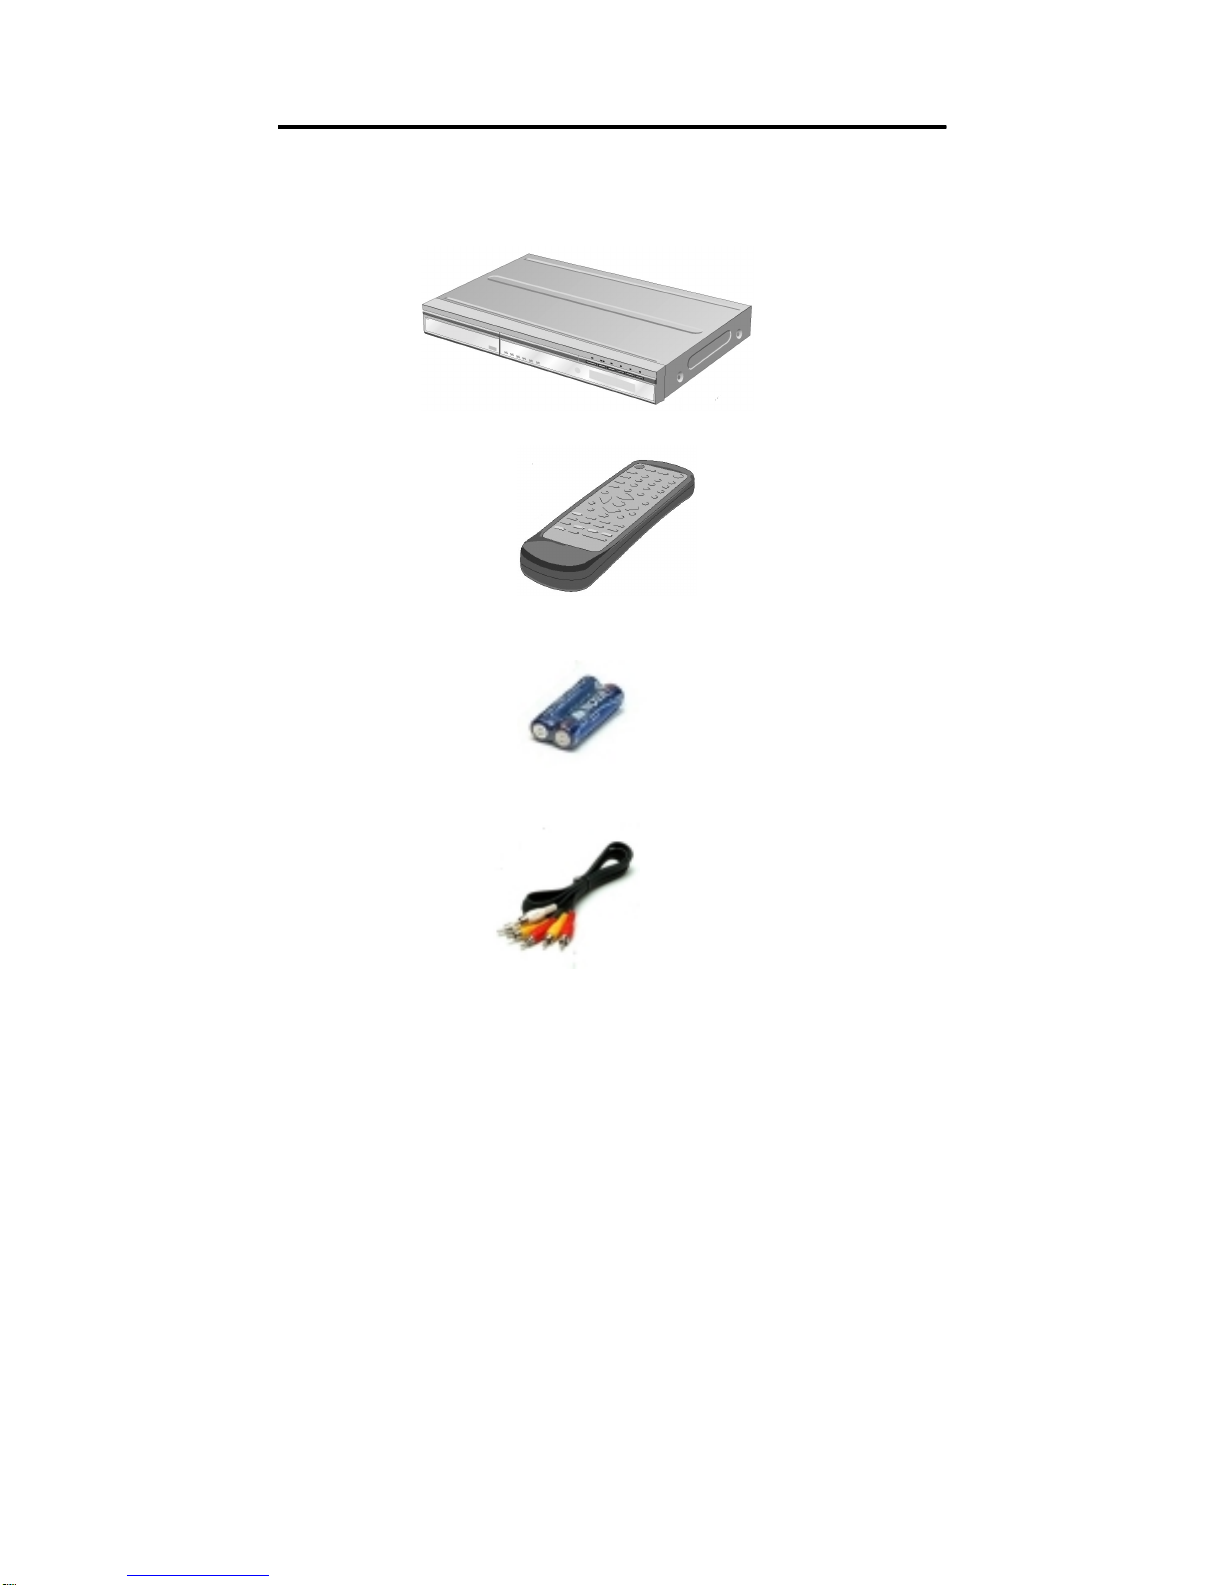
Content of the packing box
Please look over that there is the following content in HDD/DVD Player
packing box. If there is shortage, please contact distributor immediately.
1. HDD/DVD Player x1.
2. Remote Control x1.
3. Two AAA batteries (AAA UM4).
4. RCA cable x1.
5. User’s Manual x1.

8
Front and Rear Panels
Front Panel
1.HDD Slot:
::
:For input removable hard disk drive.
2.Disc tray:
::
:
3.Eject:
::
:Open / Close the disc tray.
4.PLAY / PAUSE:
::
:To start or interrupt playback.
5.STOP:
::
:To stop playback.
6.Previous:
::
:To search or select previous chapter or track or file.
7.Next:
::
:To search or select next chapter or track or file.
8.STANDBY:
::
:To switch the player to standby mode or ON.
9.Display:
::
:Shows the current status of the HDD/DVD Player.
1 2
3 4 5 6 7 8
9

9
Rear Panel
10. OPTICAL (Digital audio out): Connect to the optical AUDIO input of
digital audio equipment.
11. COAXIAL (Digital audio out): Connect the coaxial AUDIO input of
digital audio equipment.
12. VIDEO OUT (CVBS): Connect to CVBS Video input of a TV.
13. AUDIO OUT (Left/Right): Connect to AUDIO inputs of an amplifier,
receiver or stereo.
14. COMPONENT (Y Pb Pr): Connect to component input of a TV.
15. S-VIDEO OUT: Connect to S-Video input of a TV.
16. POWER SWITCH: ON/OFF.
17. AC POWER CORD:
10 11 12 13
14
15
16 17
10
Remote Control
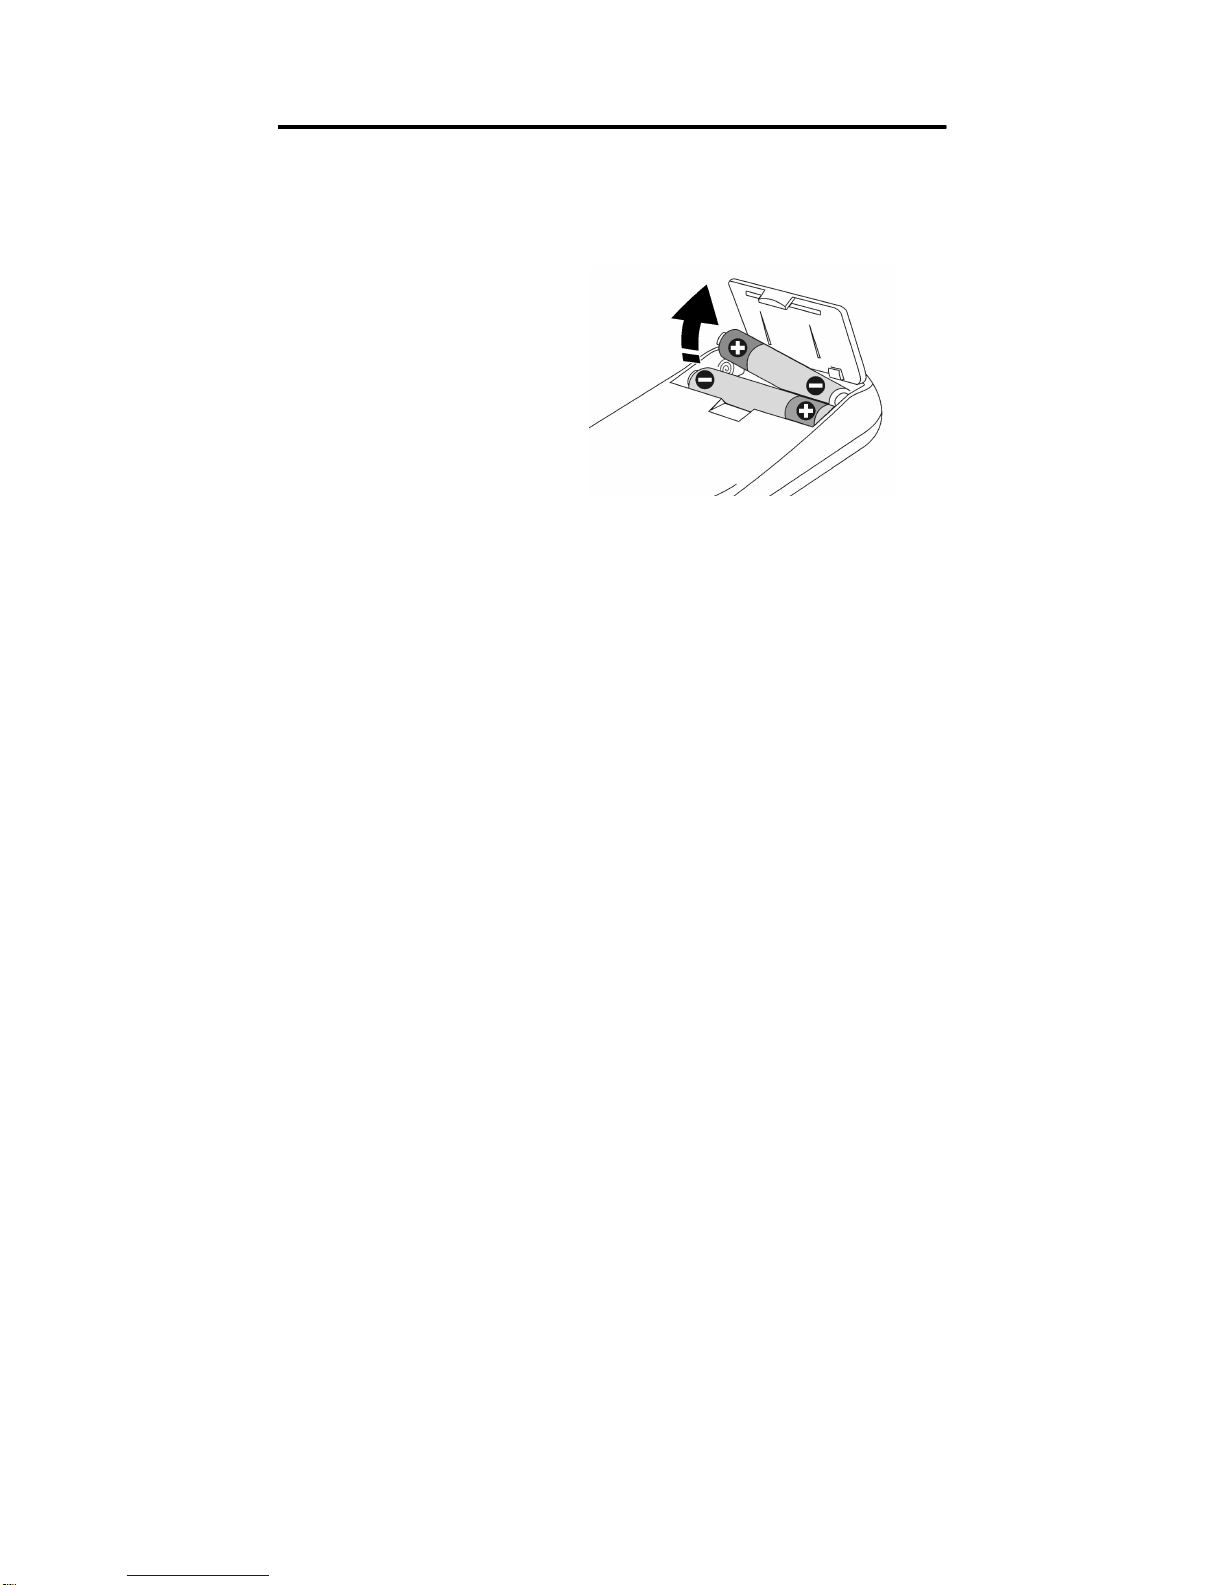
Inserting batteries into the Remote Control.
1. Open the battery compartment.
2. Insert two batteries type R03P or AAA, following the indications (+ -)
inside the compartment.
3. Replace the cover.
CAUTION!
※Remove batteries if they are exhausted or if the Remote Control will not
be used for a long time.
※Do not use old and new or different types of batteries in combination.
※Batteries contain chemical substances, so they should be disposed
properly.
Inhaltsverzeichnis


