Intrinity Global TVT280 Bedienungsanleitung

1
TVT280 Visual IR Thermometer – Contents
1 Product Introduction..............................................................................2
1.1 Front and Rear Panel Features.......................................................2
1.2 Side Panel Features........................................................................2
2 Operation Flow.......................................................................................3
2.1 Power ON........................................................................................3
2.2 Power OFF......................................................................................3
2.3 Display OFF.....................................................................................3
2.4 Menu Screen...................................................................................3
2.5 Measurement Screen......................................................................5
2.6 Display Brightness...........................................................................7
2.7 Date and Time.................................................................................7
2.8 Auto-off Timer..................................................................................8
2.9 Hi-Low Temperature Alarm..............................................................8
2.10 Auto-Monitor Alarm......................................................................9
2.11 Temperature Unit.........................................................................9
2.12 Emissivity.....................................................................................10
2.13 Image Format..............................................................................10
2.14 Factory Reset..............................................................................10
2.15 Color Palette................................................................................11
2.16 Color Palette Guide.....................................................................11
2.17 View Image..................................................................................12
2.18 Delete..........................................................................................13
3 Technical Specifications.......................................................................15

2
TVT280 Visual IR Thermometer – Product Introduction
1.1 Front and Rear Panel Features
1. Indicator light
2. Display Screen
3. Menu key
4. Left key
5. Up, Down key
6. Right key
7. Power key
8. Measure key
9. Camera
1.2 Side Panel Features
10. USB insert

3
TVT280 Visual IR Thermometer – Operation Flow (rev 0.8)
2.1 Power ON: Press & Hold Power button for 2 sec.
Opening Screen (wait for initialization) Measurement Screen
2.2 POWER OFF: Press & Hold Power button for 2sec.
A pop-up menu appears for Power Off or Reboot selection.
Use Up/down button to select, and press Measure button to confirm.
2.3 Display OFF: Press Power button once to turn off display. Press Power button again
to turn on it.
Remark: The Measurement screen is the default screen when turn on the display.
2.4 Menu Screen: Press the Menu button to enter Menu mode.
The default selection is first icon (i.e. Display brightness).
2.4.1 Use Up/Down/Left/Right button to select the icon. Then, press Measure
button to open the selected item.

4
TVT280 Visual IR Thermometer – Operation Flow (rev 0.8)
2.4.2 Press Menu button to back to Measurement Screen.
2.4.3 The summary of Menu icons:
Display Brightness
- To set the brightness of display
Date and Time
- To set time and date
Auto-Off Timer
- To set the auto-off timer for the Display
Hi-Low Temperature Alarm
- To set the high or low temperature alarm
Auto-monitor Alarm
- To capture the thermal image when over the Temperature
Alarm in a period of time
Temperature Unit
- To set temperature unit degree C / degree F
Emissivity
- To adjust the emissivity from 0.1 to 1.0
View Image
- To view the captured thermal image/video
Image format
- To set the image output format (Bitmap or JPEG)
Factory Reset
- To reset factory setting
Color Palette
- To select the thermal image color palette
Color palette guide
- To turn on/off the color palette temperature reference
guide
Trash
- To delete image/video permanently

5
TVT280 Visual IR Thermometer – Operation Flow (rev 0.8)
2.5 Measurement Screen
2.5.1 Press Menu button to enter Menu mode.
2.5.2 Press Up/Down button to select mode of image:
(1) Thermal Image (2) Visual Image (3) Overlay Image
2.5.3 Press Left button to select the filter mode:
(1) Wide Gaussian filter (2) No filter (3) Median filter
(4) Noise gate (5) Edge-preserving (6) Narrow Gaussian
Time & Emissivity
Image View Area
Object Temperature mark
Palette guide bar
included min/max
object temperature,
and humidity

6
TVT280 Visual IR Thermometer – Operation Flow (rev 0.8)
2.5.4 Press Right button to select zoom in or zoom out.
2.5.5 Press Measure button to capture the image; Press & Hold Measure button to
take the video.
a. The image saved in the internal memory, if the SD card is not present.
b. If the SD card presented, it saved the image in the SD card.
c. The recording icon appear to indicate the video recording. The video is
saved in mp4 format. When the Measure button release, it stopped the
recording, and save in the memory.
2.5.6 Touchable object temperature mark

7
TVT280 Visual IR Thermometer – Operation Flow (rev 0.8)
Touch the screen to move the object temperature mark, and show the
temperature of that location.
2.6 Display Brightness
2.6.1 Press Left/Right button to increase/decrease the % of display brightness.
2.6.2 Press Measure to confirm and back to the previous screen.
2.6.3 Press Menu to back to the previous screen.
2.7 Date and Time
2.7.1 Press Up/Down button to increase/decrease the selected item.
2.7.2 Press Left/Right button to select the item for change.
2.7.3 Press Measure to confirm and back to the previous screen.
2.7.4 Press Menu to back to the previous screen.

8
TVT280 Visual IR Thermometer – Operation Flow (rev 0.8)
2.8 Auto-off Timer
2.8.1 Press Left/Right button to increase/decrease the selected item.
2.8.2 Press Up/Down button to select the Minute or Second.
2.8.3 Press Measure to confirm and back to the previous screen.
2.8.4 Press Menu to back to the previous screen.
Remark:
a. The minimum Auto-off timer is 0min,30sec.
b. The maximum Auto-off timer is 30min,0sec.
c. The timer is for Display OFF only.
2.9 Hi-Low Temperature Alarm
2.9.1 Press Left/Right button to increase/decrease the selected item.
2.9.2 Press Up/Down button to select the Minute or Second.
2.9.3 Press Measure to confirm and back to the previous screen.
2.9.4 Press Menu to back to the previous screen.
Low Temperature Alarm High Temperature Alarm
Palette guide (Blue color) Palette guide (Red color)

9
TVT280 Visual IR Thermometer – Operation Flow (rev 0.8)
Remark:
a. The default Hi-Low Temperature Alarm is OFF.
b. Press and Hold Measure button to turn ON or OFF the Hi-Low Temperature
Alarm.
2.10 Auto-Monitor Alarm
2.10.1 Press Left/Right button to increase/decrease the selected item.
2.10.2 Press Up/Down button to select the Minute or Second.
2.10.3 Press Measure to confirm and back to the previous screen.
2.10.4 Press Menu to back to the previous screen.
Remark:
a. Duration is from 15min, 30min, 45min, 60min, 90min and 120min.
b. The default is Auto-monitor Alarm Duration is OFF.
c. Press and Hold Measure button to turn ON or OFF the Auto-Monitor Alarm.
2.11 Temperature Unit
2.11.1 Press Left/Right button to select degree C or degree F.
2.11.2 Press Measure to confirm and back to the previous screen.
2.11.3 Press Menu to back to the previous screen.
10
TVT280 Visual IR Thermometer – Operation Flow (rev 0.8)
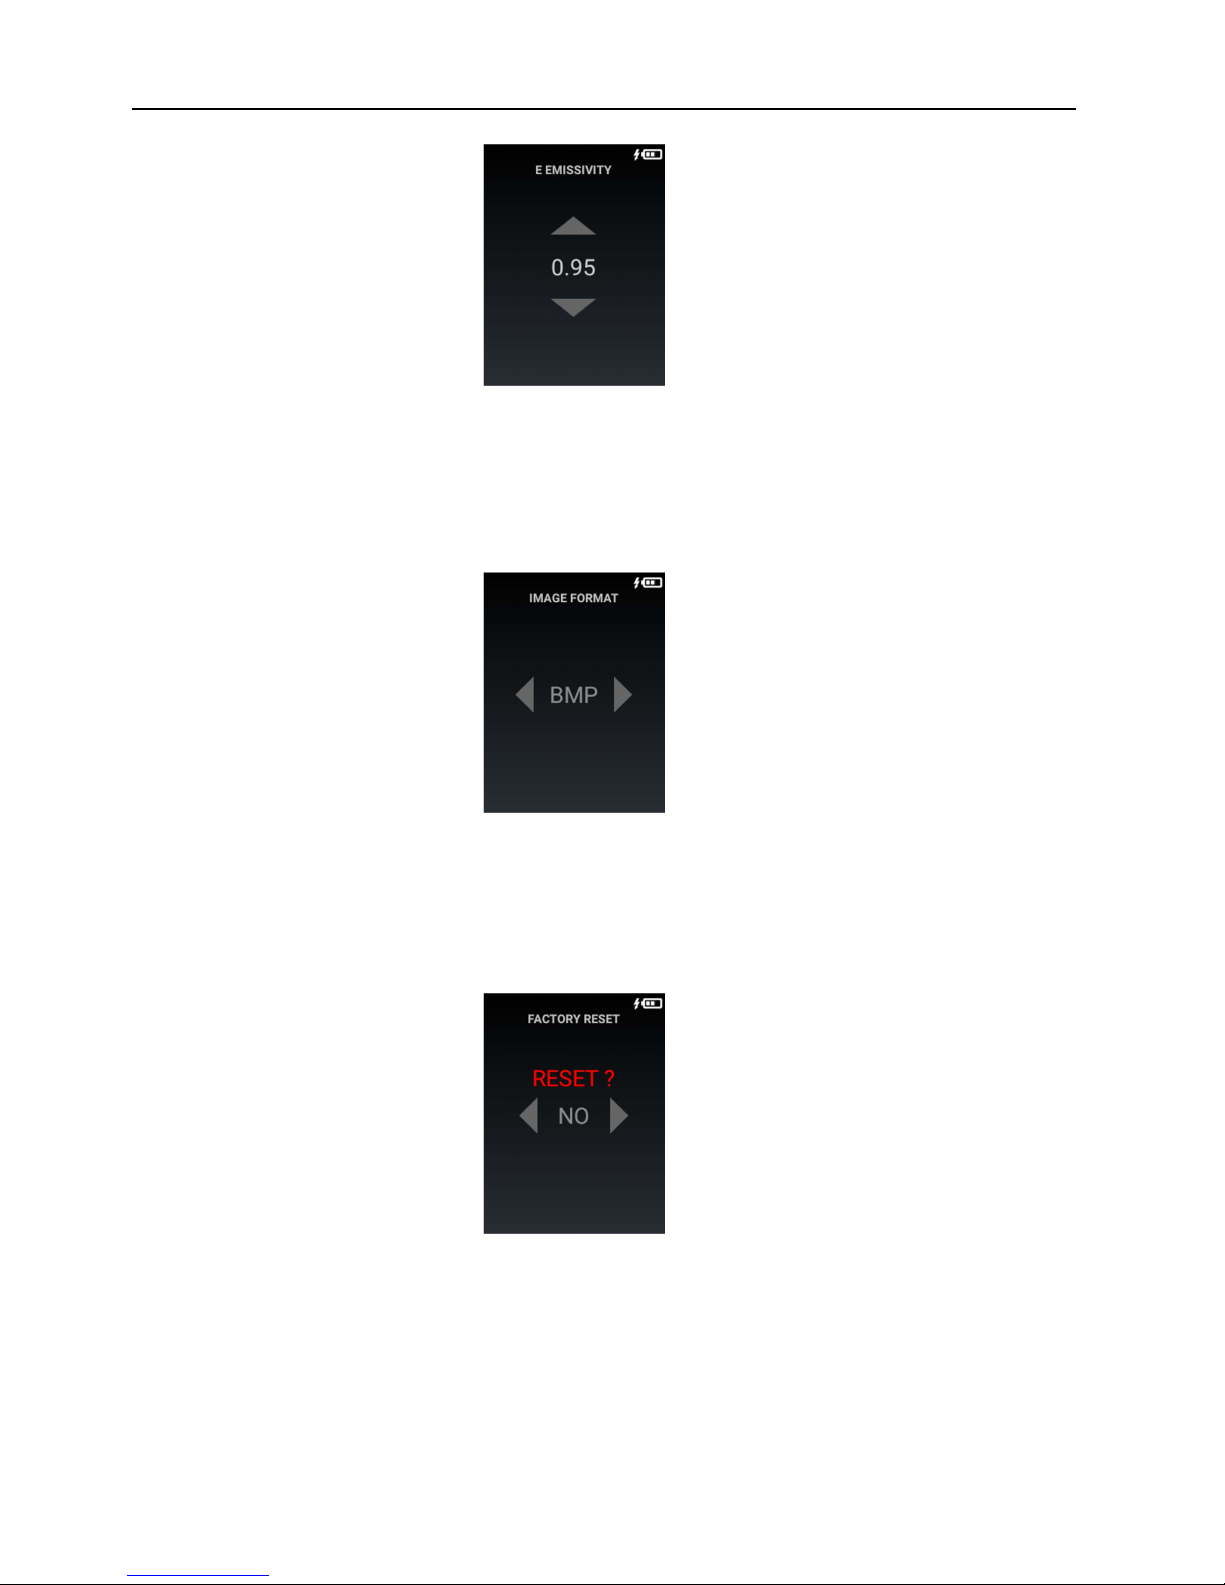
2.12 Emissivity
2.12.1 Press Up/Down button to adjust the emissivity.
2.12.2 Press Measure to confirm and back to the previous screen.
2.12.3 Press Menu to back to the previous screen.
2.13 Image Format
2.13.1 Press Left/Right button to select BMP or JPG image format.
2.13.2 Press Measure to confirm and back to the previous screen.
2.13.3 Press Menu to back to the previous screen.
2.14 Factory Reset
2.14.1 Press Left/Right button to select YES or NO.
2.14.2 Press Measure to confirm.
2.14.3 Press Menu to back to the previous screen.
Inhaltsverzeichnis


