JVC 0397MKV*UN*VP Bedienungsanleitung

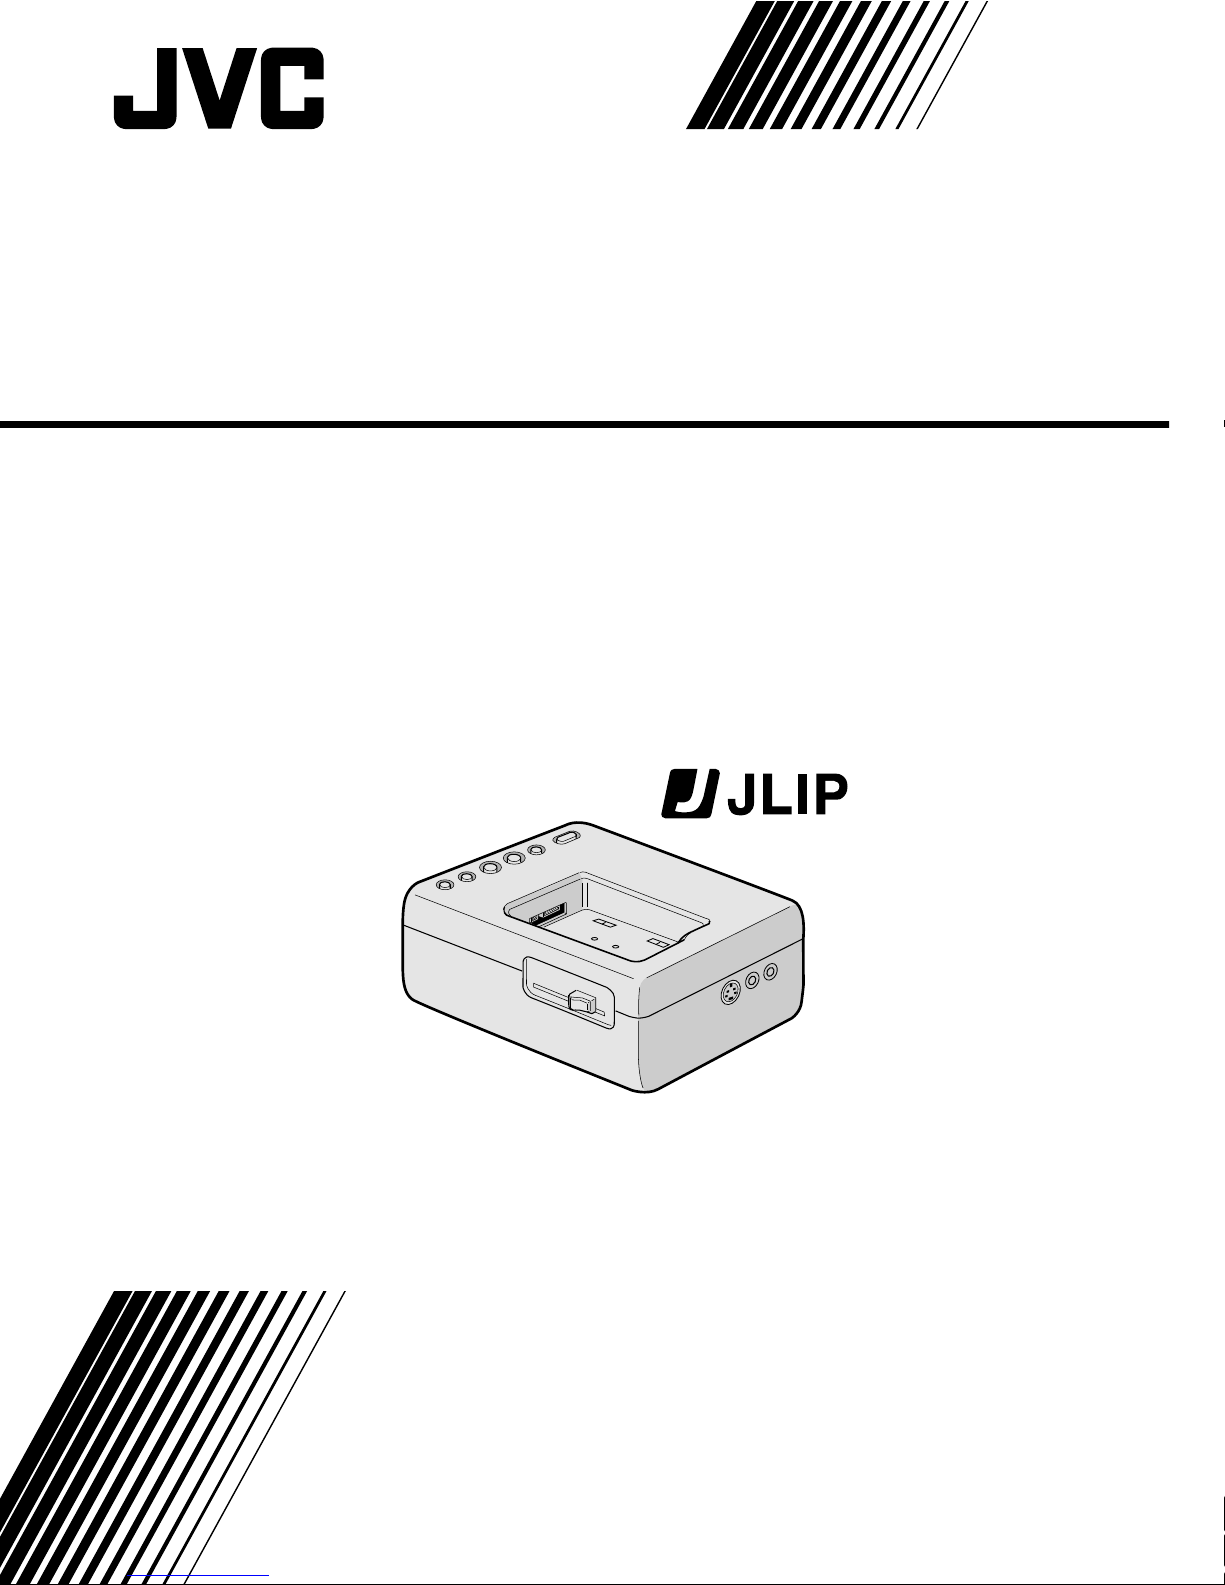
GV-DS1
JLIP VIDEO CAPTURE DOCKING STATION
LYT0002-0J9A
GV-DS1
COPYRIGHT© 1997 VICTOR COMPANY OF JAPAN, LTD. EK/EA Printed in Japan
0397MKV*UN*VP
VICTOR COMPANY OF JAPAN, LIMITED
INSTRUCTIONS

2
Dear Customer,
Thank you for purchasing this VIDEO CAPTURE
DOCKING STATION. Before use, please read
the safety information and precautions
contained in the following pages to ensure safe
use of this product.
Using This Instruction Manual
•All major sections and subsections are listed in
the Table Of Contents (Zpgs. 6, 7).
•Notes appear after most subsections. Be sure to
read these as well.
•Basic and advanced features/operation are
separated for easier reference.
It is recommended that you . . .
..... refer to "Controls and Connectors" (Zpg. 10 –
11) and familiarize yourself with connector
locations before use.
..... read thoroughly the Safety Precautions and
CAUTIONS that follow. They contain ex-
tremely important information regarding the
safe use of your new VIDEO CAPTURE
DOCKING STATION.
Connection to the mains supply in the United
Kingdom.
DO NOT cut off the mains plug from this equip-
ment. If the plug fitted is not suitable for the
power points in your home or the cable is too
short to reach a power point, then obtain an
appropriate safety approved extension lead or
consult your dealer.
BE SURE to replace the fuse only with an
identical approved type, as originally fitted,
and to replace the fuse cover.
If nontheless the mains plug is cut off ensure to
remove the fuse and dispose of the plug
immediately, to avoid a possible shock hazard
by inadvertent connection to the mains supply.
If this product is not supplied fitted with a
mains plug then follow the instructions given
below:
DO NOT make any connection to the Larger
Terminal coded E or Green.
The wires in the mains lead are coloured in
accordance with the following code:
Blue to N (Neutral) or Black
Brown to L (Live) or Red
If these colours do not correspond with the
terminal identifications of your plug, connect
as follows:
Blue wire to terminal coded N (Neutral) or
coloured black.
Brown wire to terminal coded L (Live) or
coloured Red.
If in doubt — consult a competent electrician.
IMPORTANT

3
SAFETY
PRECAUTIONS
WARNING:
TO PREVENT FIRE OR SHOCK
HAZARD, DO NOT EXPOSE
THIS UNIT TO RAIN OR
MOISTURE.
CAUTIONS:
nTo prevent shock, do not open the cabinet.
No user serviceable parts inside. Refer
servicing to qualified personnel.
nWhen you are not using the AC Power
Adapter/Battery charger for a long period of
time, it is recommended that you disconnect
the power cord from AC outlet.
NOTES:
●
The rating plate (serial number plate) and
safety caution are on the bottom of the
VIDEO CAPTURE DOCKING STATION.
●
The rating plate (serial number plate) of the
AC Power Adapter/Charger is on its bottom.
This unit is produced to comply with Standard
IEC Publ. 65.
SOME DO’S AND
DON’TS ON THE SAFE
USE OF EQUIPMENT
This equipment has been designed and manufac-
tured to meet international safety standards but,
like any electrical equipment, care must be taken
if you are to obtain the best results and safety is
to be assured.
DO read the operating instructions before you
attempt to use the equipment.
DO ensure that all electrical connections
(including the mains plug, extension leads and
interconnections between pieces of equip-
ment) are properly made and in accordance
with the manufacturer’s instructions. Switch
off and withdraw the mains plug when making
or changing connections.
DO consult your dealer if you are ever in doubt
about the installation, operation or safety of
your equipment.
DO be careful with glass panels or doors on
equipment.
DON’Tcontinue to operate the equipment if you are in
any doubt about it working normally, or if it is
damanged in any way — switch off, withdraw
the mains plug and consult your dealer.
DON’Tremove any fixed cover as this may expose
dangerous voltages.
DON’Tleave equipment switched on when it is
unattended unless it is specifically stated that
it is designed for unattended operation or has
a standby mode. Switch off using the switch
on the equipment and make sure that your
family knows how to do this. Special
arrangements may need to be made for infirm
or handicapped people.
DON’Tuse equipment such as personal stereos or
radios so that you are distracted from the
requirements of road safety. It is illegal to
watch television whilst driving.
DON’Tlisten to headphones at high volume, as such
use can permanently damage your hearing.
DON’Tobstruct the ventilation of the equipment, for
example with curtains or soft furnishings.
Overheating will cause damage and shorten
the life of the equipment.
DON’Tuse makeshift stands and NEVER fix legs with
wood screws — to ensure complete safety
always fit the manufacturer’s approved stand
or legs with the fixings provided according to
the instructions.
DON’Tallow electrical equipment to be exposed to
rain or moisture.
ABOVE ALL
— NEVER let anyone especially children push anything
into holes, slots or any other opening in the case —
this could result in a fatal electrical shock;
— NEVER guess or take chances with electrical equip-
ment of any kind — it is better to be safe than sorry!

4
CAUTIONS
DO NOT attempt to insert foreign objects into the connectors, as this can lead
to electric shock or fire. If an object is accidentally inserted, unplug it and
contact your JVC dealer. Be especially careful with children.
If during use you notice that the VIDEO CAPTURE DOCKING STATION is
damaged, unplug it and contact your JVC dealer. Use of the VIDEO CAPTURE
DOCKING STATION under these conditions can lead to fire or electric shock.
DO NOT attempt to repair or modify the VIDEO CAPTURE DOCKING
STATION. Doing so may result in malfunctions or injury. If a problem occurs,
contact your JVC dealer.
Failure to heed the following precautions may result in damage to the VIDEO
CAPTURE DOCKING STATION.
1. DO NOT place the VIDEO CAPTURE DOCKING STATION . . .
.... in an environment prone to extreme temperatures or humidity.
.... in direct sunlight.
.... in a dusty environment.
.... in an environment where strong magnetic fields are generated.
.... on a surface that is unstable or subject to vibration. The unit may fall, causing injury.
2. DO NOT place heavy objects on the VIDEO CAPTURE DOCKING STATION.
3. DO NOT place anything which might spill on top of the VIDEO CAPTURE DOCKING
STATION.
4. AVOID violent shocks to the VIDEO CAPTURE DOCKING STATION during transport.
5. DO NOT leave the VIDEO CAPTURE DOCKING STATION plugged in when the unit is not
in use.
6. DO NOT use accessories other than those designated in the instructions. Use of others can
lead to fire or electric shock.
7. DO NOT connect devices to the VIDEO CAPTURE DOCKING STATION other than those
designated in the instructions. Use of others can lead to malfunctions.

5
How to handle a CD-ROM
●Take care not to soil or scratch the mirror surface (opposite to the printed surface). Do not
write anything or put a sticker on either the front or back surface. If the CD-ROM gets dirty,
gently wipe it with a soft cloth outward from the center hole using a circular motion.
●Do not use conventional disc cleaners or cleaning spray.
●Do not bend the CD-ROM or touch its mirror surface.
●Do not store your CD-ROM in a dusty, hot or humid environment. Keep it away from direct
sunlight.
MAINTENANCE
If the inside of the VIDEO CAPTURE DOCKING STATION is left dusty for a long time, its use
can lead to fire or malfunction. Consult your JVC dealer on cleaning.
AC Power Adapter/Charger
●DO NOT remove the cover and attempt to repair or modify the AC Power Adapter/Charger.
Doing so may result in malfuncitons or electrical shock and injury. If a problem occurs,
contact your JVC dealer.
●Make sure the Power Cord is securely connected to the AC Power Adapter/Charger.
●When using the AC Power Adapter/Charger, use only the supplied Power Cord. Use of any
other cord may result in shock or fire.
●Connect the Power Cord to the AC Power Adapter/Charger before connecting it to an AC
outlet. If you plug it into an outlet first, and the Adapter’s terminals come in contact with a
metal surface or object, short circuit or fire may result.
●Vibration noise can sometimes be heard coming from the inside of the AC Power Adapter/
Charger. This is normal.
●The AC Power Adapter/Charger processes electricity internally, and will become warm
during use. This is normal. Make sure to use the AC Power Adapter/Charger in well-
ventilated areas only.
CAUTION:
Changes or modifications not approved by JVC could void user’s authority to operate the
equipment.
●The Readme.TXT file provides additional information for setup and information that is not
included in the instruction manual. Please read the file before installing the provided
software program.
●You can find the latest information (in English) on the provided software program at our
www server.
<www>http://www.jvc-victor.co.jp/

6
CONTENTS
MAJOR FEATURES 8
CONTROLS AND CONNECTORS 10
CONNECTIONS (When Using JLIP Video Capture Software) 12
INTRODUCTION 14
INSTALLATION (JLIP Video Capture Software) 15
HOW TO OPEN THE PROGRAM 16
Preparation ................................................................... 16
INITIALIZATION 17
Initializing JLIP .............................................................. 17
Select units.................................................................... 18
HOW TO CLOSE THE PROGRAM 19
HOW THE DESKTOP WORKS 20
Main desktop window....................................................... 20
Menu bar ...................................................................... 21
VIDEO CAPTURE 24
Capturing video images ..................................................... 24
Step by step capture......................................................... 25
Automatic capture............................................................ 26
Program capture ............................................................. 26
Interval capture .............................................................. 28
SAVE PICTURE 29
Saving ......................................................................... 29
Save the full image data .................................................... 29
PICTURE FORMAT SETTING 30
Selecting a picture format................................................... 30
Delete index image and full image......................................... 31
Change ID ..................................................................... 31
ADDITIONAL OPERATIONS 32
Counter value change........................................................ 32
Counter reset ................................................................. 32
Open index.................................................................... 33
Create new folder ............................................................ 33

7
JLIP PLAYER SOFTWARE 34
Using JLIP player software data........................................... 34
How to store JLIP player software data ................................. 35
TROUBLESHOOTING 36
LIST OF ERROR MESSAGES 38
JLIP PLAYER SOFTWARE SECTION 41
CONNECTIONS (When Using JLIP Player Software) 42
When connecting to a video source unit with JLIP connector or to a
video printer................................................................ 42
GETTING STARTED 44
INSTALLING (JLIP Player Software) 45
STARTING JLIP PLAYER SOFTWARE 46
MOVIE PLAYER WINDOW BUTTONS AND DISPLAYS 48
BASIC OPERATIONS 50
VIDEO PRINTER WINDOW BUTTONS AND DISPLAYS 56
VIDEO PRINTER OPERATION (GV-PT2) 58
Printing ........................................................................ 58
Auto capture .................................................................. 60
ADVANCED OPERATIONS 62
Changing ID number ......................................................... 62
Connecting other device during operation................................. 62
Changing the name of the device........................................... 63
Changing the device to use while connecting over
two same type devices ................................................... 63
Adjusting the gap between the stored edit-start point in the
computer and the dubbed one in the recording deck .................. 64
TROUBLESHOOTING 65
MAJOR SPECIFICATIONS 66
INDEX 67

8
MAJOR FEATURES
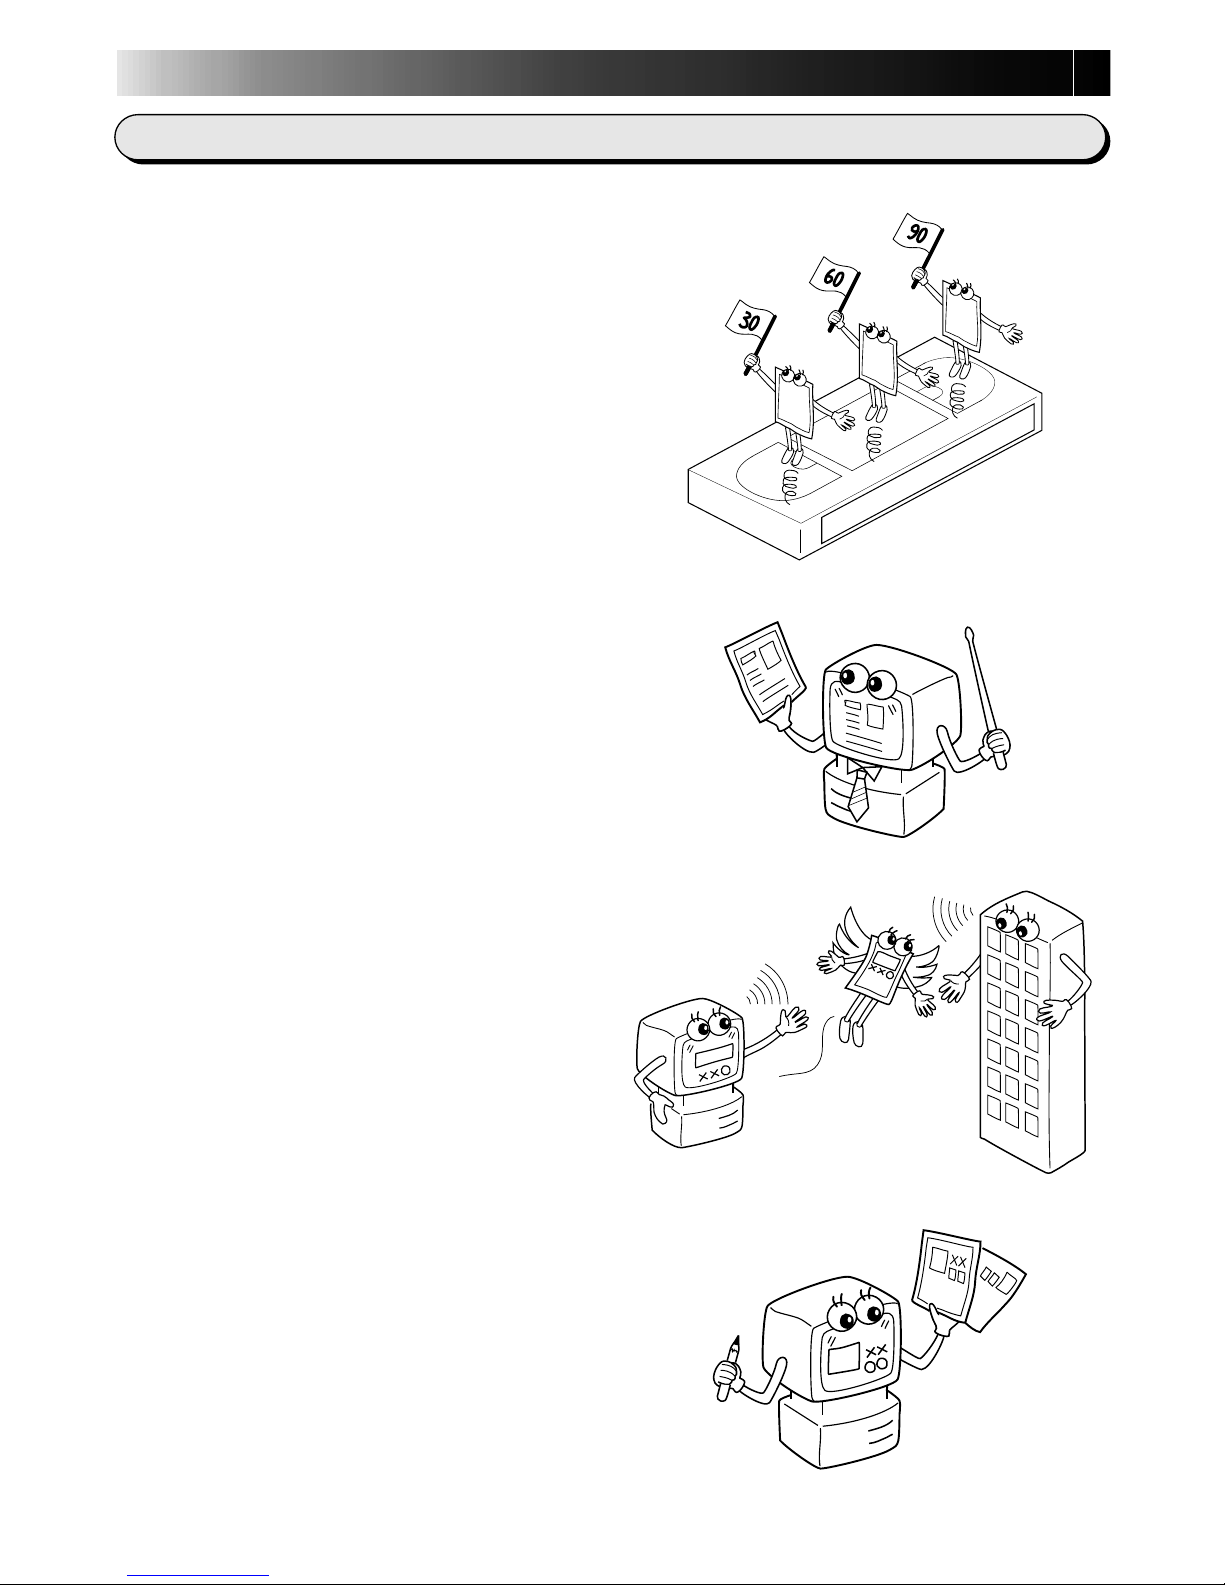
Business presentations
Images captured from video can be incorpo-
rated into business documents to spice up
your presentations.
Internet homepage
Images captured from video can be incorpo-
rated in your Internet homepage using image
editing software.
Advanced Applications
Create title indexes for your video
collection
Title index images can be captured from your
favorite recordings in intervals of 30 minutes,
1 hour, 1.5 hours, etc. using the Interval
Capture mode. Print the captured index
images on your PC printer using the compu-
ter's Print Screen facility, then attach them to
your cassettes.
Video journal and postcards
Create your own original postcards, party
invitation cards and the like or keep a video
journal.

9
Two software programs are provided with the GV-DS1 JLIP package.
JLIP Video Capture Software
(Zpg. 12 – 39)
JLIP Video Capture Software
This is the software described in this manual.
Video Capture Facility
Video images from video source units such as
camcorders or VCRs can be captured as 768
x 552 still images with 16.77 million colours
through the serial port (RS-232C) of a
WindowsT-operated computer.
JLIP Control Facility
With a JLIP compatible camcorder or VCR,
• all basic video operations can be
executed via the computer display;
• Up to 99 images can be captured
automatically with Program Video
Capture (playing tape — scanning —
transferring to PC)
Data Sharing With JLIP Player Soft-
ware
Data can be imported from the JLIP Player
Software.
Data from the Video Capture Software can
also be exported to the Player Software for
Program Playback or Assemble Editing.
JLIP Player Software
(Zpg. 41 – 65)
JLIP Control Facility
With a JLIP-compatible camcorder, VCR or
video printer (GV-PT2):
• all basic video operations can be
executed on the computer display;
• allows programmed video playback (up
to 99 programmes) or assemble editing
• print command can be issued to the GV-
PT2 video printer
Data Sharing with the Video Capture
Software
Video Capture Software data can be exported
to the Player Software.
Assemble Editing
Selected scenes on a pre-recorded tape can
be edited in a specified sequence.
Pre-recorded tape
(on camcorder)
Recording tape
(on VCR)

10
The controls and connectors marked *can be used only when the GR-DVM1 Digital
Camcorder is attached. For details of its operation, read the camcorder instruction manual.
CONTROLS AND CONNECTORS
* Unlock button
* Lock lever
* Digital jack Zp. 13
•Connect to the computer’s
RS-232C terminal (COM
port).
* MULTI connector
•The Docking Station can be connected with
the GR-DVM1 through this connector.
Never touch it with your hand or hit it with
a hard object; if the pins are damaged, the
connectors will become unusable due to
contact failure.
* Stop button * Play button
* Rewind button * Pause button
* Fast forward button * Edit start button
JLIP jack Zp. 13
(JLIP: Joint Level Interface Protocol)
•Connect to a JLIP-compatible
comcorder or VCR to control it
from the computer.
Dieses Handbuch passt für folgende Modelle
2
Inhaltsverzeichnis
Andere JVC Dockingstation Handbücher

JVC
JVC KS-K6012J Bedienungsanleitung

JVC
JVC HA-RF100S Bedienungsanleitung

JVC
JVC XS-SR3 Handbuch

JVC
JVC 0397MKV*UN*SN Bedienungsanleitung

JVC
JVC KS-K6003UJ Bedienungsanleitung

JVC
JVC GV-DS2 Bedienungsanleitung

JVC
JVC RA-P1B Benutzerhandbuch

JVC
JVC KS-K6013 - Sirius Satellite Radio Receiver Bedienungsanleitung

JVC
JVC 0397MKV*UN*YP Bedienungsanleitung

JVC
JVC KS-K6013J Bedienungsanleitung