
Krowne GWD-24 Service-Handbuch
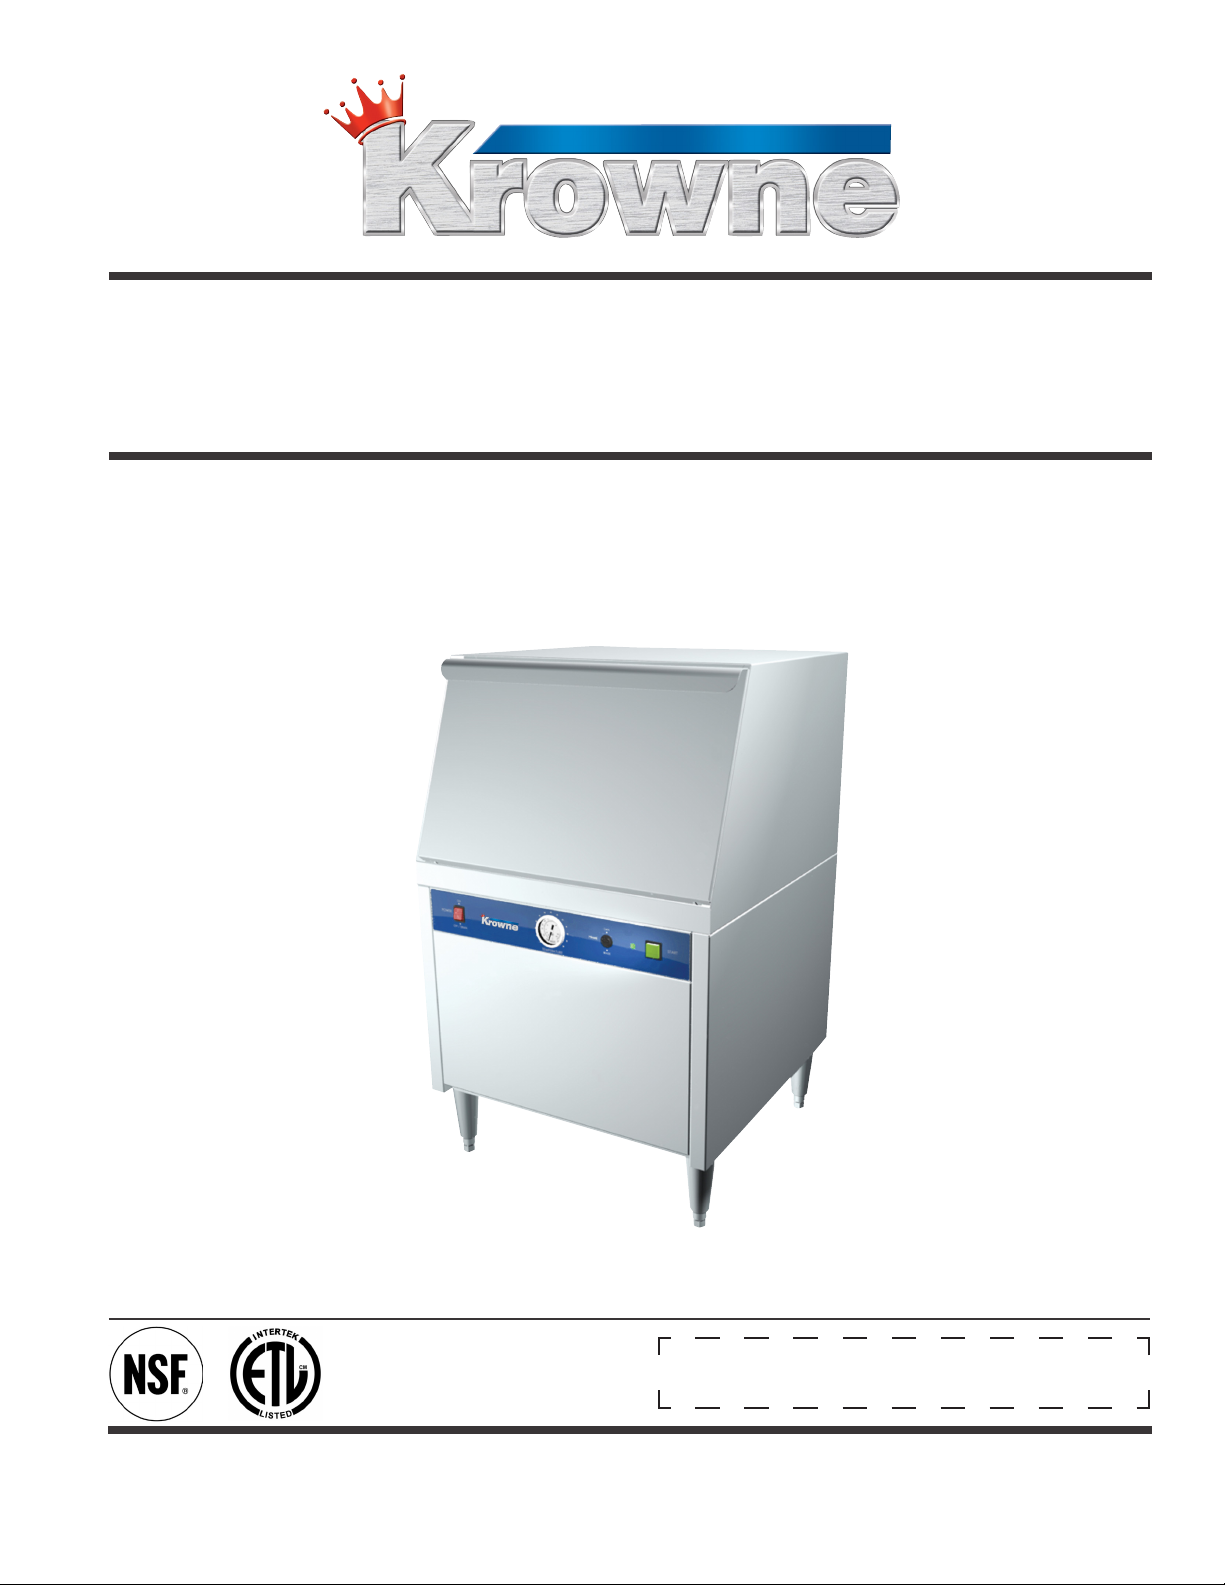
FRONT DOOR GLASSWASHER
LOW TEMPERATURE
INSTALLATION AND OPERATION
INSTRUCTION MANUAL
Krowne Metal Corporation
100 Haul Rd. Wayne, NJ 07470 • Toll Free: (800) 631-0442 • Fax: (973) 872-1129
[email protected] • www.krowne.com • www.facebook.com/KrowneMetal • www.twitter.com/KrowneMetal
MODEL GWD-24
Rev. 12/2011
No. GWD-1.00
Printed in the USA
SERIAL NO.

COPYRIGHT © 2011 All Rights Reserved. Printed in the USA.
For future reference, record your dishwasher information in the box below.
Model Number__________________________ Serial Number______________________
Voltage___________________ Hertz__________________ Phase_________________
Service Agent __________________________________ Tel:______________________
Parts Distributor ________________________________ Tel:______________________
ATTENTION:
The model no., serial no., voltage, Hz and phase are needed to identify your machine and to
answer questions.
The machine data plate is located on the lower front panel.
Please have this information ready if you call for service assistance.
SERVICE CONTACT INFORMATION
Krowne Metal Corporation
100 Haul Road
Wayne, NJ 07470
Toll-Free: (800) 631-0442
Phone: (973) 305-3300
Fax: (973) 872-1129
Email: ser[email protected]
SERVICE INFORMATION

Krowne Metal Corporation
100 Haul Rd. Wayne, NJ 07470 • Toll Free: (800) 631-0442 • Fax: (973) 872-1129
[email protected] • www.krowne.com • www.facebook.com/KrowneMetal • www.twitter.com/KrowneMetal
WARRANTY REGISTRATION FORM
MODEL NO.: ______________ SERIAL NO.: ______________ INSTALL DATE: _______
NAME OF ESTABLISHMENT: ________________________ PHONE NO.: ______________
ADDRESS: _____________________ CITY/STATE: _______________ ZIP: __________
DEALER NAME: ________________________ CITY/STATE: ___________________
INSTALLATION COMPANY: __________________________________________________
ADDRESS: ______________________________________________________________
PHONE NO.: _____________________________________________________________
CONTACT: ______________________________________________________________
PLEASE FAX TO (973) 872-1129 TO
COMPLETE REGISTRATION
YOU CAN ALSO REGISTER YOUR WARRANTY ONLINE
AT WWW.KROWNE.COM/WARRANTY-GW

4Krowne Metal Corporation |100 Haul Road |Wayne, NJ 07470
Phone: (800) 631-0442 |Fax: (973) 872-1129 |www.krowne.com
Limited Warranty
LIMITED WARRANTY
Krowne Metal Corporation, (herein referred to as "The Company"), 100 Haul Road, Wayne, New Jersey 07470 warrants machines, and parts, as set
out below.
Warranty of Machines: The Company warrants all new machines of its manufacture bearing the name "Krowne Metal Corporation" to be free
from defects in material and workmanship for a period of one (1) year after the date of installation or fteen (15) months after the date of shipment
by The Company, whichever occurs rst. [See below for special provisions relating to glasswashers.] The registration card must be submitted by fax
or online with The Company within ten (10) days after installation. If the registration is not submitted to The Company within such period, the war-
ranty will expire after one year from the date of shipment.
The Company will not assume any responsibility for extra costs for installation in any area where there are jurisdictional problems with local trades
or unions.
If a defect in workmanship or material is found to exist within the warranty period, The Company, at its election, will either repair or replace the
defective machine or accept return of the machine for full credit; provided; however, as to glasswashers, The Company's obligation with respect to
labor associated with any repairs shall end (a) 120 days after shipment, or (b) 90 days after installation, whichever occurs rst. In the event that The
Company elects to repair, the labor and work to be performed in connection with the warranty shall be done during regular working hours by The
Company's authorized service technician. Defective parts become the property of The Company. Use of replacement parts not authorized by The
Company will relieve The Company of all further liability in connection with its warranty. In no event will The Company's warranty obligation exceed
The Company's charge for the machine. The following are not covered by The Company's warranty:
a. Lighting of gas pilots or burners.
b. Cleaning of gas lines.
c. Replacement of fuses or resetting of overload breakers.
d. Adjustment of thermostats.
e. Adjustment of clutches.
f. Opening or closing of utility supply valves or switching of electrical supply current.
g. Cleaning of valves, strainers, screens, nozzles, or spray pipes.
h. Performance of regular maintenance and cleaning as outlined in operator’s guide.
i. Damages resulting from water conditions, accidents, alterations, improper use, abuse, tampering,
improper installation, or failure to follow maintenance and operation procedures.
j. Wear on Pulper cutter blocks, pulse vanes, and auger brush.
Examples of the defects not covered by warranty include, but are not limited to: (1) Damage to the exterior or interior nish as a result of the
above, (2) Use with utility service other than that designated on the rating plate, (3) Improper connection to utility service, (4) Inadequate or
excessive water pressure, (5) Corrosion from chemicals dispensed in excess of recommended concentrations, (6) Failure of electrical
components due to connection of chemical dispensing equipment installed by others, (7) Leaks or damage resulting from such leaks caused
by the installer, including those at machine table connections or by connection of chemical dispensing equipment installed by others,
(8) Failure to comply with local building codes, (9) Damage caused by labor dispute.
Warranty of Parts: The Company warrants all new machine parts produced or authorized by The Company to be free from defects in material and
workmanship for a period of 90 days from date of invoice. If any defect in material and workmanship is found to exist within the warranty period. The
Company will replace the defective part without charge.
DISCLAIMER OF WARRANTIES AND LIMITATIONS OF LIABILITY. THE COMPANY'S WARRANTY IS ONLY TO THE EXTENT REFLECTED ABOVE.
THE COMPANY MAKES NO OTHER WARRANTIES, EXPRESS OR IMPLIED, INCLUDING, BUT NOT LIMITED, TO ANY WARRANTY OF
MERCHANTABILITY, OR FITNESS OF PURPOSE. THE COMPANY SHALL NOT BE LIABLE FOR INCIDENTAL OR CONSEQUENTIAL DAMAGES.
THE REMEDIES SET OUT ABOVE ARE THE EXCLUSIVE REMEDIES FOR ANY DEFECTS FOUND TO EXIST IN THE COMPANY'S DISHWASHING
MACHINES AND THE COMPANY'S PARTS, AND ALL OTHER REMEDIES ARE EXCLUDED, INCLUDING ANY LIABILITY FOR INCIDENTALS OR
CONSEQUENTIAL DAMAGES.
The Company does not authorize any other person, including persons who deal in The Company's dishwashing machines
to change this warranty or create any other obligation in connection with The Company's Dishwashing Machines.

5
Krowne Metal Corporation |100 Haul Road |Wayne, NJ 07470
Phone: (800) 631-0442 |Fax: (973) 872-1129 |www.krowne.com
TABLE OF CONTENTS
Receiving 6
Installation 7
Electrical Connections 7
Water Connection 8
Drain Connection 9
Initial Start-up 10
Chemical Dispensing Pumps 11
Operation 14
Normal Wash Mode 14
Drain Mode 15
Cleaning and Maintenance 16
Cleaning 16
De-liming 19
Maintenance 20
Troubleshooting 21
Service Replacement Parts 23
Electrical Schematics 46
Timer Charts 47
Table of Contents
6Krowne Metal Corporation |100 Haul Road |Wayne, NJ 07470
Phone: (800) 631-0442 |Fax: (973) 872-1129 |www.krowne.com
NOTE:
The installation of your glasswasher must be performed by qualied service personnel who will
observe all applicable safety, electrical, plumbing, and health codes. Problems due to improper
installation are not covered by the Warranty.
1. Inspect the outside of the glasswasher carton for signs of damage.
2. Remove the carton and inspect the glasswasher for damage.
3. Check for any accessories that may have shipped with your glasswasher.
4. Turn to the front of this manual for the instructions to validate your machine warranty online or by fax.
5. Move the glasswasher near its permanent location.
6. Compare the installation site utility connections with the glasswasher utility connections and make
sure they are the same.
7. The installation should provide storage space for the glasswasher chemical supply containers.
Containers must be placed on the oor and as close to the machine as possible.
8. Place the glasswasher in its permanent location.
9. Level the glasswasher front-to-back and side-to-side.
The machine has 4 adjustable feet for leveling unless equipped with optional casters.
Installation
Receiving
CAUTION:
Be careful when lifting and moving the glasswasher to prevent damage to the machine.
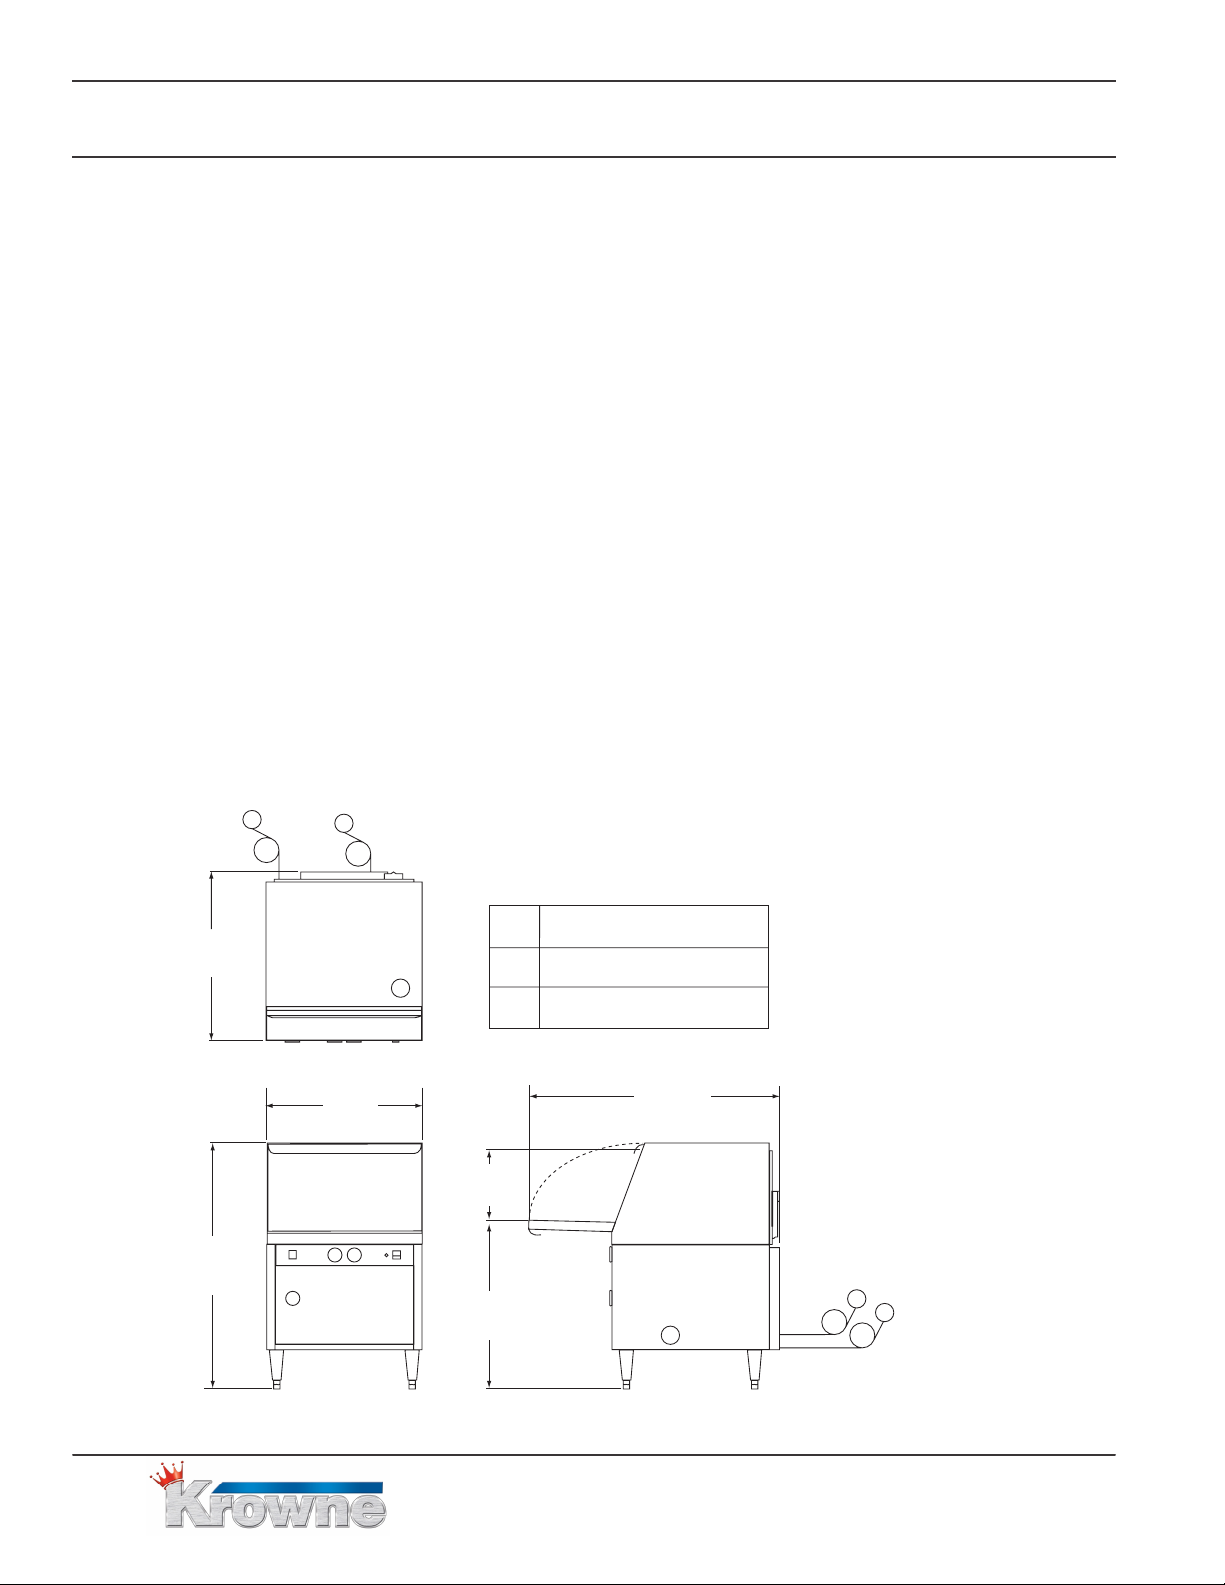
26"
[660]
38"
[965]
38-3/4"
[984]
11" [280]
clearance
26-1/2"
[673]
24"
[610]
3
1
2
3
1
2
1 Electrical Connection
2 Water Connection
3 Drain Connection
Note: The GWD-24 has a exible power cord and plug for 115VAC/60/1 operation.
7
Krowne Metal Corporation |100 Haul Road |Wayne, NJ 07470
Phone: (800) 631-0442 |Fax: (973) 872-1129 |www.krowne.com
Installation
Electrical Connection
ATTENTION
A qualified electrician must connect the main incoming power to the glasswasher in accordance
with all local codes and regulations or in the absence of local codes in accordance with the
National Electrical Code.
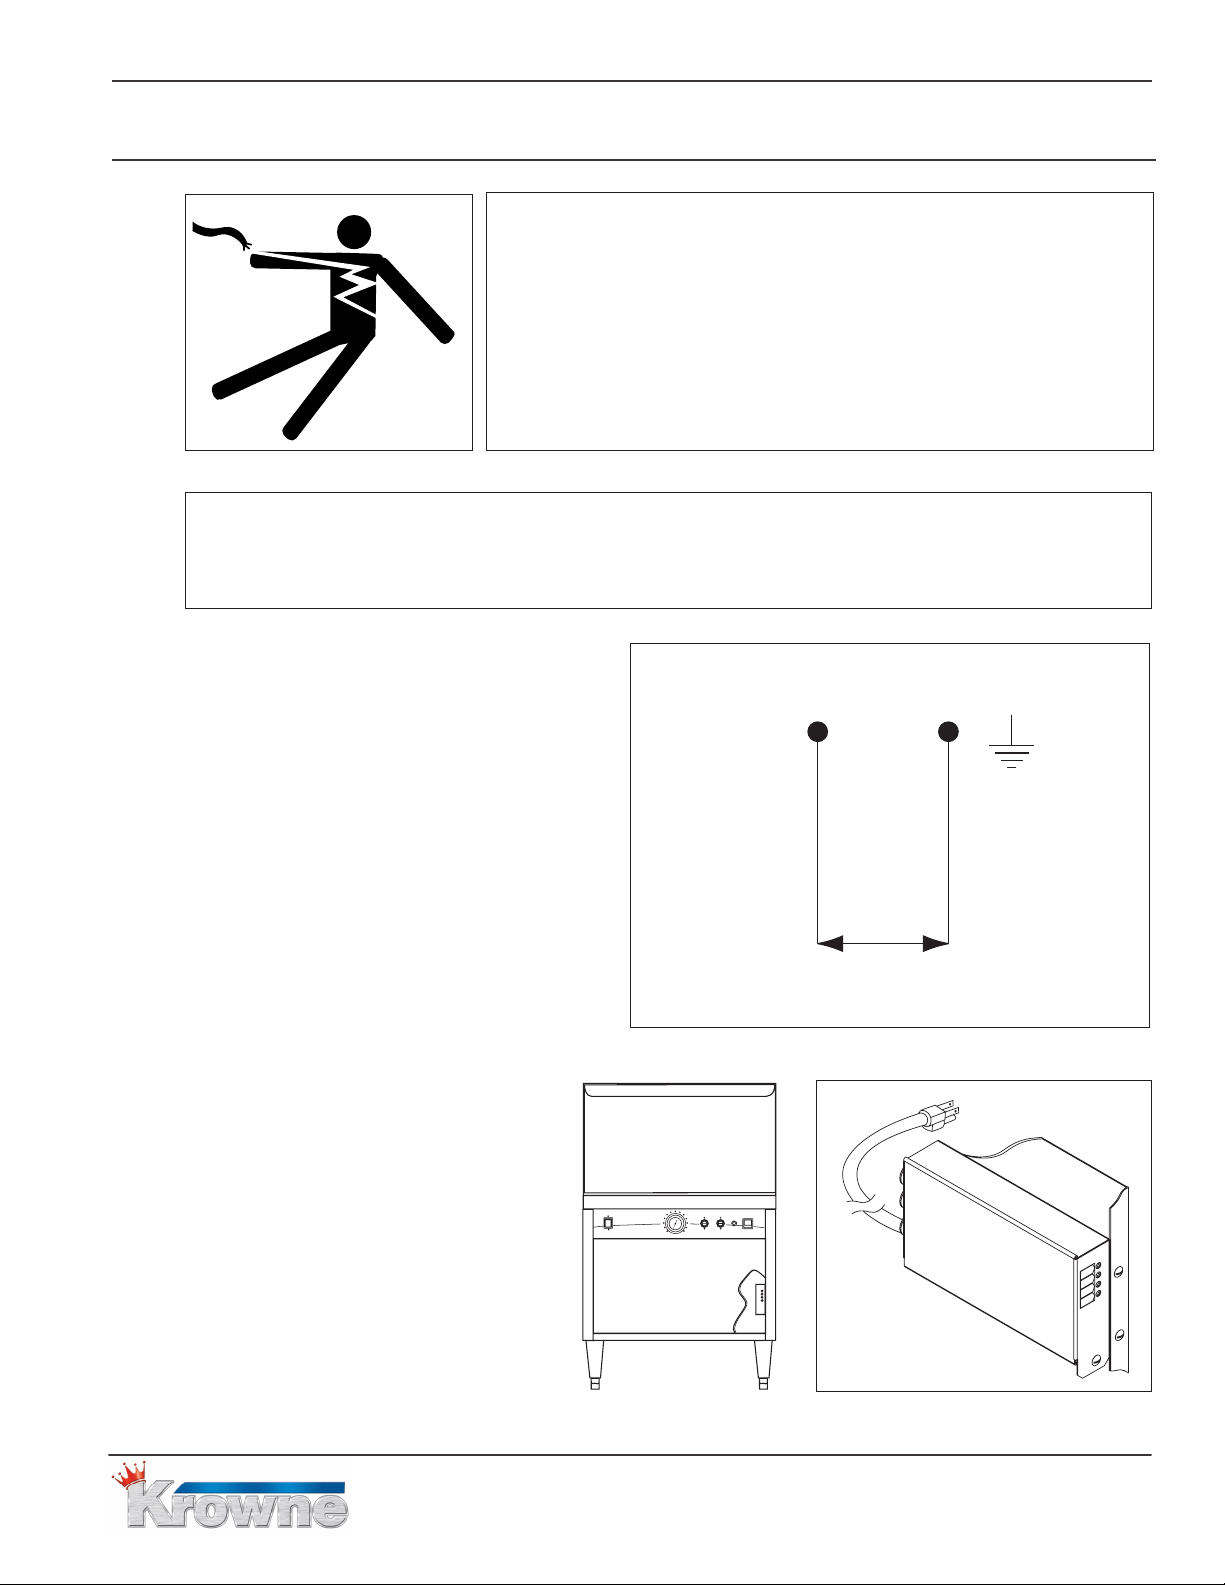
1. Glasswasher is equipped with a 4
ft. power cord and plug.
2. The power cord is prewired at the
junction box located on the front
right side of the machine behind
the lower front access panel.
3. This model requires a
115VAC,15A receptacle.
L1 L2
115VAC
15A
4 ft. power cord w/plug supplied
DET
SANI
PRIME START
TEMPERATURE
ON
I
O
POWER
OFF / DRAIN
R/A
The power cord is prewired to the junction box located at the lower
right-side of the machine behind the lower front access panel.
WARNING:
Electrocution or serious injury may result when working on an energized
circuit.
Disconnect power at the main breaker or service disconnect
switch before working on the circuit.
Lock-out and tag the breaker to indicate that work is being performed on
the circuit.

8Krowne Metal Corporation |100 Haul Road |Wayne, NJ 07470
Phone: (800) 631-0442 |Fax: (973) 872-1129 |www.krowne.com
1. The unit has a 7 ft./1.8 m exible hot water ll hose with a 3/4"
female garden hose connector.
2. A 1/2" or larger main incoming supply line should be installed to the glasswasher.
3. A 1/2" or larger shut-off valve should be installed in the main water supply as close to the
glasswasher as possible for service.
4. The machine has a built-in ow control. The incoming hot water supply pressure must be between
25-95 psi/173-655 kPa.
5. The hot water supply must provide a minimum of 140°F/60°C, measured at the glasswasher.
Installation
ATTENTION
Plumbing connections must comply with national, local plumbing and sanitary codes.
IMPORTANT
Make sure that the exible water supply and drain hoses are not kinked.
Water Connection

9
Krowne Metal Corporation |100 Haul Road |Wayne, NJ 07470
Phone: (800) 631-0442 |Fax: (973) 872-1129 |www.krowne.com
Installation
1. This unit has a 6ft. 5/8" I.D. drain hose. The maximum drain height connection must not
exceed 3 ft.[.09 m] above the nished oor.
2. The drain hose is located at the rear of the glasswasher.
3. The drain hose is secured to the rear of the machine by a clamp to maintain a goose-neck
bend in the drain hose.
DO NOT REMOVE THE DRAIN HOSE RETAINING CLAMP.
DO NOT KINK, STRETCH OR LENGTHEN THE DRAIN HOSE.
4. Install the drain hose to a "WYE" drain tting. Connection to a "TEE" tting will prevent the
glasswasher from draining completely.
5. The maximum drain ow is 15 US gpm/12.5 Imp gpm/57 Lpm.
6. Make sure the drain hose does not kink. Kinks will prevent the glasswasher
from draining completely, and the glasswasher will overow out the front door.
ATTENTION
Do not connect the drain hose to a disposer. The glasswasher will not drain correctly.
The glasswasher flexible drain hose
must be connected to a WYE fitting.
Do not connect the glasswasher
flexible drain hose to a TEE fitting.
Drain Connection
10 Krowne Metal Corporation |100 Haul Road |Wayne, NJ 07470
Phone: (800) 631-0442 |Fax: (973) 872-1129 |www.krowne.com
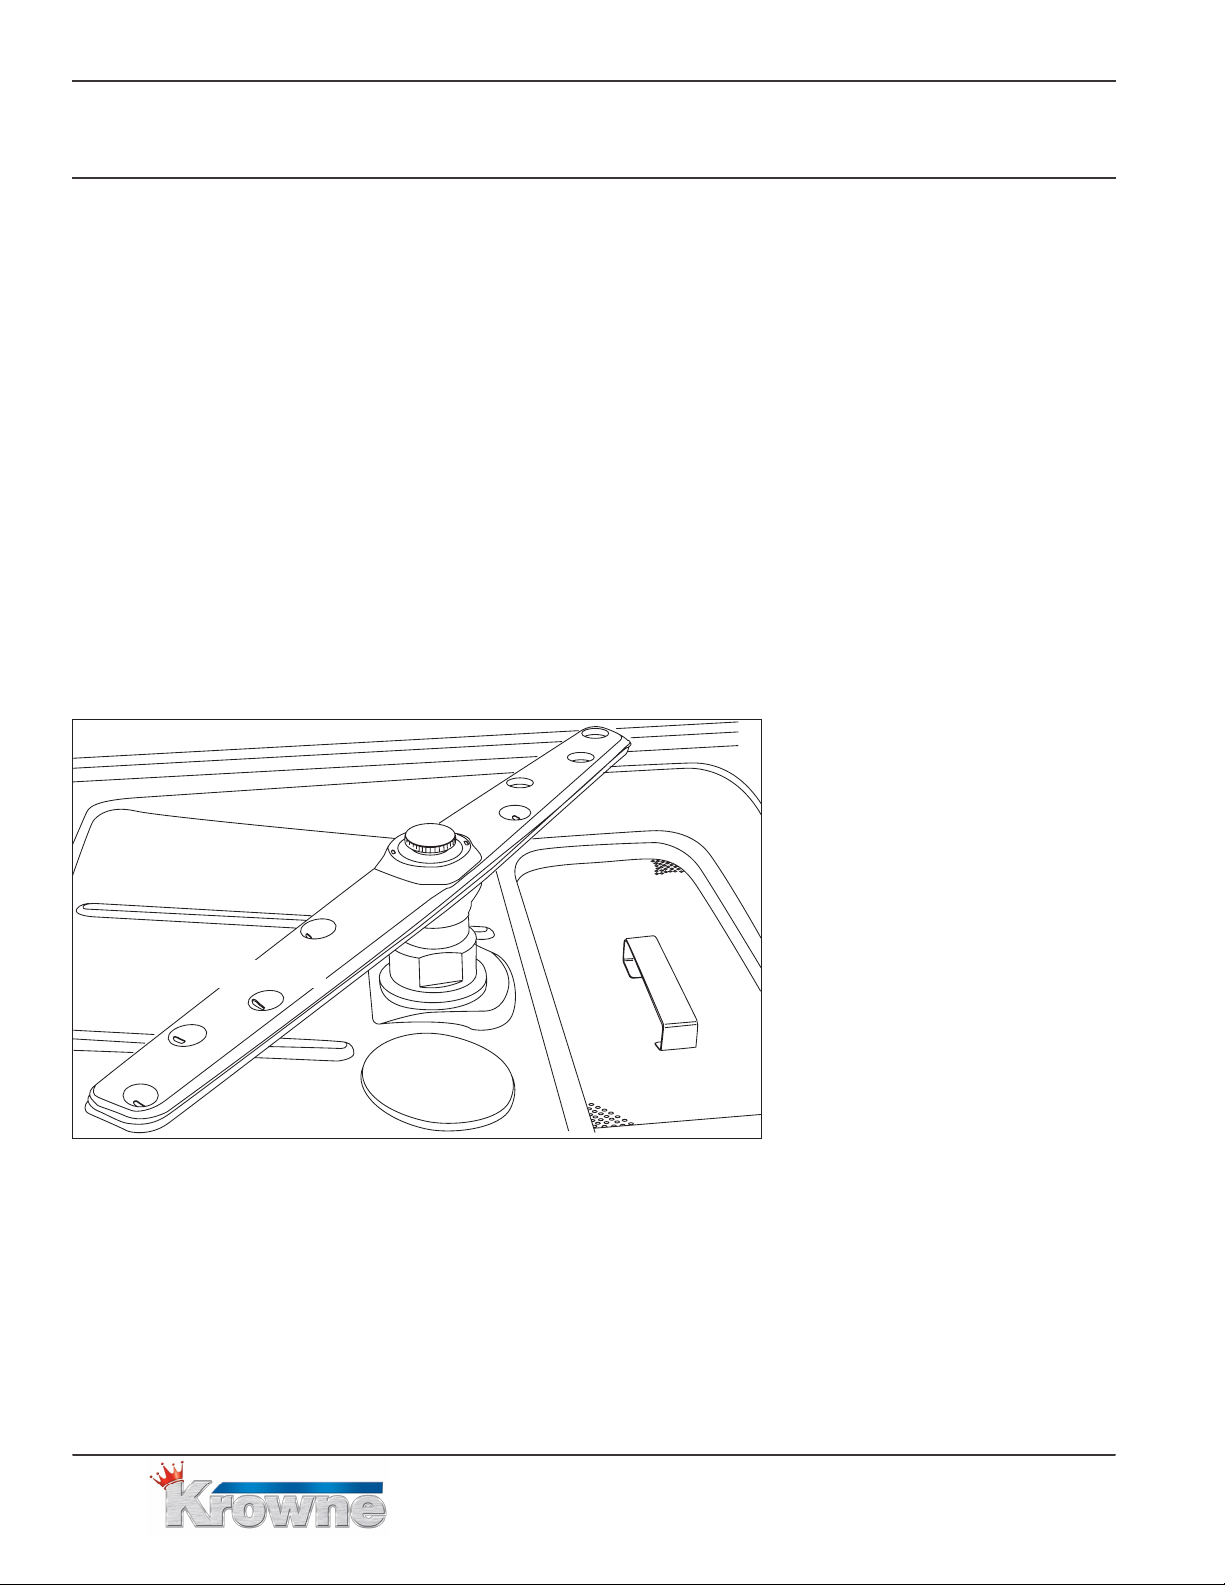
Make sure the scrap screen and spray arm are in place.
Initial Start-up
Check List
1. Make sure the glasswasher is permanently located.
2. Make sure all utility connections are complete.
3. Make sure the exible drain hose and the hot water ll hose are not kinked.
4. Remove any protective lm from glasswasher.
5. Check the interior for foreign material.
6. Remove the scrap screen and check the sump for foreign material.
7. Make sure the chemical supply containers are full and that the chemical pick-up tubes
are installed in the proper containers.
8. Make sure the scrap screen is in place.
9. Make sure the spray arm is in place and that it spins freely.
10. Close the glasswasher door.
11. Turn hot water supply on and check for leaks in the main water supply piping connected
to the glasswasher.
Scrap
Screen
Spray Arm
Inhaltsverzeichnis
Andere Krowne Spülmaschine Handbücher


