Microtek MN100 Bedienungsanleitung

User’s Manual
Operation
MN-100 Digital Camera

Copyright © 2000 Microtek International Inc.Copyright © 2000 Microtek International Inc.
Copyright © 2000 Microtek International Inc.
Allrightsreserved.
1219-20-47005
August2000
TT
TT
Trademarksrademarks
rademarksrademarks
rademarks
MicrotekTM aretrademarksofMicrotekInternationalInc. Windows®isaregistered
trademarkofMicrosoftCorporation.Allotherproductsornamebrandsare
trademarksoftheirrespectiveholders.
ImportantImportant
ImportantImportant
Important
Documentsyouscanmaybeprotectedundercopyrightlaw.Theunauthorizeduseof
suchdocuments couldbeaviolationoftherights ofthe copyrightholder.Microtek
bearsnoresponsibilityfortheunauthorizeduseofcopyrightedmaterials.
Toobtainoptimalresultsfromcamerasoftwareanduser'smanual,youshouldbe
familiarwithWindowsconceptssuchaspointing,clicking,dragging,andselecting
frommenusanddialogboxes.

Table of Contents
Package Contents..................................................................................... 1
Features................................................................................................... 2
CameraComponents................................................................................ 3
GettingReady........................................................................................ 4-5
A. Loading the Battery ....................................................................................4
B. BasicPictureTakingOperation ....................................................................5
Other Modes of Operation.................................................................... 6-9
A. 80 Shots Mode ...........................................................................................6
B. 20 Shots Mode...........................................................................................7
C. ContinuousShooting Mode........................................................................8
D. Self-Timer Mode ........................................................................................9
ErasingAllImagesfromCamera ............................................................. 10
Connecting the Camera to PC................................................................. 11
UtilitySoftwareInstallation..................................................................... 12
Installing Camera Driver and EyeStar Mail..................................................... 12
Usingthe MN100 as aDigitalCamera ..................................................... 13
Acquire ......................................................................................................... 13
AcquireAll .................................................................................................... 13
Download...................................................................................................... 13
Zoom............................................................................................................ 13
Exit...............................................................................................................13

DownloadingImages toyour PC ....................................................... 14-16
Using PhotoImpact 5.................................................................................... 14
Using PhotoExplorer6.................................................................................. 15
UsingWebMicrotekEdition.......................................................................... 16
Usingthe MN100 as a Web Cam........................................................ 17-18
A. Select Camera Source ................................................................................ 17
B.SendaVideoMail ...................................................................................... 18
Appendices ....................................................................................... 19-21
AppendixA:MN-100DigitalCameraSpecifications ....................................... 19
AppendixB: FCCStatement .......................................................................... 20
AppendixC:DeclarationofConformity ......................................................... 21

1
MN 100 Digital
Camera
4 AAA Batteries
(Alkaline is recommended)
Special USB
cable
Warranty and Quick
Reference Cards
Digital Camera CD-ROM
(Contains digital camera
software and instruction
manuals)
Package Contents
Camera Safety Strap
Tripod

2
••
••
•Compact and lightweightCompact and lightweight
Compact and lightweightCompact and lightweight
Compact and lightweight
Size::
::
: 90 x 65 x 28 mm Weight::
::
: 110g (including batteries)
••
••
•Easy to operateEasy to operate
Easy to operateEasy to operate
Easy to operate
Fixedfocuswithonlytwo-button(modeselectandshutter)operation
••
••
•Three choices of picture taking modesThree choices of picture taking modes
Three choices of picture taking modesThree choices of picture taking modes
Three choices of picture taking modes
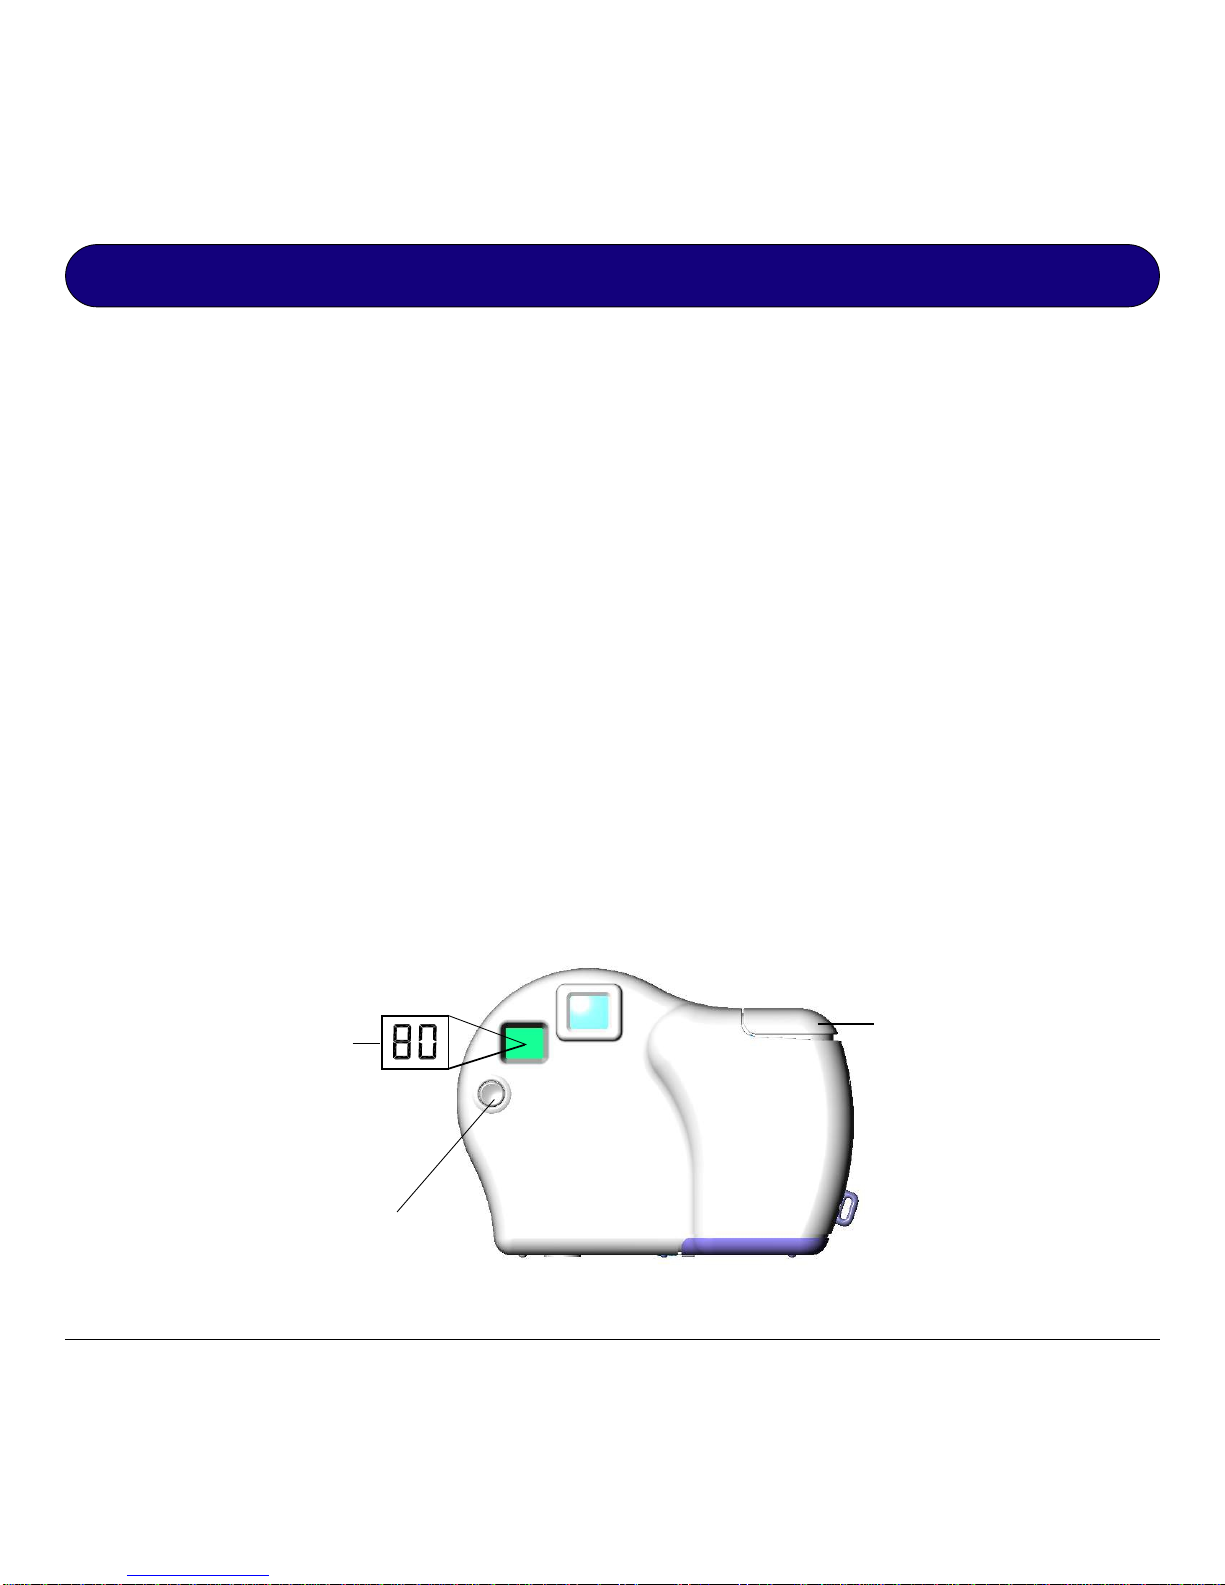
Continuousshooting mode(20or 80shotsmaximum)
Self-timermode(10secondsdelay)
CIF (20 shots) QCIF (80 shots) image recording mode (352x288 &
176x144pixelsrespectively)
••
••
•Instant image frames erasureInstant image frames erasure
Instant image frames erasureInstant image frames erasure
Instant image frames erasure
All imagescanbeclearedinstantlytostartanew picturetaking session.
••
••
•Low power consumption with auto energy-save modeLow power consumption with auto energy-save mode
Low power consumption with auto energy-save modeLow power consumption with auto energy-save mode
Low power consumption with auto energy-save mode
New batteries can take up to 1000 shots. Camera automatically enters into
"sleep"(energy-saving)modewhenitremainsinactivefor30seconds.
••
••
•Supports USB interfaceSupports USB interface
Supports USB interfaceSupports USB interface
Supports USB interface
WithUSB,downloadofimagestoyourPCisaccomplishedathigherspeed.
••
••
•Software package bundleSoftware package bundle
Software package bundleSoftware package bundle
Software package bundle
EyeStar Mail Microtek Edition (Web cam software)
The following software can be found on your Microtek Scanner CDThe following software can be found on your Microtek Scanner CD
The following software can be found on your Microtek Scanner CD
Trellix Web Microtek Edition
UleadPhotoImpact 5
UleadPhotoExplorer6
AdobeAcrobatReader
Features

3
Camera Components
SHUTTER button
LENS
BATTERY
compartment
TRIPOD mount
VIEWFINDER
GRIP
FUNCTION
MODE select
button
STRAP mount
LOCK, battery
compartment
USB port
LCD DISPLAY
panel

4
A. Loading the Battery
(4AAAsizebatteries,Alkalinerecommended)
1Unlock the battery compartment cover by
slidingitslocktoward"OPEN"position.
2Slidecompartment coveroutward (as
indicatedbythearrowshownontopofthe
cover)andopenthecover.
3Inserteachof the 4AAA batteries intoits
chambersmakingsure thatthepositive (+)
andnegative(-)endsareproperlyoriented
withthepolarityindicatedontopofeach
chamberandatthe back of the cover.
4Close and slide the battery compartment
coverback toits originalposition andlock
thecover.
WARNING
: When the LCD Panel display
starts to blink, it indicates that the batteries
power is low. Stop taking pictures and transfer the
images data to your PC within a week before the
batteries completely lose its power. Otherwise, all
the images will be erased.
Getting Ready
Correct battery polarity at outer end of
the compartment are indicated at the
back of cover or as illustrated above.
Slide toward
arrow direction
to open
Slide toward
"OPEN" to unlock
BATTERY
compartment
++
++
+
__
__
_
++
++
+
__
__
_

5
B.Basic Picture Taking Operation
NOTENOTE
NOTENOTE
NOTE
: The camera is designed without a power switch. It uses energy-saving or "sleep"
mode to control its power. If the camera is off, press the Function Mode button to turn the
camera back on.
11
11
1Withthecamerastraplooped aroundyourwrist,holdthe camerabyitsgrip.
Lookthroughtheviewfinderandsetupyourpicture.Adjustsizeofyour
compositionbyincreasingordecreasingdistancebetweencameraandsubjectbut
notnearerthanonemeter.
22
22
2Press the Shutter button to take a picture of
yoursubject.Ashortbeepsoundemitsat
each click of the shutter to confirm that a
shothasbeentakenandthecameraisready
to take the next picture.
NOTE
: 20 or 80 shots mode is available with
erase capability (see next page for details). After
each shot, the LCD Panel will show the number
of remaining shots available.
WARNING
: A warning beep (longer and lower
tone compared to normal beep) will emit if
exposure is too dark for a normal picture taking.
No image is taken when this condition occurs.

6
Other Modes of Operation
A. 80 Shots Mode
Thismodeofoperationallowsyoutotake80shotsoflower-resolutionimagesin
QCIF (176 x 144) format. To set your camera into 80 Shot mode-
11
11
1RepeatedlypresstheFunctionModebuttonuntilthe"LrLr
LrLr
Lr"iconisdisplayedonthe
LCDDisplayPanel.
22
22
2Pressthe Shutterbuttonandthe"LrLr
LrLr
Lr"icon becomes"8080
8080
80"whichwould indicate
that the 80 Shot mode is ready.
WARNING:
Switching from 80 pictures mode to 20 pictures modes will erase any images
in the camera. Please download current images before switching modes. (See section on
"Erasing Images from the Camera" in this manual).
If you attempt to continue shooting at the end of 80th shot, a repetitive beep will emit when
you press the Shutter button.
Repeatedly press this
Function Mode button
until the "LrLr
LrLr
Lr" icon is
displayed
80 Shots mode is
ready only when the
LCD Panel displays
the "8080
8080
80" icon
When the "LrLr
LrLr
Lr" icon
appears on the LCD
Panel, press Shutter to
display the "8080
8080
80" icon
Andere Handbücher für MN100
1
Inhaltsverzeichnis
Andere Microtek Digitalkamera Handbücher

Microtek
Microtek Take-it D1 Bedienungsanleitung

Microtek
Microtek Take-it D3 Bedienungsanleitung

Microtek
Microtek Take-it 350 Bedienungsanleitung

Microtek
Microtek Take-it D1 Bedienungsanleitung

Microtek
Microtek Take-it D1 Bedienungsanleitung

Microtek
Microtek Take-it S1 Bedienungsanleitung

Microtek
Microtek MKT-1300a Bedienungsanleitung

Microtek
Microtek Take-it 350 Bedienungsanleitung

Microtek
Microtek Take-it D3 Bedienungsanleitung

Microtek
Microtek Take-it D3 Bedienungsanleitung


