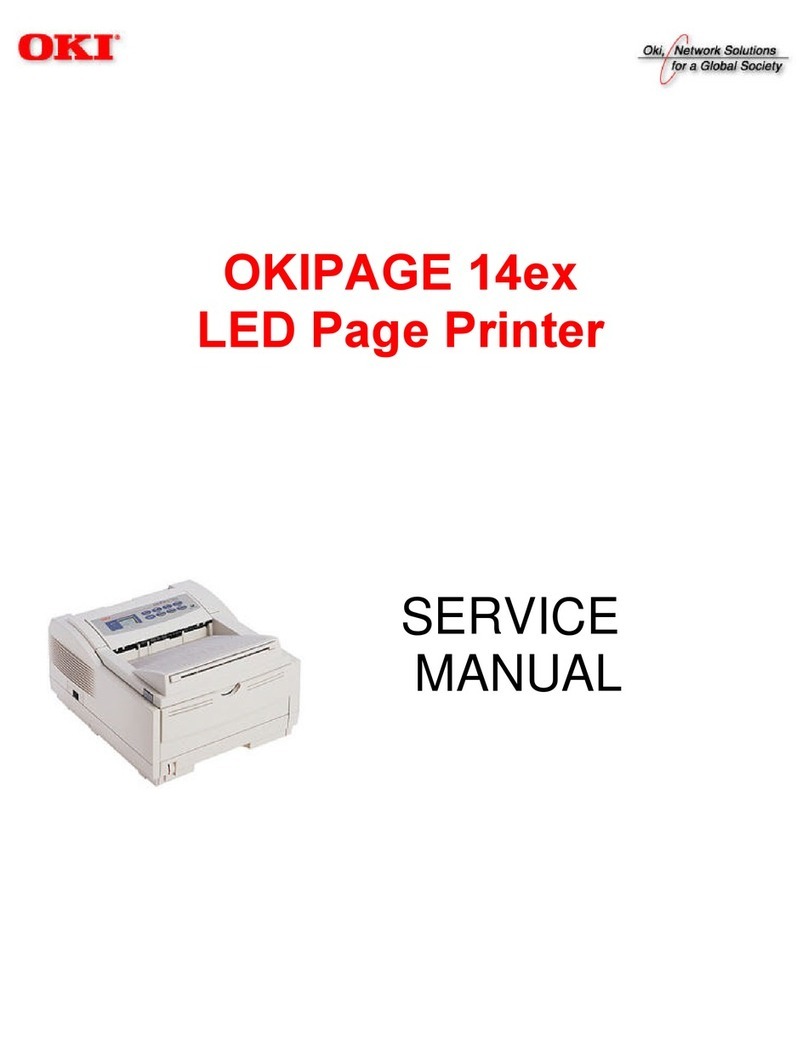
Oki OKIPAGE 16n Referenzhandbuch

1Help Guide
English
OKIPAGE
16n
Help Guide
16n_gbH.pm6 16/09/96, 17:311

2
Every effort has been made to ensure that the information in this
document is complete, accurate, and up-to-date. Oki assumes
no responsibility for the results of errors beyond its control. Oki
also cannot guarantee that changes in software and equipment
made by other manufacturers and referred to in this guide will
not affect the applicability of the information in it. Mention of
software products manufactured by other companies does not
necessarily constitute endorsement by Oki.
© Copyright 1996 by Oki.All rights reserved.
Written and produced by the Oki Documentation Dept.
Oki is a registered trademark of Oki Electric Industry Company
Ltd.
Energy Star is a trademark of the United States Environmental
Protection Agency.
Hewlett-Packard, HP, LaserJet and Intellifont are registered
trademarks of Hewlett-Packard Company.
TrueType is a registered trademark of Apple Computer
Corporation.
Microsoft is a registered trademark, andWindows andWindows
95 are trademarks of Microsoft Corporation.
16n_gbH.pm6 16/09/96, 17:312

3Help Guide
English
Contents
Safety Instructions ................................................................... 4
Important Wiring Instructions ................................................. 5
Toner Cartridge Life ................................................................ 7
When to Replace the Toner Cartridge................................. 7
Replacing Toner Cartridge .................................................. 7
Cleaning the LED Array ..................................................... 8
Image Drum Cartridge Life .....................................................9
When to Replace the Image Drum Cartridge ..................... 9
Replacing the Drum Cartridge............................................ 9
Resetting the Drum Counter ............................................. 10
Viewing and Modifying Menu Settings ................................ 11
Menu 1 .............................................................................. 12
Menu 2 .............................................................................. 15
Front Panel Button Functions ................................................ 17
Fonts ...................................................................................... 19
What Is a Font? ................................................................. 19
Printing a Font List ........................................................... 19
Using Fonts ....................................................................... 19
Status Messages..................................................................... 20
Basic Troubleshooting ........................................................... 25
Paper Jams ........................................................................ 25
Input Jam from Cassette Tray ........................................... 25
Feed Jam from Cassette Tray............................................ 26
Feed Jam Front Tray or Manual Feed............................... 27
Paper Exit Jam .................................................................. 27
Feeding Heavyweight Paper or Cardstock ....................... 28
Print QualityAdjustments for Different Paper ................. 28
Paper Size Check Messages.............................................. 29
Printer Output Garbled ..................................................... 29
Printable Area ................................................................... 29
Troubleshooting Software with Hex Dump Mode ........... 30
Clearing a Print Job .......................................................... 30
Image Drum Cleaning ...................................................... 31
Memory Options.................................................................... 32
Specifications ........................................................................ 33
Index ...................................................................................... 35
16n_gbH.pm6 16/09/96, 17:313

4
Safety Instructions
Your Oki printer has been carefully designed to give you years
of safe, reliable performance. As with all electrical equipment,
however, there are a few basic precautions you should take to
avoid hurting yourself or damaging the printer:
• Read the setup instructions in this handbook carefully. Be
sure to save it for future reference.
• Read and follow all warning and instruction labels on the
printer itself.
• Unplug the printer before you clean it. Use only a damp
cloth; do not use liquid or aerosol cleaners.
• Place your printer on a firm, solid surface. If you put it on
something unsteady, it may fall and be damaged; if you place
it on a soft surface, such as a rug, sofa, or bed, the vents
may become blocked, causing the printer to overheat.
• To protect your printer from overheating, make sure all
openingson the printer are not blocked.Donot put the printer
on or near a heat source, such as a radiator. Keep it out of
direct sunlight. Allow enough space around the printer for
adequate ventilation and easy access to the paper trays.
• Do not use your printer near water, or spill liquid of any
kind into it.
• Be certain that your power source matches the rating listed
on the back of the printer. If you are not sure, check with
your dealer or with your local power supplier.
• Your printer has an earthed, 3-pin plug as a safety feature,
and it will only fit into an earthed outlet. If you can not plug
it in, you probably have an older, non-earthed outlet; contact
an electrician to have the outlet replaced. Do not use an
adapter to defeat the earthing.
• This printer must be installed near to a power outlet switch
which shall remain easily accessible.
• To avoid damaging the power cable, do not put anything on
it or place it where it will be walked on. If the cable becomes
damaged or frayed, replace it immediately.
• If you are using an extension cord or power strip with the
printer, make sure that the total of the amperes required by
all the equipment on the extension is less than the extension’s
rating. The total ratings of all equipment plugged into the
outlet should not exceed 15 amperes.
16n_gbH.pm6 16/09/96, 17:314

5Help Guide
English
• Do not poke anything into the ventilation slots on the printer;
you could get a shock or cause a fire.
• Aside from the routine maintenance described in this
handbook, do not try to service the printer yourself; opening
the cover may expose you to shocks or other hazards.
• Do not make any adjustments other than those outlined in
the handbook you may cause damage requiring extensive
repair work.
• If anything happens that indicates that your printer is not
working properly or has been damaged, unplug it
immediately and contact your dealer.
These are some of the things to look for:
• The power cable or plug is frayed or damaged.
• Liquid has been spilled into the printer, or it has been
exposed to water.
• The printer has been dropped, or the cabinet is damaged.
• The printer does not function normally when you are
following the operating instructions.
Important Wiring Instructions
The wires in the power cable are coloured in accordance with
the following code:
Green and Yellow.......Earth
Blue .............................Neutral
Brown .........................Live
If the colours of the wires in the power cable of this printer do
not correspond with the markings of the terminals of your plug,
proceed as follows:
• Green andYellow must be connected to the terminal marked
with the letterE(or the safety earth symbol) or the terminal
coloured Green or Green &Yellow.
• Brown must be connected to the terminal marked with the
letter Lor coloured Red.
• Blue must be connected to the terminal marked with the
letter N or coloured Blue or Black.
Warning: This printer must be earthed.
If you are in any doubt regarding the wiring, please contact a
qualified electrician.
16n_gbH.pm6 16/09/96, 17:315

6
This product complies with the requirements of the Council Directives
89/336/EEC and 73/23/EEC on the approximation of the laws of the
member states relating to electromagnetic compatibility and low
voltage.
Energy Star
As an Energy Star Partner, Oki has
determined that this product meets the
Energy Star guidelines for energy
efficiency.
16n_gbH.pm6 1/23/97, 05:016

7Help Guide
English
Toner Cartridge Life
Toner cartridge life depends on the page density, the percentage
of each page that is printed black. An average business letter is
printed at between 3% and 5% density, graphics density is usually
higher. The higher the print density, the more toner is used. On
the average, a toner cartridge will produce approximately 5000
sheets at 5% print density.
The first toner cartridge you place in your printer will produce
between 2500 and 3500 sheets.This is normal, as the new image
drum reservoir and developing roller system must saturate with
toner.
When to Replace theToner Cartridge
Replace the toner cartridge after TONER LOW displays in the
control panel window.AfterTONER LOW displays, the printer
will print 100 more sheets, then display TONER EMPTY and
stop printing. Printing will resume when a new toner cartridge
is installed.
ReplacingToner Cartridge
1. Press the access cover release button and raise the access
cover to the vertical position.
WARNING
Some metal surfaces around the fuser area are
hot.Theseare clearly marked. Do not touch them.
2. Move the toner cartridge tab towards the front of the
printer to release and close the toner cartridge, and lift
the cartridge out of the printer.
16n_gbH.pm6 16/09/96, 17:317

8
3. Shake the new toner cartridge to distribute the toner. Then
remove the packaging.
4. Carefully peel off the sealing tape.
5. Insert the cartridge into the printer.
6. Push the toner cartridge tab towards the rear of the printer
to release the toner into the toner hopper.
Cleaning the LED Array
Clean the LED array each time you install a new toner cartridge.
A dirty LED array could cause faded vertical areas or light
printing down a page.
1. Remove the LED lens cleaner pad (included with the
Toner Kit) from the package.
2. Locate the LED array (1) on the underside of the printer
cover.
3. Carefully run the cleaner pad across the LED array.
Discard the pad. Close the printer cover.
Note: Extra LED cleaning pads are provided with each toner
cartridge. Clean the LED array between toner changes
if faded vertical stripes appear.
LETTER LEGAL A4 OTHER ENV
READY
ATTENTION
MANFEED
DATA
16n_gbH.pm6 16/09/96, 17:318

9Help Guide
English
Image Drum Cartridge Life
The life of the image drum depends on a number of factors,
including the operating temperature, humidity, the type of paper
you use, and the number of pages per job. Each time you print or
power on/off, the drum has to rotate to start up and to wind down.
As a result, frequent one page print jobs will wear down your
drum more quickly than multiple-page print jobs. The image
drum cartridge should last approximately 19,000 pages at 3 pages
per job, or up to 30,000 pages if you print mostly larger jobs.
When to Replace the Image Drum Cartridge
When the image drum reaches 90% of its life, the CHANGE
DRUM message will display in the control panel window.
Change the image drum cartridge when the print becomes faint
or begins to deteriorate. Ideally you should keep a new cartridge
on hand.
Replacing the Drum Cartridge
Precautions:
The image drum is fragile. To avoid damage to the new
drum, take these precautions while handling the new
image drum cartridge:
• Do not touch the green drum surface.
• Do not set the cartridge down on anything that might
scratch the surface of the drum.
• Do not expose the drum to direct sunlight and do not
expose it to room light for more than 5 minutes. Leave it
in the package until you are ready to install it into the
printer.
1. Press the OPEN button and lift the cover.
16n_gbH.pm6 16/09/96, 17:319

10
2. Lift out the used image drum cartridge with toner
installed.
3. Remove the new image drum from the package.
4. Remove the protective paper.
5. Install the new image drum cartridge into the printer
placing the alignment pins on each end into the slots in
the printer.
Resetting the Drum Counter
After replacing the image drum cartridge, reset the drum counter
to keep a correct count of the number of pages printed on the
image drum.
1. Turn the printer on while holding the MENU1/Menu2
button.USERMNTdisplays in the control panel window.
2. Press MENU 1/Menu2 three times. DRUM CNT
RESET displays.
3. PressENTER. The counter will reset and the printer will
go On-Line.
6. Remove the shipping insert from the toner well and
discard. Reset the drum counter (see below), and install
a new toner cartridge following the instructions in the
previous section.
LETTER LEGAL A4 OTHER ENV
READY
ATTENTION
MANFEED
DATA
16n_gbH.pm6 16/09/96, 17:3110
Inhaltsverzeichnis
Andere Oki Drucker Handbücher

Oki
Oki ML690 Kurzanleitung

Oki
Oki C7300 Bedienungsanleitung

Oki
Oki B4100 Bedienungsanleitung

Oki
Oki OKIPAGE 8c Plus Bedienungsanleitung

Oki
Oki c332 Bedienungsanleitung

Oki
Oki B4500 Series Bedienungsanleitung

Oki
Oki C5500n Series Betriebsanleitung

Oki
Oki B4300 Firmware-Update

Oki
Oki C7350hdn Betriebsanleitung

Oki
Oki 10i Bedienungsanleitung

Oki
Oki C6150n Bedienungsanleitung

Oki
Oki C6100dn Bedienungsanleitung

Oki
Oki C3400n Bedienungsanleitung

Oki
Oki OKIPOS X400 Bedienungsanleitung

Oki
Oki Microline 3410 Bedienungsanleitung

Oki
Oki C610 Series Kurzanleitung

Oki
Oki ML3390 Betriebsanleitung

Oki
Oki LP470s Bedienungsanleitung

Oki
Oki C3600n Bedienungsanleitung

Oki
Oki C3200n Service-Handbuch