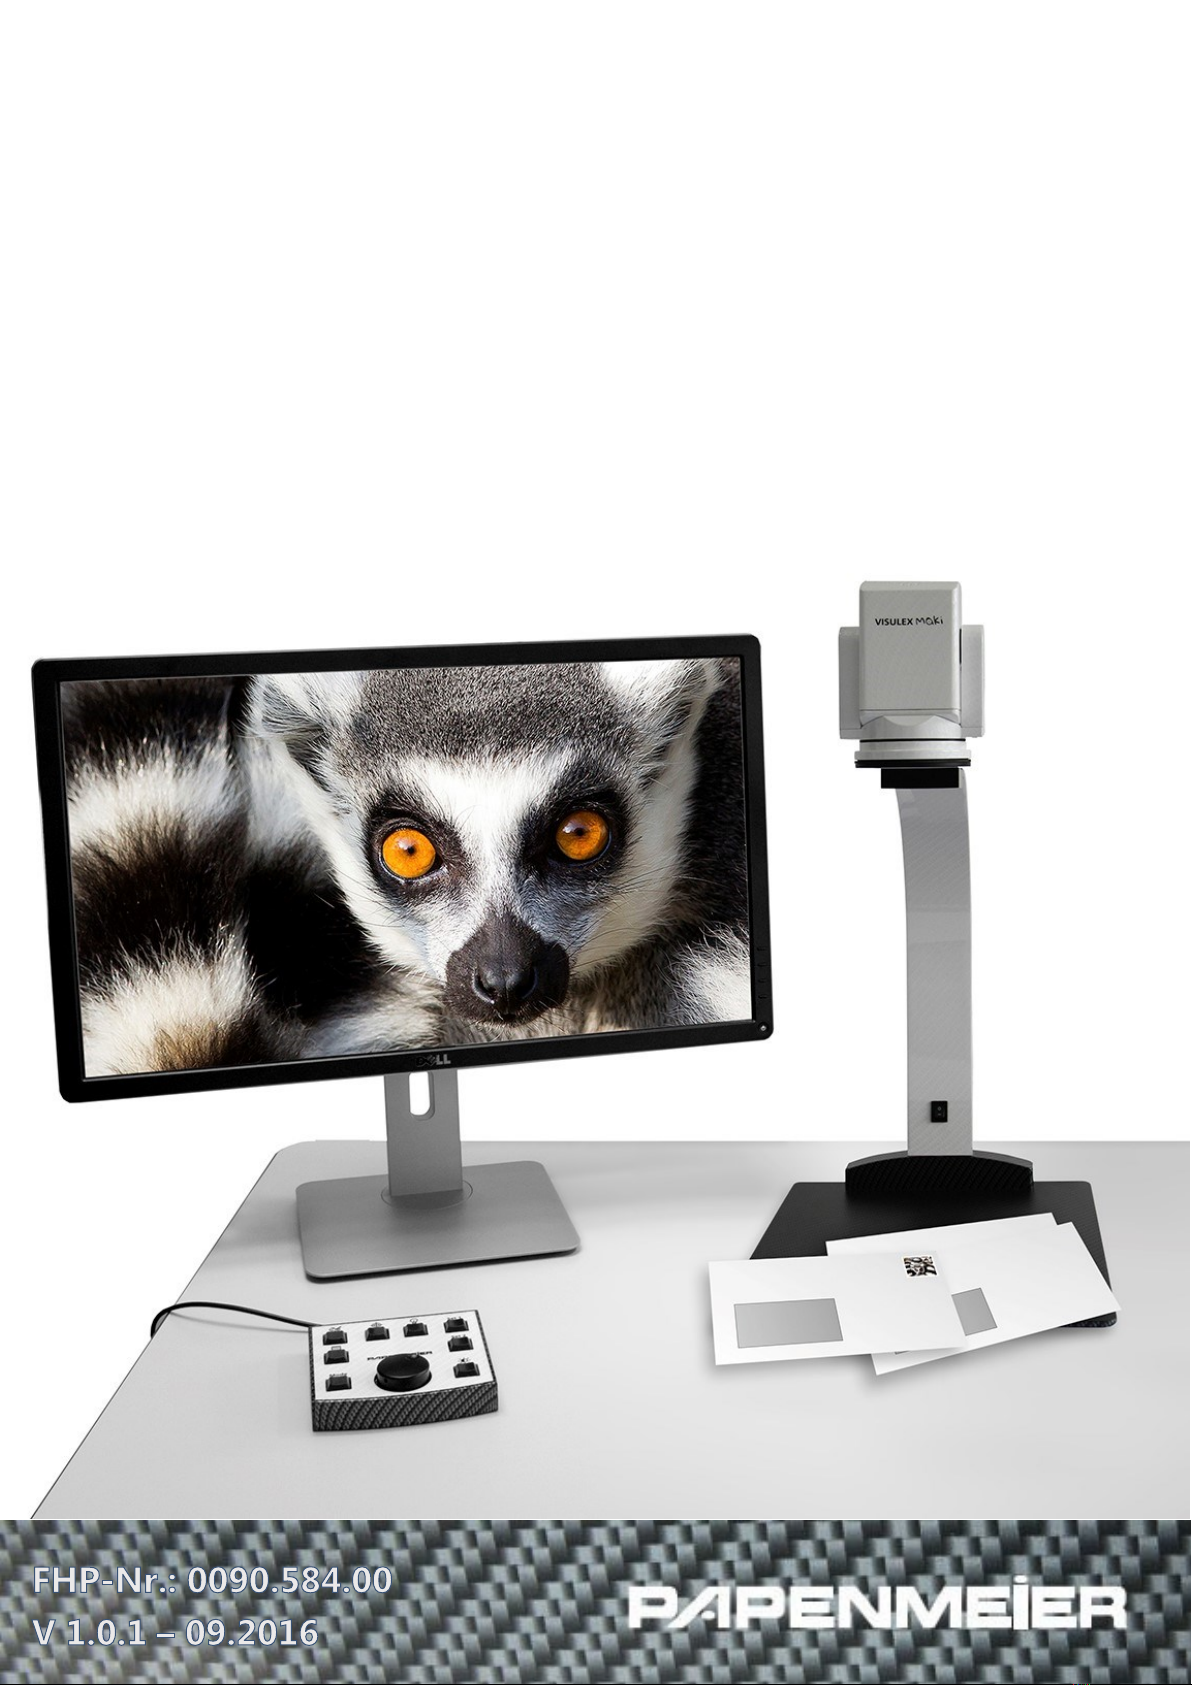
Papenmeier VISULEX Maki Bedienungsanleitung

VISULEX Maki
User’s Manual


INTRODUCTION .......................................................... 7
Scope of Delivery...................................................... 8
Address...................................................................... 8
Copyright .................................................................. 8
VISULEX MAKI............................................................. 9
Getting Started with VISULEX Maki ....................... 9
Installation and Operation .................................................9
Connectors at the Camera Arm........................................9
Moving the camera ................................................ 10
Control Panel .......................................................... 11
Operating Concept ............................................................ 11
Zoom....................................................................................... 12
Key 1 –Colour modes....................................................... 13
Key 2 –Lines and Curtains .............................................. 14
Key 3 –Mirroring................................................................ 16
Key 4 - Overview / Focus ................................................. 16
Key 5 –LED-Light ............................................................... 18
Key 6 –Set 1......................................................................... 18
Key 7 –Set 2......................................................................... 18
Key 8 –Image parameters............................................... 19
Key 8 –Toggle (optional).................................................. 19
Standby-Modes ...................................................... 20
The on-screen menu............................................... 21
Default Values...................................................................... 22
White Balance ...................................................................... 22
Sounds.................................................................................... 23
Language............................................................................... 23
Standby .................................................................................. 24
Info........................................................................................... 24

OPTIONAL COMPONENTS ....................................... 25
Low Vision Controller............................................. 25
Installation............................................................................. 25
Operation .............................................................................. 25
PC Software............................................................. 27
Installation............................................................................. 27
Operation .............................................................................. 27
Hotkeys .................................................................................. 30
APPENDIX.................................................................. 32
Service ..................................................................... 32
Saftey Advice .......................................................... 32
Service and Maintenance....................................... 33
Purpose of the Device............................................ 33
General Precautions ............................................... 34
Technical Data ........................................................ 35
Copyright ................................................................ 35
CE-Marking ............................................................. 36

Copyright F.H. Papenmeier GmbH & Co. KG
All rights reserved.
User's manual VISULEX Maki
As of: 09.2016
This User’s Manual is protected by copyright belonging
to F.H. Papenmeier GmbH & Co. KG, with all rights
reserved. The User’s Manual may not be copied in whole
or in part, without written consent from F.H. Papenmeier
GmbH & Co. KG.
Changes and/or improvements of this product are
subject to change without prior notice.


7
Scope of Delivery
Introduction
Thank you for purchasing
VISULEX Maki.
VISULEX Maki offers a pin-sharp smooth
moving image. This can be achieved by Full-HD
resolution with 60 frames per second. Smallest fonts will
be presented in an easily legible way by means of the
optical 30-times zoom. Thanks to modern LED-
technology and to using polarizing filters, you will obtain
optimum illumination at minimum reflections.
VISULEX Maki offers high flexibility because of its
compact size and reduced weight. An optional table
clamp provides additional space at your working place.

8
Scope of Delivery
8
Scope of Delivery
VISULEX Maki ships with the following components:
Base plate
Camera arm
Control panel
Power supply unit
Manual
Cross table
Table clamp (optional)
Switch box (optional)
Low Vision Controller(optional)
Software (optional)
Address
F.H. Papenmeier GmbH & Co. KG
Talweg 2
58239 Schwerte, Germany
Internet: http://www.papenmeier.de/reha
Phone: +49-2304-946-0
Copyright
VISULEX® is a registered trademark of
F.H. Papenmeier GmbH & Co. KG.

9
Getting Started with VISULEX Maki
VISULEX Maki
Getting Started with VISULEX Maki
Installation and Operation
Please position the base plate on a plain surface at your
working place. Release the thumbscrew. Place the
camera arm into the base plate so that the camera head
will be located above the base. Please fix the camera arm
by means of the thumbscrew.
Connectors at the Camera Arm
Please position the control panel in a way that you can
reach it without any difficulties. Connect the PS/2 cable
of the control panel to the PS/2 port at the camera arm.
Note: Do connect only the control panel which is
included in the delivery scope to the camera arm.
Other connected devices may lead to irreparable
damages.
Connect monitor and camera arm by means of a DVI-
cable.
Finally, plug the power adapter into a power socket and
place the connector into the port at the camera arm.
Now, your VISULEX Maki is ready to be used and can be
switched on.

10
Moving the camera
10
Moving the camera
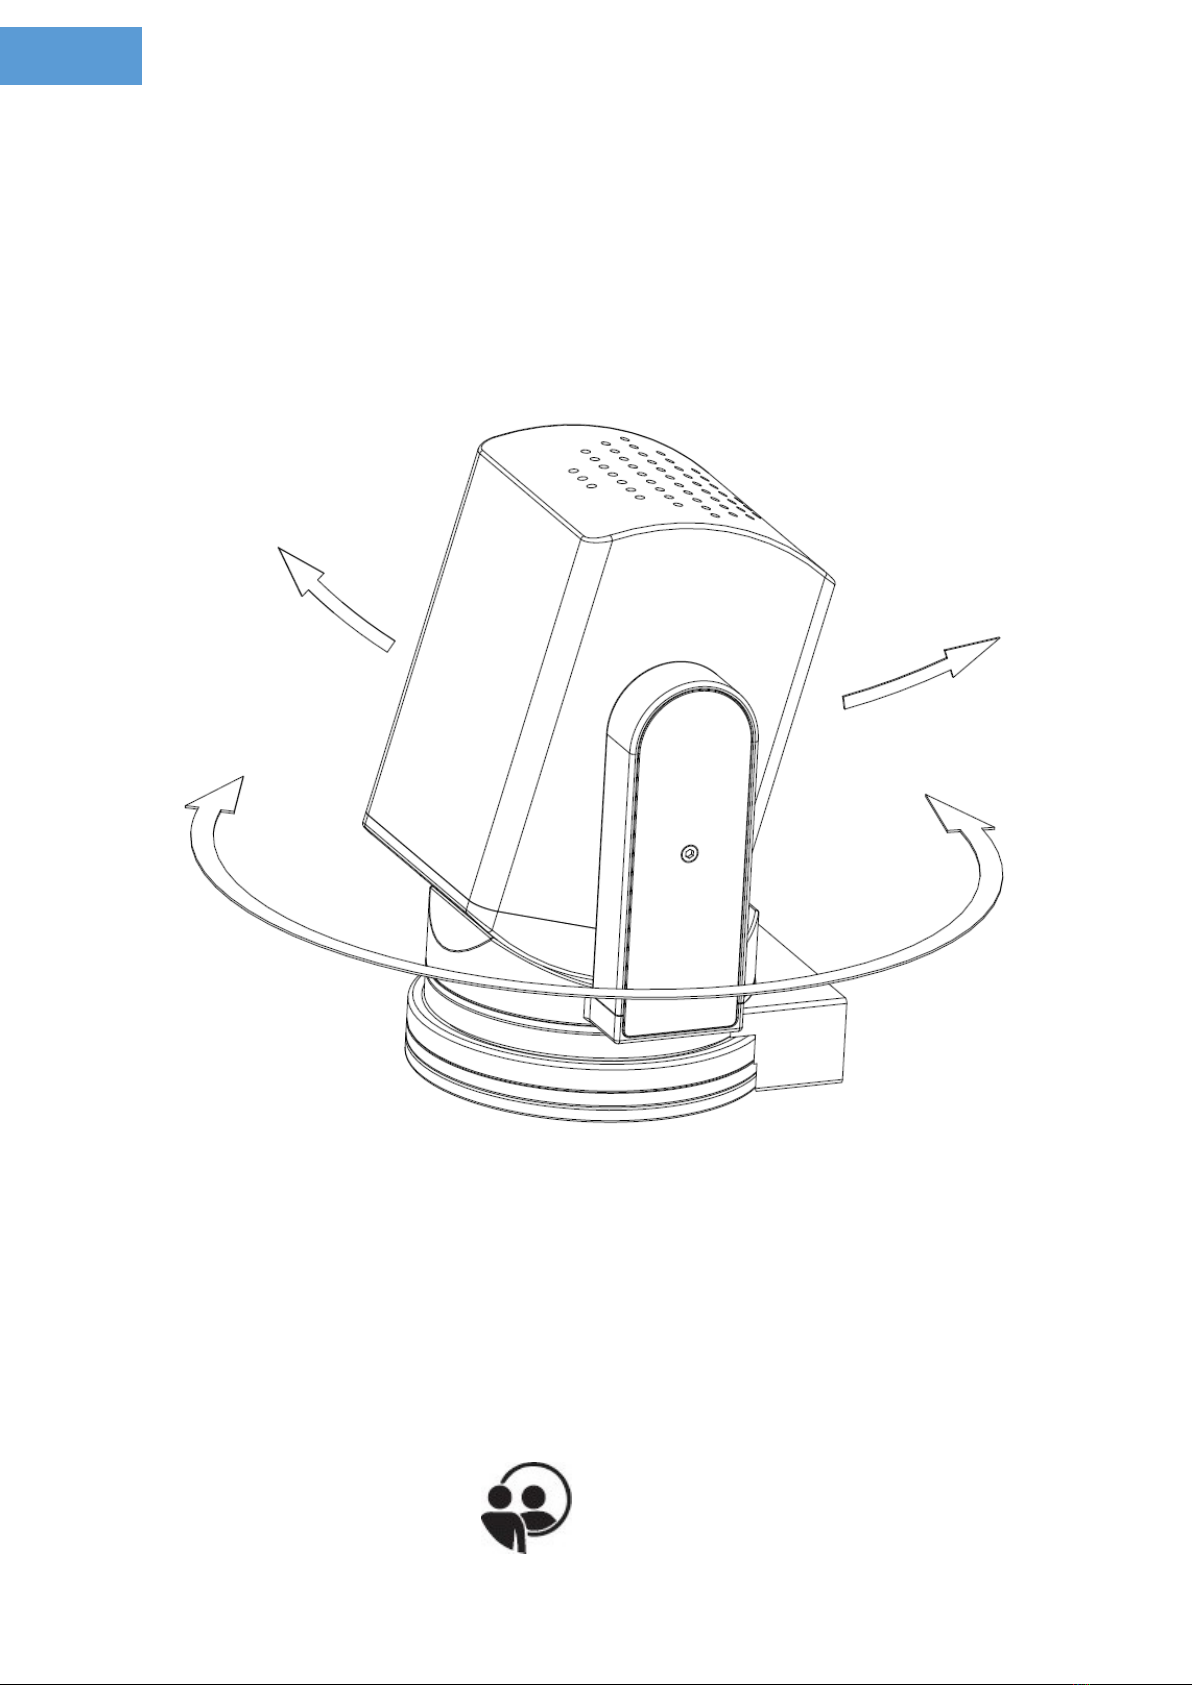
The camera arm is firmly connected to the base plate
and cannot be turned.
However, you can turn the camera head by 110 degrees
in each direction: To the right, to the left, forward and
backward respectively. Every direction has got a stop.
In order to view objects located further away (like
blackboards) please turn the camera head forward
towards the board.
When you turn the camera head towards you, the
display will be upside down. Please activate the mirror
mode in order to flip the picture.
Please press the key
Inhaltsverzeichnis
Beliebte Vergrößerungsglas Handbücher anderer Marken

HIMS
HIMS SenseView DUO Bedienungsanleitung

nedis
nedis MAGL12WWT Bedienungsanleitung

Ryobi
Ryobi RML18-0 Bedienungsanleitung

Eschenbach
Eschenbach Visolux Digital XL FHD Bedienungsanleitung

ENHANCED VISION
ENHANCED VISION Merlin Bedienungsanleitung

Ash Technologies
Ash Technologies Andromeda Bedienungsanleitung