Rail King Y6b 2-8-8-2 Bedienungsanleitung

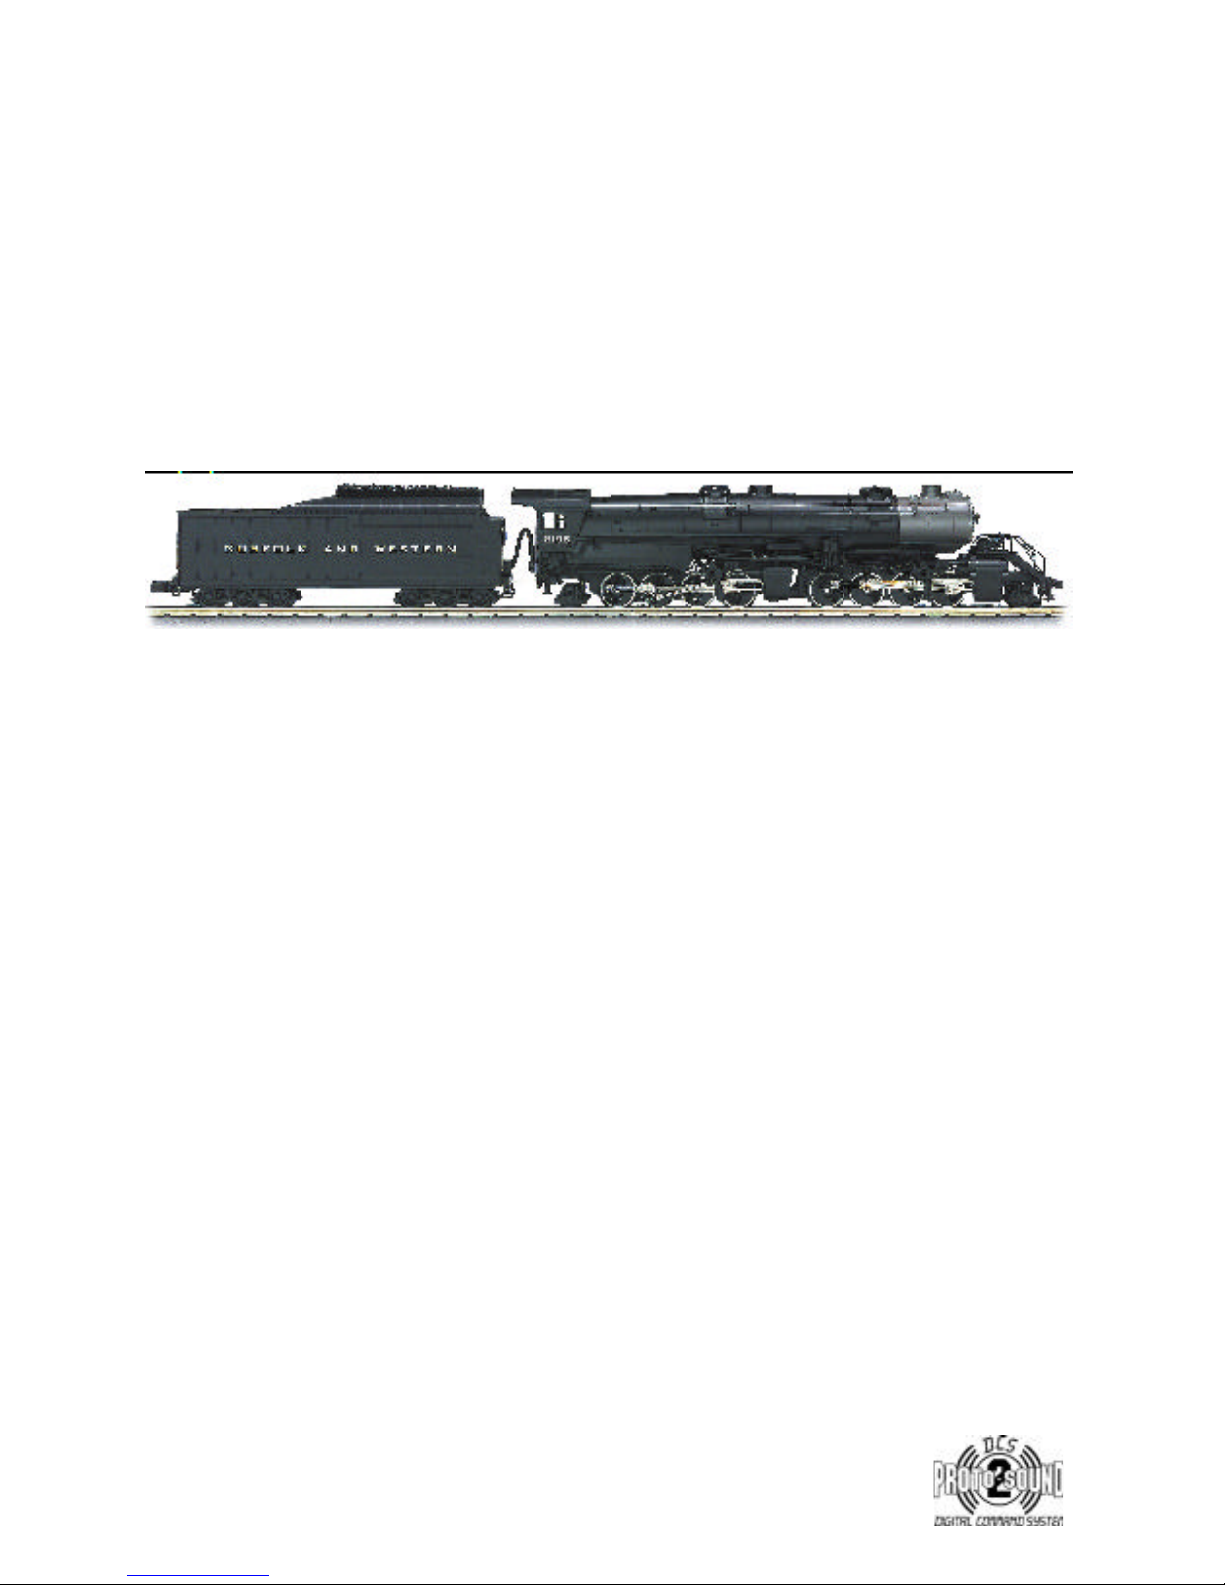
RAILKING Y6b 2-8-8-2
STEAMENGINE
OPERATING INSTRUCTIONS
This RailKing Y6b 2-8-8-2 Steam Engine is produced in detailed Die-Cast Metal and
operates on O-31 track.
This RailKing Steam Engine contains state-of-the-art electronics
with many built-in automatic features for incredibly realistic operation. Despite these
advanced features, the locomotive is easy to operate with any compatible standard AC
transformer (see the compatibility chart on page
18), and is completely compatible with
most other 3-rail locomotives, rolling stock, and accessories.
This locomotive is equipped with Proto-Sound 2.0 with Digital Command System
(DCS). This new system will allow you to operate your locomotive in Command mode
(when used with the DCS Remote Control System, sold separately) or Conventional
mode. Conventional operating features are described in the following pages, while the
DCS operating features are covered in the set of operating instructions that
accompanies the DCS equipment.
Conventional Mode operation of this locomotive is
much simpler than operation of original Proto-Sound engines. For your own safety and
that of your equipment, please read the instructions before you operate this engine.

2
RailKing Y6b 2-8-8-2 Steam Engine
Table of Contents
Set Up 3
Basic Operation 4
Throttle 4
Operation Buttons 4
VolumeControl 4
Proto-Sound 2.0 Operation 5
Activating Proto-Sound 2.0 Conventional Mode Features 5
Freight Yard Sounds (FYS) 6
Tips on Using FYS 7
Proto-Coupler
®Operation 8
Speed Control 8
Lock into a Direction State 9
Reset to Factory Defaults 9
Automatic Sounds 9
Maintenance 10
Lubrication and Greasing Instructions 10
Cleaning the Wheels, Tires and Track 11
Locomotive Traction Tire Replacement 11
Smoke Unit Maintenance 12
Locomotive Light Bulb Replacement 13
Self-Charging Battery Back-Up 14
Troubleshooting 15
Compatibility 17
Transformer Compatibility Chart 18
Additional Features with DCS Remote Control System 19
Safety Precautions 21
Service and Warranty Information 24

3
RailKing Y6b 2-8-8-2 Steam Engine
Set Up
There are a few simple steps you must take before operating this RailKing
steamer.
1. You should prime the operating smoke unit with smoke fluid before
operating. Add 15-20 drops of smoke fluid through the smokestack, then
gently blow into the stack to eliminate any air bubbles in the fluid. See Fig.
4.
2. If you choose not to prime the unit with fluid, turn the smoke unit switch
located under the engine to the OFF position (Fig. 5).
Running the engine
without a primed smoke unit may cause damage.
See the “ProtoSmoke
Unit Operation” section of this book for more information on smoke unit
maintenance.
3. You should lubricate all side rods and linkage components and pickup
rollers to prevent them from squeaking. Lightly grease the outside idler and
drive gears (marked “G” in Fig. 3 on page 10) to prevent them from squeaking.
Use light household oil and follow the lubrication points marked “L” in Fig. 2
on p.
10 . Do not over-oil. Use only a drop or two on each pivot point.
4. Put your engine on the track and insert the reverse unit plug that extends out
of the tender into the receptacle at the back of the engine.
WARNING: DO
NOT CONNECT THIS ENGINE TO A TENDER FROM ANOTHER
ENGINE; IT MAY CAUSE SERIOUS DAMAGE.
Look at the bottom of
the engine and tender where each will have a color-coded stamp. If they match
you may connect those two pieces; if not, don’t.
5. Connect the draw bar between the engine and tender.
At this point, you are ready to begin running your engine.

4
RailKing Y6b 2-8-8-2 Steam Engine
Basic Operation
Throttle – Throttle up the power to your track. Give about 10-12 volts or
enough power so that the engine’s headlight shines brightly. Then put the
engine into motion by either firmly pressing the Direction button on your
transformer or remote once or dropping and advancing the throttle to put the
engine in forward.
Operation Buttons
Use the operation buttons on your transformer as described below.
Horn/Whistle - To sound the whistle, firmly press the Horn/Whistle button.
The whistle will sound for as long as you continue to depress the button. It
will stop when you release the button. The whistle has four different endings,
depending on whether you hold the button for less than three seconds, three
seconds, four seconds, or five seconds or longer.
Bell - To sound the bell, firmly press and release the Bell button. To turn the
bell off, press and release the Bell button again. The bell will continue to ring
from the time you turn it on until you press and release the button again to turn
it off.
Direction – Your train is programmed to start in neutral. The first direction
after neutral upon start-up is forward. Firmly press and release the Direction
button to allow the engine to move forward. Just as you must stop your
automobile between forward and reverse, this engine will not go directly from
forward to reverse; it goes into neutral between directions. If the train has been
moving forward, the first press of the Direction button will put the train from
forward into neutral, the second press into reverse, the third press back into
neutral, and the fourth back into forward. To prevent accidental high-speed
start-ups, this engine is programmed to restart in neutral each time the track
voltage is turned off for 25 seconds or more.
Volume Control –To adjust the volume of all sounds made by this engine,
turn the master volume control knob located under theengine clockwise to
increase the volume and counter-clockwise to decrease the volume (see Fig. 1).
Proto-Sound2.0
VolumeAdjustmentKnob
Figure 1. Adjusting the Proto-Sound 2.0 Volume Level

5
RailKing Y6b 2-8-8-2 Steam Engine
Proto-Sound 2.0 Operating Instructions
This manual contains the operating instructions for Proto-Sound 2.0 in
conventional mode only. Instructions for accessing DCS command mode
features accompany the DCS Remote Control System equipment.
Because Proto-Sound 2.0 is an all-new system developed by M.T.H.’s own
research and development team, it operates differently from original
Proto-Sound. Most Proto-Sound 2.0 features are automatically enabled, and
the reset state has been eliminated, so there is no need to program features as
with original Proto-Sound. Although the new system is easier to operate than
original Proto-Sound, you should read these instructions thoroughly before
using Proto-Sound 2.0 features in order to prevent harm to yourself or your
equipment.
Activating Proto-Sound 2.0 Conventional Mode Features:
Proto-Sound 2.0 features are activated by sequences of Bell and Whistle
button pushes described below. Please read the full descriptions of each
feature before using it. To use these buttons to activate features rather than to
blow the whistle or ring the bell, you should press the buttons for a shorter
time (1/2 second); you may need to practice your timing to make this work
smoothly.

6
RailKing Y6b 2-8-8-2 Steam Engine
Freight Yard Sounds (FYS):
Your engine is equipped with a sound package of freight yard sounds that you
can play when you pull into a yard. Each sequence described below will play
as long as it is left on, randomly generating sounds, but be sure to allow
approximately 30 seconds between the button pushes described below to
allow the FYS sufficient time to run through each sequence.
1. To cue the sound system to play the FYS, quickly but firmly press the Bell
button once followed by 2 quick presses of the Whistle button while the engine
is moving.
2. Press the Direction button or drop and advance the throttle once to stop the
engine. This will trigger the first sequence of FYS. The reverse unit is
temporarily disabled so that the train will not move as you use the Direction
button to trigger the sounds, and Proto-Sound 2.0 has disabled operator control
over the Whistle and Bell buttons until the full FYS sequence is complete.
3. After waiting about 30 seconds for that sequence to run, press the Direction
button again to trigger the second sequence of FYS.
4. After about 30 seconds, press the Direction button again to trigger the third
FYS sequence.
5. Again, after allowing about 30 seconds for that sequence to run, press the
Direction button one more time to trigger the fourth and final FYS sequence.
The FYS will continue, and within a few seconds, the engine will start and
move out on its own at the current throttle setting, in the same direction it was
traveling when you began the sequence. Once the bell turns off, the operator
regains control of the transformer’s bell and whistle buttons and can ring the
bell or blow the whistle as usual.

7
RailKing Y6b 2-8-8-2 Steam Engine
Tips on Using FYS
• You can terminate FYS at anytime by turning off power to the
track for 15 seconds.
• You do not have to be in Forward to use FYS. At the conclusion
of the full sequence, the train will pull away from the station in
whatever direction you were going when you activated the
feature.
• You can use FYS even if you are double-heading with another
engine. If the second engine is not equipped with FYS at all, you
must remember not to leave the throttle at a high voltage level
once you have stopped the engine to run the FYS. Otherwise, the
engine without FYS will begin vibrating on the track as its motors
strain to move the train, since they cannot be automatically
disabled during the FYS cycle. If the second engine is an original
Proto-Sound engine equipped with FYS, you may choose to
disable it when used in double-heading operations, so you will not
experience competing FYS sounds. To disable FYS in an original
Proto-Sound engine, see the operating instructions for that engine.
• FYS can be triggered from Neutral. It will operate the same as if
triggered while in motion except that, at the conclusion of the
FYS, the engine will depart in the next direction of travel, as
opposed to the direction it was traveling before entering Neutral.

8
RailKing Y6b 2-8-8-2 Steam Engine
Proto-Coupler®Operation
This locomotive is equipped with one coil-wound Proto-Coupler for remote
uncoupling action. Because Proto-Couplers are controlled through the
Proto-Sound 2.0 microprocessor, they do not require an uncoupling track
section or modification to your layout to function. You can fire a coupler from
neutral or while in motion. Use the code shown below (and in the chart on p.
5) to fire the coupler.
Rear Coupler:
To fire the rear coupler, press the Bell button once followed immediately by
three pushes of the Whistle button. The sound of the liftbar and air line
depletion will play, and the knuckle will be released.
Speed Control:
M.T.H. engines equipped with Proto-Sound 2.0 have speed control capabilities
that allow the engine to maintain a constant speed up and down grades and
around curves, much like an automobile cruise control. You can add or drop
cars on the run, and the engine will maintain the speed you set.
While the engine is programmed to start with the speed control feature
activated, you can opt to turn it off. This means the engine’s speed will fall as
it labors up a hill and increase as it travels downward. It is also affected by the
addition or releasing of cars while on the run.
To turn speed control on and off, put the engine in neutral, then press the
transformer’s Whistle button one time then immediately press the Bell button
two times. Two whistle blasts will indicate that the engine has made the
change. Repeat the 1 whistle, 2 bells code to return it to the other state. You
will want to do this during the initial neutral upon start-up if you ever
couple this engine to another engine that is not equipped with speed
control to avoid damaging the motors in either engine. Each time you shut
down the engine completely, it will automatically turn speed control on.
Note: When speed control is turned off, the Proto-Sound 2.0 system will limit
the volume in order to operate more smoothly at lower voltages. Full volume
is restored upon reactivating speed control.

9
RailKing Y6b 2-8-8-2 Steam Engine
Lock into a Directional State:
You can lock your engine into a directional state (forward, neutral, or reverse)
so that it will not change directions. To do this, put the engine into the
direction you want (or into neutral to lock it into neutral), run it at a very slow
crawl (as slowly as it will move without halting), and quickly but firmly press
the Horn button once followed immediately by three presses of the Bell button.
Two horn blasts will indicate that the engine has made the change.
The engine
will not change direction (including going into neutral) until you repeat the 1
horn, 3 bells code to return the engine to its normal state, even if the engine is
kept without power for extended periods of time.
Reset to Factory Defaults:
To override the settings you currently have assigned to the engine and reset it
to its factory defaults, while in Neutral press the Whistle button once, followed
immediately by five quick pushes of the Bell button.
Two whistle blasts will
indicate that the engine has made the change.
Automatic Sounds:
Certain Proto-Sound 2.0 sound effects automatically play in programmed
conventional mode conditions:
• Squealing Brakes
play any time the engine’s speed decreases rapidly.
• Cab Chatter
plays at random intervals when the engine idles in neutral.
• Engine Start-up and Shut-down
sounds play when the engine is initially
powered on or is powered off for five seconds or more.

10
RailKing Y6b 2-8-8-2 Steam Engine
Maintenance:
Lubrication and Greasing Instructions
The engine should be oiled and greased in order to run properly.
You should regularly lubricate all side rods and linkage components and
pickup rollers to prevent them from squeaking. Use light household oil and
follow the lubrication points marked “L” in Fig. 2. Do not over oil. Use only
a drop or two on each pivot point.
The locomotive’s internal gearing was greased at the factory and should not
need additional grease until after 50 hours of operation or one year, whichever
comes first. To access the gear box, do the following:
1. Turn the engine upside down.
2. Remove the body mounting screws to remove the boiler. Remove the motor
mount screws (see figure 3). Separate the motors from the chassis.
3. Use a grease tube dispenser to put a small amount (approx. 1-2 ml.) of
lithium-based grease into the gearbox.
4. Replace the screws and reassemble.
Lubricate Pick Up Roller (L)
Lubricate Side Rods (L)
LubricatePickUpRoller(L)
Figure 2. Lubrication Points on the Engine
Body Mount Screws
BodyMountScrews
Motor Mount Screws (G) Motor Mount Screws (G)
Body Mount Screws
Figure 3. Greasing Points on the Engine and Body Mounting Screws
Inhaltsverzeichnis
Andere Rail King Motor Handbücher