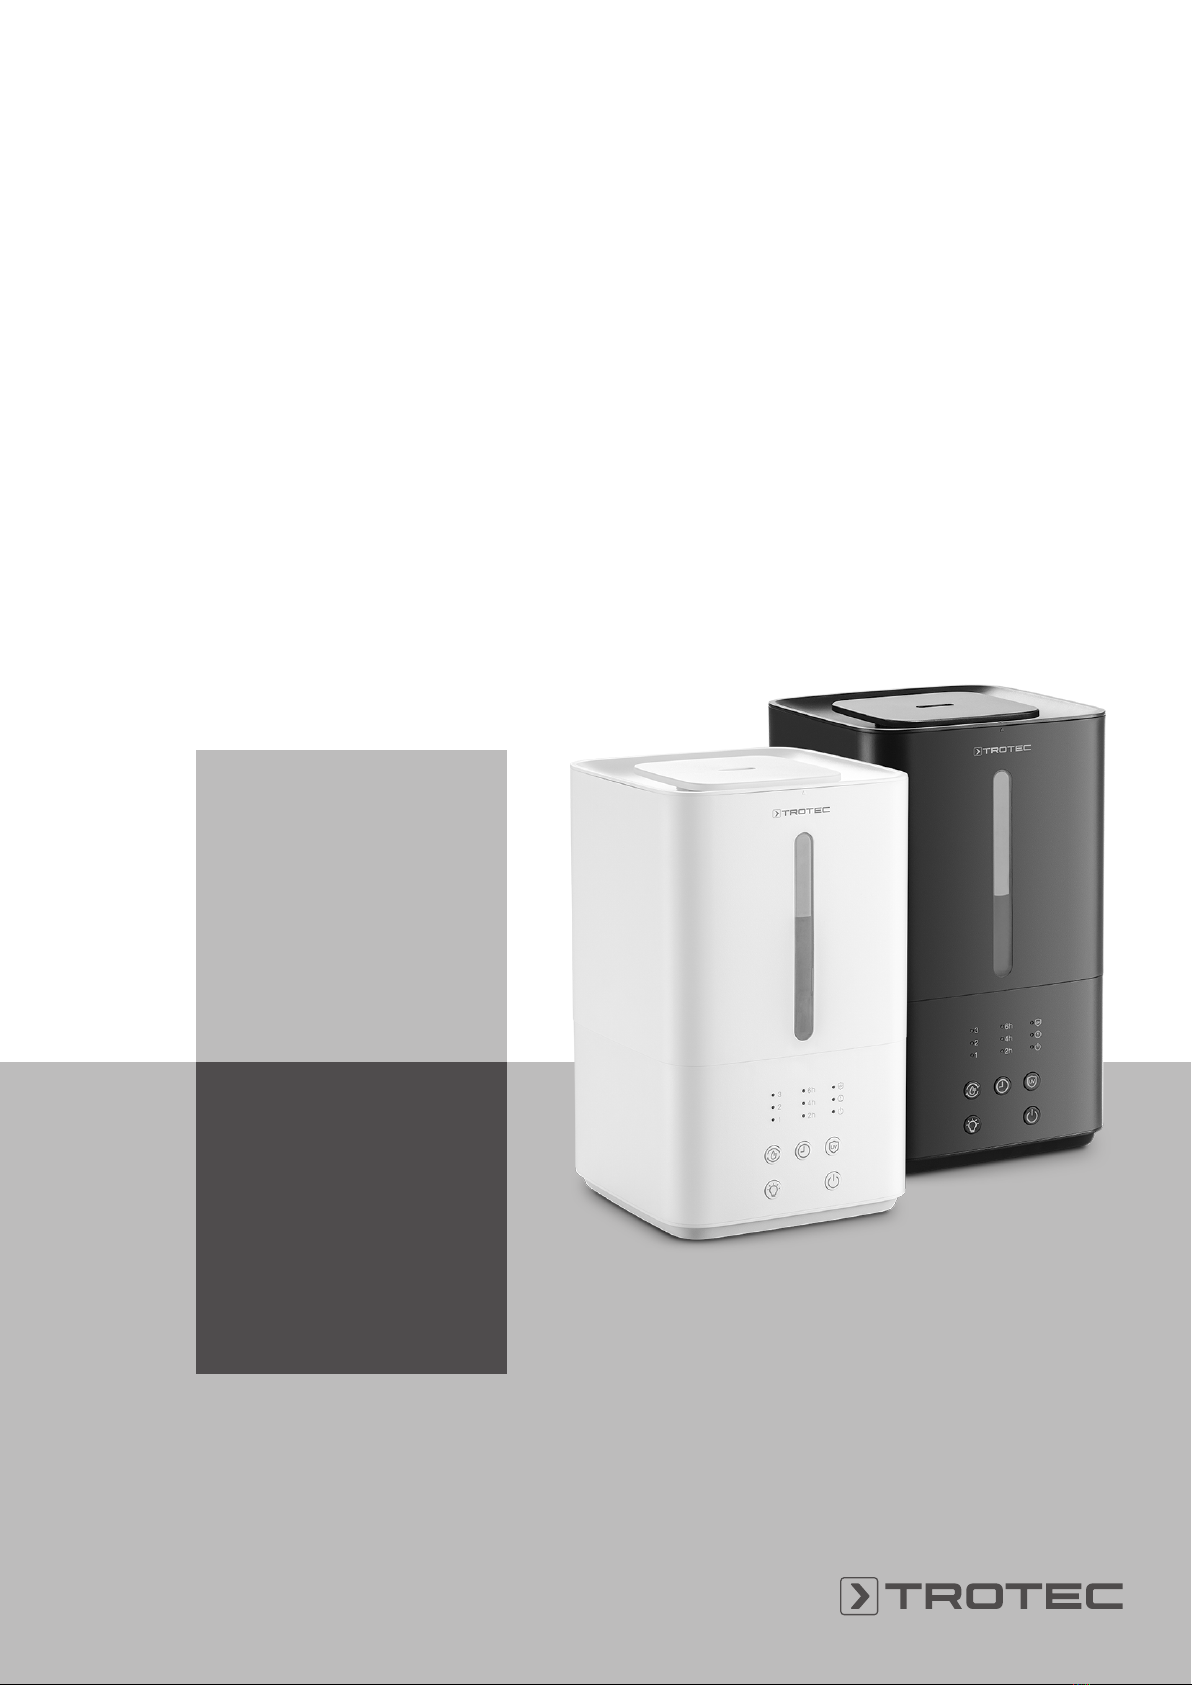
Trotec B 3 E Bedienungsanleitung

TRT-BA-B3E/B4E-TC210914TTRT02-001-EN
B 3 E / B 4 E
EN
OPERATING MANUAL
HUMIDIFIER

2 EN
humidifier B 3 E / B 4 E
Table of contents
Notes regarding the operating manual.................................2
Safety .....................................................................................2
Information about the device................................................4
Transport and storage...........................................................5
Assembly and installation.....................................................6
Operation ...............................................................................8
Available accessories............................................................9
Errors and faults....................................................................9
Maintenance ........................................................................11
Technical annex...................................................................16
Disposal ...............................................................................16
Notes regarding the operating manual
Symbols
Warning of electrical voltage
This symbol indicates dangers to the life and health of
persons due to electrical voltage.
Warning
This signal word indicates a hazard with an average
risk level which, if not avoided, can result in serious
injury or death.
Caution
This signal word indicates a hazard with a low risk
level which, if not avoided, can result in minor or
moderate injury.
Note
This signal word indicates important information (e.g.
material damage), but does not indicate hazards.
Info
Information marked with this symbol helps you to carry
out your tasks quickly and safely.
Follow the manual
Information marked with this symbol indicates that the
operating manual must be observed.
You can download the current version of the operating manual
and the EU declaration of conformity via the following link:
B 3 E
B 4 E
https://hub.trotec.com/?id=45837
Safety
Read this manual carefully before starting or using the
device. Always store the manual in the immediate vicinity
of the device or its site of use.
Warning
Read all safety warnings and all instructions.
Failure to follow the warnings and instructions may
result in electric shock, fire and/or serious injury.
Save all warnings and instructions for future
reference.
This appliance can be used by children aged from
8years and above and persons with reduced physical,
sensory or mental capabilities or lack of experience
and knowledge if they have been given supervision or
instruction concerning use of the appliance in a safe
way and understand the hazards involved.
Children shall not play with the appliance. Cleaning and
user maintenance shall not be made by children
without supervision.
• Do not use the device in potentially explosive rooms or
areas and do not install it there.
• Do not use the device in aggressive atmosphere.
• Only put up the device in an upright, stable position on firm
ground.
• Do not expose the device to directly squirting water.
• Fill the device with clear drinking water only.
• Never insert any objects or limbs into the device.
• Do not cover the device during operation.
• Do not sit on the device.
• This appliance is not a toy. Keep away from children and
animals. Do not leave the device unattended during
operation.
• Ensure that all electric cables outside of the device are
protected from damage (e.g. caused by animals). Never
use the device if electric cables or the power connection
are damaged!
• The mains connection must correspond to the
specifications in the Technical annex.

EN 3
humidifier B 3 E / B 4 E
• Insert the mains plug into a properly fused mains socket.
• Observe the device's power input, cable length and
intended use when selecting extensions to the power
cable. Completely unroll extension cables. Avoid electrical
overload.
• Before carrying out maintenance, care or repair work on
the device, remove the mains plug from the mains socket.
Hold onto the mains plug while doing so.
• Switch the device off and disconnect the power cable from
the mains socket when the device is not in use.
• Make sure that the air inlet and outlet are not obstructed.
• Make sure that the suction side is kept free of dirt and
loose objects.
• Do not remove any safety signs, stickers or labels from the
device. Keep all safety signs, stickers and labels in legible
condition.
• Do not use the device when the water tank is empty.
• Before filling the water tank, switch the device off and
disconnect the power cable from the mains socket. Hold
onto the mains plug while doing so.
• Only transport the device in an upright position with an
emptied water tank.
• Empty and clean the water tank prior to storage or
transport. Do not drink the water. Health hazard!
• Do not touch the water and parts inside the water tank
when the device is switched on.
• Do not touch the surface of the device with sharp, hard
objects. This may cause deformations and damage.
• Make sure that objects in the surroundings of the device
do not become wet or damp. If moisture is present, the
output must be reduced. Set the device to a lower level. If
the output cannot be reduced, the device must only be
operated in intervals. If necessary, switch the device off
completely for a short time. Ensure that absorbent
materials such as carpeting, curtains, sheers or tablecloths
will not become damp.
• Note that high humidity levels may enhance the growth of
biological organisms in the environment.
• Make sure that the water in the water thank is replaced
every3days. Otherwise there is a risk of microorganisms
growing in the water tank which presents a health hazard
if they get into the air or water.
• Do not fill the device with water by the air inlet or outlet.
• Do not position the device near stoves or fireplaces. Avoid
direct solar radiation.
• This device contains a UVlamp. Do not look into the light
source for too long.
• A damaged housing or misuse can cause UV-C radiation
leakage. UV-C radiation is hazardous even in small
amounts and can cause injuries of the eyes and skin.
Intended use
Only use the device as a mobile humidifier for the humidification
and filtration of room air, while adhering to and following the
technical data.
Intended use comprises humidifying the room air in:
• living spaces
• warehouses and archives
• libraries
• call centres and computer rooms
Foreseeable misuse
• The device is not intended for industrial use.
• Do not place the device on wet or flooded ground.
• Do not place any objects, e.g. clothing, on the device.
• Do not use the device out of doors.
• Do not make any unauthorised modifications, alterations or
structural changes to the device.
• Any use other than the intended use is regarded as a
reasonably foreseeable misuse.
Personnel qualifications
People who use this device must:
• be aware of the dangers that occur when working with
electric devices in damp areas.
• have read and understood the operating manual, especially
the Safety chapter.
Safety signs and labels on the device
Note
Do not remove any safety signs, stickers or labels from
the device. Keep all safety signs, stickers and labels in
legible condition.
The following safety signs and labels are attached to the device:
Symbols Meaning
This symbol located on the device indicates that
the water tank should be cleaned every3days.
Change the water in the water tank every3days.
Disconnect the device from the mains before
cleaning the water tank.
Operate the device with the adapter supplied by the
manufacturer.
Residual risks
Warning of electrical voltage
Work on the electrical components must only be
carried out by an authorised specialist company!

4 EN
humidifier B 3 E / B 4 E
Warning of electrical voltage
Before any work on the device, remove the mains plug
from the mains socket!
Do not touch the mains plug with wet or damp hands.
Hold onto the mains plug while pulling the power cable
out of the mains socket.
Warning
Dangers can occur at the device when it is used by
untrained people in an unprofessional or improper way!
Observe the personnel qualifications!
Warning
The device is not a toy and does not belong in the
hands of children.
Warning
Risk of suffocation!
Do not leave the packaging lying around. Children may
use it as a dangerous toy.
Caution
If the device is knocked over, water will leak from the
lower part.
Disconnect the device from the mains to prevent
damage to the device caused by dry running.
Note
Do not operate the device without an air filter inserted
into the air inlet!
Without the air filter, the inside of the device will be
heavily contaminated. This could reduce the
performance and result in damage to the device.
Behaviour in the event of an emergency
1. Switch the device off.
2. In an emergency, disconnect the device from the mains
feed-in: Hold onto the mains plug while pulling the power
cable out of the mains socket.
3. Do not reconnect a defective device to the mains.
Information about the device
Device description
The device B 3 E/B 4 E functions as a humidifier, aroma diffuser
and air cleaner.
The ultrasound technology ensures a pleasant room climate and
air quality improvement.
The capacity of the water tank of4.2l allows for a running time
of approx.16hours.
The device switches off automatically when the water tank is
empty.
Scented oil can be added to the scented oil tank for optional
room air aromatization.
The device is provided with a timer function that can be
programmed for automatic switch-off after 2to12 hours.
An integrated anti-bacterial UV lamp reduces bacteria in the
bottom section of the device.
Device depiction
1
2
4
5
6
3
7
8

EN 5
humidifier B 3 E / B 4 E
9
11
13
14
15
12
10
No. Designation
1Lid with air outlet
2Air outlet
3Water level indicator
4Water tank
5Bottom section
6Control panel
7Mains connection(adapter)
8Cover with carbon filter(air filter)
9Cover for water filter
10 Valve unit
11 Air nozzle
12 Nebulizer membrane
13 Float
14 UV lamp
15 SecoSan® Stick 10 (optional accessory)
Transport and storage
Note
If you store or transport the device improperly, the
device may be damaged.
Note the information regarding transport and storage of
the device.
Transport
Before transporting the device, observe the following:
• Switch the device off.
• Hold onto the mains plug while pulling the power cable out
of the mains socket.
• Lift the device at the lower part.
• Empty the water tank.
• Empty the lower part.
• Do not use the power cable to drag the device.
• Check whether the upper part is correctly positioned on
the lower part.
After transporting the device, proceed as follows:
• Set up the device in an upright position after transport.
Storage
Before storing the device, proceed as follows:
• Hold onto the mains plug while pulling the power cable out
of the mains socket.
• Empty the water tank.
• Empty the lower part.
• Use a cloth to wipe all parts of the device dry.
• Clean the device according to the Maintenance chapter.
When the device is not being used, observe the following
storage conditions:
• dry and protected from frost and heat
• in an upright position where it is protected from dust and
direct sunlight
• with a cover to protect it from invasive dust, if necessary
• Place no further devices or objects on top of the device to
prevent it from being damaged.

6 EN
humidifier B 3 E / B 4 E
Assembly and installation
Scope of delivery
• 1x Device
• 1x Adapter
• 1x Manual
Unpacking the device
1. Open the cardboard box and take the device out.
2. Completely remove the packaging.
3. Fully unwind the power cable. Make sure that the power
cable is not damaged and that you do not damage it during
unwinding.
Start-up
• Before restarting the device, check the condition of the
power cable. If there are doubts as to the sound condition,
contact the customer service.
• Only put up the device in an upright, stable position on firm
ground.
• Do not create tripping hazards when laying the power
cable or other electric cables, especially when positioning
the device in the middle of the room. Use cable bridges.
• Make sure that extension cables are completely unrolled.
• Make sure that there are no moisture-sensitive objects in
the immediate vicinity of the mist nozzle, since water may
condense near the mist nozzle.
Filling the water tank
The water tank(4) should be filled with clear drinking water
before first use.
Note
Fill the device with clear drinking water only. The water
temperature must not exceed40°C.
Scented oil or other additives can damage the plastics
and the nebulizer membrane.
Info
If possible, change the water every3days to prevent
bacterial growth.
Info
The low water level LED(20) flashes permanently
when the water level in the water tank(4) is too low.
Info
The low water level LED(20) flashes three times in
succession when the water tank(4) is empty. The dry-
run protection is activated.
1. Open the lid with air outlet(1).
1
4
2. Fill clear drinking water(maximally40°C) up to the MAX
indication into the water tank(4).
3. Insert the SecoSan® Stick (optional accessory)(15) into the
water tank(4).
4. Now close the lid with air outlet(1). Ensure that the lid is
aligned correctly.
1
4
15

EN 7
humidifier B 3 E / B 4 E
Scent option
Additionally, the device offers the possibility to distribute a scent
during operation.
Note
Never put scented oil into the water tank, on the
ultrasonic membrane or on other parts of the device.
Direct contact with scented oil might cause damage to
plastic components or other device parts.
Use standard scented oil. Proceed as follows to use the scent
option:
üThe device is switched off and the power cable is
disconnected from the mains.
1. Remove the cover with carbon filter (8) with the integrated
scented oil tank(16) from the device by carefully pushing
against the lower edge of the cover.
ðThe cover(8) is unlocked from the bottom section(5).
2. Put2 to3drops of scented oil onto the fleece in the
scented oil tank.
8
16
3. Refit the cover with carbon filter(8) into the housing.
ðThe cover(8) is locked audibly in the bottom section(5).
Inserting the air filter
Note
Do not operate the device without an air filter inserted
into the air inlet!
Without the air filter, the inside of the device will be
heavily contaminated. This could reduce the
performance and result in damage to the device.
• Make sure that the air filter is installed before switching
the device on.
1. Remove the cover(8) from the device by carefully pushing
against the lower edge of the cover.
ðThe cover(8) is unlocked from the bottom section(5).
2. Insert the carbon filter(17) into the cover.
3. Slide the cover(8) into the bottom section(5).
ðThe cover(8) is locked audibly in the bottom section(5).
8
17
5
Connecting the power adapter
• Plug the power adapter cable into the mains connection(7)
of the device.
• Plug the power adapter into a properly fused mains socket.
7

8 EN
humidifier B 3 E / B 4 E
Operation
• Avoid open doors and windows.
• Make sure that there are no moisture-sensitive objects
located in the immediate vicinity of the mist nozzle, since
water may condense near the mist nozzle.
Operating elements
26
24
18
20
22
27
19
21
25
23
No. Designation Meaning
18 Timer LEDs Indicates the selected number of
hours (2-12h in combination from
the symbols 2h, 4h, 6h. The sum of
the symbols indicates the desired
number of hours.)
19 UV lamp LED Is illuminated when the UV lamp is
activated
20 Low water level
LED
Flashes permanently when water
tank is low
Flashes 3times in succession when
the dry run protection is activated
21 On/off LED Illuminated when the device is
switched on
22 Timer button Switching the timer function on or off
23 UV lamp button For switching the UV lamp on or off
24 On/off button For switching the device on or off
25 Water level
indicator button
For switching the water level
indication lamp on or off
26 Nebulizer intensity
button
Select nebulizer intensity
27 Nebulizer intensity
LEDs
Indicate the nebulizer intensity
selected (level 1, 2 or 3)
Switching the device on
Info
If no operational input is made for40s, the control
panel(6) switches off.
1. Make sure that the water tank(4) has been filled with
drinking water.
2. Make sure that the device is neither damp nor wet on the
outside. Otherwise wipe it dry.
3. Press the On/off button(24).
ðThe nebulizer intensity LED(27) indicates the nebulizer
intensity at level1 an .
ðThe device starts to humidify. Fine water mist leaves the
mist nozzle(2).
Setting the nebulizer intensity
The nebulizer intensity can be set to 3levels:
• Stage1: Low nebulizer intensity
• Stage2: Medium nebulizer intensity
• Stage3: High nebulizer intensity
üThe device is switched on.
1. Press the Nebulizer intensity button(26).
ðLED "1” of the nebulizer intensity LEDs(27), is
illuminated for the first level.
2. Repeat the process for stage2 or3.
ðThe device now operates with the desired nebulizer
intensity.
Setting the operating mode
You can select the following operating mode:
• Manual humidification
Manual humidification
The nebulizer intensity can be set to level1–3 in this operating
mode at any time(continuous humidification regardless of the
humidity level in the room).
Timer function
For the device to switch off automatically after a predefined
number of hours (2 to 12h) you can program the timer. The
timer can be programmed in increments of 2hours.
Automatic switch-off
1. Press the timer button(22) once to program the timer to
2hours.
ðLED “2”of the timer LEDs(18) is illuminated.
ðThe device switches off automatically after 2hours.
2. Press the timer button(22) again to program the timer to
up to 12hours.
ðThe desired number of hours lights up as a combination
of the three LEDs.
Notes regarding automatic switch-off:
• Pressing the On/off button(24) deactivates the automatic
switch-off function.

EN 9
humidifier B 3 E / B 4 E
Shutdown
Warning of electrical voltage
Do not touch the mains plug with wet or damp hands.
• Switch the device off.
• Hold onto the mains plug while pulling the power cable out
of the mains socket.
• Empty the water tank.
• Empty the lower part.
• Use a cloth to wipe all parts of the device dry.
• Clean the device according to the Maintenance chapter.
• Store the device according to the Transport and storage
chapter.
Available accessories
Warning
Only use accessories and additional equipment
specified in the operating manual.
Using insertion tools or accessories other than those
specified in the operating manual may cause a risk of
injury.
Designation Article number
SecoSan® Stick10 6.100.004.110
Errors and faults
The device has been checked for proper functioning several
times during production. If malfunctions occur nonetheless,
check the device according to the following list.
The device does not start:
• Check the power connection.
• Check the power cable and mains plug for damage.
• Check the on-site fusing.
• Check whether the water tank indicator light is illuminated.
The water tank might be empty and need refilling.
• Wait for 10minutes before restarting the device. If the
device is not starting, have the electrics checked by a
specialist company or by Trotec.
The device is running, but there is no formation of mist:
• Check whether the water tank indicator light is illuminated.
The water tank might be empty and need refilling.
• Check the valve in the bottom of the water tank. The valve
must be able to move freely. Clean the water tank if
required.
• Check the float in the lower part of the device. The float
should be able to move freely.
• Check the air filter for dirt. Clean the air filter if required.
• Check the nebulizer intensity setting and increase it if
required.
• Check the nebulizer membrane in the lower part of the
device for dirt and clean it if required.
The water tank is full, but the device indicates an empty
water tank:
• Heavy deposits on the filter may prevent the water from
flowing from the water tank into the bottom section. This
can occur if the device has been out of use for a long time.
Clean the filter as described in the “Cleaning the filter”
section.
• Check the valve in the bottom of the water tank. The valve
must be able to move freely. Clean the valve and water
tank if required.
Water is leaking:
• Check whether the device is set up in a stable and upright
position.
• Check the water level in the lower part of the device. The
water level might be too high and water is discharged via
the overflow.
• Check the valve in the bottom of the water tank. The valve
must be able to move freely. If required, clean the valve as
described in the “Cleaning the valve unit” section.
• Check the float in the lower part of the device. The float
should be able to move freely. It may block and cause
water to be discharged via the overflow.

10 EN
humidifier B 3 E / B 4 E
• Check the device for leaks.
The water mist has a peculiar smell:
• The device is new. Remove and rinse the water tank. Let
the open water tank air for some hours.
• Check the water tank. There may be stale or dirty water in
the water tank. Rinse the water tank and fill it with clear
drinking water.
Condensate forms on the device:
• The air circulation in the room is insufficient. If necessary,
reduce the nebulizer intensity and provide better air
circulation (e.g. using a fan).
• The room's humidity level is quite high. This makes it
difficult for the mist to distribute and leads to water
condensing on the device. If necessary, reduce the
nebulizer intensity or switch off the device.
The device is loud or vibrates heavily:
• Check whether the device is set up in a stable and upright
position.
The device still does not operate correctly after these
checks:
Please contact the customer service. If necessary, bring the
device to an authorised specialist electrical company or to
Trotec for repair.
Table of faults
The following faults can be displayed on the control panel(6):
Error Meaning
The low water levelLED (20)
flashes permanently.
The water level in the water
tank is low.
The low water levelLED (20)
flashes three times in
succession.
The water tank is empty or not
installed correctly. The dry-run
protection has been activated
Dieses Handbuch passt für folgende Modelle
3
Inhaltsverzeichnis
Andere Trotec Luftbefeuchter Handbücher

Trotec
Trotec B7E Bedienungsanleitung

Trotec
Trotec B 25 E Bedienungsanleitung

Trotec
Trotec B 400 Bedienungsanleitung

Trotec
Trotec AW 10 S Bedienungsanleitung

Trotec
Trotec B 200 Bedienungsanleitung

Trotec
Trotec AW 20 S Bedienungsanleitung

Trotec
Trotec B 400 Bedienungsanleitung

Trotec
Trotec B 200 Bedienungsanleitung

Trotec
Trotec B 500 Bedienungsanleitung

Trotec
Trotec B 5 E Bedienungsanleitung