
Williams ALLEGRO 2 Bedienungsanleitung

ALLEGRO 2
digital piano
owner's manual

2
OWNER'S MANUAL
CAUTION: TO REDUCE THE RISK OF ELECTRIC SHOCK, DO NOT
REMOVE COVER OR BACK. NO USER-SERVICEABLE PARTS INSIDE.
REFER SERVICING TO QUALIFIED SERVICE PERSONNEL
IMPORTANT SAFETY INSTRUCTIONS
• Do not use near water.
• Clean only with a soft, dry cloth.
• Do not block any ventilation openings.
• Do not place near any heat sources such as radiators, heat registers, stoves, or any other apparatus(including
ampliers) that produces heat.
• Do not remove the polarized or grounding-type plug.
• Protect the power cord from being walked on or pinched.
• Only use the included attachments/accessories.
• Unplug this apparatus during lightning storms or when unused for a long period of time.
• Refer all servicing to qualied service personnel. Servicing is required when the apparatus has been damaged in any
way, such as power-supply cord or plug is damaged, liquid has been spilled or objects have fallen into the apparatus,
the apparatus has been exposed to rain or moisture, does not operate normally, or has been dropped.
FCC STATEMENTS
1. Caution: Changes or modications to this unit not expressly approved by the party responsible for compliance could
void the user’s authority to operate the equipment.
2. NOTE: This equipment has been tested and found to comply with the for a Class B digital device, pursuant to Part 15 of
the FCC Rules. These limits are designed to provide reasonable protection against harmful interference in a residential
installation. This equipment generates, uses, and can radiate radio frequency energy and, if not installed and used in
accordance with the instructions, may cause harmful interference to radio communications. However, there is no gu-
arantee that interference will not occur in a particular installation. If this equipment does cause harmful interference to
radio or television reception, which can be determined by turning the equipment o and on, the user is encouraged to
try to correct the interference by one or more of the following measures:
• Reorient or relocate the receiving antenna.
• Increase the separation between the equipment and receiver.
• Connect the equipment into an outlet on a circuit dierent from that to which the receiver is connected.
• Consult the dealer or an experienced radio/TV technician for help.

3
ALLEGRO 2 DIGITAL PIANO
WILLIAMSPIANOS.COM
INTRODUCTION
• Congratulations! You have just purchased a state of the art digital piano that provides remarkable
acoustic sound and feel. We recommend that you read through this owner's manual carefully, so you
can get the most enjoyment from your new piano.
• Features include:
• 88 weighted, velocity-sensitive keys
• 10 piano & keyboard sounds
• Metronome feature with variable tempo to facilitate practice or recording
• Demo songs corresponding to each voice
• USB MIDI connections
• Stereo/mono line out jacks
• Music rest
• Battery Operation (batteries are not included).
Optional- Williams ESS1 Accessory Pack
AC adapter, sustain pedal and headphones. These can be purchased separately from
your Authorized Resellers.
BEFORE YOU GET STARTED
Shipment
Your piano was carefully packed at the factory, and the packaging was designed to protect the unit
from rough handling. Nevertheless, we recommend that you carefully examine the packaging and its
contents for any signs of physical damage that may have occurred during transit.
• If the unit is damaged, notify us immediately at Williams Product Support: (888) 241-1582
• Always use the original packing carton to prevent damage during storage or transport.
• Make sure that no children are left unsupervised with the piano or its packaging.
• Please ensure proper disposal of all packing materials.
INITIAL OPERATION / QUICK START
• Insert batteries in the compartment on the bottom of the keyboard. If you have the Optional Williams
ESS1 Essentials Pack take out the AC Adapter and insert the barrel jack into the back panel. Then plug
in the power cord into an 110V supply.
• Insert the supplied music rest into the two holes on the top panel.
• If you have a Sustain pedal plug into the Sustain Jack on the back panel of the piano.
• Set the piano on a secure, at surface at a comfortable height for playing.
• Press the power button on the left side of the front panel. The LED on the button will light.
• Press the Voice Select button for the desired voice.
• Adjust the volume control

4
OWNER'S MANUAL
IMPORTANT SAFETY INSTRUCTIONS ...............2
INTRODUCTION ...................................................3
BEFORE YOU GET STARTED ..............................3
INITIAL OPERATION / QUICK START .................3
TAKING CARE OF YOUR DIGITAL PIANO ..........5
TOP PANEL ..........................................................6
BACK PANEL ........................................................7
BOTTOM PANEL ...................................................7
OPERATIONS ....................................................... 8
DEMO SONGS.....................................................10
RECORDING .......................................................11
TUNING................................................................12
EFFECTS .............................................................12
MOD FX ...............................................................14
ADVANCED FUNCTIONS ...................................16
MIDI .....................................................................17
SPECIFICATIONS................................................18
MIDI IMPLEMENTATION CHART.......................19
WARRANTY.........................................................20
TABLE OF CONTENTS

5
ALLEGRO 2 DIGITAL PIANO
WILLIAMSPIANOS.COM
TAKING CARE OF YOUR DIGITAL PIANO
This Williams Allegro 2 digital piano will provide years of musical enjoyment if you follow the
suggestions listed below.
Product Servicing
This product should be serviced by qualied service personnel when:
• The power supply cord or the plug has been damaged.
• Liquid has been spilled into the unit or it has been exposed to rain.
• The instrument does not appear to operate normally or exhibits a marked change in performance.
• The instrument has been dropped or the cabinet has been damaged.
• Please contact [email protected] for parts and service information.
Handling and Transport
• Never apply excessive force to the controls, connectors or other parts of the instrument.
• Always unplug cables by gripping the plug rmly, not by pulling on the cable.
• Disconnect all cables before moving the instrument.
• Physical shocks caused by dropping, bumping, or placing heavy objects on the instrument can
result in supercial or operational damage.
• Carefully check the volume control before playing. Excessive volume can cause permanent hearing loss.
Cleaning
• Clean the cabinet and panel with a soft, dry cloth. Do not use paint thinner or petrochemical
based polishes.
• To maintain the luster of the keys and buttons, wipe with a clean, lightly dampened cloth, and then
polish with a soft, dry cloth.
Location
• To avoid deformation, discoloration, or more serious damage, do not expose the instrument to the following
conditions: Direct sunlight, high temperatures, excessive humidity, excessive dust, strong vibration.
• Leave enough space around the piano for proper ventilation.
• This instrument contains digital circuitry and may cause or be susceptible to interference if placed
too close to radio, television receivers, or mobile phones. If interference occurs, move the instrument
further away from the aected equipment.
• Avoid placing vinyl objects on top of the instrument, vinyl can stick to and discolor the surface.
Power
• Turn the power o when the instrument is not in use.
• To avoid damage to the instrument and other devices to which it is connected, turn the power of all
related devices o prior to connection or disconnection of MIDI cables.
• Turn the power o if the main cable is damaged, or the instrument has been exposed to liquid.
• Do not switch the unit on and o in quick succession, as this places an undue load on the
electronic components.
• Unplug the AC power adapter during an electrical storm.
• Avoid plugging the AC power adapter into the same AC outlet as appliances with high power
consumption, such as electric heaters or ovens

6
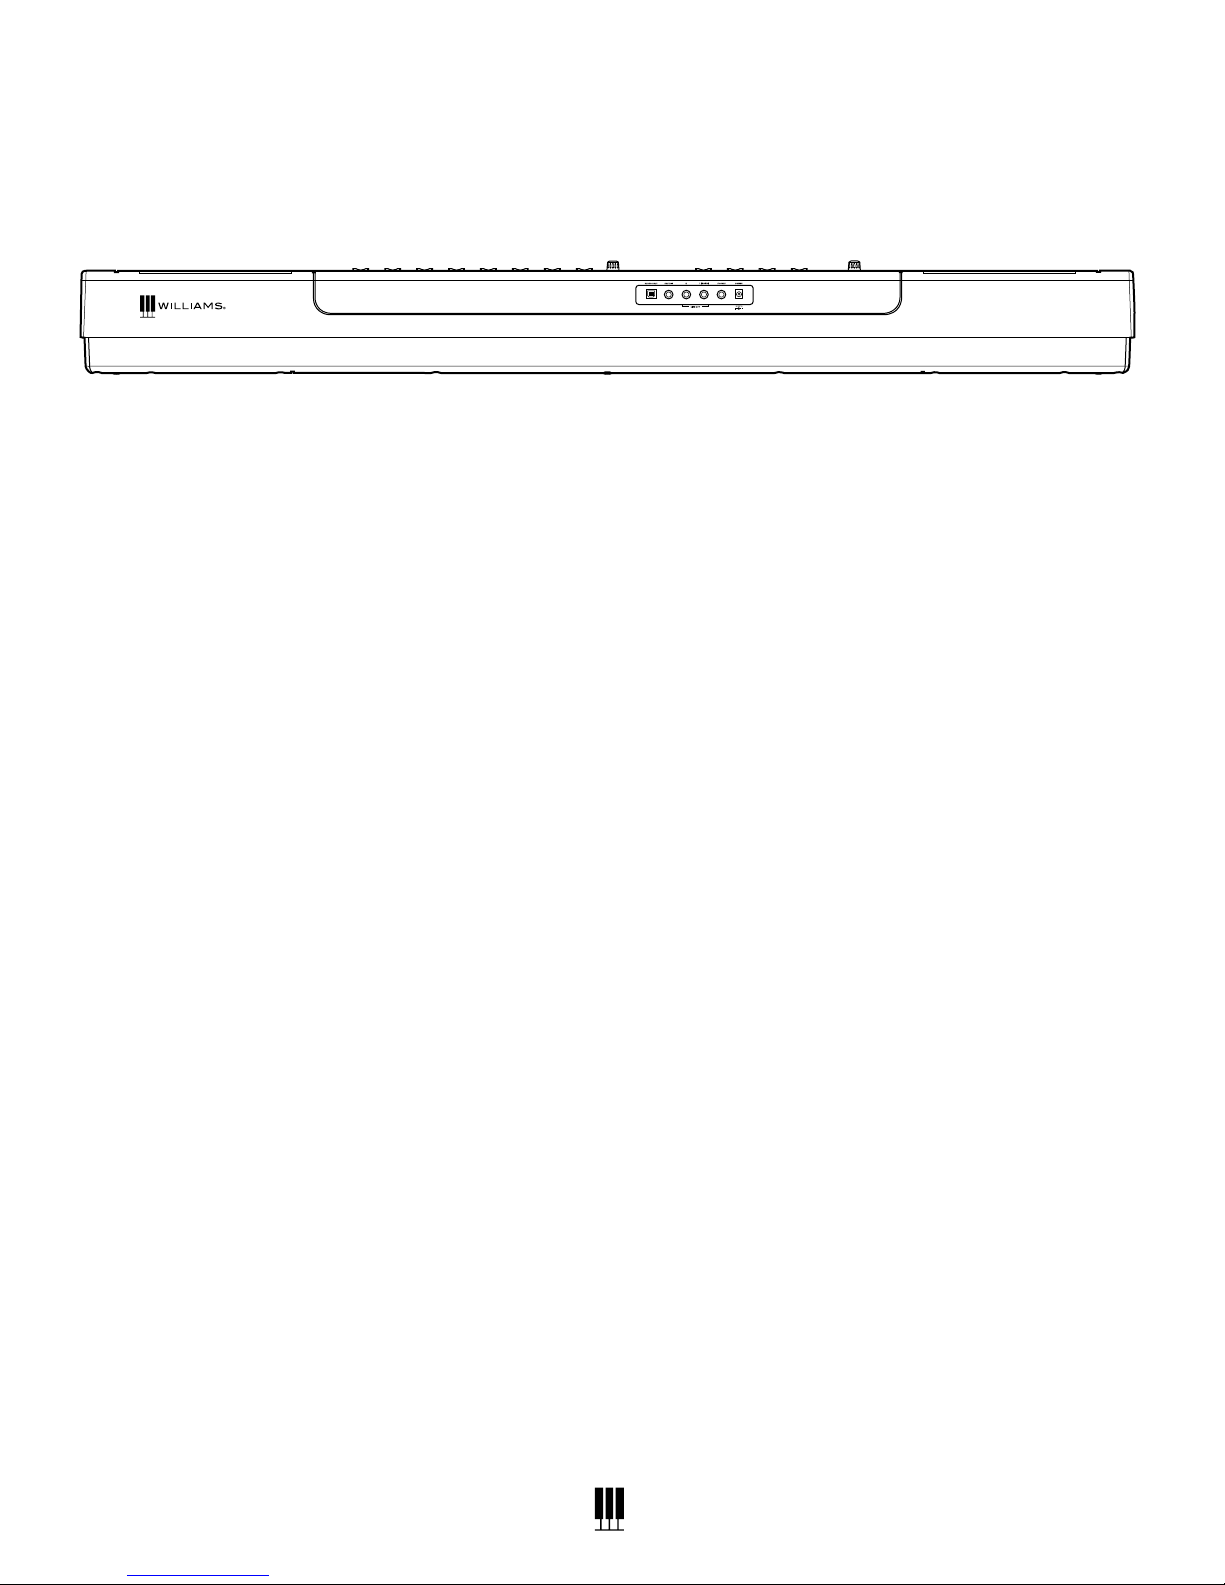
OWNER'S MANUAL
Power On/O
Volume Knob
Controls the overall output volume of the piano.
Metronome
Turns o and on the Metronome.
Transpose
Transposes the key of the piano.
Octave
Transposes the range of the piano keys 1 octave
higher or lower.
Piano Reset
Pressing the Transpose and Octave buttons
simultaneously will reset the transpose and octave
functions to factory settings.
Function Button
Selects various functions in the Piano.
LCD Display
Shows the current name of the song or voice as well
as the parameter assignments.
Song
Pressing the Song button and the Voice buttons
selects which song will play.
Record
Pressing the Song and Play buttons simultaneously
will start the recording function.
Play
Pressing Play will playback the song you recorded.
Voice Select Buttons
(PIANO, ELECTRIC PIANO, ORGAN, PAD, BASS)
Pressing these buttons will switch on the sound that
is associated with the names printed above them.
Variation Button
This will allow you to switch between the original
and variation sounds. When the blue LED is lighted
the sound will be the variation sound.
SPLIT Button
Splits the keyboard between right and left side.
Reverb Button
Turns on and o the Reverb eect assigned to
the voice.
Chorus Button
Turns on and o the Chorus eect assigned to
the voice.
Mod FX Button
Turns on and o the Modulation eect assigned
to the voice.
TOP PANEL
R1 G.Piano
POWER
METRONOME TRANSPOSE FUNCTIONOCTAVE
PIANO RESET
VALUE
SONG PL AY
PIANO
ELECTRIC
PIANO ORGAN PAD BASS VARIATION
MOD-FX CHORUS REVERB SPLIT
VOICE SELECT
RECORD
allegro 2
MIN MAX
MASTER VOLUME
7
ALLEGRO 2 DIGITAL PIANO
WILLIAMSPIANOS.COM
BACK PANEL
USB Input
The USB connection supports Class
Compliant MIDI Drivers to use with MIDI
Sequencer applications.
AC Adapter Input
Connection for the optional AC power adapter.
Sustain Pedal Input
The optional sustain pedal for Allegro 2 will
function in a similar method as an acoustic
piano sustain pedal. (It will also function as a
Mod FX expression pedal for organ sounds.)
Using this pedal will allow the piano key
sounds to decay slowly. A piano-style pedal
may optionally be used. The jack will auto-
detect the polarity of the sustain pedal. If you
are unsure about the polarity of the pedal you
are using. Plug in the pedal and then turn on
the Allegro 2. It will auto-sense the correct
polarity as it starts up.
Headphone
The headphone socket disconnects the
speakers when headphones are connected.
Outputs-Stereo/ Mono Line Out ¼” Jacks
The output jacks supply a line-level signal for
external amplication. Use both jacks for stereo
or just the Left jack for mono.
Battery Compartment
The product can either be powered via a
AC power adapter or battery. If batteries are
inserted while the unit is powered from a
BOTTOM PANEL
power supply, no power will be drawn from
the batteries. The Allegro 2 requires 6 D Cell
batteries for operation.

8
OWNER'S MANUAL
OPERATIONS
The Allegro 2 has an LCD that allows you to see
the Voice name as well as its parameters.
Most of the front panel buttons are very straight
forward and easy to select for general functions.
In cases where you want to edit settings in
more depth you will need to use the front panel
buttons as well as the Function button and
Value knob to change parameters.
Powering On the Allegro 2
Press the POWER button in the upper left
corner of the front panel. The LED light in the
button will stay on when the piano is on. This
product has a power standby mode. If the piano
turns o while you are not playing it, this is
likely due to the Power mode being set to Auto
Power o. To turn o this function, hold down
the lowest white and black key together while
you turn on the Allegro 2.
Metronome Function
Press the Metronome button to turn on the
metronome. The LED will light. You will hear the
click in headphones or speakers.
Press the Metronome button again to exit
metronome function. The LED will turn o.
To Change Metronome Time Signature
1. Press and hold the Metronome button for
2 seconds. The LCD display will show the
current metronome signature setting and
then go back to current Voice name.
2. Turn the Value Knob to determine the Metro
time signature while the display shows the
current setting.
The default is 4/4 and the following options are
available to toggle through: 2/4, 3/4, 4/4, 5/4,
6/8, 9/8, 12/8
You can also change the Metronome time
signature with the Function Mode.
1. Press the Function button.
2. Turn the Value Dial to select Metronome
signature edit menu, the display will show
“Time Sig”.
3. Press the Function button again to enter
the relative parameter edit menu, and the
parameter will blink to indicate the parameter
is editable.
4. Turn the Value Dial to select a time signature.
To Set The Volume Level Of The Metronome
1. Press the Function button.
2. Turn the Value Dial to select the Metronome
Volume edit menu. The display will show
“MetroVol”.
3. Press the Function button again to enter
the relative parameter edit menu, and the
parameter will blink to indicate the parameter
is editable.
4. Turn the Value Dial to select the Metronome
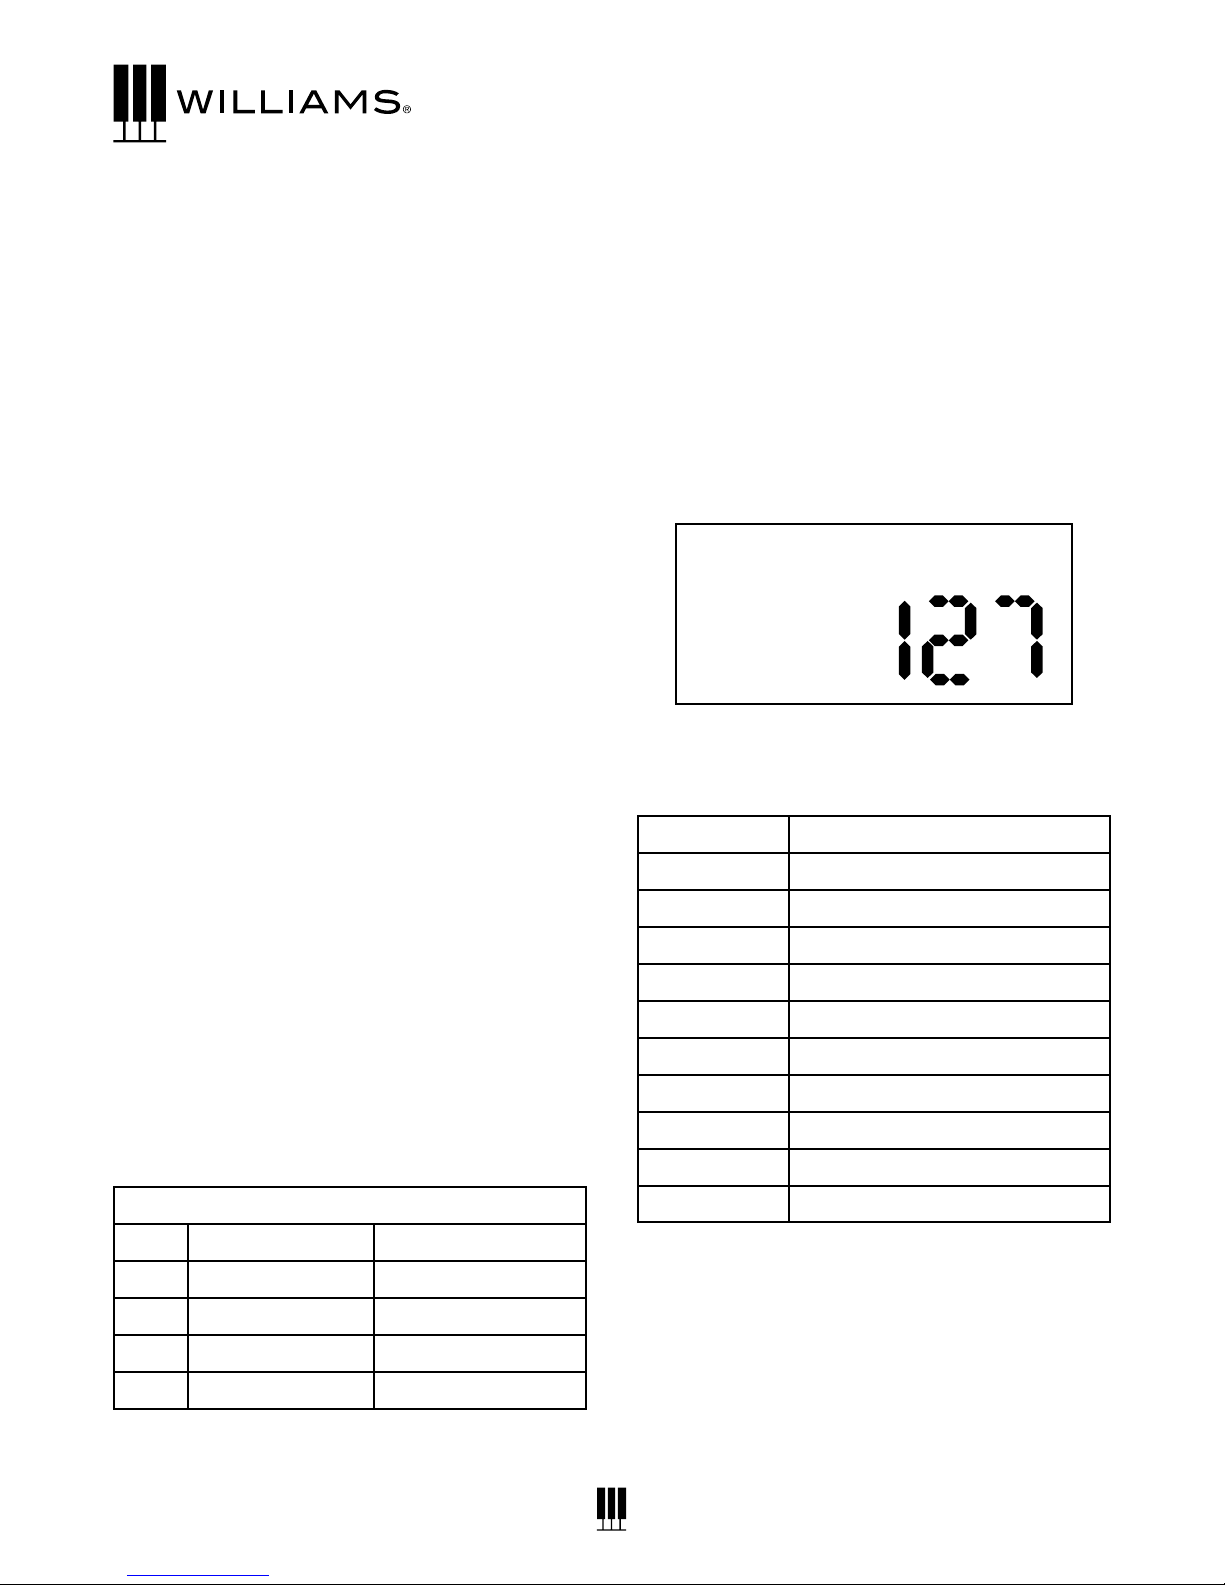
Volume range (0-127).
Time Sig
MetroVol

9
ALLEGRO 2 DIGITAL PIANO
WILLIAMSPIANOS.COM
Tempo Setting
5. Press the Function button.
6. Turn the Value Dial to select Tempo edit
menu, the display will show “Tempo”.
7. Press the Function button again to enter the
parameter edit menu. The numeric parameter
will blink to indicate the number is editable.
8. Turn the Value Dial to select Tempo (20 - 280).
Transpose Function
This function will transpose the piano keyboard
by +12 or -12 semitones.
To transpose the keyboard
1. Press the Transpose button. The display will
show the current Transpose setting and then
change to the current Voice.
2. While the Transpose screen is on you can
turn the Value Dial to select the Transpose
range (+12 or -12 semitones.)
Octave
This function will transpose the piano keyboard
up or down up and down by one octave.
There are two kinds of Octaves. One is for full
keyboard (right hand) octave the other is for
split mode (left hand ) octave.
To transpose the full keyboard:
1. Press the Octave button. The display
will show the current full keyboard Octave
setting (“Main Oct”) and then change to the
current Voice.
2. While the Octave screen is on you can turn
the Value Dial to select the Octave (+ 1 or -1.)
To transpose the split Keyboard, left hand
Octave:
1. Press and hold the Octave button, 2
seconds later the display will show “
SplitOct”, and then change to the current
Voice.
2. While the screen is on showing “SplitOct”,
turn the Value Dial to select the left hand
(split mode) Octave (+1 or -1.)
Piano Reset
If you want to quickly reset the keyboard to
the normal transposition and Octave ranges
you can you do this quickly by pressing the
Transpose and Octave buttons simultaneously.
Tempo
Transpo
Main Oct
SplitOct
10
OWNER'S MANUAL
Voices
The Allegro 2 piano has 10 built-in voices. Each
voice may be selected one at a time. They can
be layered to produce two voices at once, or
assigned to the left or right hands in the split
mode.
To select a voice, press the Voice Select button
that relates to the sound listed above the
button.
The button will light and the LED will indicate
the selection as shown below. If the sound is a
variation sound the variation light will be on.
DEMO SONGS
The Allegro 2 comes with 10 demo songs as
well as the ability for you to play and record
your own song. When you record your own
song the recording will be retained until you
either record a new song or if you reset the
Allegro 2 back to factory settings.
To Play A Demo Song
Press the Song button and the corresponding Voice
select button. See list below of the demo songs.
Selecting the Voices
The buttons on the right side of the keyboard
in the Voice Select area are for selecting the
Sounds or Voices in the Allegro 2.
Each Voice has an original and variation version
of the sound. Press the Variation button to
select the Variation voice.
Original Voice Variation Voice
1Piano Piano - Bright
2Electric Piano Electric Piano 2
3 Organ Organ 2
4 Pad - Strings Pad - Synth
5 Acoustic Bass Electric Bass
Changing the Voice Volume Level
1. Press the Function button.
2. Turn the Value Dial to select Voice Volume
Level edit menu, the display will show
“M .Volume”.
3. Press the Function button again to enter the
parameter edit menu. The numeric parameter
will blink to indicate the number is editable.
4. Turn the Value Dial to select the level of the
voice volume (0-127).
Demo Songs
Piano Song Voice
1Piano
2Electric Piano
3 Organ
4 Pad - Strings
5 Acoustic Bass
6 Piano - Variation
7 Electric Piano - Variation
8Organ - Variation
9 Pad - Synth - Variation
10 Electric Bass - Variation
M.Volume
Inhaltsverzeichnis
Andere Williams Musikinstrument Handbücher

Williams
Williams LEGATO Bedienungsanleitung

Williams
Williams SYMPHONY GRAND II Bedienungsanleitung

Williams
Williams OVERTURE III Bedienungsanleitung

Williams
Williams Serenade Bedienungsanleitung

Williams
Williams Symphony Bedienungsanleitung

Williams
Williams OVERTURE 2 Bedienungsanleitung

Williams
Williams Sonata 88 Bedienungsanleitung

Williams
Williams LEGATO IV Bedienungsanleitung

Williams
Williams RHAPSODY III Bedienungsanleitung

Williams
Williams Rhapsody Bedienungsanleitung


