
Zhongdi ZD-985 Bedienungsanleitung

ZD-985 Desoldering Station

2
3

4
Unpacking and Setting Up Your ZD-985
Desoldering Station
Carefully unpack the ZD-985 from the shipping box. The box should contain the
following items:
ZD985 Base unit with attached gun holder base
Handpiece Gun with attached vacuum hose and control cable
Handpiece Gun holder
Accessories and Consumables
Figure 1

5
Refer to Figure 1 on page 4
Ref. A) (3) Solder Tip Cleaning Tools (Labeled on handle A –B –C)
A 0.75 mm B 0.94 mm C 1.25 mm
Ref. B) Black Filter Housing and Rubber Gasket (Mates to vacuum inlet on ZD-985
Base)
Ref. C) (1) Additional Base Vacuum Filter (One is already in the front of the
vacuum inlet)
Ref. C) (3) Additional Gun Vacuum Filters (One is already in the Solder Capture
Chamber)
Ref. D) (3) Tips (Note: One is already installed on the gun)
Note: All Consumable supplies, and replacement parts are available from:
Memotronics
Phone: (281) 257-8587
E-Mail: tech@memotronics.com
See the “Parts and Accessories” listing on page 18 of the manual for more details.
Setting Up the Unit
Step 1: Put the black rubber seal into the filter housing. Check to make sure
there is a white felt filter inserted in the front of the black vacuum outlet on the
base unit. Screw the filter housing onto the vacuum outlet. Snug the housing
down but be careful not to over tighten.

6
Step 2: Insert the Handpiece Gun Holder into the slot on the top of the Gun
Holder Base. Note that the Gun Holder Base is able to be detached from the main
unit by sliding it towards the back. This allows you to use the Gun Holder either in
an attached arrangement or in a remote position if that is more convenient.
Step 3: Remove the strap on the Gun Cords and straighten them out. Place the
Gun into the Holder and attach the control cord with the notch towards the top
into the jack and then slide the black vacuum hose over the barb on the vacuum
outlet of the filter housing.
Step 4: Attach the power cord to the receptacle in the back of the ZD-985 unit
and plug the other end into a mains AC outlet.

7
Step 5: Turn on the ZD-985. The display will light all the LCD segments briefly
followed by a version number and finally the main screen readout. The screen will
appear similar to Figure 2.
Figure 2
The “TEMP.” gives us the current temperature of the Tip in degrees centigrade.
The “SET” gives us the target temperature that we have selected for the tip. Note
that the left button marked C/F will allow you to switch between Centigrade and
Fahrenheit Units. The HEAT ON is telling us that the ZD-985 is actively heating the
tip and the WAIT is telling us that the system has not stabilized within 10 degrees
of the target temperature yet. We can easily adjust the SET Temperature by
pushing the UP or DOWN buttons below the display. Each push of a button will
move the SET by one degree. To more rapidly adjust the SET temperature, push
and hold either the UP or DOWN button. To help choose a proper setting for your
application a solder temperature chart is included under the “Tips and
Techniques” section of this manual.

8
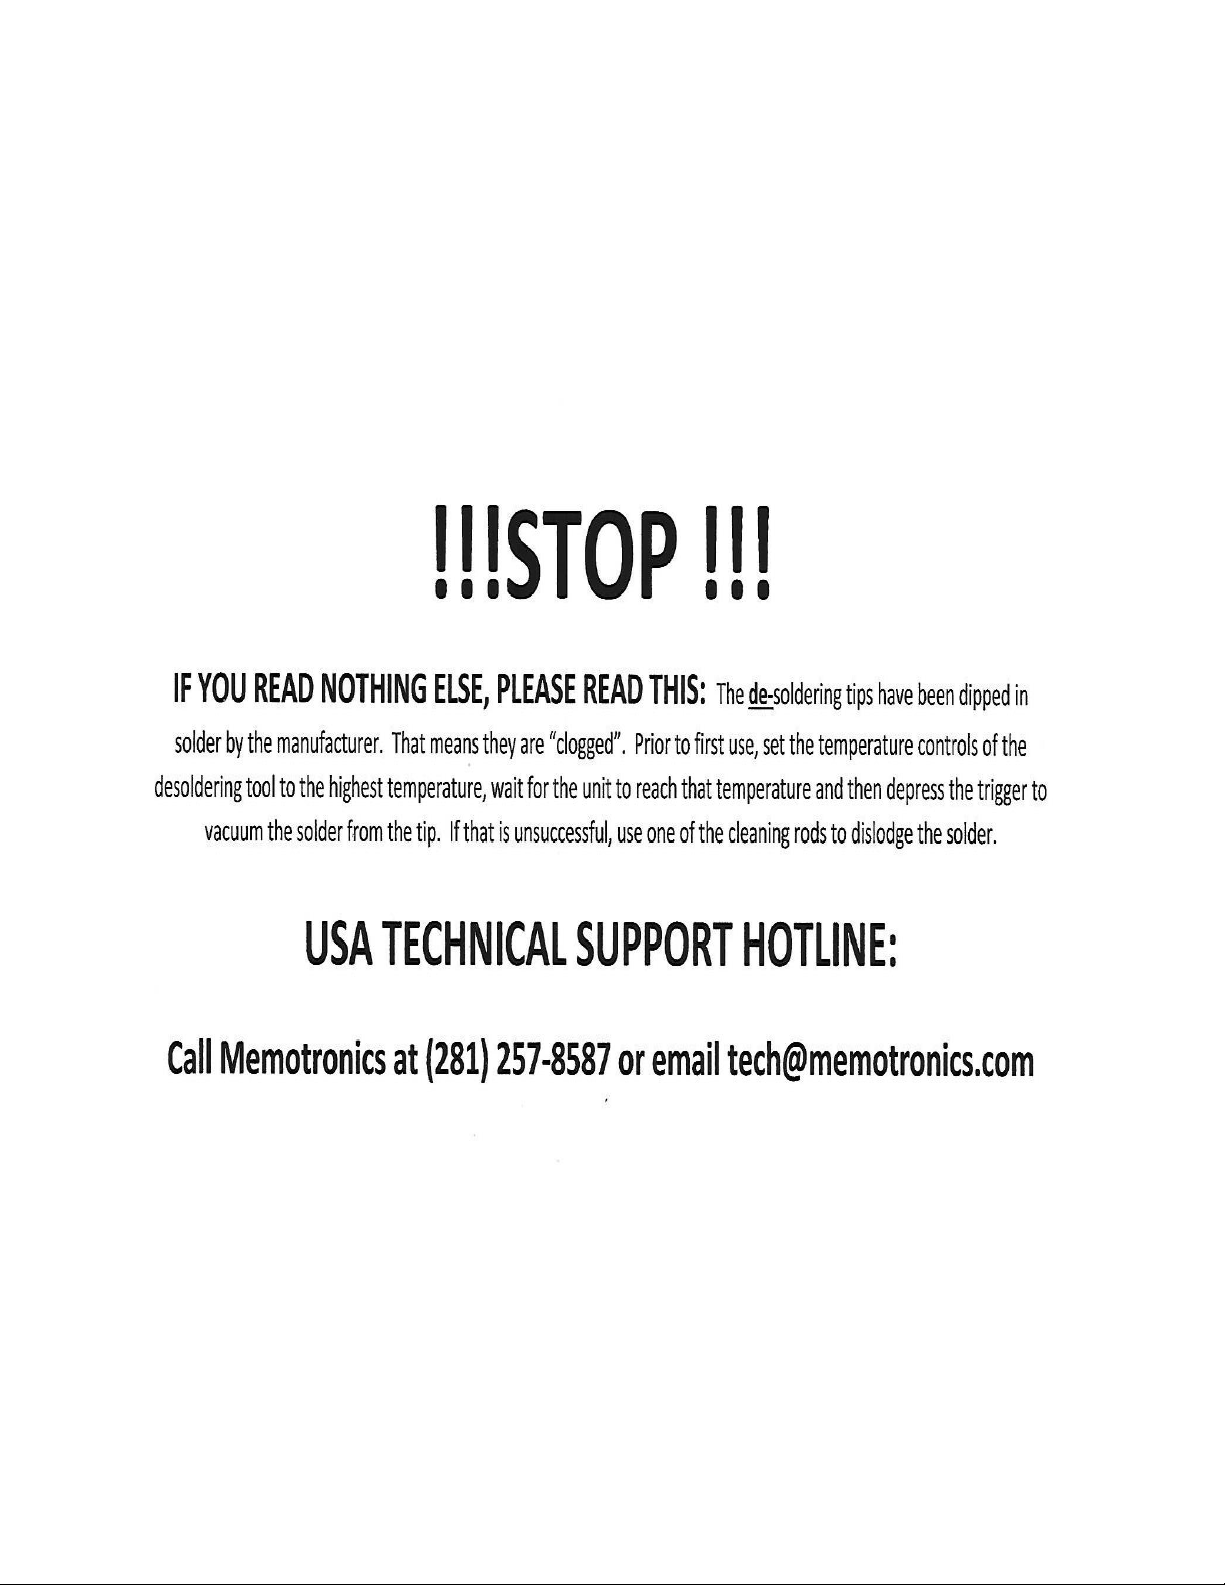
Step 6. It is now necessary to clear the solder plug that came with your new
Desoldering tip. The manufacturer dips each tip in solder to seal and protect the
tip from oxidation until it is put in service. Turn the SET to the Maximum setting,
480 degrees C. When the unit stabilizes push the trigger on the gun and the solder
plug should be vacuumed into the Solder Capture Container. If for some reason
the plug doesn’t clear, use the appropriate cleaning rod (A, B or C) from the
accessory kit that was supplied with the unit to gently push the solder plug free.
After the solder plug is cleared return the unit to an appropriate temperature
using the DOWN button. It is important to select a SET Temperature for the unit
that is high enough to do the job but not so high that the tip is put under
excessive corrosion risk or that the parts that you are desoldering are damaged.
Auto Tip Saver Function
As an additional protection against tip corrosion due to excessive heat the ZD-985
has a timed Auto Tip Saver function that drops the SET to 200 degrees C every 15
minutes. When this occurs it is only necessary to push the “UP”, “DOWN”, or
“C/F” button to reset the machine to your selected SET point.

9
Tips and Techniques
The following is a list of the common solder alloys and their respective melt
points. This can be used as a guide to choosing the appropriate SET point for your
application. Keep in mind that many variables factor into the optimal set point
and you may have to experiment to get the best results. One of the important
considerations, if you are salvaging usable parts, is to have the temperature of the
tip high enough so that you can quickly heat the joint and evacuate the solder
before heat can travel up the lead and damage the component.
Alloy Melt Ranges
LEAD-FREE
215 C to 245 C
TIN-LEAD
Sn60/Pb40 through Sn30/Pb70 185 C to 258 C
Sn05/Pb95 301 C to 320 C
TIN-LEAD-SILVER
180 C to 300 C
Effective Desoldering Technique
Choose a solder tip hole size that is appropriate for the size of the solder pads
that you will be cleaning. See the “Maintenance of the ZD-985” section for the
proper tip changing procedure. Use enough tip heat so that you can place the tip
over the target solder joint and within a second or two push the trigger of the
gun. Continue to hold the trigger as you pull the gun from the solder joint. This
allows air to enter the tip and sweep the residual solder into the solder capture
container. Once you are clear of the joint you can release the trigger. If the board
has traces on multiple levels or if the traces are very wide it may be necessary to
leave the Desoldering tip on the pad longer to allow complete solder melting to
occur before pulling the trigger. Sometimes it is also necessary to move the tip
laterally on the pad so as to reposition the wire slightly so all the solder can be
vacuumed from the pad.

10
Maintenance of the ZD-985
Changing the Tip
Make certain that the gun is cool before attempting to change tips. When under
power all the metal parts associated with the tip of the gun become dangerously
hot and can create serious injury. Once the gun has cooled to room temperature
unscrew the knurled finger nut near the base of the heater element. If it is too
tight for manual removal gently use a plier. This retaining nut has standard right
hand threads. Once the nut is loose, pull the tip retention Outer Sheath forward
to uncover the Tip and Heater Element. Be aware that there is a secondary sheath
that covers the heater element and may also come off with the Outer Sheath and
the Tip. See Figure 3. The Inner Sheath must be placed back on the Heater
Element before the Tip is re-installed. If the Tip is still on the front of the heater
the inner sheath is still in place as it will not slide over the Tip. Pull the Tip off the
Heater Element and vacuum tube. Use your fingers or a soft tool to do this. The
Tip is precision and the use of pliers or other hard tools may damage its surface or
its seal with the heater element. Push the new Tip onto the vacuum tube and seat
it securely against the heater element. Slide the Outer Sheath and Knurled Nut
over the Tip and Heater Element and finger tighten the nut. You can tighten this
as much as you can with your fingers. It is not uncommon for this nut to loosen
with time due to the heating and cooling of the gun from one use to another. It is
recommended that the tightness be checked before each use and prior to turning
the unit on. Do Not use a pliers to over tighten the nut.
Figure 3
Andere Handbücher für ZD-985
1
Inhaltsverzeichnis
Andere Zhongdi Elektrowerkzeuge Handbücher


