
American Changer AC1001 Einrichtungshandbuch

©2017 American Changer
Manual UnvBd. Series 090117
American Changer
Universal Board
Series
Installation,
Operation, and
Service Manual
Changing the Industry℠
Installers & Service Technicians
Read and understand the instructions
detailed in this manual.
Owners & Operators
Keep this manual in a safe place to
provide to any service technicians
working on this machine.
American Changer
1400 N.W. 65th Place, Ft. Lauderdale, FL 33309
Tel (954) 917-3009 • Fax (954) 917-3079
www.americanchanger.com www.hoffmanmint.com

2

1
Table of Contents
Section 1 –Product Overview
1.1 –Machine Specifications……………………………………………………………………………………………………………..
2
1.2 –Warranty Information……………………………………………………………………………………………………………….
2
1.3 –Machine Safety…………………………………………………………………………………………………………………………
3
Section 2 –Setup & Installation
2.1 –Setup…………………………………………………………………………………………………………………………………………
5
2.2 –Mounting Instructions……………………………………………………………………………………………………………….
6
Section 3 –Operational Overview
3.1 –Component Description…………………………………………………………………………………………………………..
8
3.2 –Functional Description……………………………………………………………………………………………………………..
10
3.3 –Out-of-Service Conditions & Error Codes…………………………………………………………………………………
10
3.4 –Programming Menu…………………………………………………………………………………………………………………
12
Section 4 –Maintenance
4.1 –Coin Hopper Maintenance………………………………………………………………………………………………………..
20
4.2 –Bill Validator Maintenance..………………………………………………………………………………………………………
21
4.3 –Parts List……………………………………………………………………………………………………………………………………
25
4.4 –Warranty Terms and Conditions………………………………………………………………………………………………..
26
©2017 American Changer
All rights reserved. No part of this work covered by
copyrights herein may be reproduced or copied in any
form or by means –graphic, electronic or mechanical,
including photocopying, recording, taping or information
storage and retrieval systems –without the written
permission of American Changer

2
Section 1 –Product Overview
1.1 –Machine Specifications
Operating Voltage (selectable by switch on power
supply)
Set at 115VAC: 90 ~ 132VAC 4.0A
Set at 230VAC: 180 ~ 264VAC 6.0A
Power Consumption
10 Watts
Operating Temperature
41°F to 104°F / 5°C to 40°C
Interface to Coin Hopper
24VDC, 2.5 amps max
*Note: Specifications stated herein may vary without notice. Capacities are approximations and may
vary.
1.2 –Warranty Information
PLEASE REFERENCE SECTION 4.4 ON PAGES 47 AND 48 FOR AMERICAN CHANGER’S DETAILED LIMITED
WARRANTY AND EXCLUSIVE REMEDIES. SOME HIGHLIGHTS FROM SAID SECTION ARE:
Coin Hopper(s), Coin Acceptors and Logic Board
These items are warranted for one year from date of purchase.
Bill Validators
These are warranted for two years from the date of purchase.
COVERED
Manufacturers’ defects in workmanship or materials
NOT COVERED
Damage caused by shipping or physical abuse
Misapplication
Vandalism
End users’ attempt, on their own, to repair components
Cleaning and maintenance
Power surges and lightning strikes
A Return Material Authorization number (RMA #) must be obtained from American Changer
Corporation before returning a unit for repair; warranty or otherwise. A copy of invoices must
accompany any and all warranty work.

3
Section 1.3 –Machine Safety
Your safety and the safety of others are very important to
American Changer.
We have provided important safety messages in this manual and on your machine. Always read and
obey all safety messages.
All safety messages will tell you what the potential hazard is, tell you how reduce the risk of injury, and
tell you what can happen if the instructions are not followed.
This is a safety alert symbol.
This symbol alerts you to potential hazards that can kill or hurt you and others.
All safety messages will follow the safety alert symbol and either “DANGER”,
“WARNING”, or “CAUTION”.
These words mean:
You can be killed or seriously injured if you don’t immediately
follow instructions
You can be killed or seriously injured if you don’t follow
instructions
You can be injured if you don’t follow instructions
4
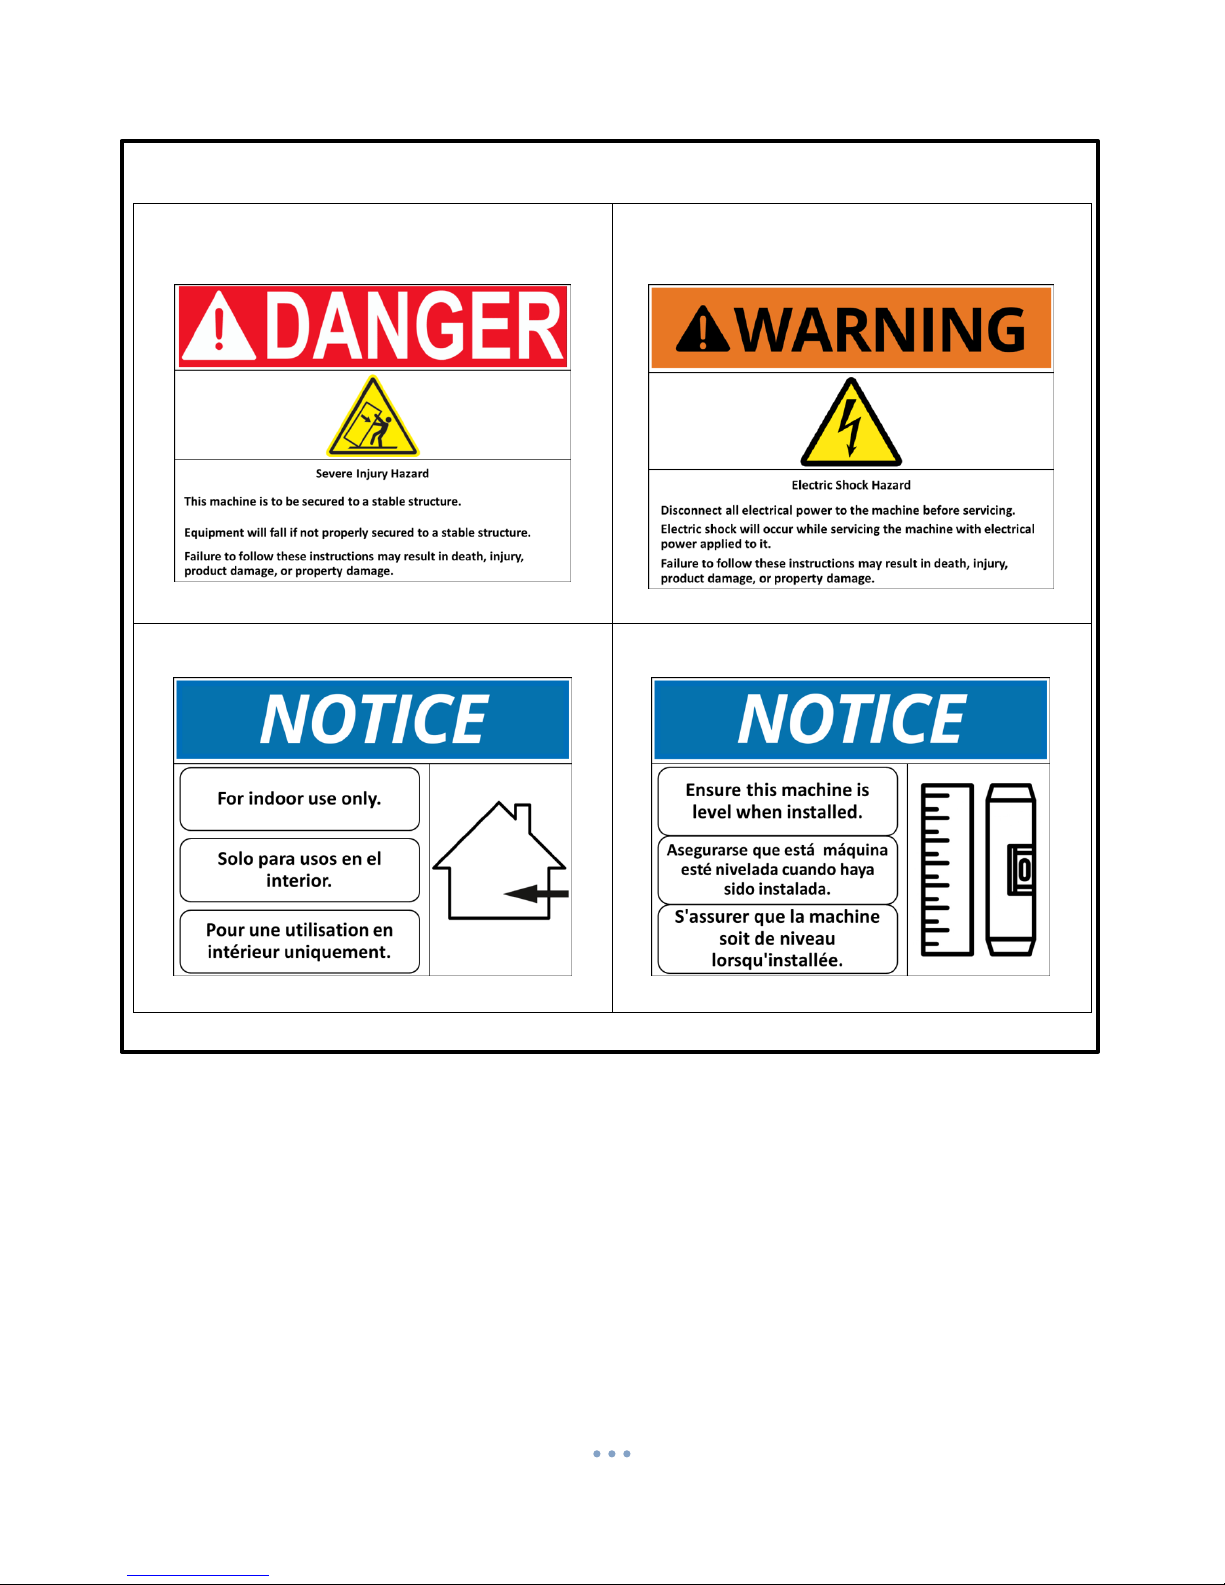
Important Safety Instructions
DANGER: To reduce the risks of severe injury
secure the machine to a stable structure.
WARNING: To reduce the risk of electrical shock,
disconnect all electrical power to the machine
before servicing.
NOTICE: For indoor use only.
NOTICE: Ensure this machine is level when
installed
SAVE THESE INSTRUCTIONS
American Changer does not guarantee machines (products) or services to be 100% secure against criminal
attempts. All machines (products) and services are to be used in accordance with business best practices and the
owner’s or operator’s best judgement.
Installation, use, service and maintenance must be performed in accordance with applicable machine (product)
manuals provided by American Changer and comply with any and all pertinent laws or regulations.
Inspect your machine (product), at a minimum annually, by a qualified service technician.
Dimensions and weights are reasonably close estimates. Specifications in this manual can vary without notice.

5
Section 2 –Setup & Installation
2.1 –Setup
NOTICE: THIS MODEL MACHINE IS FOR INDOOR USE ONLY.
Inspect for any connectors or components that may have been dislodged during shipping. The lock and keys for
your changer will be inside the manila envelope along with this manual and other pertinent information. To install
the lock, insert the cylinder into the hole in the middle of the T-handle and push until it stops. Turn the key until
you hear it “snap." Turn the key counterclockwise ¼ turn and remove the keys.
NOTE: The only way to get a duplicate set of keys made is to save the tag that comes with the keys. The ID #
begins with “AC” or “ACC” followed by digits.” If you purchased Medeco locks with your machine the ID will
begin with “7RA” followed by digits.”
CHECKING SHIPMENT: Be sure to check the shipment against the Bill of Lading for shortages. Also, check for
external damage to the packaging. Note any shortages and/or damage to the packaging on the Bill of Lading in
the presence of the carrier and ask the carrier to initial on the Bill of Lading accordingly. Immediately report any
shortages or damage to the packaging to the carrier and American Changer.
TEST: Before permanently installing the changer, do a functional test to verify that there is no shipping damage to
your new changer.
Plug the power cord into a dedicated, grounded 120VAC outlet. The machine is preset to accept $1, $5, $10, and
$20 and dispense 25¢coins (unless otherwise specified at the time of purchase).
Fill each of the coin hoppers with a minimum of 100 coins. On the Main Logic Board, turn the switch on the
bottom right corner “ON.” The rocker switch has an “I” and “O” printed on it. When the “I” is pressed down, the
changer is “ON.”
If the machine does not function properly please contact American Changer’s Technical Support Department at
service@americanchanger.com or 1-888-741-9840.

6
2.2 –Mounting Instructions
This machine must be installed in accordance with local codes. If you are unsure in any way what your
local codes are or unsure of anything in the following steps, please hire a licensed professional to
mount your machine.
1. Disconnect any and all AC power going to the machine. (Unplug AC line cord from the rear of the
machine.)
2. Note: You will need to verify with the building code enforcement to see if it is allowable to plug the
changer into a grounded outlet. If it is not, there must be 120VAC run through conduit or other
means to meet local codes to the changer. If it is not required, proceed to step #6.
3. Have a licensed electrician run the conduit, install the new breaker, wire and help decide how the
wiring will enter the changer (from the back or the bottom).
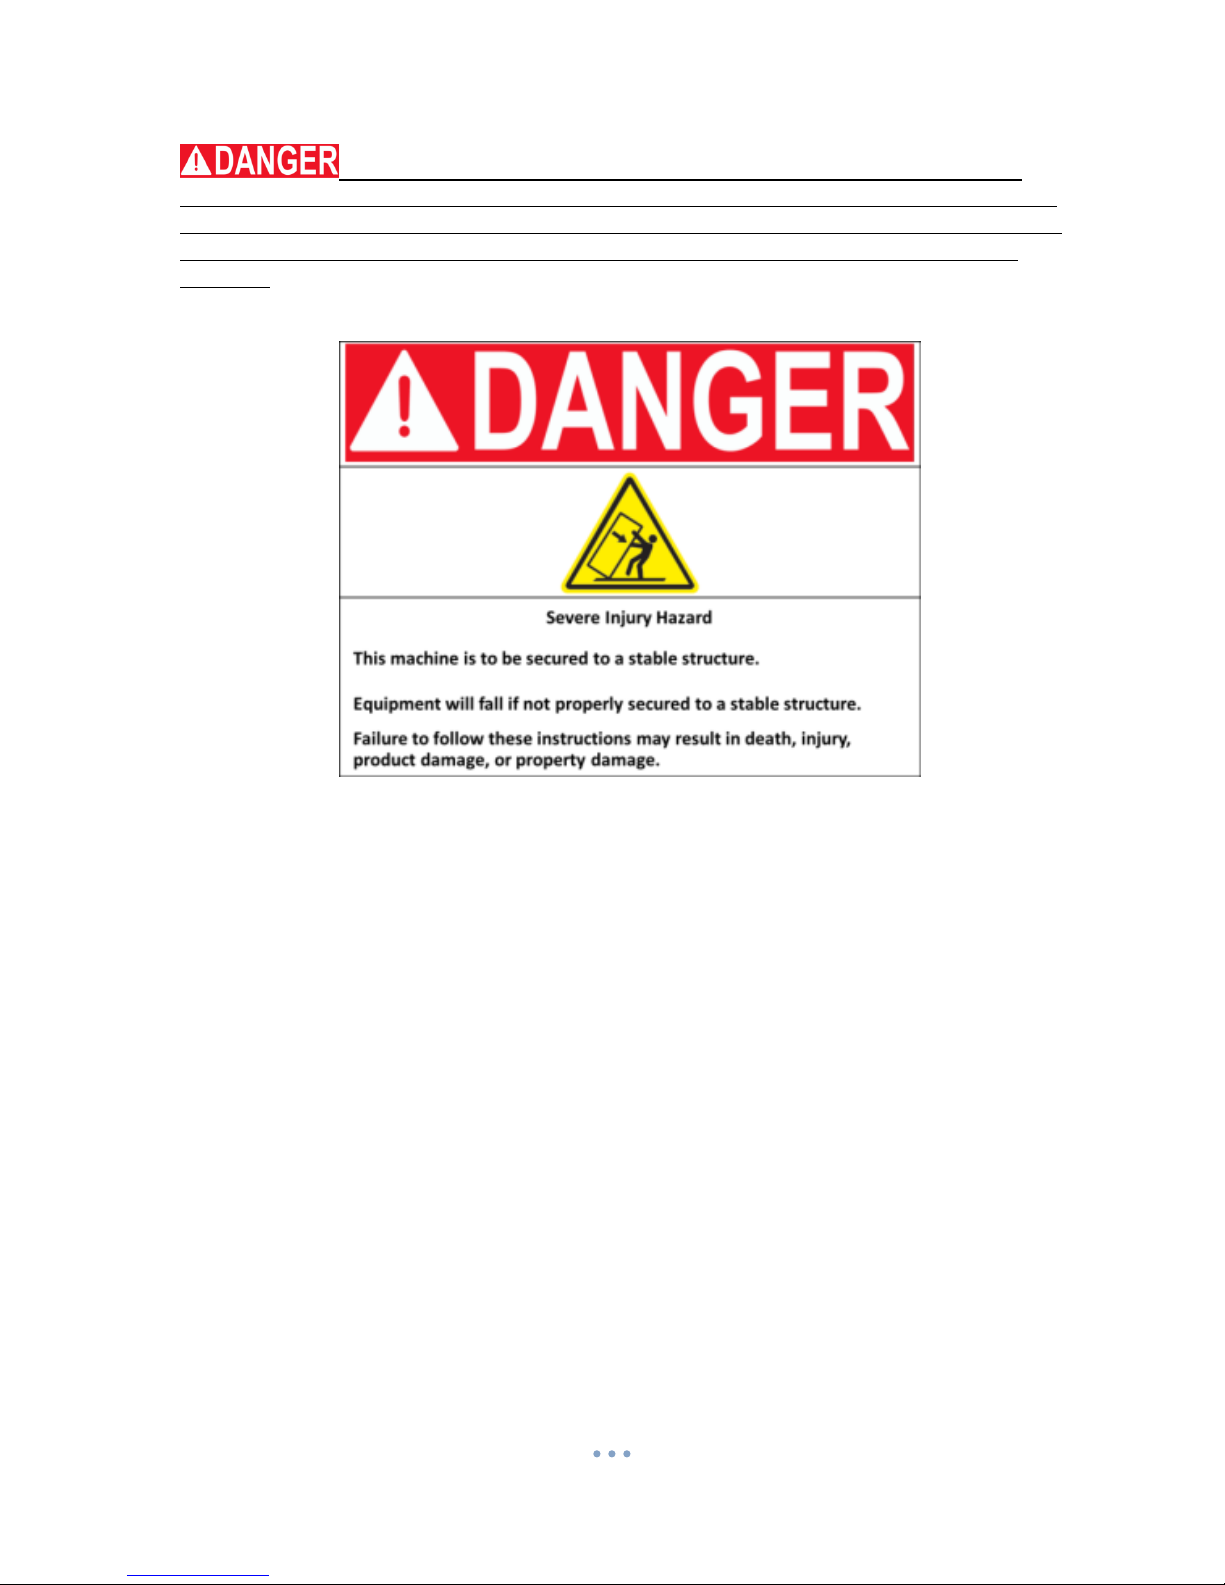
4. After the conduit has been installed, proceed with securing the machine to a stable structure.
5. Find an appropriate stable structure which to secure the machine to.
6. NOTICE: BEFORE SECURING ENSURE THE MACHINE IS LEVEL.
7
7. : PROPERLY SECURE MACHINE (PRODUCT) TO THE FLOOR SO THE MACHINE
(PRODUCT) CANNOT BE MOVED OR TIPPED. USE STRUCTURAL SOUND FASTENERS THAT CAN BE
PROPERLY TIGHTENED AND SECURE THE MACHINE (PRODUCT) THROUGH EACH OF THE HOLES IN
THE BASE OF THE MACHINE (PRODUCT) TO THE APPLICABLE SURFACE TO WHICH IT IS BEING
SECURED.
8. Use the four holes located in the back, bottom, or sides of the cabinet to secure the machine to a
stable structure.
9. Verify that the machine is properly secured to the stable structure.
10. Connect your AC line to the outlet. If conduit was run wire it to the power supply located in the
machine.
a. Do not use an extension cord unless allowed by the building electrical code.
b. Installation is completed. Proceed to the “Programming the Changer” section.

8
Section 3 –Operational Overview
3.1 –Component Description
Coin Hopper
The hopper uses the ccTalk communication protocol. It can dispense coins or tokens ranging in size from
21mm to 30mm in diameter and 1.25mm to 3.30mm in thickness. An option is available to dispense
smaller coins.
Bill Validator
This model machine may have been sold without a bill validator. It is intended to work with a 24VDC bill
validator using the MDB protocol.
6-Pin (MDB) Connector Pinout:
Pin #1 - +24VDC Power
Pin #2 - DC Power return
Pin #3 - Not Used
Pin #4 - Master Receive
Pin #5 - Master Transmit
Pin #6 - Communications Common
Put coins into this opening
Coin Counting Optic
Motor
12-Pin female connector
(located in rear of hopper)
Figure 1
6-Pin (MDB)
4
1
6
3
Figure 2
Dieses Handbuch passt für folgende Modelle
13
Inhaltsverzeichnis
Andere American Changer Wechselautomat Handbücher


Beliebte Wechselautomat Handbücher anderer Marken

Coinco
Coinco vortex Original Betriebsanleitung

American Changer Corp.
American Changer Corp. AC401-2 Einrichtungshandbuch

Coinco
Coinco Guardian 6000 Bedienungsanleitung

Comestero
Comestero Suzohapp Multi PRO Bedienungsanleitung

Alberici
Alberici Hira 2 Series Bedienungsanleitung

Coinco
Coinco CoinPro 3 Bedienungsanleitung


