Binary B-120-HDMATRIX-4x4 Kurzanleitung
Source | Mute | 2ch
(HDMI Out Audio)
CONFIGURATION
UTILITY MANUAL
HDMI MATRIX SWITCHER
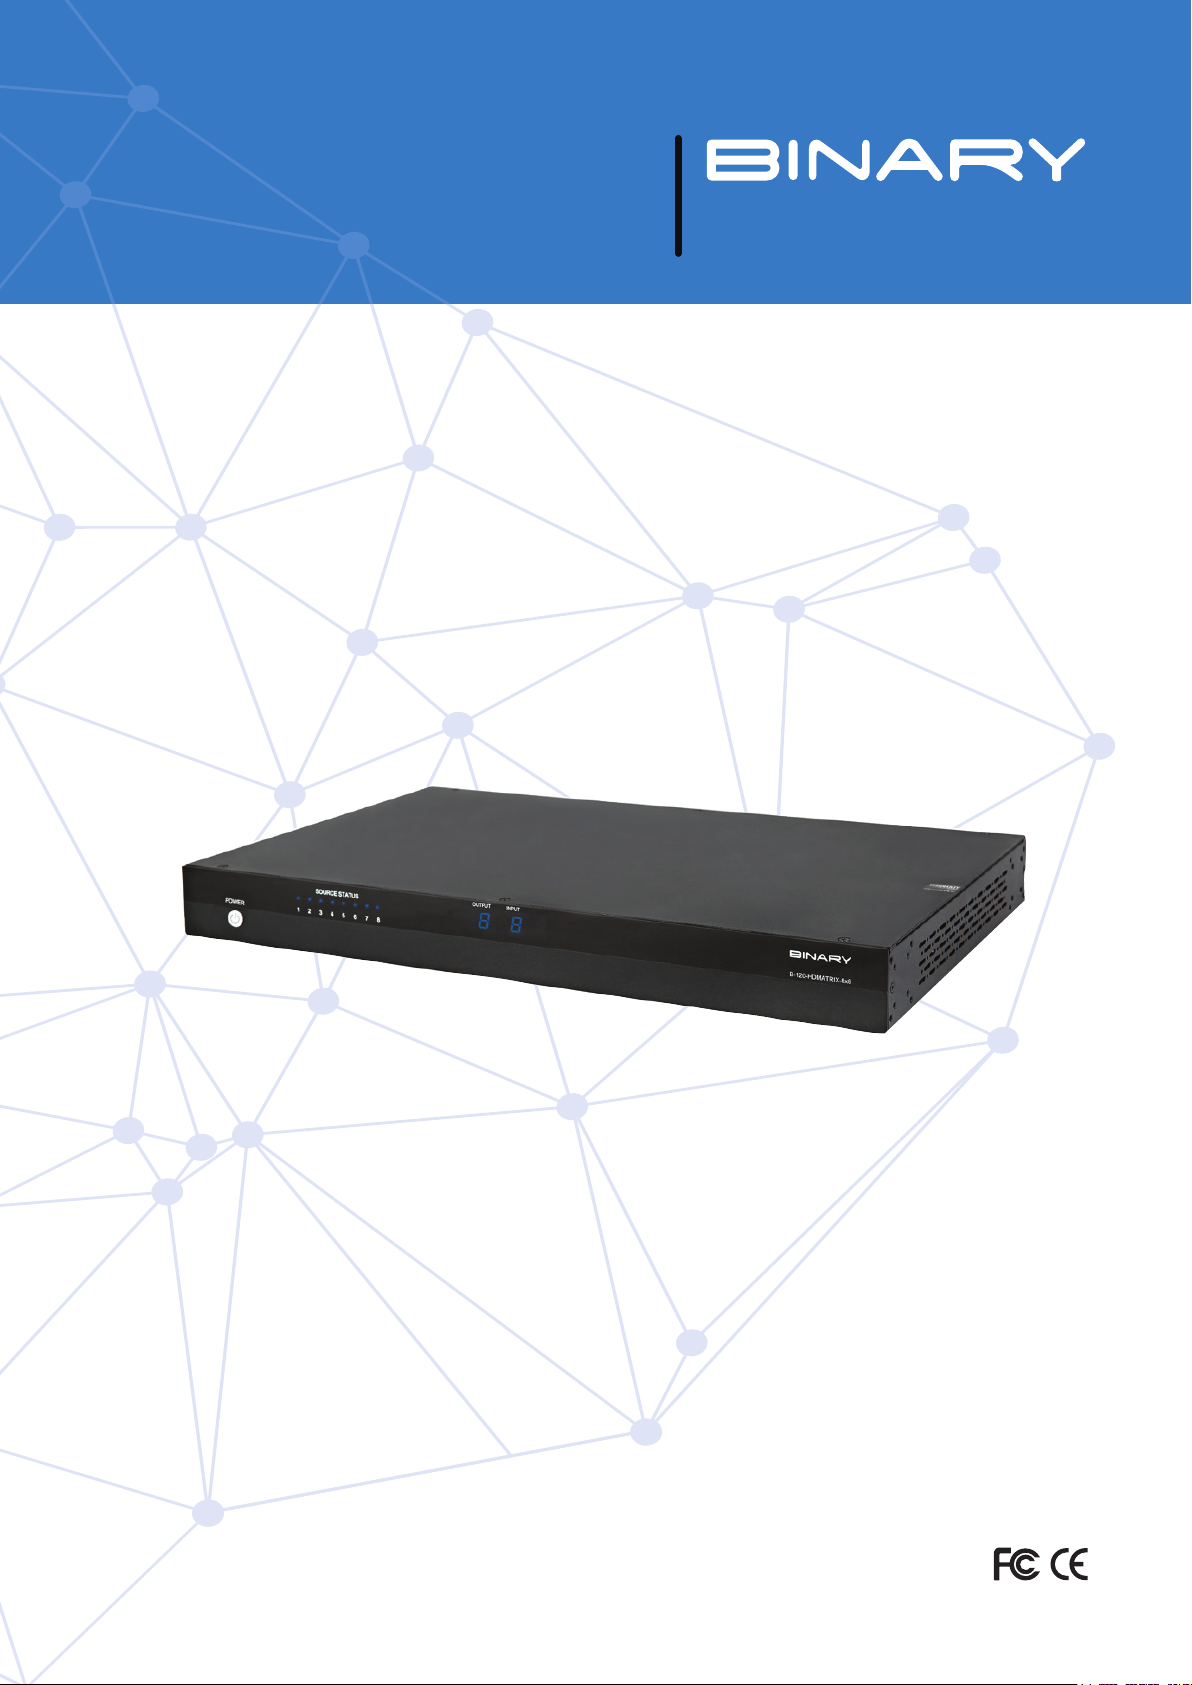
B-120-HDMATRIX-4x4/8x8

2
This symbol, a lightning flash with arrowhead, drawn within
an equilateral triangle, is intended to alert the user to the
presence of uninsulated dangerous voltage within the
product’s enclosure that may be of sufficient magnitude to
constitute a risk of electric shock to persons.
The exclamation point within an equilateral triangle is
intended to alert the user to the presence of important
operating and maintenance (servicing) instructions in the
literature accompanying the appliance.
IMPORTANT SAFETY INSTRUCTIONS
To reduce the risk of re or electric shock, read and follow all instructions and warnings in this manual. Keep this
manual for future reference.
1. Do not expose this apparatus to rain or moisture. Do not expose this equipment to dripping or splashing, and
ensure that no objects lled with liquids, such as vases, are placed on the equipment. Do not use this apparatus
near water.
2. Do not remove cover. No user serviceable parts inside.
3. Clean only with a dry cloth.
4. Do not block any ventilation openings. Install according to manufacturer’s instructions.
5. Do not install near any heat sources such as radiators, heat registers, stoves or other apparatus (including
ampliers) that produce heat.
6. Do not override the safety purpose of the polarized or grounding plug. A polarized plug has two blades, one
of which is wider than the other. A grounding plug has two matching blades and a third grounding prong. The
wide blade or the third prong is provided for your safety. If the provided plug does not t into your outlet,
consult an electrician for replacement of the obsolete outlet.
7. Protect the power cord from being walked on or pinched, particularly at the plug end and where the power
cord is attached to the apparatus.
8. Only use attachments and accessories specied by the manufacturer.
9. Refer all servicing to qualied service personnel. The apparatus requires service when it is damaged in any way
(for example: when the power supply cord or plug is damaged, when liquids have been spilled onto or objects
have fallen into the apparatus, the apparatus has been exposed to rain or moisture, does not operate normally,
or has been dropped.)
10. To completely disconnect this equipment from power, disconnect the power supply cord from the power
outlet.
LEGAL NOTICE
CAUTION
CAUTION: TOREDUCE THE RISK OF
ELECTRICAL SHOCK.
DONOT REMOVE COVER. NOUSER
SERVICEABLE PARTS INSIDE.
REFER SERVICINGTOQUALIFIED
SERVICE PERSONNEL.

3
CONTENTS
1. Overview ....................................................................................................................................................................................................................4
2. Models..........................................................................................................................................................................................................................4
3. Package Contents....................................................................................................................................................................................................4
4. Downloading the utility.........................................................................................................................................................................................5
5. Utility File Location.................................................................................................................................................................................................5
6. Communicating with the B-120-HDMATRIX ..............................................................................................................................................5
6.1. Serial Connection........................................................................................................................................................................................5
7. Installation & Setup.................................................................................................................................................................................................6
7.1. Basic Installation Diagram ......................................................................................................................................................................6
7.2. COM Port Settings......................................................................................................................................................................................6
7.3. Initializing Communication .....................................................................................................................................................................6
7.4. Stopping Communication.........................................................................................................................................................................6
8. EDID Conguration................................................................................................................................................................................................7
8.1. Display EDID for Particular Input/Output........................................................................................................................................7
8.2. Display EDID for All Inputs / Outputs.................................................................................................................................................8
8.3. Save Conguration for Inputs / Outputs............................................................................................................................................8
8.4. Learn EDID to Input ...................................................................................................................................................................................9
8.5. Auto EDID Learn..........................................................................................................................................................................................10
9. Advanced Setup Using the Conguration Utility........................................................................................................................................10
9.1 Output Control..............................................................................................................................................................................................10
10. Firmware Update..................................................................................................................................................................................................11
11. Network Conguration ......................................................................................................................................................................................11
12. Resetting Factory Defaults...............................................................................................................................................................................12
13. Other Settings........................................................................................................................................................................................................12
13.1. IR Source Routing:....................................................................................................................................................................................12
13.2. Front Panel IR Enable..............................................................................................................................................................................12
13.3. System IR Enable ......................................................................................................................................................................................12
13.4. Matrix Control from Room Enable ....................................................................................................................................................13
13.5. Front Panel Power Button Active ......................................................................................................................................................13
14. Input/Output Operation....................................................................................................................................................................................13
14.1. Connection Status....................................................................................................................................................................................13
14.2. Input / Output Control ...........................................................................................................................................................................14
15. Appendix: Conguration Utility Home Screens .......................................................................................................................................14
15.1. B-120-HDMATRIX-4x4 .........................................................................................................................................................................14
15.2. B-120-HDMATRIX-8x8 .........................................................................................................................................................................15
16. Contacting Tech Support ...................................................................................................................................................................................15
17. Warranty ..................................................................................................................................................................................................................15

4
1. OVERVIEW
This manual outlines the operation and use of the B-120-HDMATRIX PC-based Conguration Utility software.
Please read through the entire document before attempting to congure a B-120-HDMATRIX. Should you have
any questions after reading this document, please contact Technical Support.
2. MODELS
The following models are covered in this manual. The functionality of the Conguration Utility is very similar for all
models. Any signicant differences are covered by model.
• B-120-HDMATRIX-230-4x4
• B-120-HDMATRIX-230-8x8
3. PACKAGE CONTENTS
Before you begin, make sure the following items are available and ready for use:
• B-120-HDMATRIX-4x4/8x8
• B-120-HDMATRIX Installation Manual
• PC running Windows XP or newer Windows OS
• Serial Cable to connect the B-120-HDMATRIX to the PC
• DB9 to USB adapter (if the PC does not have a serial port built-in)
• List of the sources (Inputs) and displays (Outputs) used in the system (consult system chart in the
B-120-HDMATRIX manual)
• Knowledge of this document and the devices being used in the system

5
4. DOWNLOADING THE UTILITY
The software utility is included on the CD provided with the B-120-HDMATRIX and can also be downloaded from
the product page at www.SnapAV.com. Check the site for periodic updates to ensure that the latest version of the
utility is being used.
5. UTILITY FILE LOCATION
The B-120-HDMATRIX software utility is a standalone program that does not require installation. After
downloading the utility, unzip the downloaded le to a location that is easy to remember and locate when needed,
like the example below:
• C:\My Documents\Binary\B-120-HDMATRIX\CongurationUtility
6. COMMUNICATING WITH THE B-120-HDMATRIX
6.1. Serial Connection
The B-120-HDMATRIX and PC communicate over DB9 straight-through serial cable. Before connecting, verify
that the pin conguration of the cable matches the diagram below.
Should the PC not have a built in DB9 connection, a USB to RS-232 adapter may be used, however it is strongly
recommended that rmware updates are not performed using an adapter.
3 25
Matrix DB9
Female Connecon
532
PC Serial DB9
Male Connecon
GND
TxD-Rxd
Rxd-Txd
B-120-MTRX-230
Pin 2 TxD (Data Transmit)
Pin 3 RxD (Data Receive)
Pin 5 GND
Computer
Pin 2 RxD (Data Receive)
Pin 3 TxD (Data Transmit)
Pin 5 GND
To
To
To
FIGURE 1

6
7. INSTALLATION & SETUP
7.1. Basic Installation Diagram
Complete the basic installation section to set up the matrix switcher for media distribution before completing any other
setup. Use this diagram for reference during basic installation of the matrix switcher, sources, displays and wiring.
7.2. COM Port Settings
The COM port on the PC should be set to 9600 Baud, 1 Stop Bit, No Parity.
Select the COM port on the computer that is connected to the B-120-HDMATRIX from the list of available COM
ports.
If the connected COM port does not appear in the list, refer to the PC’s “Device Manager” to verify that COM
ports have been installed and have the right communication settings. Find the Device Manager by searching from
the Start menu search bar, or go to Control Panel > Devices and Printers > right-mouse-click and select “Device
Manager.”
7.3. Initializing Communication
Select the “Connect” button to initiate communication between the B-120-HDMATRIX and the computer.
Once connected:
• Button name will change to “Disconnect”
• Status box will change to “Connected” and turn green.
If this does not occur after a few moments, perform these steps:
1. Verify that the correct COM port is selected;
2. Verify communication settings on the PCs COM port;
3. Verify that the cable has the correct PIN conguration and that it is functioning correctly.
If communication cannot be established after performing these steps, please contact SnapAV tech support.
7.4. Stopping Communication
Click the “Disconnect” button to stop communication between the B-120-HDMATRIX and the computer.

7
8. EDID CONFIGURATION
The purpose of EDID Conguration is to set the EDID for each input appropriately. This EDID will be passed to the
connected source input. Unless the source has a xed audio or video format, it will transmit content at the best
audio and video formats that do not exceed the capabilities specied in the EDID. Note that all outputs on the
B-120-HDMATRIX receive the same audio and video format.
For example, assume you have two displays (Outputs) that will view the source connected to Input 1. One of the
displays is capable of 7.1 multi-channel audio but the other is only capable of stereo audio. In this case, you will
store an EDID in Input 1 that restricts the audio to stereo so that both display outputs will produce audio.
Select “Congure EDID’s” to access EDID congurations.
NOTE: If the PC is not communicating with the B-120-HDMATRIX, a “NOT CONNECTED” window will appear.
FIGURE 2
8.1. Display EDID for Particular Input/Output
Read EDID allows you to read the currently stored EDID for each Input and to read the EDID from display (if any)
connected to each HDMI and HDBaseT output. Note that EDIDs for the Inputs are displayed in the upper left box
while EDIDs for the outputs are displayed in the lower left box.
1. Select an input or an output from the dropdown list:
2. Select READ to display the information.
3. The EDID values for the selected Input or Output will be displayed on the left side of the screen.

8
8.2. Display EDID for All Inputs / Outputs
1. READ ALL will read and display the currently assigned EDID for each Input and the EDID from each connected
display.
2. The EDID values for all Inputs and Outputs will be displayed on the left side of the screen.
8.3. Save Conguration for Inputs / Outputs
This function allows you to save an EDID to disk for future use. A common use of this function is storing the EDIDs
for commonly used TVs on disk. These can be recalled from disk (see EDID Learning below) and stored in the EDID
Input locations even if the display is not currently connected.
1. Select an input or an output from the dropdown list:
1. Click “READ” to display the information.
2. Click “SAVE” to save the le.
3. Browse to the location of your choice to save the conguration le.
Suggested Folder Location:
C:\My Documents\Binary\B-120-HDMATRIX\EDIDCongurations
FIGURE 3
4. Create a name for the le that clearly describes the contents.

9
8.4. Learn EDID to Input
The following examples are for the B-120-HDMATRIX-8x8, but apply to all models.
EDIDs are learned into the B-120-HDMATRIX via the HDMI and HDBaseT output connections.
If you are learning from a connected display, the steps below can be followed to learn EDIDs from a display into the
B-120-HDMATRIX:
1. Select the location of the device whose EDID you will learn from in the EDID Learning “From” dropdown list:
Available Choices
NOTE: When “From File” is selected, a window will open when you learn (Step 3 on next page) that allows you to
navigate to the location where an EDID conguration le was saved. Select the desired le and select “Open”.
1. Select an Input to learn to in the “EDID Learning TO” dropdown list:
Available Choices
2. Select the LEARN button
The selected EDID is stored in the selected Input locations.

10
8.5. Auto EDID Learn
The B-120-HDMATRIX includes an automatic function that will determine the EDID with the best quality video
that will work with all connected displays.
If all sources (Inputs) are to be viewable on all Displays (HDMI and HDBaseT Outputs), this function provides an
easy mechanism for determining the EDIDs to store in all Inputs.
If some sources (such as a Blu-Ray player) are only viewed on some displays (Outputs), this method may provide a
more restrictive EDID than desired for some displays (Outputs).
To see the results of Auto Learn, Read EDID from Input 1. This EDID is stored in all Input EDID locations.
NOTE: Auto EDID sets audio to 2ch for all inputs regardless of the capability of the connected displays. If multi-
channel audio is desired, embedded EDIDs or Learned EDIDs will need to be used.
9. ADVANCED SETUP USING THE CONFIGURATION UTILITY
9.1 Output Control
Selecting “View Outputs” opens a window that allows outputs to be turned on or off. This can be used for
troubleshooting the B-120-HDMATRIX and connections.
FIGURE 4
Dieses Handbuch passt für folgende Modelle
3
Inhaltsverzeichnis
Andere Binary Matrix-Umschalter Handbücher

Binary
Binary B-200-AVDMATRIX-8X8 Bedienungsanleitung

Binary
Binary 120 Series Bedienungsanleitung

Binary
Binary B-520-MTRX-230-8x8 Bedienungsanleitung

Binary
Binary B-210-HDMATRIX-4X4 Bedienungsanleitung

Binary
Binary B-100-HDMATRIX-4X4 Bedienungsanleitung

Binary
Binary B-500-MTRX-230-8x16 Bedienungsanleitung

Binary
Binary B-660-MTRX-8X8 Bedienungsanleitung

Binary
Binary B-660-MTRX-4X4 Bedienungsanleitung

Binary
Binary B-500-MTRX-230-4x4 Bedienungsanleitung

Binary
Binary B-660-MTRX-4X4 Bedienungsanleitung


