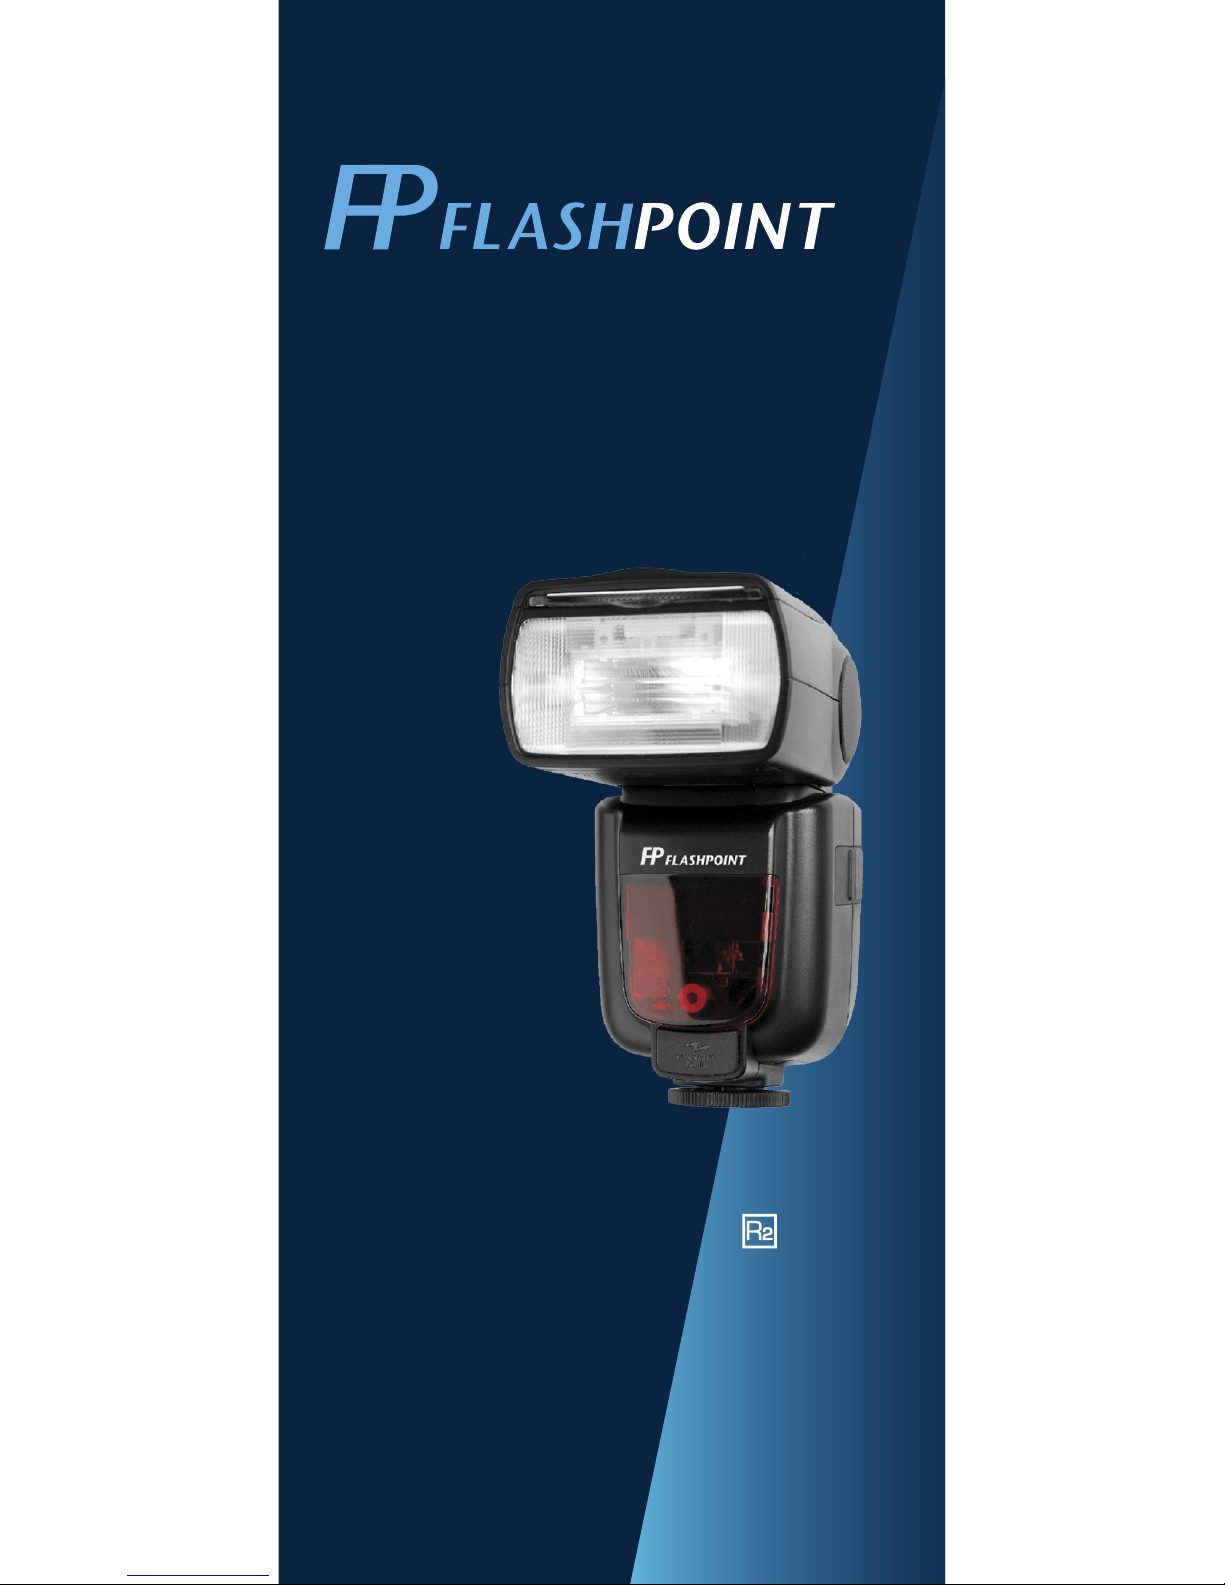
FlashPoint ZOOM TTL FLASH R2 Bedienungsanleitung

Zoom TTL Flash
for Olympus / Panasonic
with integrated R2 Radio Transceiver
FPLFSMZO

2
Thank You for Choosing Flashpoint!
The new Flashpoint Zoom TTL Speedlight for Olympus and
Panasonic with Integrated R2 Radio Transceiver is a hotshoe
speedlight which is fully compatible with the Olympus or
Panasonic TTL system. The incredible amount of power
produced by this compact and lightweight unit, as well as their
choice of professional photographers. If you have any questions
or concerns, please feel free to contact us at
Features
•Extremely Powerful Flash with a GN of 190
•Approximately 230 Full Power Flashes per set of 2500mA
Ni-MH AA batteries
•Fully Compatible with All on Camera Olympus and
Panasonic TTL Controls Including Automatic TTL Exposure
Control, Exposure Bias, Bracketing, Second Curtain Sync,
HSS, EXIF Recording, Modeling Flash, and Flash Exposure
Lock
•Wireless Remote TTL and Manual Power Control with the
Integrated R2 Radio System’s Built In Transmitter and
Receiver
•Industry benchmark range and interference avoidance
•3 Groups and 32 Channels
•Faster Recycle and Flash Capacity with the Lithium
Flashpoint Blast Pack BP-960 accessory option
•
automatic or manual control
•HSS for Shutter Speeds Up To 1/8000s
•Regular and Intelligent Optical Slave Modes
•Backward Compatiblity with the Flashpoint R1 Radio
Control System for Manual Output Control and Triggering
•360 degree head rotation and 90+ degree tilt
•Stable color temperature at 5600±200K over the entire
power range
•Backlit Matrix LCD
•Multipurpose Buttons with Digital Marking for Faster
•Laser AF Assist Lamp with Crisscross Pattern for Instant
Autofocus Even In Complete Darkness on Low Contrast
Surfaces
•1 Year Warranty
Included items
1. Flash unit 2. Mini Stand 3. Protection case 4. Instruction manual

3
For Your Safety
•Always keep this product dry. Do not use in rain or in
damp conditions.
•This product contains high-voltage electronic parts.
Touching the high-voltage circuit inside it may result
in electric shock. Do not disassemble. Should repairs
become necessary, this product must be sent to an
authorized maintenance center.
•Stop using this product if it breaks open due to internal
shifting, falling or strong impact. STRONG electric shock
may occur if you touch the components inside it.
•
those of babies and pets) within short distances. Visual
impairment may occur. When taking pictures for babies,
from them.
•
gases, chemicals and other similar materials. In certain
circumstances, these materials may be sensitive to the
result.
•Do not leave or store the unit if the ambient temperature
electronic parts may be damaged.
•Do not insert metal parts into any lighting equipment.
•
or contact them with any conductive materials
•-
will resume normal operation. You may also reboot the
•
•
To avoid damage, completely unscrew the locking ring
•
do not, remove them, check alignment, and check for
obstructions. Do not force the batteries into place.
•
them inside can lead to battery cell leakage, voiding the
warranty.
•In case of abnormal function, sparks, excessive heat,
remove the batteries if possible. Have it checked
by an authorized technician.

4
08
05
06
11
07
09
10
12
04
03
02
01
13
1. Retractable Bounce Card
2. Retractable Wide Angle
3. Flash Head
4. Optical Control Sensor
5. R1 Wireless Control Port
6. Sync Cord Jack
7. Hotshoe
8. Dot-matrix LCD Panel
9. Lock Ring
10. Battery Compartment
11. USB Port for Firmware
Upgrades
12. Slave Flash Ready Indicator
13. External Power Supply
Socket
Body
Control Panel
14. <MODE> Mode Selection
Button / Lock button
15. < > Wireless Selection
Button
16. Select Dial
17. <SET> Set Button
18. ON/OFF Power Switch
19. < > Test Button / Flash
Ready Indicator
20. Function Button 1
21. Function Button 2
22. Function Button 3
23. Function Button 4
RST
SET
20
21 22
14
19 17
18
15
23
16
Name of Parts

5
LCD Panel
(2) M : Manual Flash
(
Zoom : zoom display (Page 17)
: Automatic
: Manual (Page 8)
TTL : TTL autoflash
Focal length (Page 17)
: High-speed sync
(Page 8)
: Flash exposure
compensation (Page 33)
Distance indicator
display
Flash exposure
compensation amount
(3) Multi Flash (Stroboscopic)
•The display will only show the settings currently applied.
•The functions displayed above buttons 1 to 4, such as and
, change according to various setting status.
•When a button or dial is operated, the LCD panel illuminates.
(1) TTL Autoash

6
(4) Radio Transmission Shooting
• Slave Unit
Power Management
Insert 4 AA batteries of the same type and strength into the
by default) of idle use. Pressing any button will wake it up.
• Master Unit
Attaching to a Camera
mounting foot into the
camera’s hotshoe all
the way.
Rotate the lock ring on the
mounting foot until it is
secure.
Rotate the lock ring on the
mounting foot until it is fully
loosened.
Attach the Camera Flash
Secure the Camera Flash.
Detach the Camera Flash.
2
3

7
and the background. In this mode, multiple TTL functions are
will display on the LCD panel one by one in sequence, with each
pressing.
TTL Mode
Press <MODE> Mode Selection Button to enter TTL mode. The
LCD panel will display <TTL>.
•Press the camera release button halfway to focus. The
•
FEC: Flash Exposure Compensation
system is needed based on the environment.
Setting FEC:
See the Custom Function Menu section.
by default. Another option “30 minutes” is
available. See the Custom Function Menu section.
Press Function Button 2
< >. The icon <>and
-
tion amount will be high-
lighted on the LCD panel.
Press < SET > button again
Set the ash exposure
compensation amount.
•Turn the Select Dial to set
the amount.
•“0.3”means 1/3 step,
“0.7”means 2/3 step.
•
exposure compensation,
set the amount to “+0”.
2
3

8
H
High-Speed Sync
all camera shutter speeds. This is convenient when you want to use
Press the <SYNC>
H
• With high-speed sync, the faster the shutter speed, the
•
• Over-temperature protection may be activated after 15
•
Note: With the Panasonic cameras in wireless control mode,
Second-Curtain Sync
With a slow shutter speed, you can create a light train following the
•Setting the Second-Curtain Sync function on the camera menu,
please read camera instruction manual.
M: Manual Flash
-
Press< MODE> button so
that < M > is displayed.
Press< SET> button again to
Turn the Select Dial to
output amount.
2
3

9
Flash Output Levels
The following table makes it easier to see how the display changes
1/2+0.3, 1/2+0.7, and 1/1 will be displayed.
Optical S1 Secondary Unit Setting
<
S1/S2
>
-
Optical S2 Secondary Unit Setting
Press Function Button 3 <
S1/S2
>
R2 system)
< > button
to select high-speed mode and His displayed.
Flashpoint Accessories
R2 Radios R1 Radios Blast Power Pack
BP-960
Speedlight
Reector
Flash Diuser Hexapop/Parapop
Rapid Deployment
Softboxes

10
Press <MODE> button so that
< MULTI > is displayed.
times.
•Press Function Button 3
< MULTI >
times. Turn the Select Dial to set
the number.
•Press Function Button 4
<Hz>
frequency. Turn the Select Dial to
set the number.
•
press <SET> button and all the
settings will be displayed.
Turn the Select Dial to choose a
2
3
Flash Mode – Multi / Stroboscopic Flash
single photograph.
Calculating the Shutter Speed
speed and set it with the camera.
Number of Flashes / Flash Frequency = Shutter Speed
-
quency is 5 Hz, the shutter speed should be at least 2 seconds.
-
-
•Using a tripod and a remote control is recommended.
•-
•
•
continue until the shutter closes or the battery is exhaust-
following table.
Andere Handbücher für ZOOM TTL FLASH R2
1
Dieses Handbuch passt für folgende Modelle
1
Inhaltsverzeichnis
Andere FlashPoint Kamerablitz Handbücher

FlashPoint
FlashPoint FPLFSL360C Bedienungsanleitung

FlashPoint
FlashPoint FPLFSMZ Bedienungsanleitung

FlashPoint
FlashPoint FPLFSMZL Bedienungsanleitung

FlashPoint
FlashPoint eVOLV 200 R2 Bedienungsanleitung

FlashPoint
FlashPoint Zoom Mini Bedienungsanleitung

FlashPoint
FlashPoint FPLFSMZM Bedienungsanleitung