
FRIEDLAND Libra+ D934S Bedienungsanleitung

1
48339PL Ed1
Instruction Manual
D934S Libra+ Push/Converter
Bedienungsanleitung
D934S Libra+ Taster/Erweiterungssender
Manuel d’utilisation
D934S Libra+ Bouton poussoir/convertisseur
Instructie handleiding
D934S Libra+ Belknop/omvormer
Instruccione Manuel
D934S Libra+ Pulsador/conversor
Manuel d’Instruzioni
D934S Libra + Pulsante/convertitore senza fili
Manual de Instruções
D934S Libra+ Carrilhão botão/conversor

1
Installation
Contents
Checking pack contents.................... Pg. 2
Safety................................................
Quick start.........................................
Open push / remove nameplate........Pg. 3
Fit battery .........................................
Push/converter functions.................. Pg. 4
Typical connection.............................Pg. 5
Mount the bell push/converter........... Pg. 6
Troubleshooting................................
Specifications.................................... Pg. 8
Disposal and recycling......................
Guarantee.........................................
Declaration........................................
ENGLISH
Libra+ Push/Converter

2
Libra+ Converter/Push
Thank you for choosing this Friedland product. Please use the following
instructions to ensure correct installation and use. Keep these notes in a safe place for
future reference.
Unpack your push and identify the
following parts:
●Bell Push/Converter
●CR2032 battery for bell push
●2 x fixing screws for push
● Bell wire (for use with a wired push)
●Adhesive pad
You will need:
●A4mm cross-head screwdriver
● Asmall flat bladed screwdriver
Checking pack contents
Before proceeding with the installation,
please note the following safety warnings:
¬●Always follow the manufacturer’s advice
when using power tools and wear suitable
protective equipment (e.g. safety goggles)
when drilling holes etc.
¬●Before drilling holes in walls, check for
hidden electricity cables and water pipes,
the use of a cable/pipe locater maybe
advisable if in doubt.
¬● When connecting the landscape
push/converter to other manufacturers’
equipment, check manuals and if necessary
consult the manufacturer regarding suitability
for the intended use.
Safety
You need to do the following to get started:
●Open the bell push/converter
●Fit the push battery
Follow the programming procedure for your
Libra+ chime.
Quick start

3
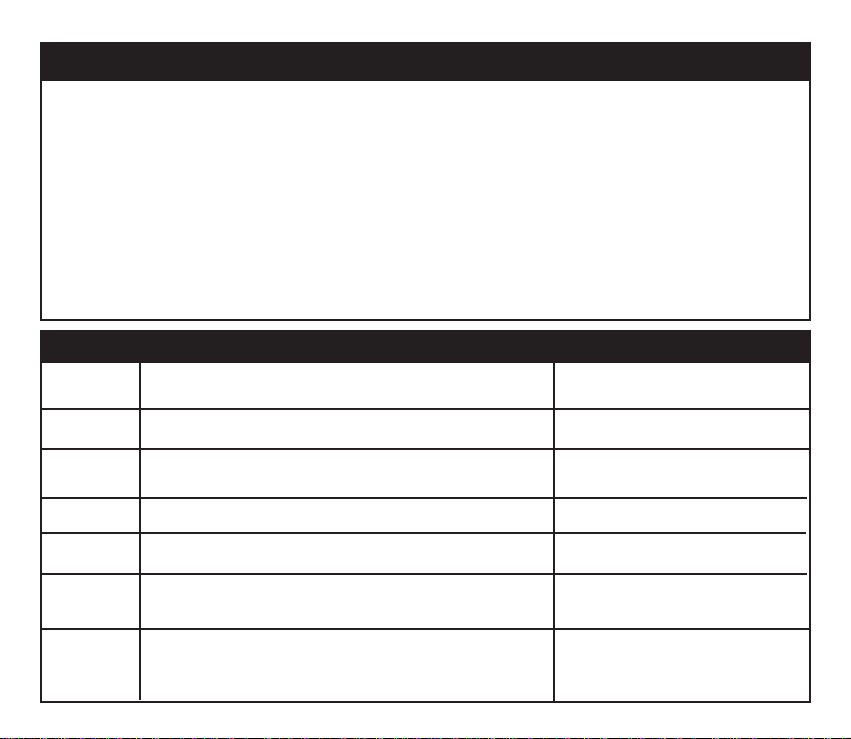
Using a ball point pen press at point A shown
in fig 1. Remove the name plate. If desired,
you can prize apart the two halves of the
name plate and write on the card. Undo the
retaining screw B and remove the back of the
push.
Open the bell push/converter
remove nameplate Insert the CR2032 coin cell. Ensure the face
marked ‘+’ is uppermost (Fig. 2).
To fit the push/converter battery
Fig. 2
CR2032
+
B
A
Fig. 1
4
Push/Converter functions
The bell push in this kit can be used as a stand-alone wirefree push. Additionally, it can be used to inter-
face with an existing wired doorbell system or any of the following:
●Astandard wired bell push
●Alit bell push and transformer
●Adoor or window contact
●Any device with N/O or N/C, voltage free contacts
●Any device which generates appropriate control signals < 24 (AC or DC)
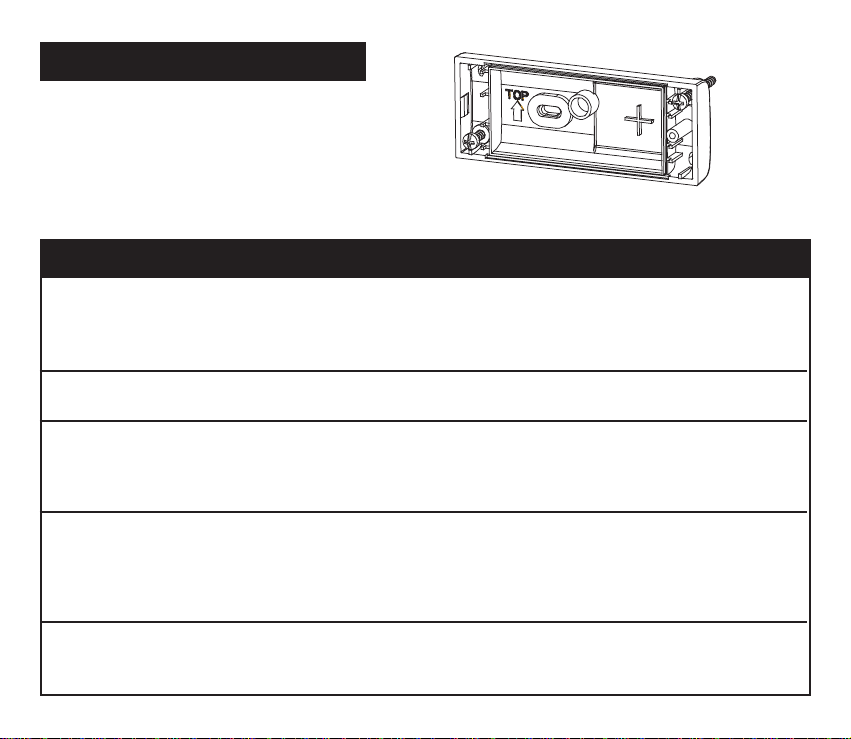
See typical connections (C1-7)
Important Note: Additional wiring can be brought into the push through the grommet in the back of the push.
Once the grommet has been pierced or removed, we recommend that the push is mounted indoors.
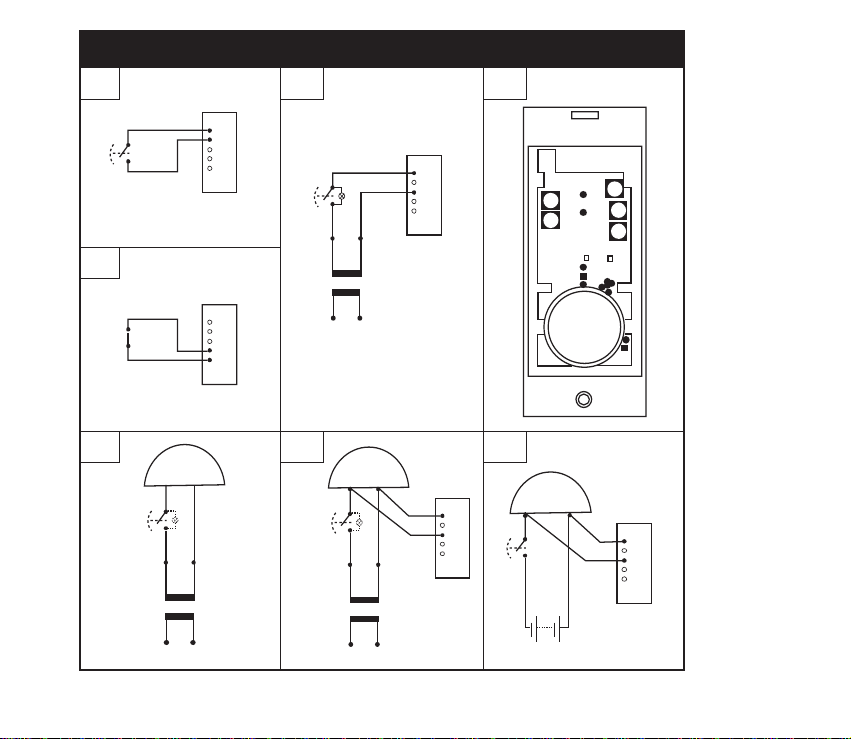
C1 wired bell push or 'normally open' switch/contacts
C2 door/window contact, 'normally closed' switch/contacts
C3 a lit push (with transformer) when switch is closed,
chime will sound
C4 landscape push/converter - terminal positions
C5 a typical wired bell or chime circuit - transformer powered
C6 converter connected to a wired bell or chime
circuit - transformer powered
C7 converter connected to a wired bell or chime
circuit - battery powered
when switch is closed,
chime will sound
when switch is opened, chime
will make an 'ALERT' sound
when switch is closed,
chime will sound
when push is operated,
Libra+ chime will sound
when push is operated,
Libra+ chime will sound
Diagram Applications Operation
5
C1
C2
C3 C4
C5 C6 C7
1
2
3
4
5
1
2
3
4
5
1
2
3
4
5
1
2
3
4
5
~
~
8V
240V
BELL
1
2
3
4
5
~
~
8V
240V
BELL
~
~
8V
240V
BELL
5
43
2
1
Typical connections
6
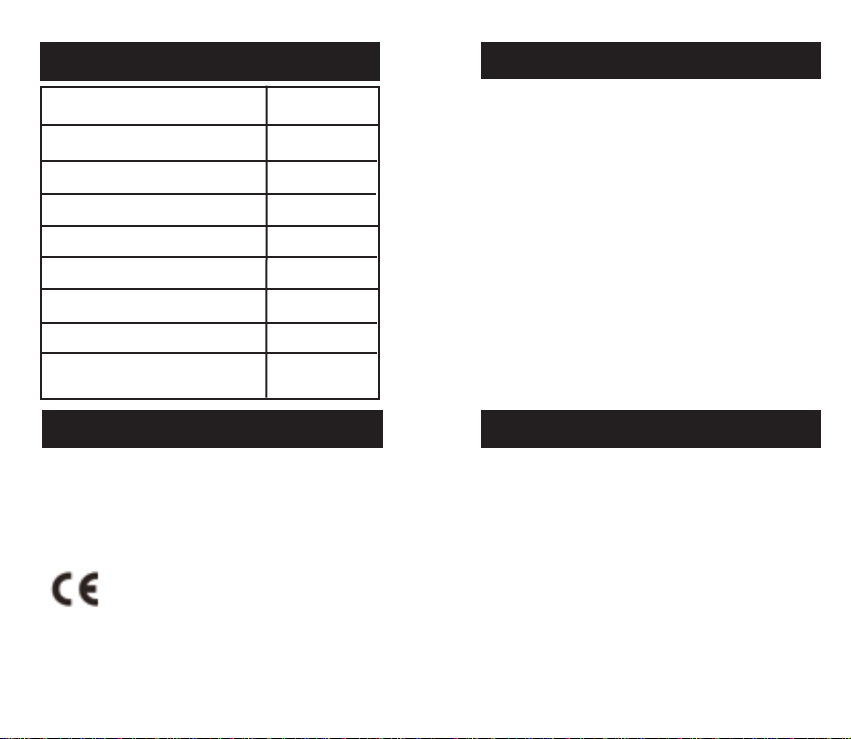
Mount using either the double- sided
adhesive pad or the screws provided
(see Fig 3). Test your push before
fixing. Avoid fixing to metal structures.
Mounting the bell push/converter
Fig. 3
A ‘beep’ sound is heard in learn mode…
¬●The push you are programming has already been learnt by the chime.
¬●If you want to change the icon associated with the push, use the un-learn procedure, then
programme the push again.
Two ‘beep’ sounds are heard after the normal chime sound…
¬●This indicates a low battery in the bell push that activated the chime. Fit a new battery, type CR2032.
When the bell push is operated, the amber confidence light does not turn on, or is only
on for a short time…
¬●In normal operation, the amber light will turn on for 1 second. When the battery is weak,
the light will only turn on for a short time. Fit a new battery, type CR2032.
The chime does not work…
●Check that the batteries are the correct type. Only use alkaline batteries.
●Check that the batteries are fitted correctly.
●The chime could be out of range of the bell push. Try the chime in a different location.
●The chime might not have learnt the identity of the bell push. Follow the programming procedure.
The chime does not sound…
●Check that the volume control is not at the minimum setting.
Troubleshooting

7
Range is reduced…
●Metal structures, including uPVC door frames can reduce the range of the product.
Avoid mounting the push or chime on or near metal structures.
●Other equipment can cause radio interference that affects your chime.
●Walls and ceilings will reduce the range.
●Weak batteries will reduce range. Replace every 12 –18 months. In cold conditions (below 5ºC),
batteries may need to be replaced more often.
Amber light flashes…
●When the chime battery is low, an amber light will flash every 5 seconds. Fit new batteries in
the chime. Only use alkaline batteries
When the push converter function is used, the chime does not operate...
● Ensure that the wiring to the push is correct.
● Check that the correct terminals have been used and that screws are tightened.
Push/converter does not work with my older Libra equipment …
●Libra + is not compatible with the earlier Libra system.
●Only use accessories marked Libra +.
8
Specifications
Specification Bell push
Operating Temperature -10 to 40ºC
Range (open feild) (see chime)
RF Frequency – UK/Europe 868MHz
RF Power <10mW
Battery Type CR2032
Battery Life (5 activations/day) 18 months
IP Rating IP55
Maximum input voltage (T1-T5) 24VAC/DC
Batteries and waste electrical products should
not be disposed of with household waste.
Please recycle where these facilities exist.
Check with your local authority or retailer for
recycling advice.
Disposal & Recycling
Friedland guarantees this product for 2 years
from the date of purchase. Proof of purchase
is required; this does not affect your statutory
rights. If you require further information about
our product, call the Friedland helpline on
01268 563066.
Guarantee
Novar ED&S hereby declares that this product
is in compliance with the essential requirements
and other relevant provisions of the Radio and
Telecommunications Terminal Equipment
(R&TTE) directive, 1999/5/EC.
Declaration
Friedland, The Arnold Centre, Paycocke Road, Basildon, Essex, SS14 3EA
www.friedland.co.uk

9
Einbau
Libra+ Taster-/Erweiterungssenderfunktionen
Packungsinhalt überprüfen .................................... Pg. 10
Sicherheit ..............................................................
Einrichtung ............................................................
Klingelknopf öffnen/Namensschild herausnehmen..... Pg. 11
Klingelknopfbatterie einlegen ................................
Taster- / Erweiterungssenderfunktionen................. Pg. 12
Typische Installation .............................................. Pg. 13
Anbringen des Klingelknopfes .............................. Pg. 14
Störungssuche ......................................................
Spezifikationen ...................................................... Pg. 16
Entsorgung ............................................................
Garantie ................................................................
Erklärung ...............................................................
GERMAN
Inhaltsverzeichnis
Sprachen:


