Konig HAV-IR20 Bedienungsanleitung
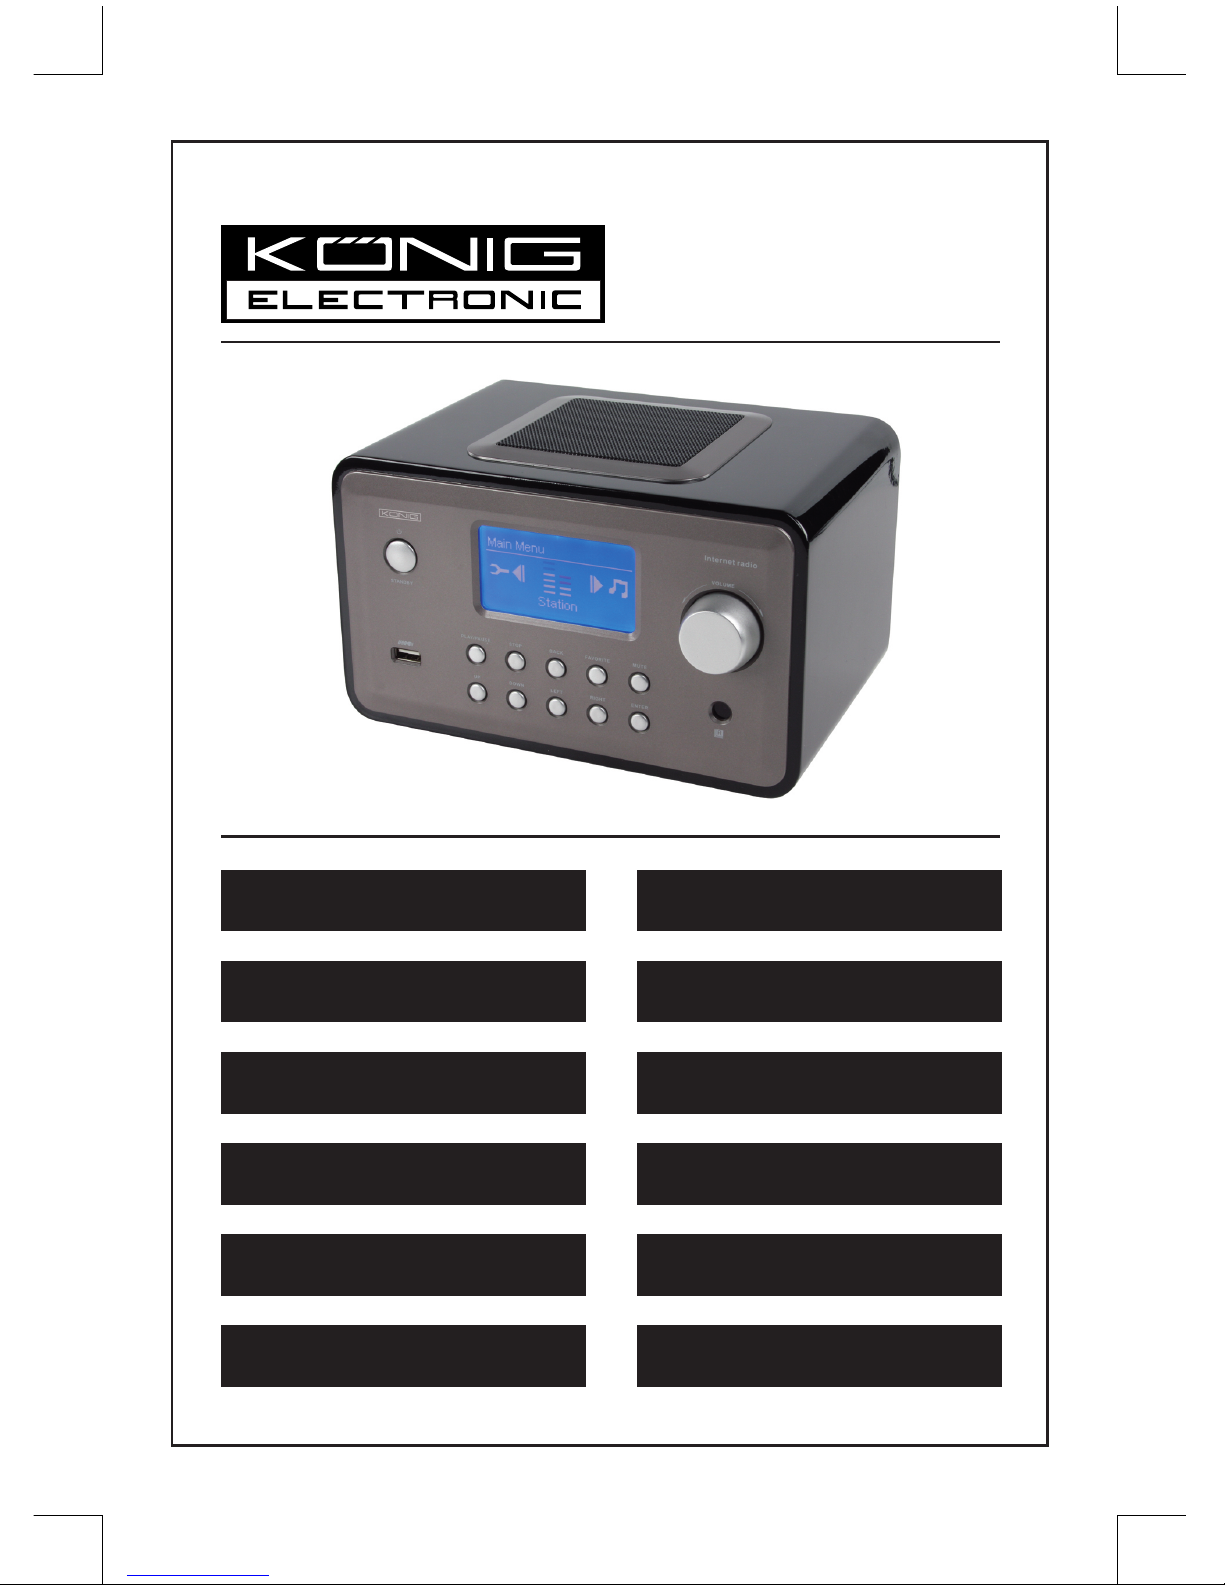
HAV-IR20/21/22/23
MANUAL (p. 2)
Internet radio
MODE D’EMPLOI (p. 26)
Radio Internet
MANUALE (p. 50)
Internet radio
BRUKSANVISNING (s. 100)
Internetradio
MANUAL DE UTILIZARE (p. 124)
Radio prin internet
HASZNÁLATI ÚTMUTATÓ (o. 75.)
Internetrádió
KÄYTTÖOHJE (s. 88)
Internetradio
GEBRUIKSAANWIJZING (p. 38)
Internet Radio
ANLEITUNG (s. 14)
Internetradio
MANUAL DE USO (p. 62)
Radio Internet
NÁVOD K POUŽITÍ (s. 112)
Internetové rádio
ΕΓΧΕΙΡΙΔΙΟ XPHΣHΣ (σελ. 136)
Ραδιόφωνο Ίντερνετ

2
ENGLISH
Remote control
MENU
BACK
REPEAT
DIRECTION KEYS
(UP/DOWN/LEFT/RIGHT)
STAND BY
NUMERIC KEYS
VOLUME “+”
VOLUME “-”
MUTE/SNOOZE
A-B LOOP
INFO
ALARM
MEMORY
RECORD
Front view
PLAY/PAUSE
STANDBY
USB SOCKET
DIRECTION KEYS ENTER REMOTE SENSOR
VOLUME +/-
MENU BACK MEMORY REC
Rear view
POWER ON/OFF
Ethernet port
AUX IN
AUX OUTDC12V/2A
POWER SUPPLY
3

4
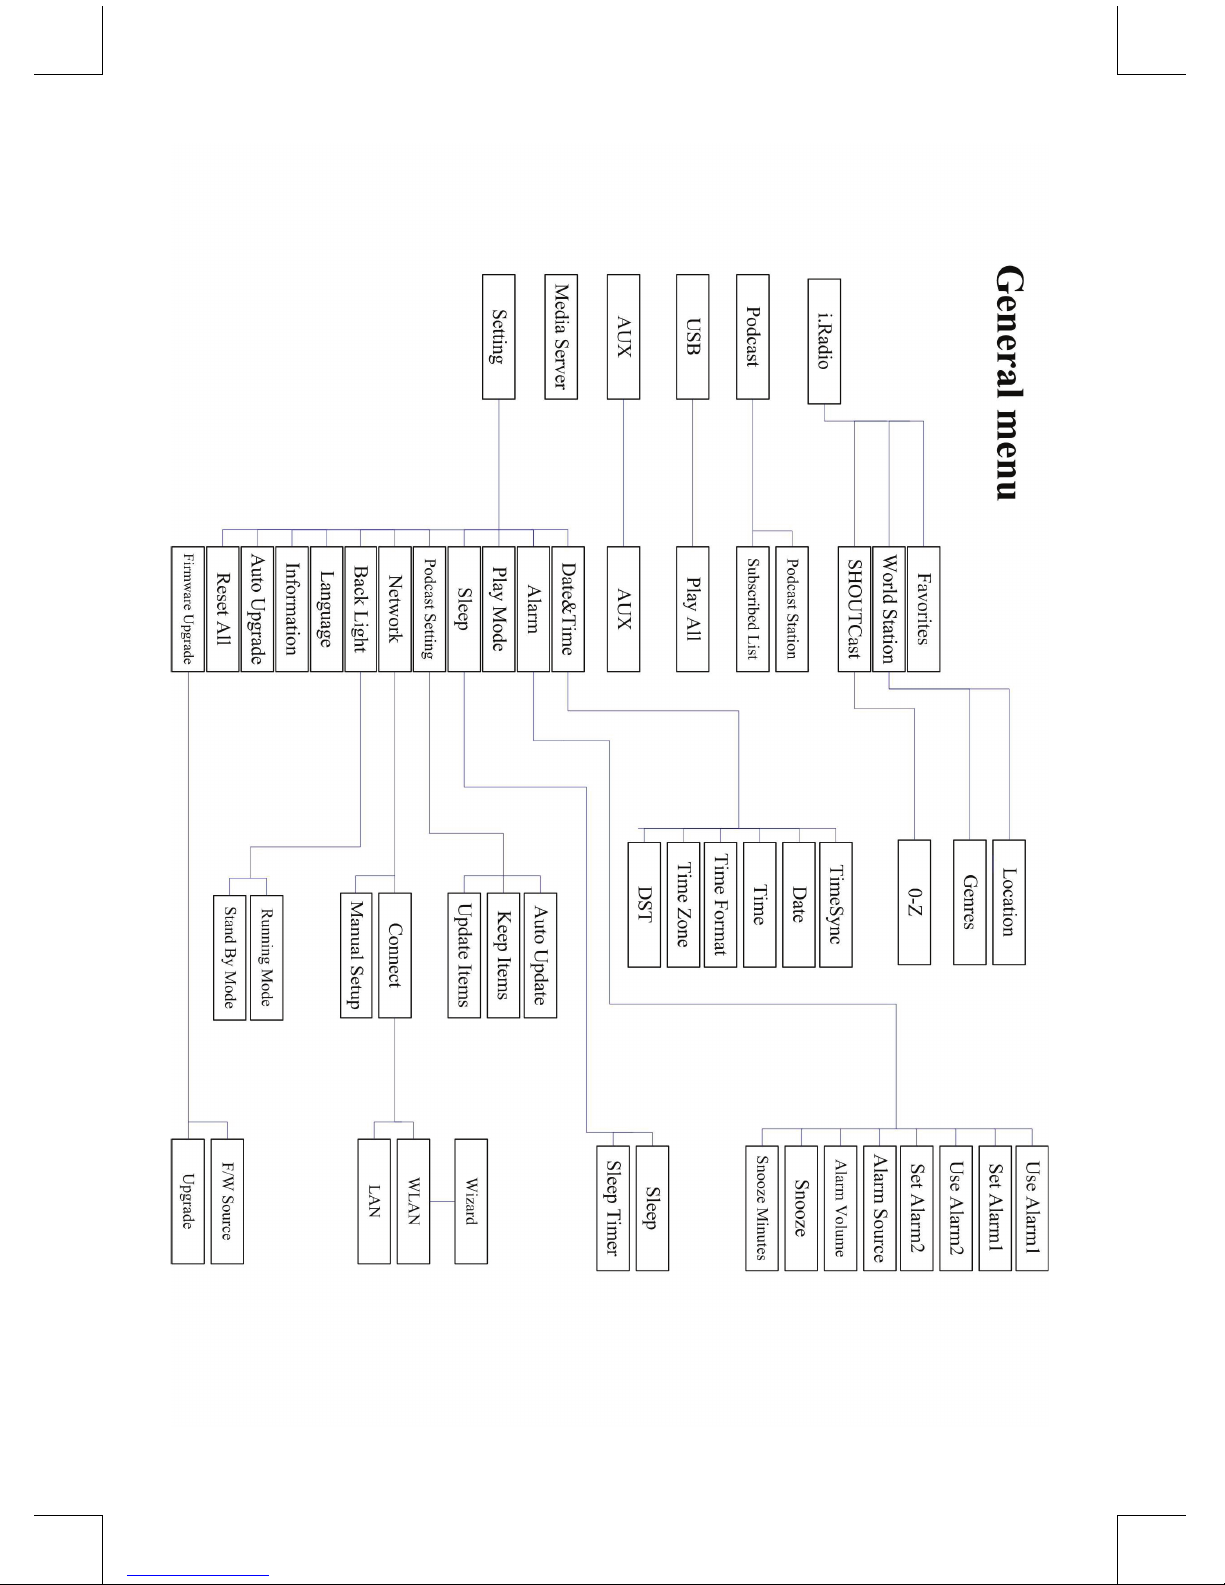
Chapter 1 Overview
1.1 Introduction
Internet Radio is a radio system integrated digital audio playback that functions with network
connectivity. The system can play MP3/WMA audio les, USB devices and internet radio services such
as World Station and SHOUTCast which provide above 15,000 internet radio stations. Internet Radio
also supports audio streaming via UPnP Media Server.
1.2 Audio Sources
• Support MP3/ Windows Media® audio les (known as WMA)(Included ID3V1 ,2)
• Support static lyrics and synced lyrics (.txt /.lrc /.smi)
• Support USB Flash drive
• SHOUTCast Internet Radio (http://www.shoutcast.com)
• Support Podcast
• Support AUX
1.3 Storage
• Support standard USB Mass Storage device (FAT16/32).
1.4 Recording
• Be able to record audio data from internet radio stations (World Station / SHOUTCast) and transfer
audio data into 128K MP3 format.
1.5 Networking
• Support Ethernet 10/100 Mbps
• Support Wireless LAN IEEE 802.11 b/g dongle
• Support Infrastructure / Ad-hoc
• Support WEP64/128 and WPA-TKIP-PSK, WPA2-AES-PSK encryption
• Support Proxy Setting
• The system provides a wireless setting wizard to make wireless network setup easier.
1.6 Others
• Support two alarm clock settings
• Support time sync technology (* network available)
• Support rmware upgrade
Chapter 2 Installation
2.1 Installation
NOTE: The proper voltage for Internet Radio is AC 110V~240V/50-60Hz. Be sure to the voltage in
your area before plugging in the unit.
2.1.1 Installing onto network (LAN)
• Make sure the internet environment is ready and the network setting is available (ADSL or Cable
Modems is highly recommended).
• The default setting of network in your Internet Radio is DHCP. (more network setting please check
11.6 Network)

5
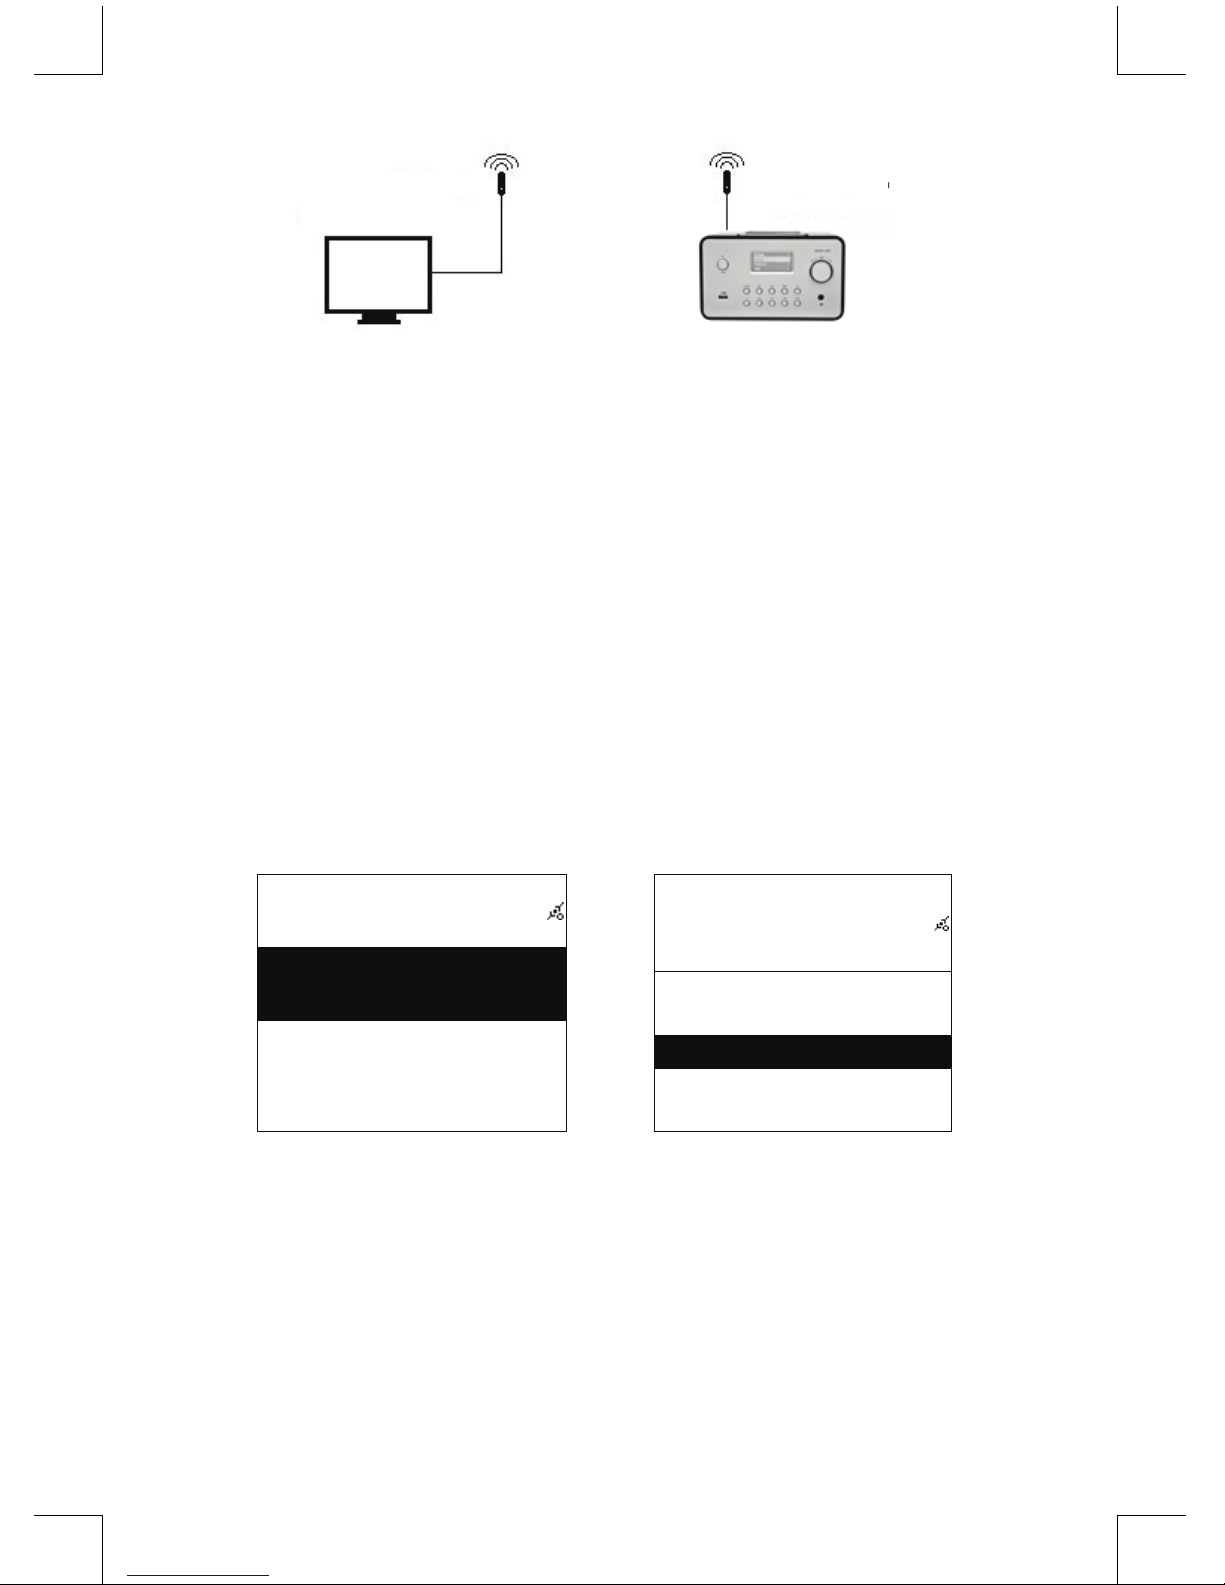
ADSL or Cable Modem Broadband Router
Ethernet
Ethernet
PC (Media Server)
Internet Radio
- Connect the device to an Internet connected router according to the picture. Use a standard network
cable.
PC (Media Server)
Cross-Over
Internet Radio
- Connect the device to a PC according to the picture if it is only going to be used for listening to
music that is stored in the computer. Use a crossed network cable.
- When the device is connected like this you can only listen to music which is stored in the
computer. The computer must have special software installed. See section Media Server.
2.1.2 Installation of a wireless network (WLAN)
• Make sure the internet environment is ready and the network setting is available.
• Plug-in Wi Dongle into Internet Radio (More setting please see 11.6 Network)
Wifi Dongle
Wifi Dongle
Internet Radio
PC (Media Server)
PC (Media Server)
Ethernet
ADSL or Cable Modem
802.11 b/g Wireless
broadband Router
- Connect the wireless network dongle to the socket.
6
PC (Media Server)
Wifi Dongle
Wifi Dongle Internet Radio
- You can connect the device wireless to a computer with a wireless network card.
- When the device is connected like this you can only listen to music which is stored in the
computer. The computer must have special software installed. See section Media Server.
2.2 Starting The Equipment for The First Time
When you turn on the equipment for the rst time the stereo will try to automatically search for an IP
address. If the network is connected to the Internet, the equipment will also synchronize the time with
the time server and then goes to standby mode. Usually it will take 6-30 seconds to nish the whole
process.
2.3 World Station
2.3.1 Listen to World Station
• Go to [Main] menu, choose [i.Radio] and press ENTER/OK button.
• Choose [World Station] and then press ENTER/OK button.
• Scroll up/down to a station and then press ENTER/OK button to play.
• You will hear music after buffering reaches to 100%.
Note: For fast search for an internet radio station, press Right button to jump from radio stations
started with alphabet A to alphabet B, alphabet B to alphabet C, and so on. Press Left button to jump
backward.
Table 2.3.1
Main
i.Radio >
USB >
>
→
i.Radio
Favorite >
World Station >
SHOUTCast >
Select i.Radio Choose World Station

7
i.Radio
Africa >
Americas >
Asia
>
→
World Station
South Korea >
SriLanka >
Taiwan
>
Categorized by Area Categorized by Country
World Station
Africa >
Americas >
Asia
>
→
World Station
Caribbean >
Europe >
Middle East
>
Press◄ / ► button for fast search The name of stations change
alphabetically
1/1637
‘A’ NET STATION
.977 The Oldies Channel
007 Audio - #1 For The
→
1/999
‘A’ NET STATION
.977 The Oldies Channel
007 Audio - #1 For The
Press INFO button The amount of stations will show on
the screen
8
World Station
HitFM 90.1 Taiwan
National Education Radio 1
National Education
Radio 2
→
i.Radio
HitFM 90.1 Taiwan
WMA ,48 Kbps
Categorized by alphanumeric order Playing
2.4 Network
• Support LAN (Ethernet) and WLAN (802.11b/g wi Dongle is optional)
• Support Wi-Fi Encryption WEP64/128, WPA-TKIP-PSK, and WPA2-AES-PSK.
• Support dynamic IP via DHCP (Dynamic Host Conguration Protocol) and static IP. Default setting
is Ethernet and DHCP.
• Support Infrastruct mode and Ad-hoc mode.
• Support Upnp.
• Auto-detect and auto-run LAN or WLAN(wireless LAN) environment.
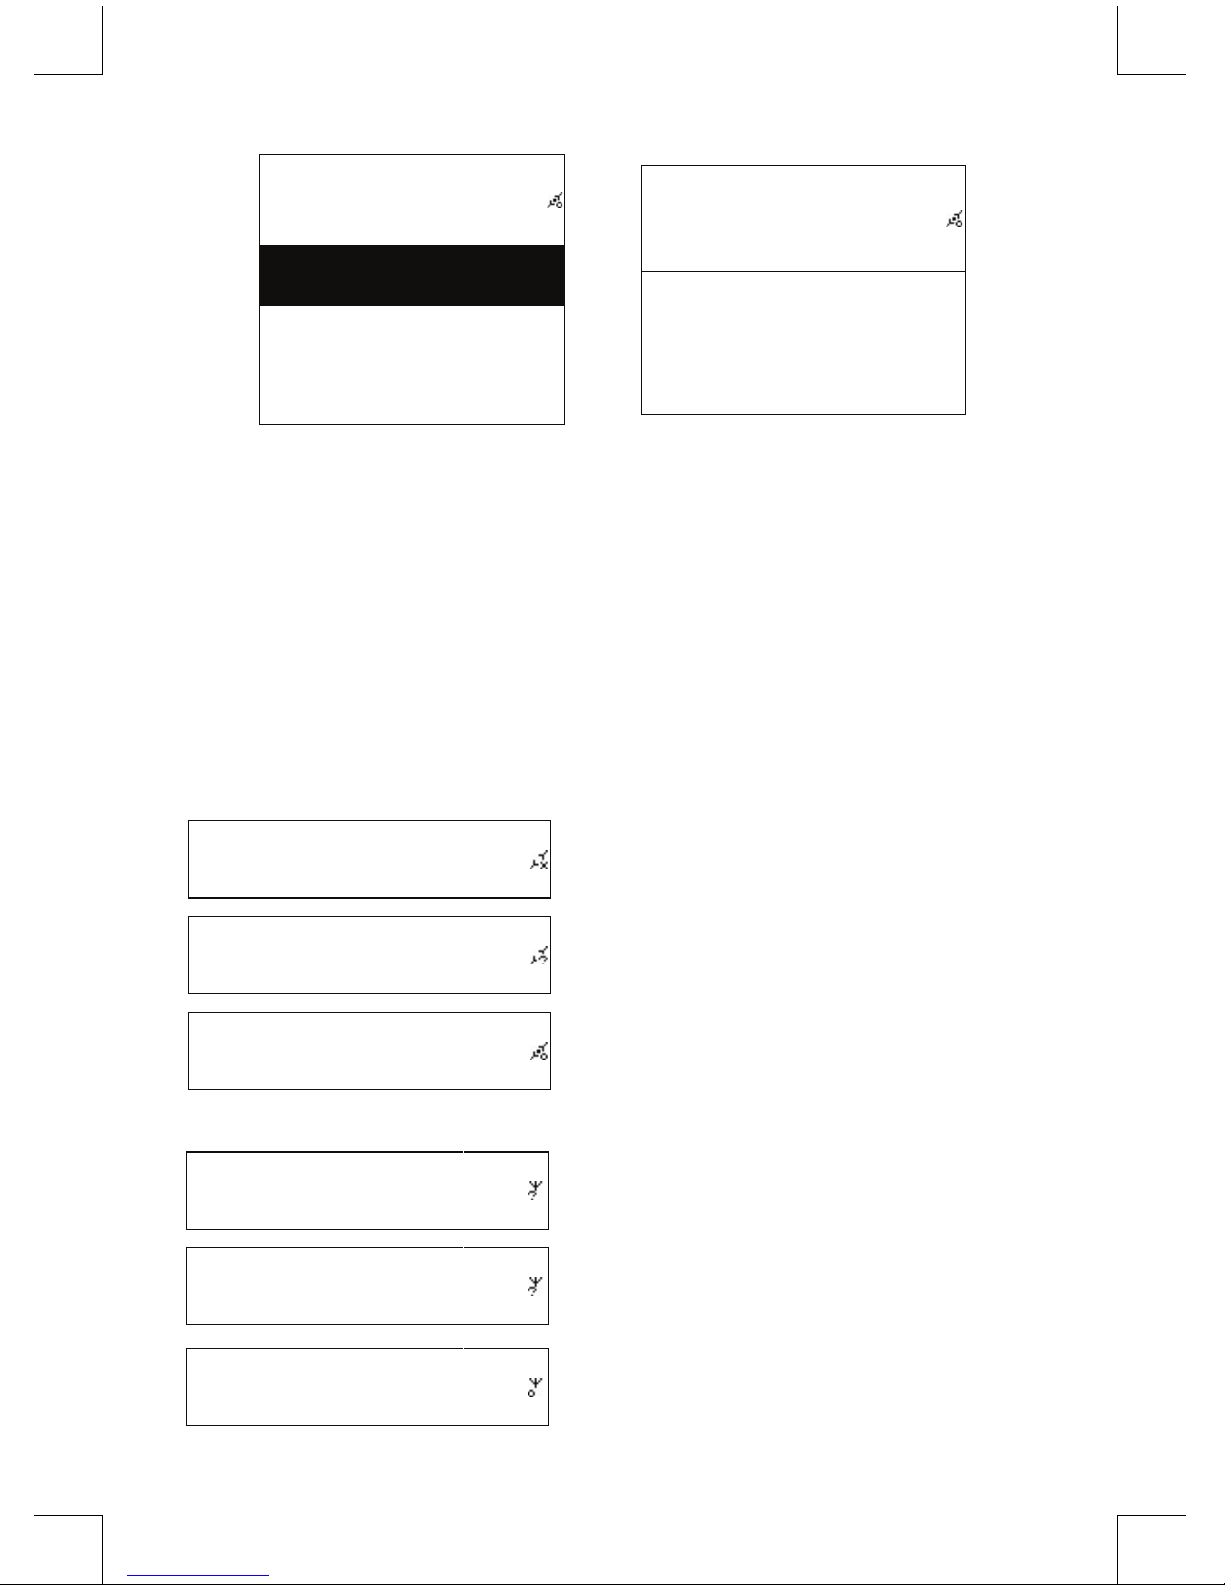
2.4.1 Understanding the Networking States on The System
• The network connectivity status icon will show on the top side of the screen.
Table2.4.1.1 - LAN Status
Title
→• It is failed to detect the Ethernet cable.
Title
→• It is successful to detect the Ethernet cable.
• It is failed to get available DHCP information.
Title
→• It is successful to detect the Ethernet cable.
• It is successful to get available DHCP
information
Table 2.4.1.2 - WLAN Status
Title
→• It is failed to detect the USB Wi-Fi adapter.
Title
→• It is successful to detect the USB Wi-Fi
adapter.
• It is failed to get available DHCP information.
Title
→
• It is successful to detect the USB Wi-Fi
adapter.
• It is successful to get available DHCP
information.
9
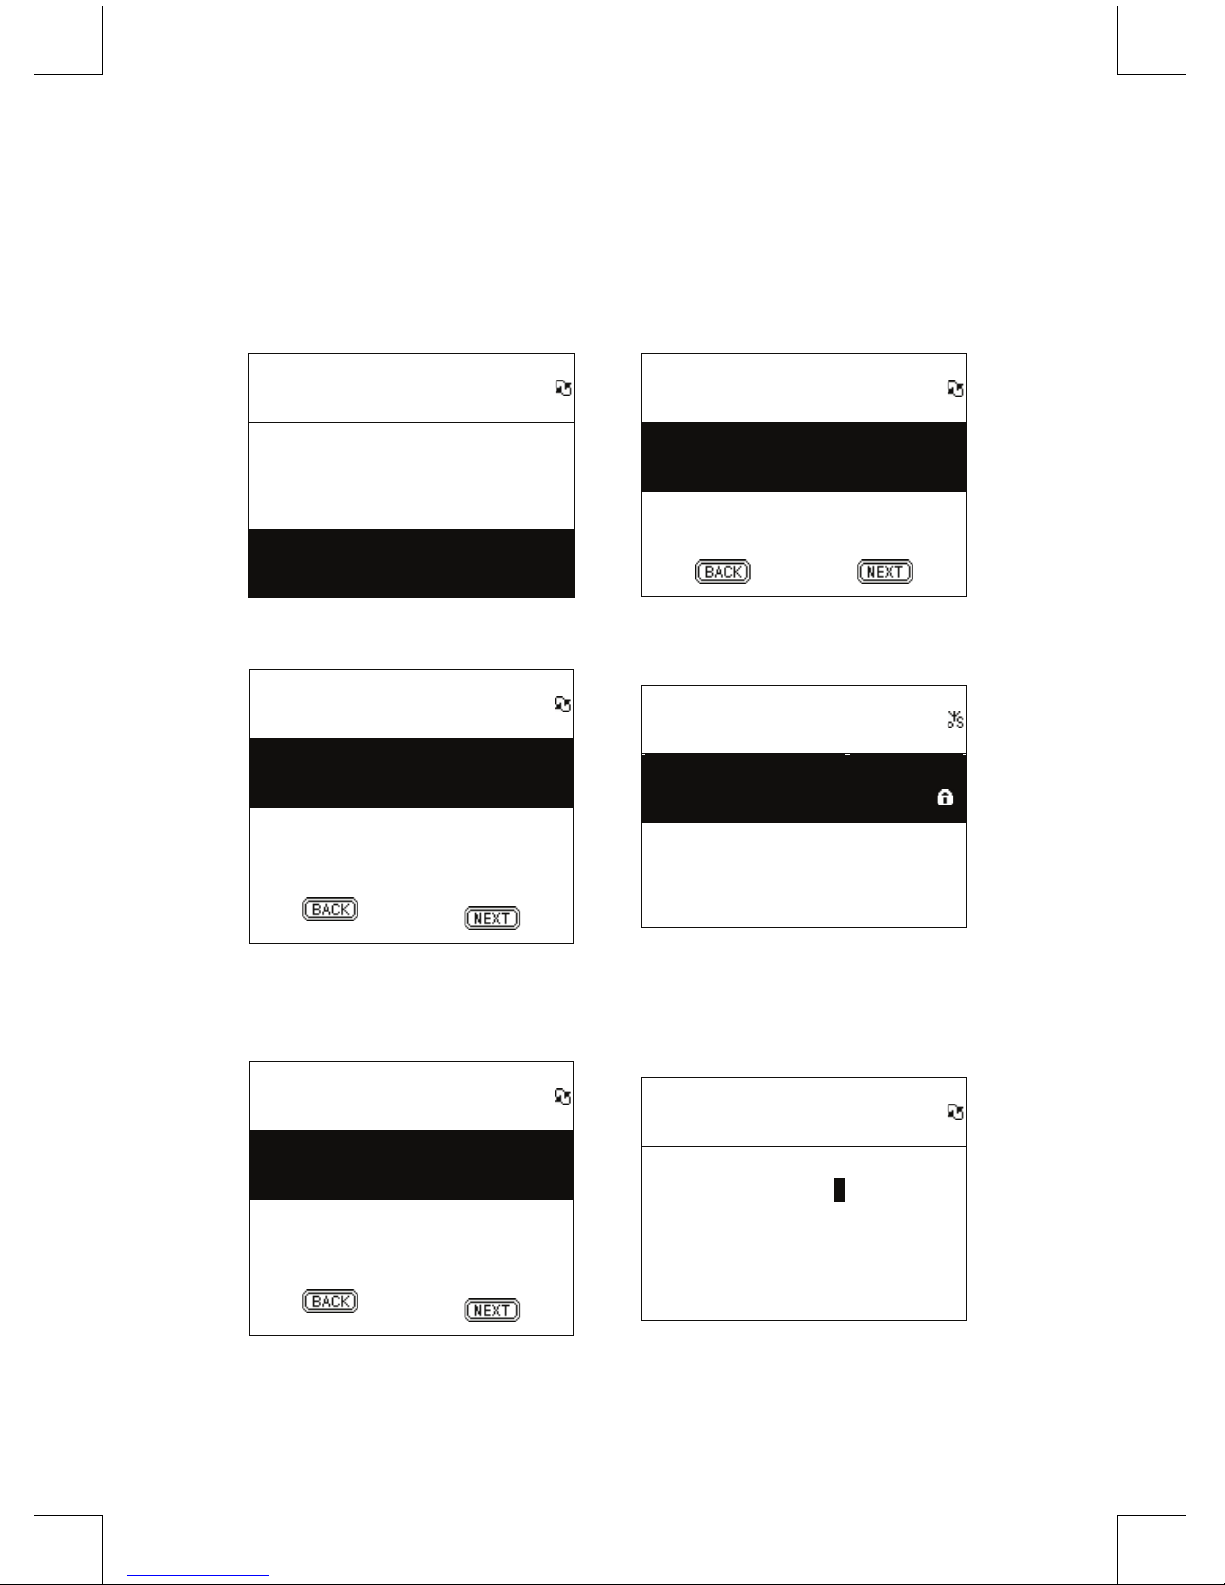
2.4.2 Setting the Wi-Fi Connectivity in infrastruct mode
1. Insert a Wi-Fi USB adapter into the USB connector. (The Wi-Fi USB adapter is optional)
2. then scroll up/down to [Network] and press ENTER/OK button.
3. Select [Manual Setup] and press ENTER/OK button
4. Select [Connect] and press ENTER/OK button
5. Then please follow the steps below:
Table 2.4.2
Network
Connect LAN
Wizard >
Manual Setup >
→
Network
Connect WLAN
Select [Manual Setup] and press
[ENTER/OK] button
Select [WLAN] mode, for example,
then choose [NEXT]
SSID
SSID Auto Search
→
Site Survey
AP01 75%
wireless 100%
Choose [NEXT] to search any AP
available
Available APs listed by signal
strength. If an AP is required
encryption, it will be marked with a
symbol of lock.
Encryption
Encryption Mode WPA2
Passphrase >
→
Passphease
> 0 0 0 0 0 0 0 0 0 0 0
ENTER/OK: Next
Select [Encrytion] mode and then
choose [NEXT]
Key in the encryption code and then
press [ENTER/OK]

10
Connect Mode
Connect Mode Infra
→
IP Setting
IP Source Dynamic
Select [Connect] mode and then
choose [NEXT]
Select [IP Source] and then choose
[NEXT]
Proxy
Use Proxy No
→
Network Status
Config Wifi Module /
Select [Use Proxy] then choose [OK] The system will save all conguration
Network Status
Getting IP Address …
→
Network
Connect LAN
Wizard >
Manual Setup >
Start connecting to the AP will show up if connection is
successful
2.4.3 Setting the Wi-Fi Connectivity by Wi-Fi Wizard
1. Insert a Wi-Fi USB adapter into the USB connector. (The Wi-Fi USB adapter is optional).
2. Then scroll up/down to [Network] and press ENTER/OK button.
3. Select [Connect] and switch [LAN] to [WLAN].
4. Select [Wizard] and then press ENTER/OK button.
5. Scroll up/down to an access point you want to connect, and then press ENTER/OK button.
6. If the access point that you are selecting is protected, press ENTER/OK button to select the
protected AP.
7. To input the encryption key, press UP/DOWN (or numbered key) button to change characters and
press LEFT/RIGHT button to shift.
8. Press ENTER/OK after you nish setting.
9. icon will show on the topside of the screen if the wireless setting is successful.
Dieses Handbuch passt für folgende Modelle
3
Inhaltsverzeichnis
Sprachen:
Andere Konig Radio Handbücher

Konig
Konig HAV-TR900 Series Bedienungsanleitung

Konig
Konig HAV-TR110 Bedienungsanleitung

Konig
Konig HAV-TR200W Bedienungsanleitung

Konig
Konig HAV-SR40 Bedienungsanleitung

Konig
Konig HAV-MR20 Bedienungsanleitung

Konig
Konig HAV-SR41 Bedienungsanleitung

Konig
Konig RDFM5010 Series Bedienungsanleitung

Konig
Konig HAV-TR800 Series Bedienungsanleitung

Konig
Konig RDDB5000 Series Bedienungsanleitung

Konig
Konig HAV-SR42 Bedienungsanleitung


