WALL CUTOUT
1
Determine the approximate location of the stud
for the right side of your wall safe [hinge side]
2
Drill or cut a large enough pilot hole to
determine where the inside edge of the stud is
located
3
Using a framing square [ T-Square], draw a 21⁄"
vertical pencil line along the inside edge of the
stud. This will locate the right side [hinge side]
of the safe.
4
From the top of your drawn line, measure 14"
to the left & make a pencil mark. Repeat this step at the bottom of your
drawn line.
5
Using a framing square, draw a vertical line between the pencil marks
locating the left side of the safe.
6
With the framing square, draw a horizontal line at the top of the 21⁄"
measurement joining the 2 ver tical lines. Repeat this step at the bottom.
You now have a 14" x 21⁄" rectangle drawn on the wall between the
studs.
7
With the drywall saw or equivalent tool; beginning at the pilot hole, cut
along the pencil lines & remove the wall section.
NOTE : The outer flange of the safe will cover the cut line & any flaws.
INSTALLING THE WALL SAFE
To make the safe installation as easy as possible,
remove the door. [See Removing The Door on pg.7]
1
Fit the wall safe within the wall so that the
hinge side of the safe is flush against the right
stud & the front flange is flat against the wall
2
Mark the stud using the 4 outer slots in the
front piece of the wall safe to indicate where
the pilot holes need to be drilled
3
Remove wall safe & drill ⁄"-⁄" diameter pilot holes
4
Now that the pilot holes have been drilled, you can fasten the safe into
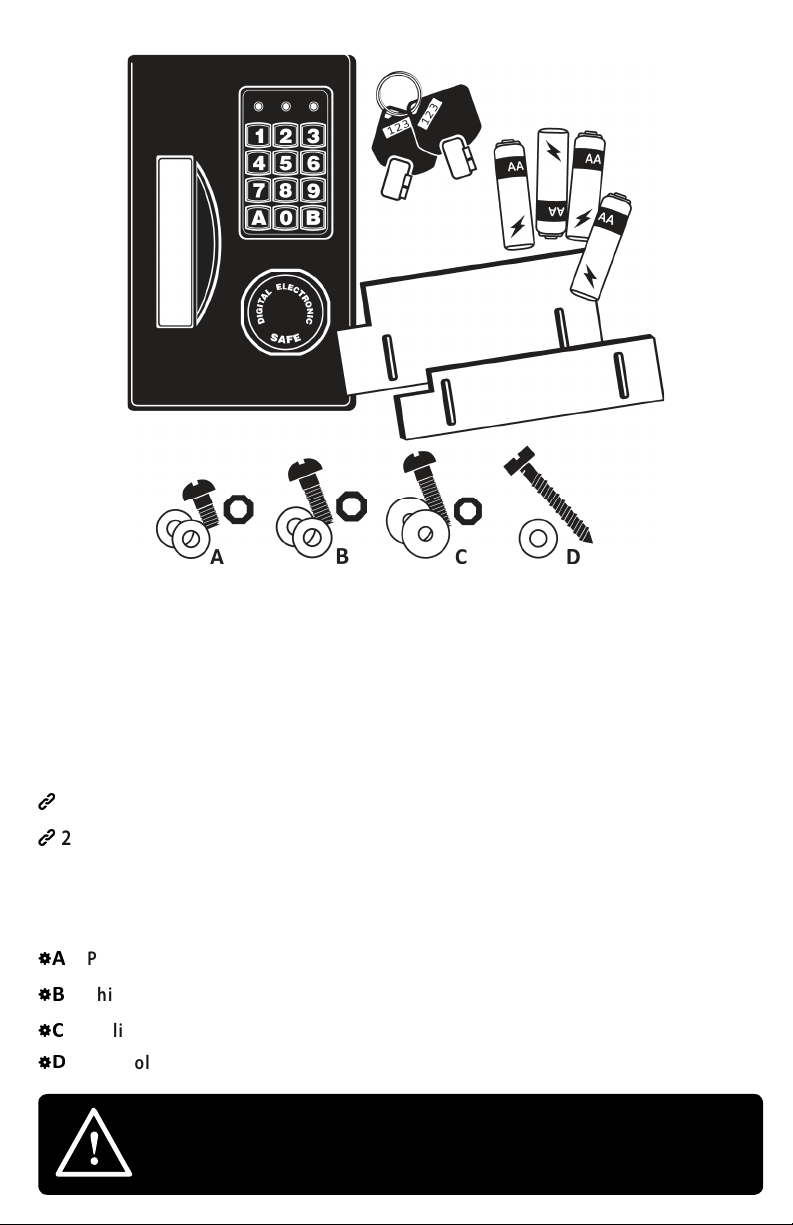
the wall. Use 4 sets of Hardware D through the 4 outer slots in the front
piece of the safe.
IMPORTANT : Do not over tighten; there may be a little gap between the
left stud & the safe - this is normal.
5
Install expandable shelves as needed
MAWS-SERIES
ELECTRONIC LOCK INSTRUCTIONS
|
PG.6