Roland SolJet SJ-600 Bedienungsanleitung

USER'S MANUAL .....................................
Thank you very much for purchasing this machines.
• To ensure correct and safe usage with a full understanding of this product's
performance, please be sure to read through this manual completely and store it in a
safe location.
• Unauthorized copying or transferral, in whole or in part, of this manual is prohibited.
• The contents of this operation manual and the specifications of this product are subject
to change without notice.
• The operation manual and the product have been prepared and tested as much as
possible. If you find any misprint or error, please inform us.
• Roland DG Corp. assumes no responsibility for any direct or indirect loss or damage
which may occur through use of this product, regardless of any failure to perform on
the part of this product.
This user’s manual is a bilingual document for English-speaking users and Japanese-
speaking users of the cleaning kit.
ユーザーズマニュアル ...............................
このたびは本製品をお買い上げいただきまして、誠にありがとうございました。
・本製品を、正しく安全にご使用いただくため、また性能を十分理解していただ
くために、この取扱説明書を必ずお読みいただき、大切に保管してください。
・ご購入の際、「保証書」にお買い上げいただいた販売店の捺印、住所、購入年
月日が記入されていることをお確かめの上、その保証書を大切に保管してくだ
さい。
・本書の内容の一部または全部を、無断で複写・複製することはできません。
・本製品の仕様ならびに本書の内容は、予告なしに変更することがあります。
・本製品および本書の内容について、万一ご不審な点や誤り、記載漏れなど、お
気づきの点がありましたら、当社あてにご連絡ください。
・本製品の故障の有無にかからわず、本製品をお使いいただいたことによって生
じた直接ないし間接的な損害に対して、当社は一切の責任を負いません。
本取扱説明書は、クリーニングキットの和英共通マニュアルです。
ENGLISH JAPANESE
Page
1 to 16
Page
17 to 32
SJ-600 *SJ-500
FJ-52*FJ-42 Cleaning Kit
クリーニングキット

1
Cleaning Kit USER'S MANUAL
Cleaning using this kit should be carried out when automatic cleaning and forced cleaning from
the [HEAD CLEANING] menu fail to correct image drop-out. It removes from the printing heads the
accumulated buildup of dust, grime, and ink that can cause image drop-out.
Before starting cleaning, read through this manual carefully to familiarize yourself with the proce-
dures, then carry out the cleaning operations quickly and correctly.
Cleaning is performed while the caps on the printing heads are detached, so cleaning must be
completed before the heads dry out. It is suggested that cleaning be completed in ten minutes or
less.
If it appears that cleaning operations may take more than ten minutes, stop the cleaning opera-
tions and follow the steps below.
1. Return the carriage to standby position and cap the heads.
2. Attach the cover and tighten the screws.
3. Switch on the power, and from the [HEAD CLEANING] menu, carry out cleaning of the
heads.
4. When the head cleaning ends, perform cleaning using this kit again.
Table of Contents
To Ensure Safe Use ...................................................................................................2
About the Printed Labels on the Unit (SJ-600/500 Only) ........3
Checking Supplied Items........................................................................................................4
Overview of the Cleaning Method .........................................................................................5
Performing Cleaning ..............................................................................................................6
* In this manual, the sections of the common explanations shown only illustrations of the FJ-52.
If you're using a model such as the SJ-600/500 that employs SOL INK,
we recommend performing periodic cleaning about once a week.
Copyright © 2002 Roland DG Corporation
SOL INK™ is a trademark of Roland DG Corporation.
http://www.rolanddg.com/
2
Cleaning Kit USER'S MANUAL
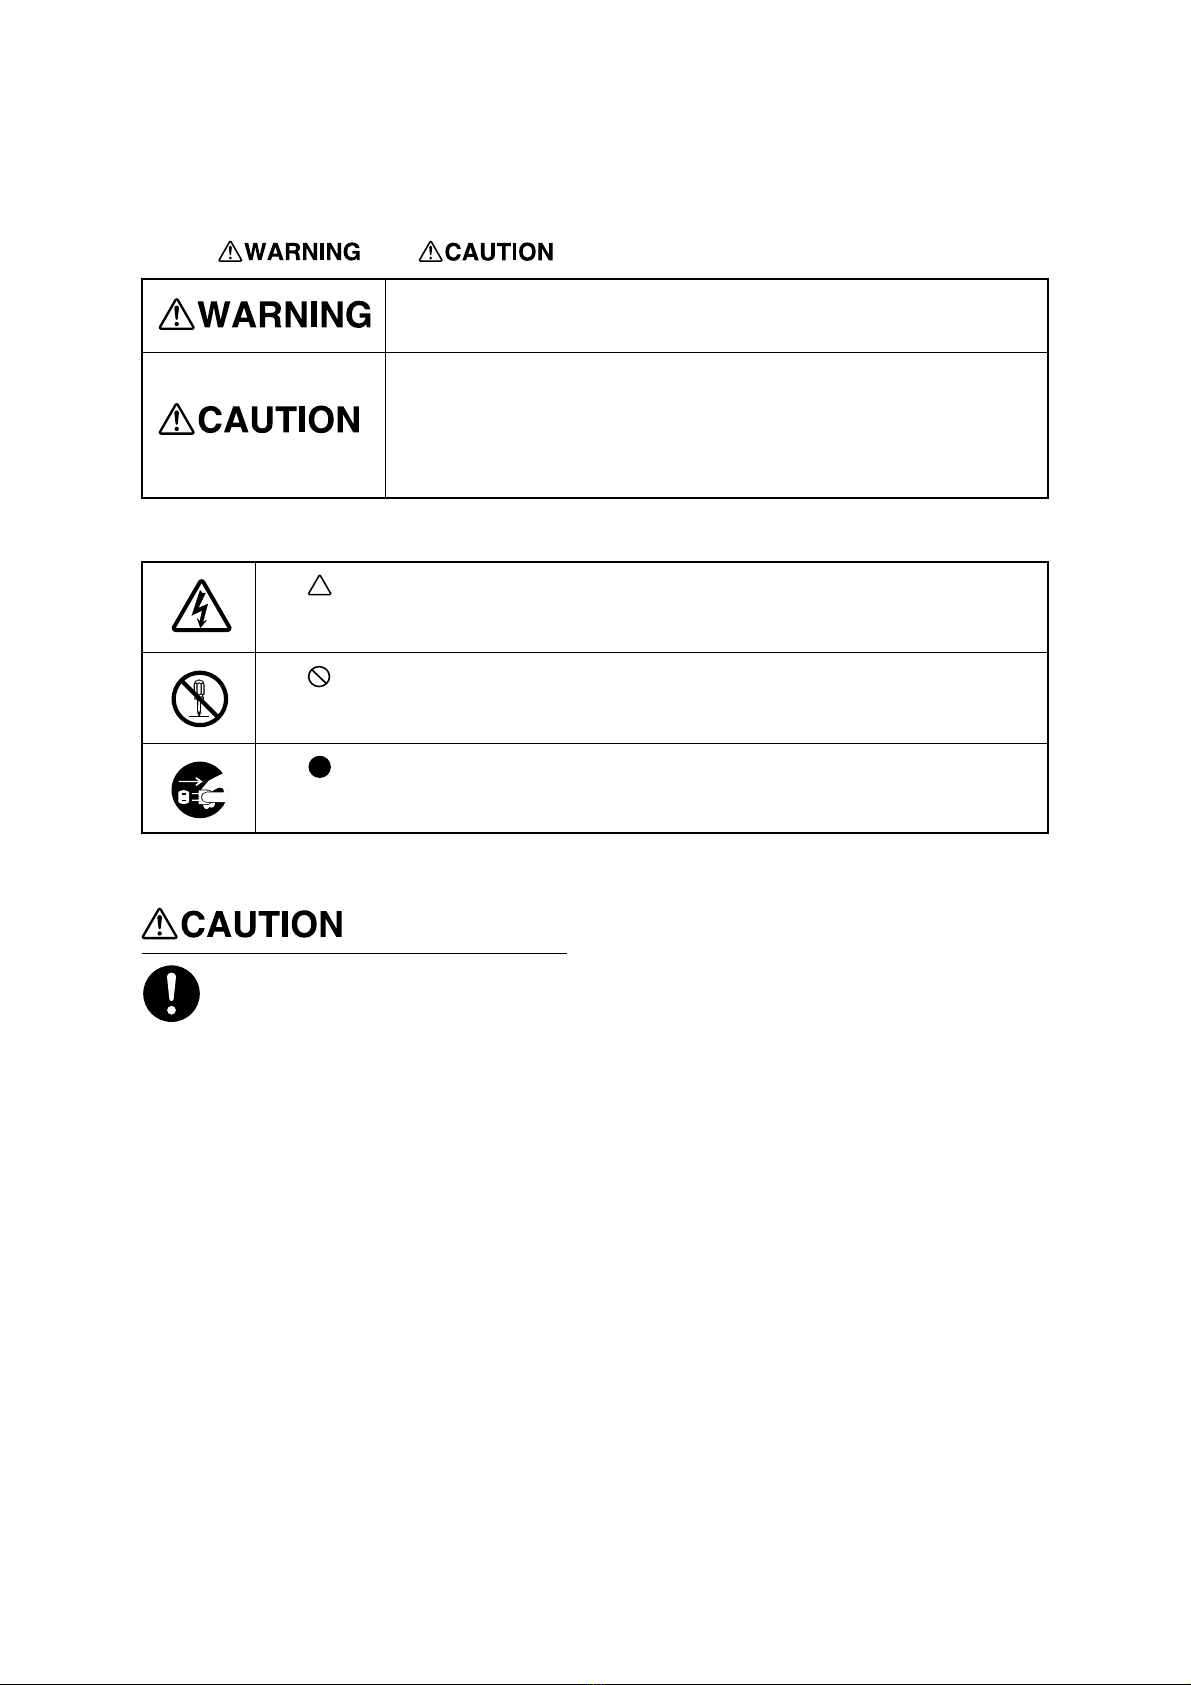
To Ensure Safe Use
Used for instructions intended to alert the user to the risk of death or severe
injury should the unit be used improperly.
About and Notices
Used for instructions intended to alert the user to the risk of injury or material
damage should the unit be used improperly.
* Material damage refers to damage or other adverse effects caused with
respect to the home and all its furnishings, as well to domestic animals or
pets.
About the Symbols
The symbol alerts the user to important instructions or warnings. The specific meaning of
the symbol is determined by the design contained within the triangle. The symbol at left means
"danger of electrocution."
The symbol alerts the user to items that must never be carried out (are forbidden). The
specific thing that must not be done is indicated by the design contained within the circle. The
symbol at left means the unit must never be disassembled.
The symbol alerts the user to things that must be carried out. The specific thing that must
be done is indicated by the design contained within the circle. The symbol at left means the
power-cord plug must be unplugged from the outlet.
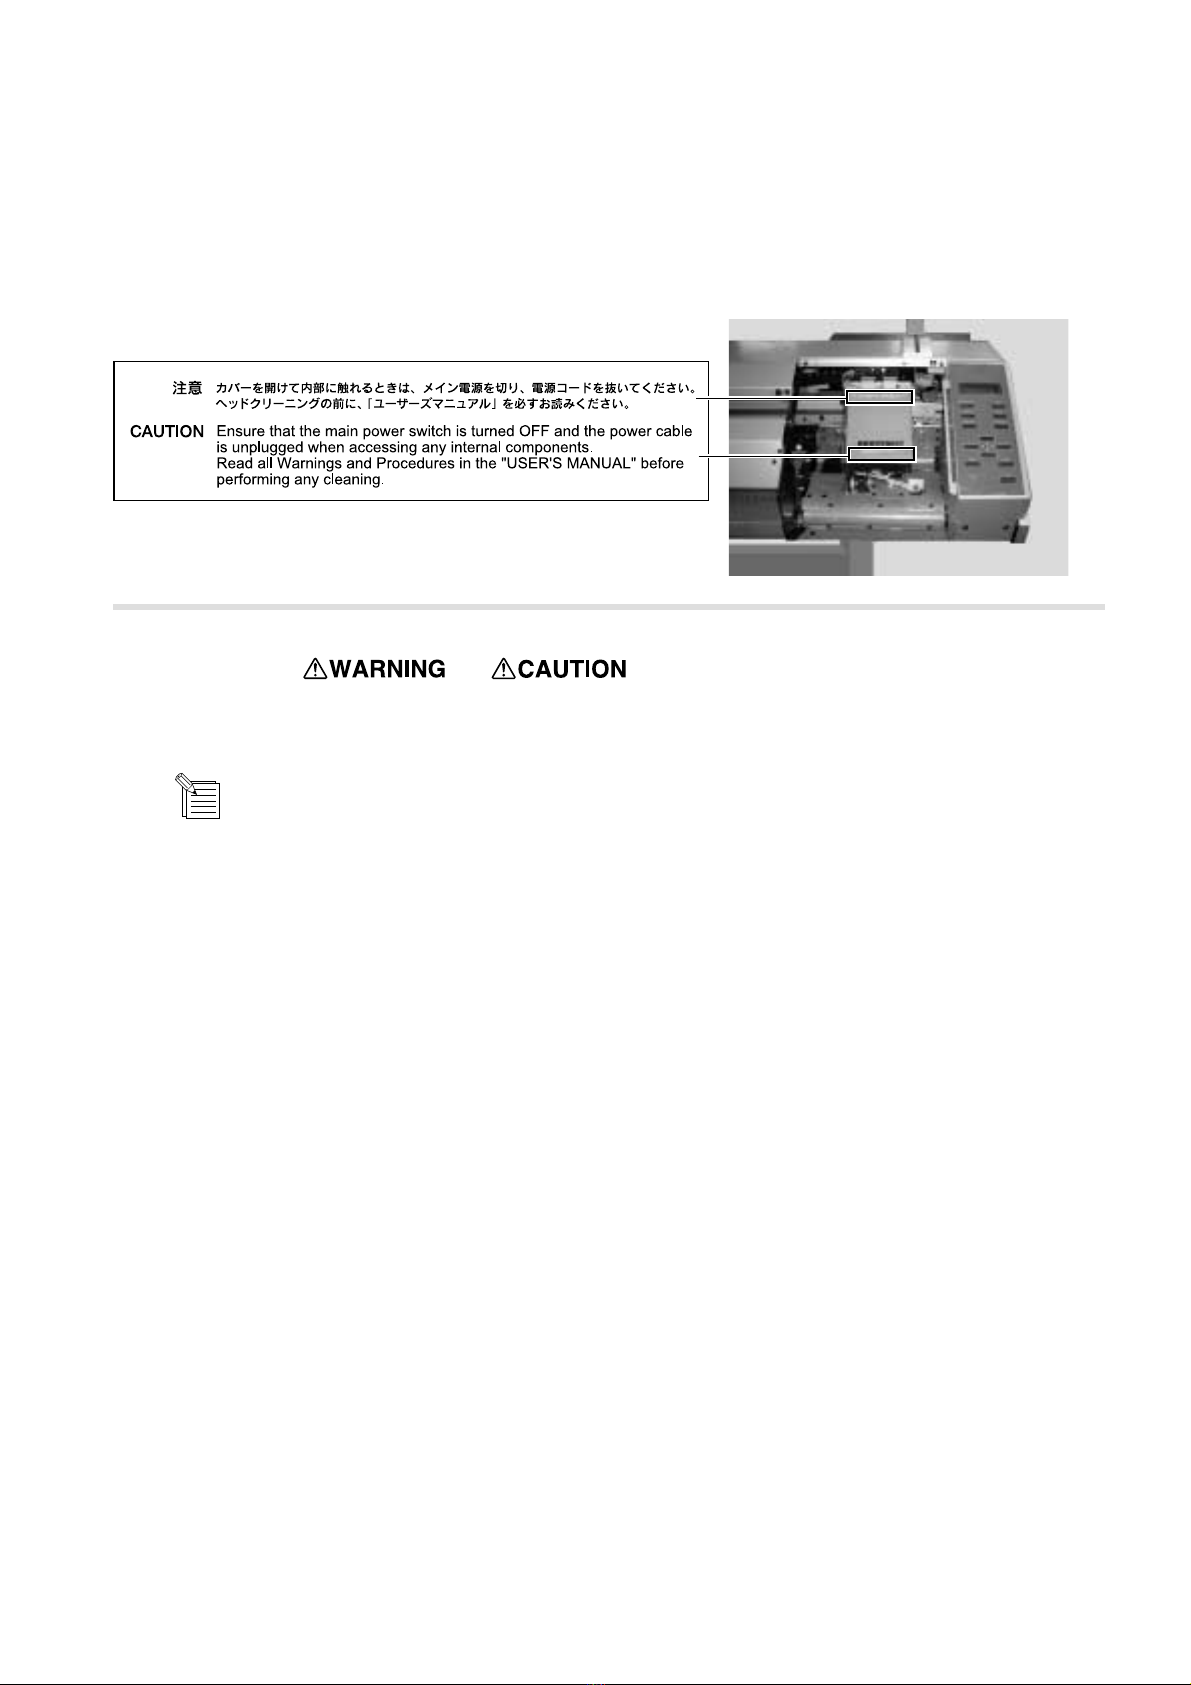
Before starting the procedure, be
sure to turn off the main power
switch.
Also, attach the cover before turning
on the power.
When you turn on the power and close the
front cover, the carriage may move and
cause injury.
3
Cleaning Kit USER'S MANUAL
The following labels are printed on the body of the product.
The printed locations and text of each are as shown in the figure. View with cover detached
About the Printed Labels on the Unit
(SJ-600/500 Only)
: Indicates information to prevent machine breakdown or malfunction and ensure correct use.
: Indicates a handy tip or advice regarding use.
In addition to the and symbols, the symbols shown below are also used.
NOTICE

4
Cleaning Kit USER'S MANUAL
The following items are packed with the cleaning kit. Before use, check to make sure they are present.
Checking Supplied Items
Phillips screwdriver ..... 1
(FJ-52/42 Only) Cleaning sticks ..... 10 Cleaning kit
user's manual ..... 1
Tweezers ..... 1 Sponges ..... 10
(for cleaning hooks)

5
Cleaning Kit USER'S MANUAL
Overview of the Cleaning Method
1) Switch off the power.
2) Detach the cover.
3) Move the carriage away from standby position.
4) Clean the heads (on the left-hand and right-hand sides) and the hook inside the carriage.
Ink nozzles (at bottom area of each head)
* Do not touch these areas.
Left-hand head Right-hand head
Hook
Bottom surface of the carriage
as seen from the front
Wipe away soiling on all four sides (the metal areas).
Carriage
5) Clean the rubber caps and the wiper. Carriage
Rubber caps (black)
Wiper
Top view
6) Replace the sponge (for cleaning the hook). * Do this only if the sponge has soaked up ink.
7) Return the carriage to standby position.
8) Attach the cover.
9) Switch on the power.
10) Check the results of cleaning.
6
Cleaning Kit USER'S MANUAL
Performing Cleaning
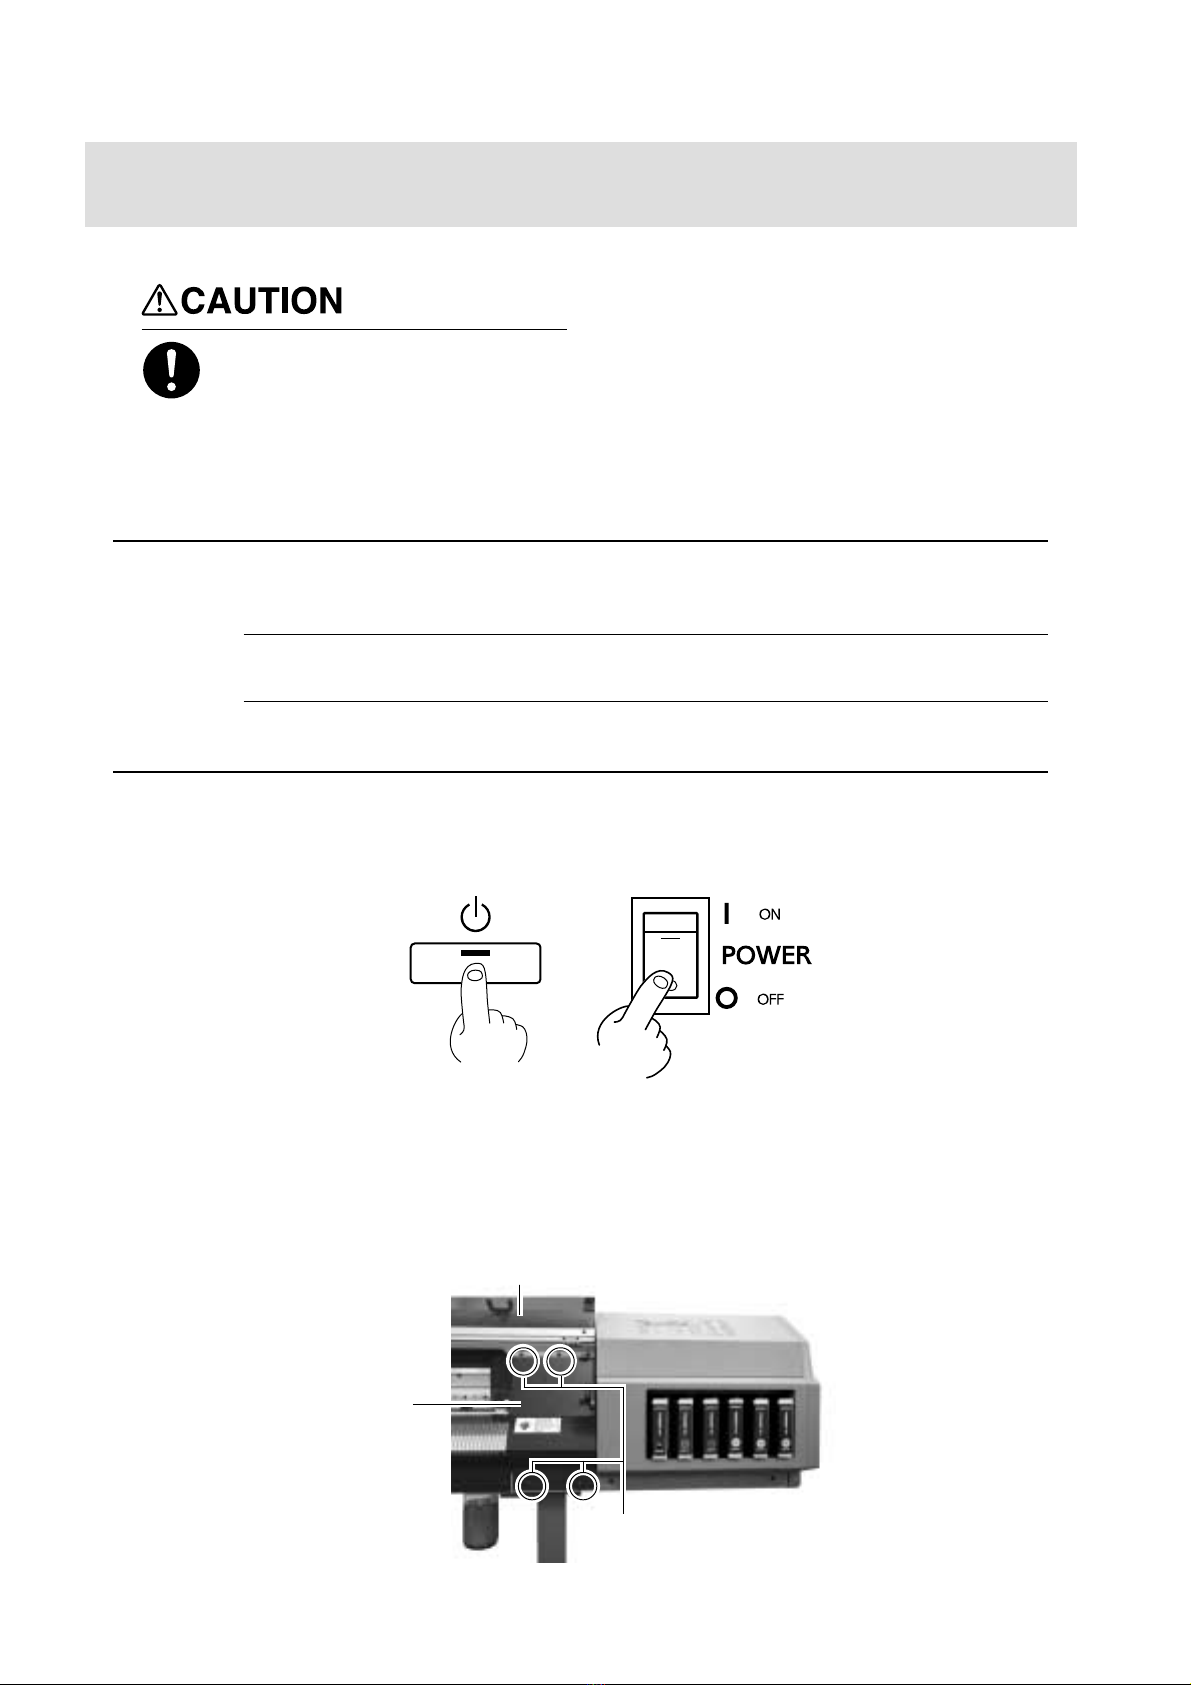
Before starting the procedure, be
sure to turn off the main power
switch.
Also, do not turn on the power while
the cover is detached.
When you turn on the power and close the
front cover, the carriage may move and
cause injury.
When attaching or detaching the cover, hold it only at the specified location.
Also, before starting cleaning, be sure to detach the cover.
It may be damaged if dropped.
NOTICE
When performing cleaning, do not touch any area other than the specified locations.
Doing so may damage the equipment.
To discharge static electricity from your body, carry out cleaning as described in the procedure. Failure to
follow the procedure for discharging static electricity may result in breakdown.
After pressing the [POWER] key to switch off the sub power, turn off the main power switch.
1The POWER LED goes out
Detach the cover shown in the figure.
2
(1) Open the front cover.
(2) Use the included Phillips screwdriver to remove the screws.
(3) Detach the cover.
If you're using FJ-52/42
Cover
Screws (at four places)
Front cover

7
Cleaning Kit USER'S MANUAL
3To discharge static electricity from your body, touch the location shown in the figure.
If you're using FJ-52/42
(1) Remove the two screws.
If you're using SJ-600/500
Screws (at two places)
Cover
Carriage
(2) As shown in the figure, place the hand on the bottom portion of the cover and flip the top portion back toward you.
(3) Slide the cover to the right to detach it.
If you're using SJ-600/500
Carriage
View with cover detached
View with cover detached
Cover
①
➁
➂

8
Cleaning Kit USER'S MANUAL
4Pull out the carriage in the direction shown in the figure. You may need to apply slight force to move it.
Carriage
5Insert a cleaning stick into the space shown in the figure.
Cleaning stick
6Move the carriage to a location where the cleaning stick reaches the left-hand side surface of the left-hand head, and wipe away
any grime on the left-hand side surface (the metal area) of the left-hand head.
Left-hand head
Left-hand side
Wipe away any grime on the metal area.
* Do not touch the ink nozzle (at
the bottom area of the head).

9
Cleaning Kit USER'S MANUAL
7Move the carriage to a location where the cleaning stick reaches the right-hand side surface of the left-hand head, and wipe away
any grime on the right-hand side surface (the metal area) of the left-hand head.
Left-hand head
* Do not touch the ink
nozzle (at the bottom
area of the head).
Right-hand side surface
Wipe away any grime on the metal area.
8Move the carriage to a location where the cleaning stick reaches the front surface of the left-hand head.
While holding the tip of the cleaning stick against the front of the head, move the carriage to the left and right to wipe away
grime.
* Do not touch the ink nozzle (at
the bottom area of the head).
Left-hand head
Front surface
Wipe away any grime on the metal area.
Do not touch the ink nozzle (at the bottom area of the head).
Wipe only the silver-colored metal area.
NOTICE
There is no need to apply force when wiping. You can remove dust by simply stroking the surface.
Do not use a soiled cleaning stick.
Use lint-free tissue or the like to remove grime adhering to a cleaning stick. Also, if a cleaning stick becomes
extremely dirty, discard it and perform cleaning with a new one.
Andere Handbücher für SolJet SJ-600
1
Dieses Handbuch passt für folgende Modelle
3
Inhaltsverzeichnis
Andere Roland Druckerzubehör Handbücher

Roland
Roland HU-600 Bedienungsanleitung

Roland
Roland EU-1000MF Bedienungsanleitung

Roland
Roland ZEC-U5032 Bedienungsanleitung

Roland
Roland PNS-52 Bedienungsanleitung

Roland
Roland ZV-23A Bedienungsanleitung

Roland
Roland MB-640 Bedienungsanleitung

Roland
Roland TB-30 Bedienungsanleitung

Roland
Roland VersaCamm VP-540i Bedienungsanleitung

Roland
Roland DU2-64 Anleitungen und Rezepte

Roland
Roland PNS-50 Bedienungsanleitung


