Saeco PICOBARISTO SM3061 Bedienungsanleitung

PICOBARISTO
SM3061, HD8927
EN USER MANUAL
4219.460.3609.2 SM3061,HD8927 SAECO_PICOBARISTO OTC_WE_COVER_A5_FC.indd 1 10-11-16 09:31

ESPRESSO
ESPRESSO
LUNGO
CAFFE
CREMA
CAPPUCCINO
LATTE
MACCHIATO
AROMA
STRENGTH
MENU /
SPECIAL DRINKS
2
1
3
4
14
13
12
40
16
15
33
31
29
46
47
44
43
36
37
34
18
19
17
25
26
32
35
42
21 20
38
30
28
27
41
24
22
23
45
5 6 7 98 10 11
39

Contents
Machine overview_________________________________________________________________ 5
Introduction ______________________________________________________________________ 5
First installation___________________________________________________________________ 6
AquaClean filter __________________________________________________________________ 6
Activating the AquaClean filter_______________________________________________________ 6
Replacing the AquaClean filter_______________________________________________________ 8
Replacing the AquaClean filter after 8 filters were used__________________________________ 8
Measuring the water hardness_______________________________________________________ 8
Control panel and display___________________________________________________________ 9
One-touch beverage buttons________________________________________________________ 9
Navigation buttons________________________________________________________________ 9
MENU/SPECIAL DRINKS button______________________________________________________ 10
AROMA STRENGTH button _________________________________________________________ 10
Brewing coffee____________________________________________________________________ 10
Brewing coffee with beans__________________________________________________________ 10
Brewing coffee with pre-ground coffee________________________________________________ 10
Special drinks and hot water_________________________________________________________ 11
How to select special drinks_________________________________________________________ 11
Dispensing hot water_______________________________________________________________ 11
Brewing milk-based coffee beverages and milk froth____________________________________ 11
Beverage types and lengths_________________________________________________________ 12
Beverage types___________________________________________________________________ 12
Beverage lengths__________________________________________________________________ 13
Adjusting volume and taste_________________________________________________________ 13
Adjusting coffee and milk volume____________________________________________________ 13
Adjusting coffee strength___________________________________________________________ 14
Adjusting grinder settings___________________________________________________________ 14
Cleaning and maintenance__________________________________________________________ 15
Cleaning table ____________________________________________________________________ 15
Cleaning the brew group____________________________________________________________ 16
Cleaning the brew group under the tap________________________________________________ 16
Cleaning the brew group with coffee oil remover tablets__________________________________ 16
Reinserting the brew group__________________________________________________________ 17
Lubrication_______________________________________________________________________ 18
Cleaning the milk carafe ____________________________________________________________ 18
Quick Clean function_______________________________________________________________ 18
Thorough cleaning of the milk carafe__________________________________________________ 19
Weekly cleaning of the milk carafe___________________________________________________ 19
Monthly cleaning of the milk carafe___________________________________________________ 20
Descaling procedure_______________________________________________________________ 21
What to do if the descaling procedure is interrupted_____________________________________ 23
Warning icons and error codes_______________________________________________________ 23
Meaning of the warning icons________________________________________________________ 23
Meaning of the error codes__________________________________________________________ 24
Troubleshooting___________________________________________________________________ 24
4English

Machine overview
1User interface 25 Drip tray release button
2 ESPRESSO button 26 Cord
3 ESPRESSO LUNGO button 27 Grind setting knob
4 CAFFÈ CREMA button 28 Cover of bean hopper
5 Escape button 29 Bean hopper
6 OK button 30 Brew group
7 Standby button 31 Inside of service door with cleaning instructions
8 Display 32 Coffee exit duct
9 MENU/SPECIAL DRINKS button 33 Coffee residues drawer
10 UP button 34 Coffee grounds container
11 DOWN button 35 Drip tray cover
12 AROMA STRENGTH button 36 Hot water dispensing spout
13 LATTE MACCHIATO button 37 Opening for hot water dispensing spout
14 CAPPUCCINO button 38 Water tank
15 Protection cover 39 Milk container
16 Adjustable coffee dispensing spout 40 Milk dispensing unit
17 Lid of water tank 41 Lid of milk dispensing unit
18 Lid of bean hopper 42 Milk dispensing spout
19 Lid of pre-ground coffee compartment 43 AquaClean filter
20 Main switch 44 Water hardness test strip
21 Socket for cord 45 Grease tube with application tip and cap
22 Service door 46 Cleaning brush
23 'Drip tray full' indicator 47 Measuring scoop
24 Drip tray
Introduction
Congratulations on your purchase of a Saeco full-automatic coffee
machine! To fully benefit from the support that Saeco offers, please register
your product at www.saeco.com/care.
To help you get the best out of your coffee machine, Saeco offers full
support in 4 different ways:
-The separate quick start guide for first installation and first use.
5
English
-This user manual for more detailed information on how to use the
machine, how to keep it clean, how to descale it and how to solve
problems.
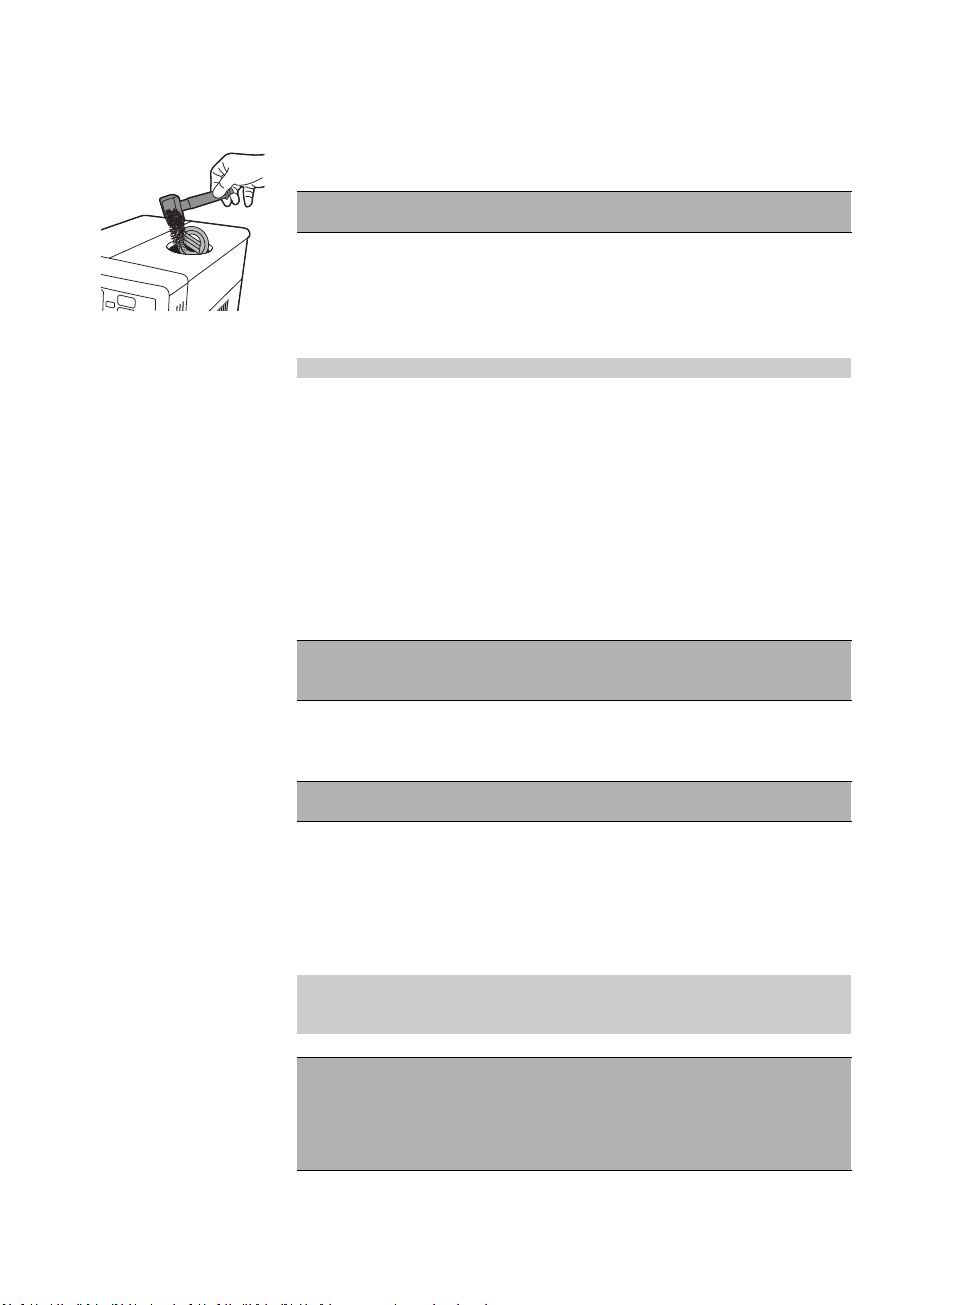
-This is the QR code. Scan this code to access instruction videos on how
to brew the best coffees, how to clean the machine and for a list of
frequently asked questions. (www.saeco.com/care)
-The separate booklet with important safety information.
First installation
For first installation, follow the instructions on the separate quick start guide.
Note: This machine has been tested with coffee. Although it has been
carefully cleaned, there may be some coffee residues left. We guarantee,
however, that the machine is absolutely new.
Note: You can install the AquaClean filter during the first installation
procedure (see separate quick start guide). If you skip installation of the
AquaClean filter at first use, you can install it later by entering the menu.
AquaClean filter
The AquaClean filter is designed to reduce limescale deposits in your coffee
machine and provide filtered water to preserve the aroma and flavor of each
cup of coffee. If you use a series of 8 AquaClean filters as indicated in this
user manual, you don't have to descale your machine for 5000 cups.
Note: Your machine has to be completely limescale-free before you start to
use the AquaClean filter. If you did not activate the filter during first
installation, you need to descale the machine before you activate the filter.
Activating the AquaClean filter
Note: Always confirm activation of the AquaClean filter in the machine menu
as described below. You also need to do this after replacing the AquaClean
filter. By activating the AquaClean filter in the machine menu, the machine
monitors the number of filters used. When the filter has been replaced 8
times, the machine reminds you to descale it.
1For instructions on how to prepare the AquaClean filter for use, see the
separate quick start guide.
6English

Note: Shake the AquaClean filter for about 5 seconds, immerse it upside
down in a jug with cold water and wait until no more air bubbles come
out.
2Press the MENU/SPECIAL DRINKS button, select MENU and press the OK
button to confirm. Scroll to select AQUACLEAN FILTER. Press the OK
button to confirm.
AQUACLEAN
FILTER
0 / 8
-The display shows the number of AquaClean filters that have been
installed previously from 0 to 8 filters.
ACTIVATE
AQUACLEAN FILTER?
2 MIN
3The display asks if you want to activate the filter. Press the 'Ok' button to
confirm.
INSERT FILTER
FILL WATER TANK
4The display asks you to insert the filter and fill the water tank. Make sure
you fill the water tank up to the MAX level indication.
INSERT
WATER SPOUT
5The display reminds you to insert the hot water spout into the machine.
Press the OK button to confirm.
PLACE A
CONTAINER
UNDER THE
WATER SPOUT
6The display reminds you to place a container under the hot water spout.
Press the OK button to confirm. The machine starts dispensing water.
ACTIVATING
FILTER
-The filter activation screen appears with a progress bar showing the
progress of filter activation.
-When activation is finished, the display shows a tick to confirm
activation.
7
English

-Then the machine ready screen appears with the AquaClean 100%
icon to indicate that the filter has been activated.
Replacing the AquaClean filter
Note: Replace the AquaClean filter as soon as the capacity has dropped to
0% and the filter icon flashes quickly. Replace the AquaClean filter at least
every 3 months, even if the machine has has not yet indicated that
replacement is required.
Tip: We advise you to buy a new filter when the capacity has dropped to
10% and the filter icon starts flashing slowly. This ensures that you can
replace the filter when the capacity has dropped to 0%.
1Take out the AquaClean filter and replace it by a new AquaClean filter
(also see the separate quick start guide).
2Press the MENU/SPECIAL DRINKS button, scroll to AQUACLEAN FILTER.
Press the OK button to confirm.
AQUACLEAN
FILTER
2 / 8
-The display asks if you want to activate a new filter.
3Press the OK button to confirm.
-The display automatically updates the number of filters used.
-Dispense 2 cups of hot water (0.5 l) to complete the activation.
Discard this water.
Replacing the AquaClean filter after 8 filters were used
1When the filter icon starts flashing on the display, press the
MENU/SPECIAL DRINKS button, scroll to AQUACLEAN FILTER and press
the OK button to confirm.
DESCALE BEFORE
ACTIVATING FILTER
-The display tells you that you need to descale the machine before
activating the new filter.
2Press the OK button to start the descaling procedure.
-Press the escape button several times to leave the filter menu if you
do not want to descale right away.
3At the end of the descaling procedure, the display asks you if you want
to install the AquaClean filter.
-Follow the steps in 'Replacing the AquaClean filter'.
Measuring the water hardness
Note: If you have installed the AquaClean filter, you do not need to set the
water hardness.
To be able to adjust the machine settings to the water in your region, please
measure the water hardness with the water hardness test strip supplied. The
default water hardness of the machine is set to the highest level (4). If the
8English

measured water hardness is different, adjust the setting in the machine
menu.
1Immerse the water hardness test strip (supplied with the machine) in tap
water for 1 second.
2Remove the water hardness test strip and and wait for 1 minute.
3Check how many squares have turned red and check the water hardness
in the table below.
number of red squares value to be set water hardness
1 very soft water
2 soft water
3 hard water
4 very hard water
4Press the MENU button, select menu and scroll to select water hardness.
Select the preferred water hardness setting and press the OK button to
confirm.
Control panel and display
This espresso machine has a self-explaining display for easy use. Read the
sections below for a quick explanation of the buttons.
One-touch beverage buttons
Use the one-touch beverage buttons (ESPRESSO, ESPRESSO LUNGO,
CAFFÉ CREMA, CAPPUCCINO and LATTE MACCHIATO) to quickly prepare
one of the preset beverages.
-Make sure that the milk carafe is in place and prepared for use when you
select cappuccino or latte macchiato (see the separate quick start guide).
-Note: If you want to stop the brewing process before the machine has
finished dispensing the preset coffee volume, press the OK button or the
previously selected beverage button.
-You can adjust the volume of espresso or espresso lungo.
-After preparing a milk-based beverage, the machine starts the QUICK
CARAFE CLEAN procedure.
Navigation buttons
Use the buttons described below to navigate through the menu:
Escape button: press this button
to return to the main menu.
Up button: press this button to
scroll up through the display
menu.
Ok button: press this button to
select, confirm or stop a function.
Down button: press this button to
scroll down through the display
menu.
9
English

MENU/SPECIAL DRINKS button
Use the MENU/SPECIAL DRINKS button to prepare other drinks, like hot
water and frothed milk. You can also use the MENU button to change the
following settings:
-Language: you can use the MENU button to set your preferred language.
-Display contrast
-Coffee temperature
-Stand-by time: this is the time after which the machine goes into standby
mode.
-Water hardness: to be able to adjust the machine settings to the water in
your region, please measure the water hardness.
-To activate the AquaClean filter
-To start descaling
AROMA STRENGTH button
Use the AROMA STRENGTH button to adjust the coffee strength (see
'Adjusting coffee strength') or to brew pre-ground coffee.
Brewing coffee
Brewing coffee with beans
Caution: Only use espresso beans. Never put ground coffee, unroasted
coffee beans or caramelized coffee beans in the bean hopper, as this may
cause damage to the machine.
To brew coffee, follow the instructions on the separate quick start guide.
To brew two cups of espresso or espresso lungo, press the button of the
desired beverage twice. The machine automatically carries out two grinding
cycles in sequence.
Note: Using the cover of the bean hopper helps to keep the beans fresh.
Brewing coffee with pre-ground coffee
When you brew coffee with pre-ground coffee, use the measuring scoop
supplied to put the correct dose in the pre-ground coffee compartment. Do
not add too much pre-ground coffee to avoid the coffee grounds drawer
from getting clogged.
1Open the lid of the pre-ground coffee compartment.
10 English

2Pour one measuring scoop of pre-ground coffee into the pre-ground
coffee compartment and close the lid.
Caution: Do not put any other substance than pre-ground coffee in the
pre-ground coffee compartment, as this may damage the machine.
3Place a cup under the coffee dispensing spout.
4Press the AROMA STRENGTH button and select the pre-ground coffee
brewing function.
5Press the OK button to confirm.
The machine automatically starts brewing the selected beverage.
Note: With pre-ground coffee you can only brew one coffee at a time.
Special drinks and hot water
How to select special drinks
1Press the MENU/SPECIAL DRINKS button and select DRINKS.
2Press the OK button to confirm.
3Scroll through the menu and select the desired beverage.
Dispensing hot water
Caution: Steam and hot water may spray out of the hot water dispensing
spout when brewing starts. Wait until brewing has ended before you
remove the hot water dispensing spout.
1Insert the hot water dispensing spout.
2Press the MENU/SPECIAL DRINKS button. Select DRINKS, confirm and
scroll to select HOT WATER.
Caution: Only select HOT WATER in the menu when the hot water
dispensing spout is installed.
3Press the OK button to confirm. The display reminds you to install the hot
water dispensing spout; press the OK button to confirm. The machine
starts dispensing hot water.
4To stop dispensing hot water, press the OK button.
Brewing milk-based coffee beverages and milk froth
Note: For more information on how to use the milk carafe, read the separate
quick start guide or scan the QR code (see 'Introduction ') to access the
dedicated website for instruction videos.
Caution: Make sure that the milk carafe is installed and the milk
froth dispensing spout is open before you select a milk-based
coffee beverage or milk froth. If the milk carafe is not installed
correctly, steam and hot milk may spray out of the milk froth
dispensing spout.
11
English
Dieses Handbuch passt für folgende Modelle
5
Inhaltsverzeichnis
Andere Saeco Kaffeemaschine Handbücher
Beliebte Kaffeemaschine Handbücher anderer Marken

Nespresso
Nespresso Krups Maestria XN800 Bedienungsanleitung

Nespresso
Nespresso TX 160 PIXIE Bedienungsanleitung

Nespresso
Nespresso KOENIG CitiZ&Milk D121 Bedienungsanleitung

Nespresso
Nespresso BREVILLE EXPERT&MILK Bedienungsanleitung

Bosch
Bosch TKA 863 Bedienungsanleitung

Touch
Touch T526S Bedienungsanleitung