Smart Technologies PMWT-560 Bedienungsanleitung

Projector Wall Mount
for SMART Board interactive whiteboards
TM
PMWT-560/580
Guide
Installation

Trademark Notice
Copyright Notice
SMART Board and the SMART logo are trademarks of SMART Technologies Inc. TORX is a trademark of Textron Inc.
NEC is a registered trademark of NEC Corporation. All other third-party product and company names are mentioned for
identification purposes only and may be trademarks of their respective owners.
U.S. Patent No. 6,540,366. Other patents pending.
© 1995–2005 SMART Technologies Inc. All rights reserved. No part of this publication may be reproduced, transmitted,
transcribed, stored in a retrieval system or translated into any language in any form by any means without the prior
written consent of SMART. Information in this manual is subject to change without notice and does not represent a
commitment on the part of SMART.
Printed in Canada 01/2005

PMWT-560/580 Installation Guide 1
Installation Overview
Please read these instructions carefully before you install your projector wall mount.
Use this guide to assemble and install the projector wall mount for SMART Board™ interactive
whiteboards, which is a projector mount for your SMART Board interactive whiteboard
(models 560 or 580) and an NEC WT600 projector (purchased separately). The SMART
Board 560 interactive whiteboard is 60" (152.4 cm) measured diagonally, and the 580
measures 72" (182.9 cm). The projector wall mount does not work with the 42" (106.7 cm)
SMART Board 540 interactive whiteboard.
You can use this guide if you’re installing the projector wall mount on a standard drywall,
concrete or cinder block wall. If you have any other material cladding your wall (such as brick
and masonry), consult professionals with the appropriate expertise.
The 560 weighs approximately 59 1/2 lb. (27.0 kg) when combined with the projector mount
and projector. The 580, when combined with the projector mount and the projector, weighs
approximately 64 1/2 lb. (29.3 kg). Before installing, make sure the wall can support such
weight.
A qualified service technician and an assistant should install the projector mount. A qualified
service technician includes:
• your SMART reseller
• a SMART technical staff member
• a qualified member of your staff who’s familiar with the structure of the room and the
procedures for mounting objects on the particular type of wall (e.g., drywall, concrete
or cinder block)
Other Precautions
For operating safety and to avoid damage, read this guide carefully before setting up and
using the projector mount. Observe the following precautions:
• Adding more weight or applying an unexpected force to the projector support may
cause it to break and possibly cause injury.
WARNING The projector wall mount is projector-specific. Only use it to mount an NEC
WT600 projector. Any other weight hung from the projector support may cause
the support to bend or break, which can injure anyone beneath it.
IMPORTANT If you’re installing the projector mount for a 560, the ceiling should be at least
8'5" (2.57 m) high. If you’re installing the projector mount for a 580, the ceiling
should be at least 8'9" (2.67 m) high. If the ceiling doesn’t meet these
requirements, the interactive whiteboard’s pen tray will be below the
recommended height.
IMPORTANT Don’t install the interactive whiteboard on an unsupported wall, because the
mount may vibrate and interfere with the interactive whiteboard’s orientation
when you write on the screen.

2PMWT-560/580 Installation Guide
• Do not hang anything from the support or hit or jostle it in any way.
• If you require replacement parts, the service technician must use replacement parts
that are specified by SMART Technologies Inc. or SMART-approved parts with the
same characteristics as the original.
Accessory Kit Contents
This accessory kit contains:
• a hole placement template
• a wall mounting bracket
• six 1/4-20 toggle wall anchors
• a lower support
• an upper support
• two projector brackets
• a projector plate
•
ten No. 8-32 x 1/2" security hex
screws
•
four No. 8-32 x 1" security hex
screws
•six 1/4-20 x 2" security hex
screws
•four TORX® M4 x 40 mm security
screws
• a 5/32" security hex key
• a TR20 security TORX key
Tools required (but not supplied):
• a ladder
• an electric drill with a 1/2" bit
• a bubble level
• a pencil
• a tape measure
The following items are required (but
not supplied) for an installation on
concrete or cinder block:
• six anchoring devices that are
suitable for the type of wall and
compatible with the provided
1/4-20 x 2" security hex screws.
Such anchors are likely to require a
drill and bit of a particular type and
size. For more information, consult
the directions that come with your
anchoring devices.
NOTE: If you’re installing a new SMART Board interactive whiteboard at the same time as the
projector mount, unpack the interactive whiteboard and its accessories and check the contents
against the list included in the SMART Board Setup Instructions. However, don’t use the wall
bracket that’s shipped with the interactive whiteboard. Instead, mount the interactive
whiteboard on the wall mount bracket that’s part of the projector wall mount, as described on
page 12.
WARNING
To install the projector wall mount, you must complete the following tasks:
1. Find a suitable location for the projector wall mount (page 3).
2. Install the wall mounting hardware (pages 3and 4).
3. Assemble and mount the projector support (page 5).
4. Attach the projector plate to the projector (page 9).
5. Attach the projector to the projector support (page 11).
6. Hang the interactive whiteboard (page 12).
To avoid equipment damage or injury, you’ll need an assistant for portions of
this installation.
Approximately
50% of actual
size

PMWT-560/580 Installation Guide 3
7. Route the projector cables (page 13).
8. Adjust the projected image on the interactive whiteboard (page 13).
If you’re installing the SMART Board projector mount above an existing SMART Board
interactive whiteboard, you must first remove the interactive whiteboard. Follow the
instructions in this guide to install the projector mount and reinstall the SMART Board
interactive whiteboard.
1. Disconnect the SMART Board interactive whiteboard from the computer.
2. Carefully remove the interactive whiteboard from the wall and lay it down where it
won’t be damaged.
IMPORTANT: Do not stand the SMART Board interactive whiteboard on its pen tray –
this may cause the pen tray bracket to bend.
3. Unscrew the mounting bracket from the wall and discard.
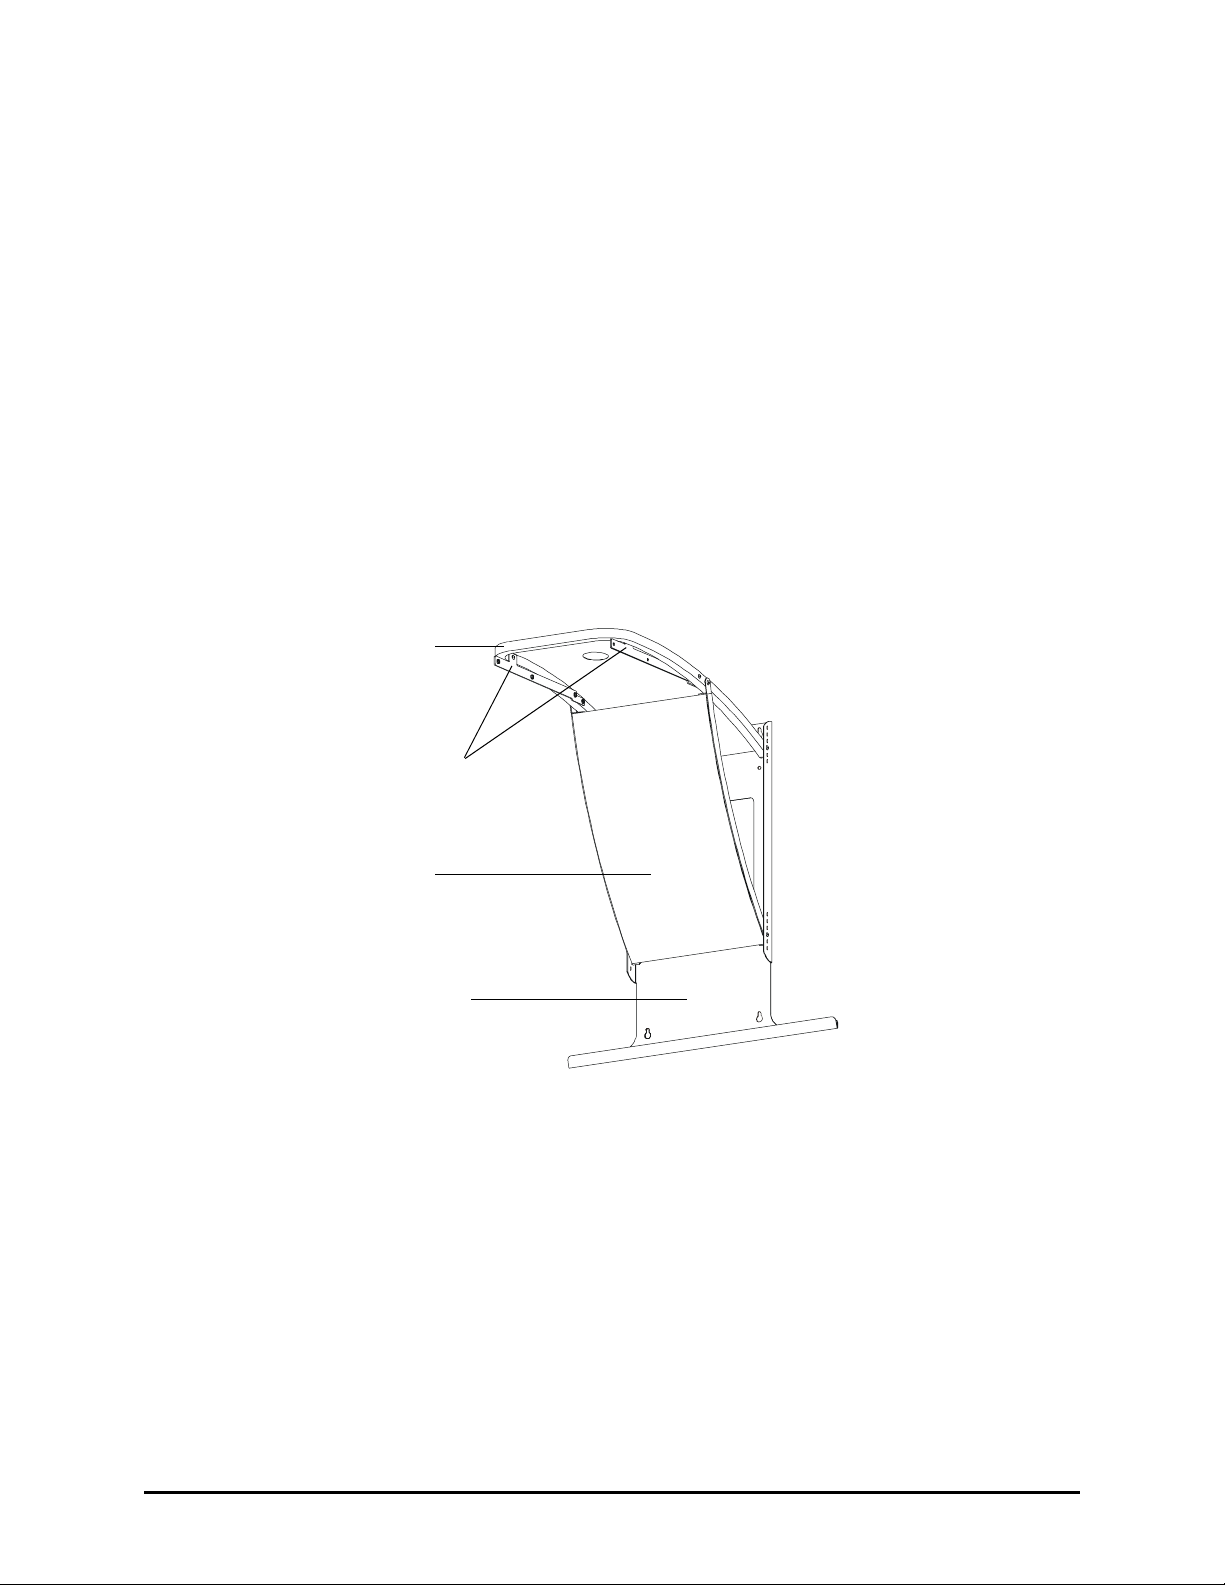
Finding a Suitable Location for the Projector Wall Mount
It’s important that you find a suitable location for the projector wall mount. If you center the
projector mount on a wall stud, you can install a wall outlet behind the projector mount that’s
accessible through the large hole in the wall mount bracket. You could then use this outlet to
run the projector power, video and network cables up through the wall and to the outlet,
resulting in a tidier installation.
In the absence of such an outlet, you must route the projector cables through the projector
mount and along the top of the interactive whiteboard, as described on page 13.
IMPORTANT
Installing the Wall Mounting Hardware in Drywall
1. Using the provided template, mark the anchor hole locations with a pencil. Use a
bubble level to verify that the template is level.
NOTE: If you would like to install the interactive whiteboard at the recommended
installation height, make sure the lowest anchor holes are at least:
• 74 1/2" (189.2 cm) from the floor, if you’re installing a 560
• 77" (195.6 cm) from the floor, if you’re installing a 580
If the room’s ceiling is lower than recommended (see the Important Note above), you
must measure down from the ceiling rather than up from the floor. This guarantees
that there is enough clearance between the projector mount and the ceiling. Make
sure the highest anchor holes are at least:
• 4" (10.2 cm) from the ceiling, if you’re installing a 560
To remove an existing SMART board interactive whiteboard
If you’re installing the projector mount for a 560, the ceiling should be at least
8'5" (2.57 m) high. If you’re installing the projector mount for a 580, the ceiling
should be at least 8'9" (2.67 m) high. If the ceiling doesn’t meet these
requirements, the interactive whiteboard’s pen tray will be below the
recommended height. The projector mount extends approximately 28" (71.1
cm) from the wall, and the room need only be wide enough to accommodate
the interactive whiteboard.

4PMWT-560/580 Installation Guide
• 4 1/2" (11.4 cm) from the ceiling, if you’re installing a 580
2. Using an electric drill with a 1/2" bit, drill holes in the drywall at the six anchor hole
locations that you marked in the previous step.
3. Prepare a supplied toggle wall anchor by sliding one of the plastic ends back to make
the metal end lie flat.
Plastic End Metal End
4. Insert the toggle wall anchor into one of the drilled holes. The metal end straightens
against the inside of the drywall to create an anchor.
5. Slide the plastic cap into the hole, flush with the drywall, and bend the plastic handles
up and down to break them off.
Drywall
Plastic Cap
6. Repeat this procedure for the remaining five anchor holes.
7. Thread one of the supplied 1/4-20 x 2" security hex screws into the upper right wall
anchor by hand until the screw protrudes 1/4" (6 mm) from the wall.
8. Repeat this procedure for the upper left, lower left and lower right anchor holes. Leave
the remaining two anchors vacant for now.
Installing the Wall Mounting Hardware in Concrete or Cinder Block
IMPORTANT
1. Using the provided template, mark the anchor hole locations with a pencil. Use a
bubble level to verify that the template is level.
NOTE: If you would like to install the interactive whiteboard at the recommended
installation height, make sure the lowest anchor holes are at least:
• 74 1/2" (189.2 cm) from the floor, if you’re installing a 560
• 77" (195.6 cm) from the floor, if you’re installing a 580
A qualified technician should complete the following procedure. The technician
must be familiar with the structure of the room and the procedures for mounting
objects on the particular type of wall.

PMWT-560/580 Installation Guide 5
If the room’s ceiling is lower than recommended (see the Important Note on page 3),
you must measure down from the ceiling rather than up from the floor. This
guarantees that there is enough clearance between the projector mount and the
ceiling. Make sure the highest anchor holes are at least:
• 4" (10.2 cm) from the ceiling, if you’re installing a 560
• 4 1/2" (11.4 cm) from the ceiling, if you’re installing a 580
2. Following the instructions that came with the anchoring devices, install the anchors at
the six anchor hole locations that you marked in the previous step.
3. Partially thread one of the supplied 1/4-20 x 2" security hex screws into the upper right
anchor, leaving 1/4" (6 mm) protruding from the wall.
4. Repeat this procedure for the upper left, lower left and lower right anchors. Leave the
remaining two anchors vacant for now.
Assembling and Mounting the Projector Support
Follow these instructions to assemble the projector mount and mount it on the wall.
Upper Support
Lower Support
Projector Brackets
Wall Mount Bracket
NOTE: This illustration
shows the projector wall
mount for the 580.

6PMWT-560/580 Installation Guide
1. Using the provided 5/32" security hex key, attach each projector bracket to the upper
support with a No. 8-32 x 1/2" security hex screw and a No. 8-32 x 1" security hex
screw, as shown in the following two diagrams.
IMPORTANT
Protruding
Threaded
Inserts
Projector
Brackets
1/2" Screw
1" Screw
Projector Bracket Attachment for a 560
Projector Bracket Attachment for a 580
2. Lay the wall mount bracket on the floor or any large, flat surface.
Different brackets are provided for the 560 and the 580, and the
brackets attach to the upper support at different locations. For the 560,
place the 1" screw in the hole farther from the upper support’s curved
end. For the 580, place the 1" screw in the hole closest to the curved
end. For both brackets, make sure the threaded inserts protrude
toward the center of the upper support.
Protruding
Threaded
Inserts
Projector
Brackets
1/2" Screw
1" Screw

PMWT-560/580 Installation Guide 7
3. Using the same security hex key, attach the upper support to the wall mount bracket
by inserting two No. 8-32 x 1/2" security hex screws in the third hole from the bottom,
as shown in the diagram below. Leave the screws loose enough to allow for
movement of the upper support.
Upper Support
Wall Mount Bracket
4. Attach the lower support to the wall mount bracket by inserting two No. 8-32 x 1/2"
security hex screws in the third hole from the bottom, as shown in the diagram below.
Leave the screws loose enough to allow for movement of the lower support.
Wall Mount
Bracket
Lower
Support
Upper
Support

8PMWT-560/580 Installation Guide
5. Align the vacant screw holes on the lower support with the ones on the upper support,
and insert a No. 8-32 x 1" security hex screw in each side.
Vacant
Screw Hole
Lower Support
Upper Support
NOTE: The location of the vacant holes differs between the projector mounts for the
560 and 580, as shown in the following two diagrams.
Attaching the Upper and Lower Support for a 560
Attaching the Upper and Lower Support for a 580
6. Tighten all the screws that attach the upper and lower supports to the wall mount
bracket.
Vacant
Screw Hole
Upper Support
Lower Support
Dieses Handbuch passt für folgende Modelle
1
Inhaltsverzeichnis
Andere Smart Technologies Rack & Stand Handbücher
Beliebte Rack & Stand Handbücher anderer Marken

Salamander
Salamander Acadia AC/W/L400/WH Bedienungsanleitung

Fohhn
Fohhn VAT-09 Benutzerhandbuch

ricoo
ricoo FS0522 Bedienungsanleitung

AMSOIL
AMSOIL BMK-22 Kurzanleitung

Kargo Master
Kargo Master 48220 Bedienungsanleitung

Milestone AV Technologies
Milestone AV Technologies SIMPLICITY SLF2 Bedienungsanleitung


