Startright Bilingual Super Notebook II Bedienungsanleitung


Introduction 1
Overview 1
Notice to Parents 2
Battery Installation 2
Battery Precautions 2
Care and Maintenance 3
Getting Started 3
General Operation 3
On/Off / Auto Power Off / Touch-Sensitive Panel 3
First-Time Use 4
Log In 4
Activity Selection 5
Scoring 5
Keyboard Layout 6
Description of Activities 9
Learning Center 9
Vocabulary & Grammar 9
Languages 10
Math 10
Logic 11
Trivia 12
Typing 13
Utilities 13
Bilingual Dictionary 13
My Dictionary 14
Calculator 14
Conversions 15
Budget Planner 15
Word Processor 16
Organizer 17
Diary 17
Phone Book 17
To-Do-List 18
Memo Freehand 18
Calendar 19
Contents

Multimedia Center 20
Painter 20
Photo Viewer 20
Photo Editor 21
Music Player 21
Music Composer 22
Kids Channel 22
Video Editor 22
Setting 23
My Icon 23
My Profi le 24
Password 24
Screen Saver 24
Volume 25
Online Connection 25
Search & Download 25
Photo 25
Music 26
Kids Cartoon 27
Communication 27
Email 27
Chat Room 28
Blog 28
Online Fun 29
Game Zone 29
World Discovery 31
Fortune Telling 34
Jokes of Today 34
Specifi cations 35

1
Thank you for selecting this Bilingual Super Notebook II™ unit.
This box contains one (1) Bilingual Super Notebook II™ unit and
a User Instruction Guide.
Please read the Notice to Parents carefully before you allow your
child to use this unit. Reading through this User Instruction Guide
with your child can be a valuable learning experience.
Please discard of any packing materials such as plastic sheets,
wire ties, tags etc for your child’s safety.
Introduction
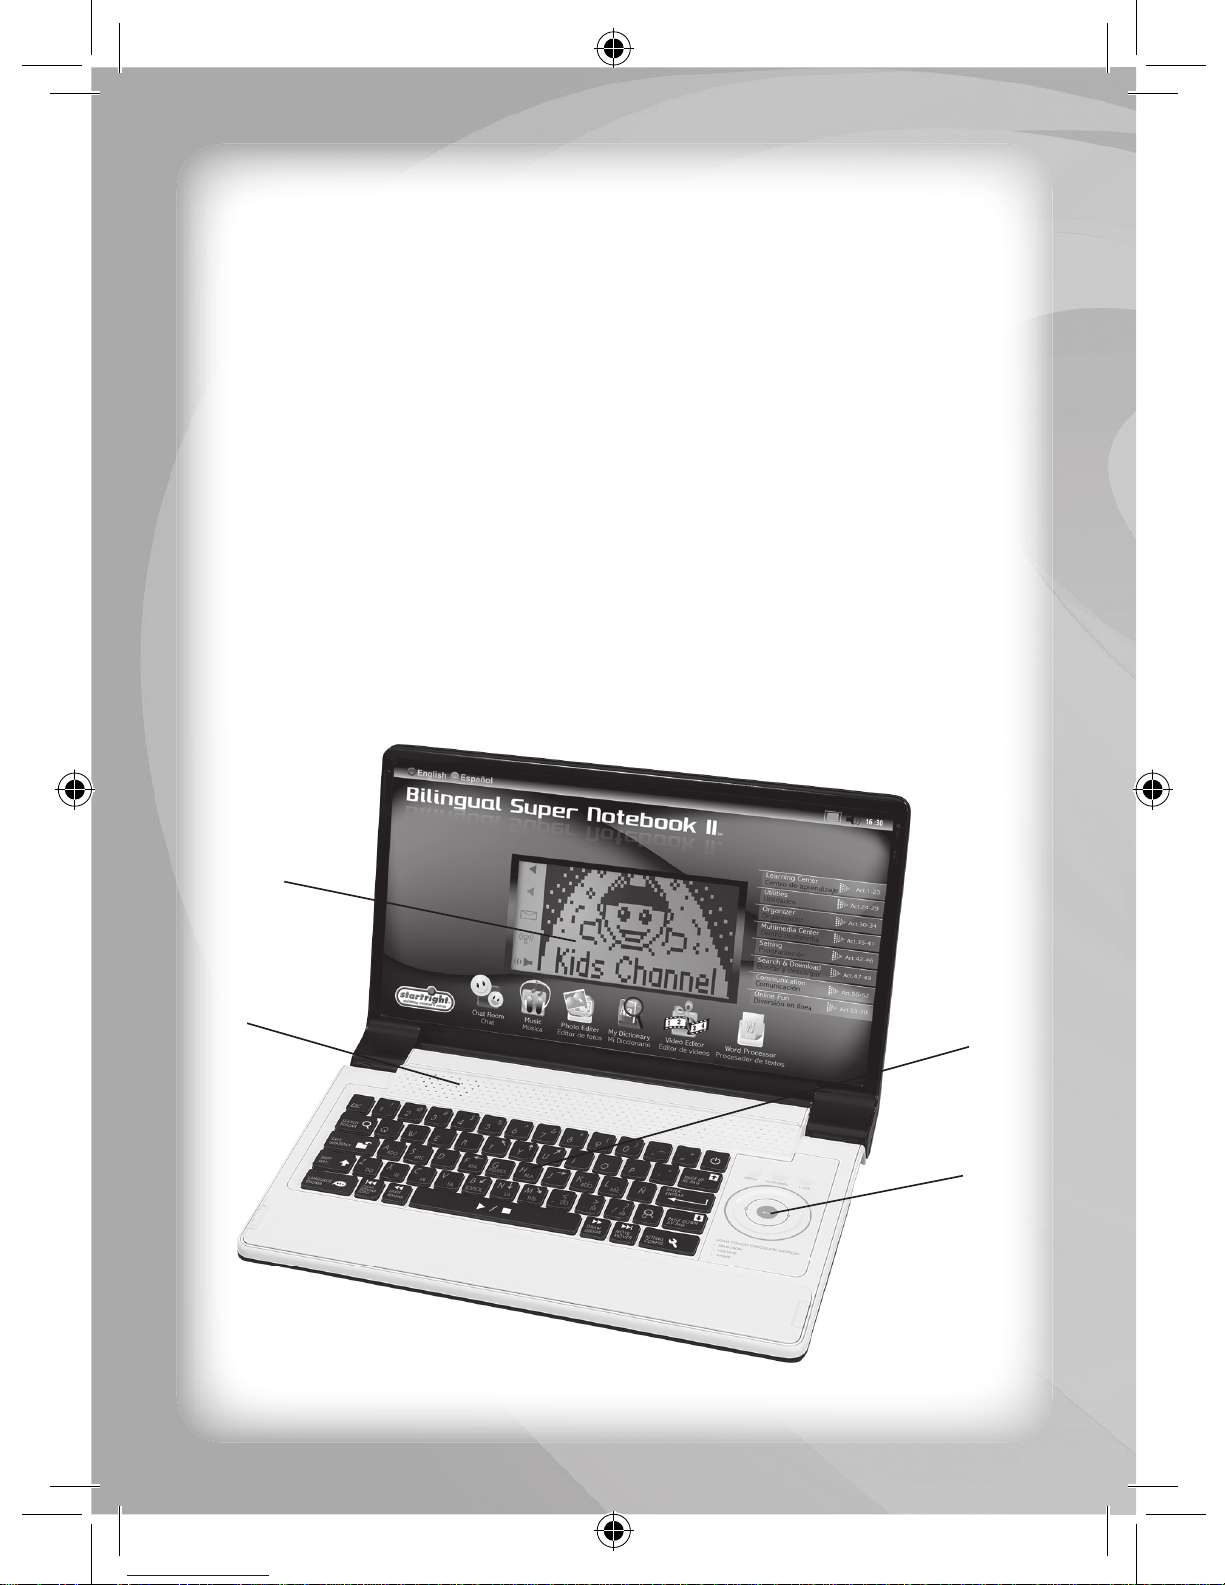
Bi lingual Super Notebook II TM Overview
Super Large
LCD Screen
Speaker
Touch-
Sensitive
Panel
QWERTY
Keyboard

2
Battery Installation
Note: Do not allow children to install batteries.
• This unit requires four (4) AAA batteries. We recommend alkaline
batteries.
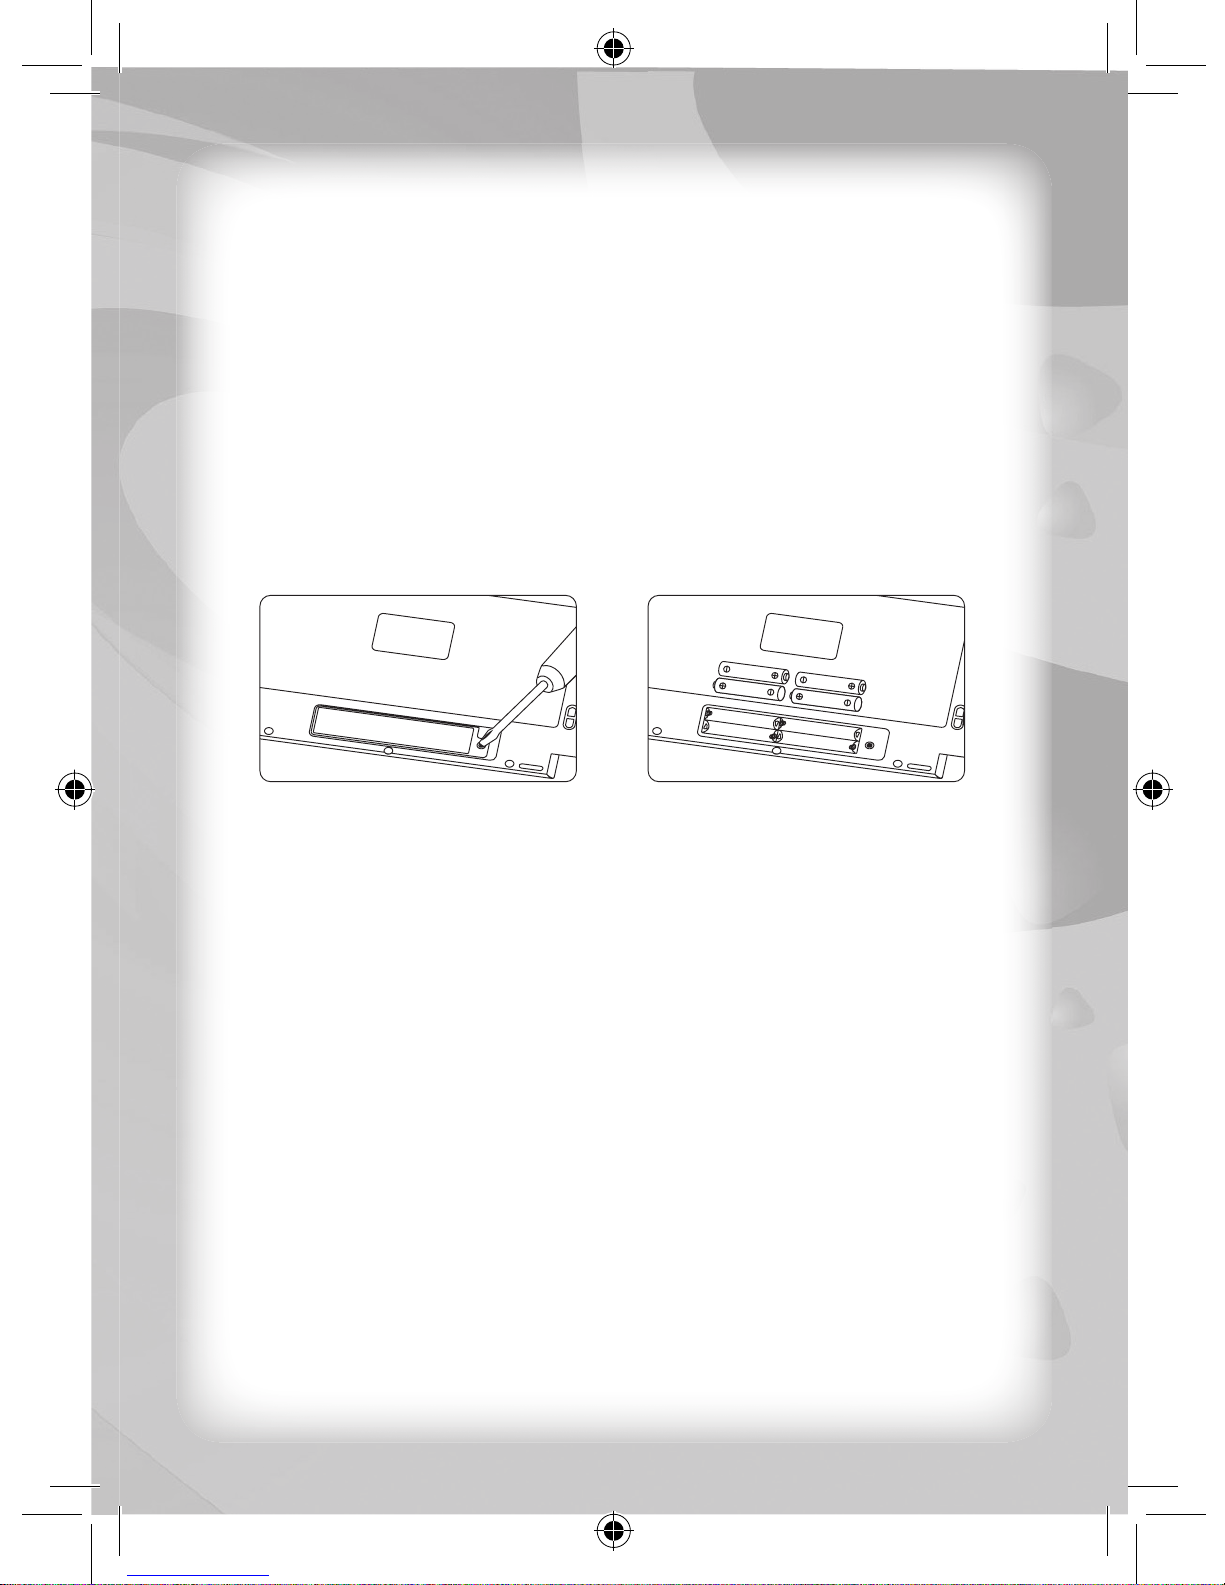
• Open the battery compartment found on the back of the unit.
(See Figure 1)
• Insert the batteries correctly, as indicated by the polarity symbols
(+) and (-) marked inside the battery compartment. (See Figure 2)
• Make sure to correctly replace the battery compartment door and
screw it fi rmly back in place.
Battery Precautions
• Install batteries for your child.
• Do not use rechargeable batteries.
• Do not recharge non-rechargeable batteries.
• Do not mix old and new batteries.
• Do not mix alkaline, standard (Carbon-Zinc), or rechargeable
(Nickel-Cadmium) batteries.
• Do not short circuit the supply terminals.
• Only use batteries of the same type or equivalent as
recommended.
• For best operation, always use new alkaline batteries.
• Insert batteries following the correct polarity.
• Replace the batteries if the sound weakens or the display dims.
• Remove exhausted or weak batteries from the unit.
• Remove batteries if you are not going to use the unit for more
than one (1) week.
• This unit is not to be connected to more than the recommended
number of power supplies.
Notice to parents
Fig. 1
Fig. 2

3
Care and Maintenance
• Clean this unit with a slightly damp cloth.
• Do not use any chemical solvents or abrasives on this unit.
• Do not spill any liquids on this unit.
• Avoid dropping this unit on hard surfaces.
• Do not expose this unit to moisture or immerse it in water.
• Do not try to dismantle this unit.
• It is best to switch off this unit when your child is not playing with it.
Please remind your child to do so.
• Use only a soft cloth for cleaning the LCD. Never use solvents,
abrasives or a moist cloth.
Getting Started
General Operation
On/Off / Auto Power Off / Touch-Sensitive Panel
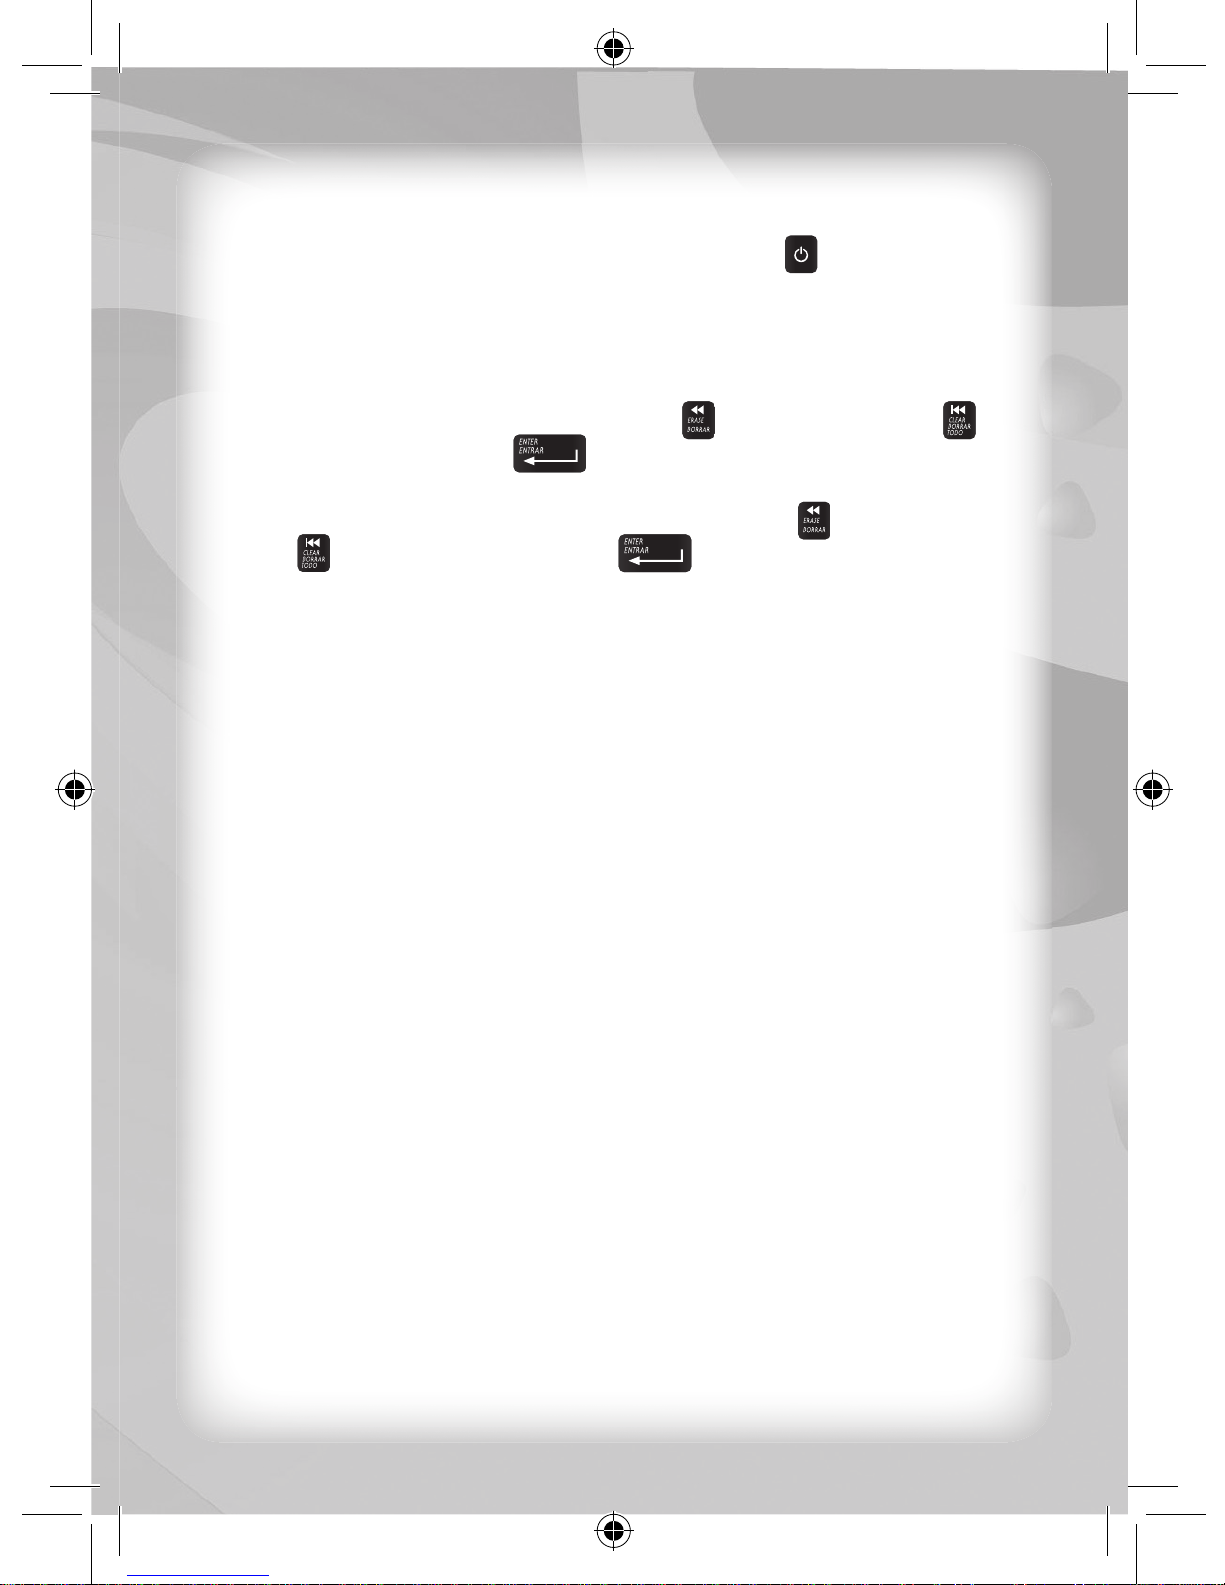
On/Off: Press the POWER key to turn this unit ON. Press the
same key to access the Log Out or Shut Down options. If you choose
Log Out, the current user will be logged out and the Log In screen will
appear. If you choose Shut Down, the unit will turn OFF. If you press
the ENTER key when an option is not selected, the unit will
automatically return to the select an activity screen.
Auto Power Off: A screen saver will be activated automatically when
no key is touched for more than ninety (90) seconds. This screen saver
will be displayed for a further three (3) minutes before the unit turns
itself OFF. Please note that when the unit automatically turns OFF, any
created data that has not yet been saved to the main unit will be lost.
Touch-Sensitive Panel: This unit has a built-in Touch-Sensitive
Panel. Simply touch a direction key on the Touch-Sensitive Panel to
select an activity (same function as the “Left” and “Right” directional
keys on the keyboard). Slide your fi nger clockwise or anti-clockwise to
control the content of some activities. For details, please refer to the
activities in Description of Activities.

4
First-Time Use
After reading through the Notice to Parents and installing the
batteries correctly, please press the POWER key once to turn ON
the unit. A login screen will be displayed, and you will be required to
complete the following steps:
1. New name – You can input up to six (6) characters as your user
name (case sensitive). The user name “123456” cannot be used.
You can edit it using the ERASE key or the CLEAR key .
Press the ENTER key to confi rm it.
2. New password – You must input three (3) numbers as your
password. You can edit it using the ERASE key or the CLEAR
key . Press the ENTER key to confi rm it. You will be
required to input your new password again so the unit can verify it.
Log In
There are three (3) different modes when you log in on the unit.
Normal Mode
Each time you turn the unit ON, you have to log in by inputting your
user name and password. If both are correct, the unit will log in
Normal Mode and access the main menu. You can access all
activities and save all data in Normal Mode. To edit your current
password, select the Setting Mode and then enter your original
password in the Password Mode followed by your new password.
Default Mode
If you forget your user name or password, you can use the default
name (“123456”) and password (“123”). The unit will log in Default Mode.
You can access all activities but cannot save data in Default Mode.
To check and display your current user name and password, select
the Setting Mode and then enter the My Profi le Mode to display the
user name or the Password Mode to display the password.
Unknown Mode
If your user name, password or both are incorrect, the unit will log in
Unknown Mode. You cannot access some activities and cannot save
data in Unknown Mode. For details, please refer to the activities in
Description of Activities.

5
Activity Selection
There are one hundred and forty (140) activities available in two
(2) languages. To select an activity or folder, you can either use
the keyboard or the QUICK SEARCH key. If you choose to use the
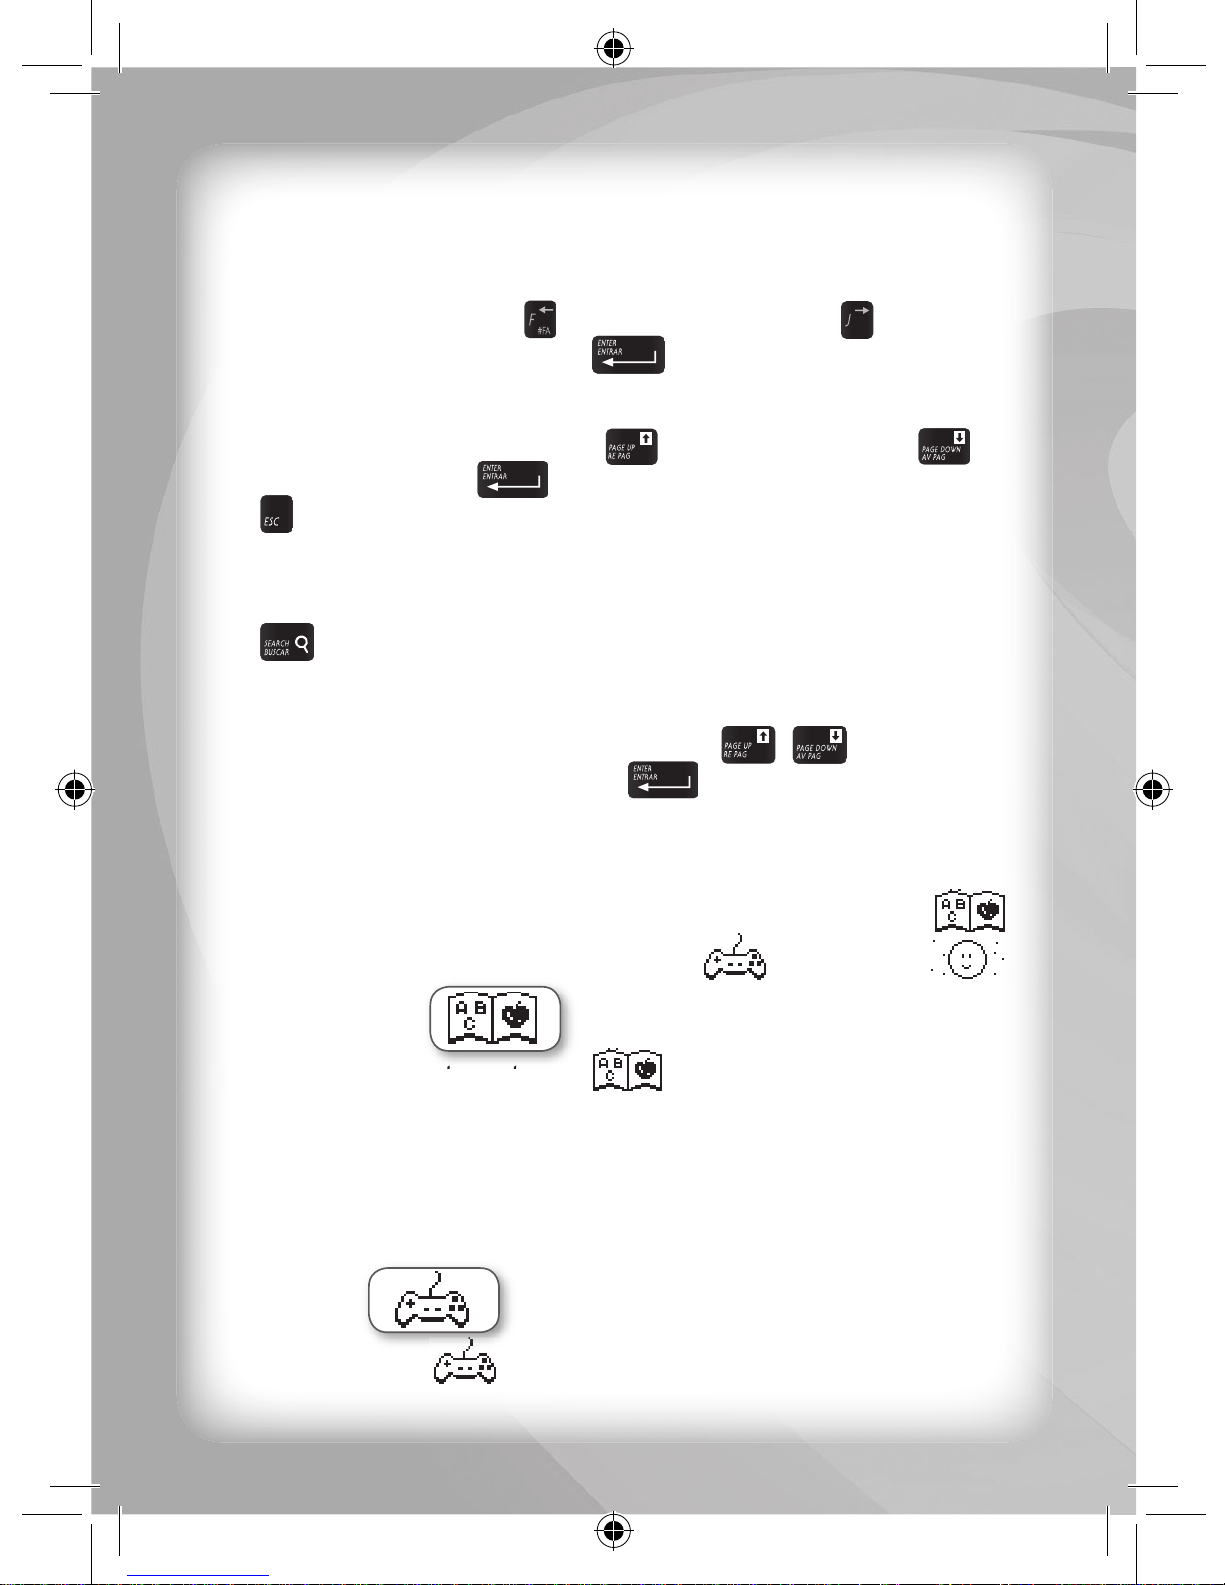
keyboard, press the LEFT or RIGHT ARROW key to select a
category. Press the ENTER key to confi rm the category.
Repeat the same steps to enter a sub-category. To choose an
activity, press the PAGE UP key or PAGE DOWN key .
Press the ENTER key to confi rm the activity. Press the ESC
key to exit a category / sub-category / activity.
If you are familiar with the category / sub-category / activity titles,
you may choose to use quick search. Press the QUICK SEARCH
key once and a search screen will appear. When you type a
letter, the unit will display a list of category / sub-category / activity
titles that start with that letter. You can either type the complete title
or press the PAGE UP / PAGE DOWN key / to select your
desired title. Press the ENTER key to confi rm the title and
enter the relevant category / sub-category / activity directly.
Scoring
You can score points in most activities in the Learning Center ,
as well as in the games in the Game Zone of Online Fun .
Learning Center
In the Learning Center category , you will be awarded ten (10)
points for each correct answer, unless otherwise stated. You must
score thirty (30) points or more to move up to level two (2), seventy
(70) points or more to move up to level three (3) and one hundred
and ten (110) points or more to pass all levels and quit the activity.
Refer to individual activities for further details.
Game Zone
In the Game Zone , your score will be converted into virtual
money. You can use virtual money to download photos / musics /
Game Zone
In the Learning Center category

6
cartoons as a reward. Please refer to the description in the relevant
activities for further details.
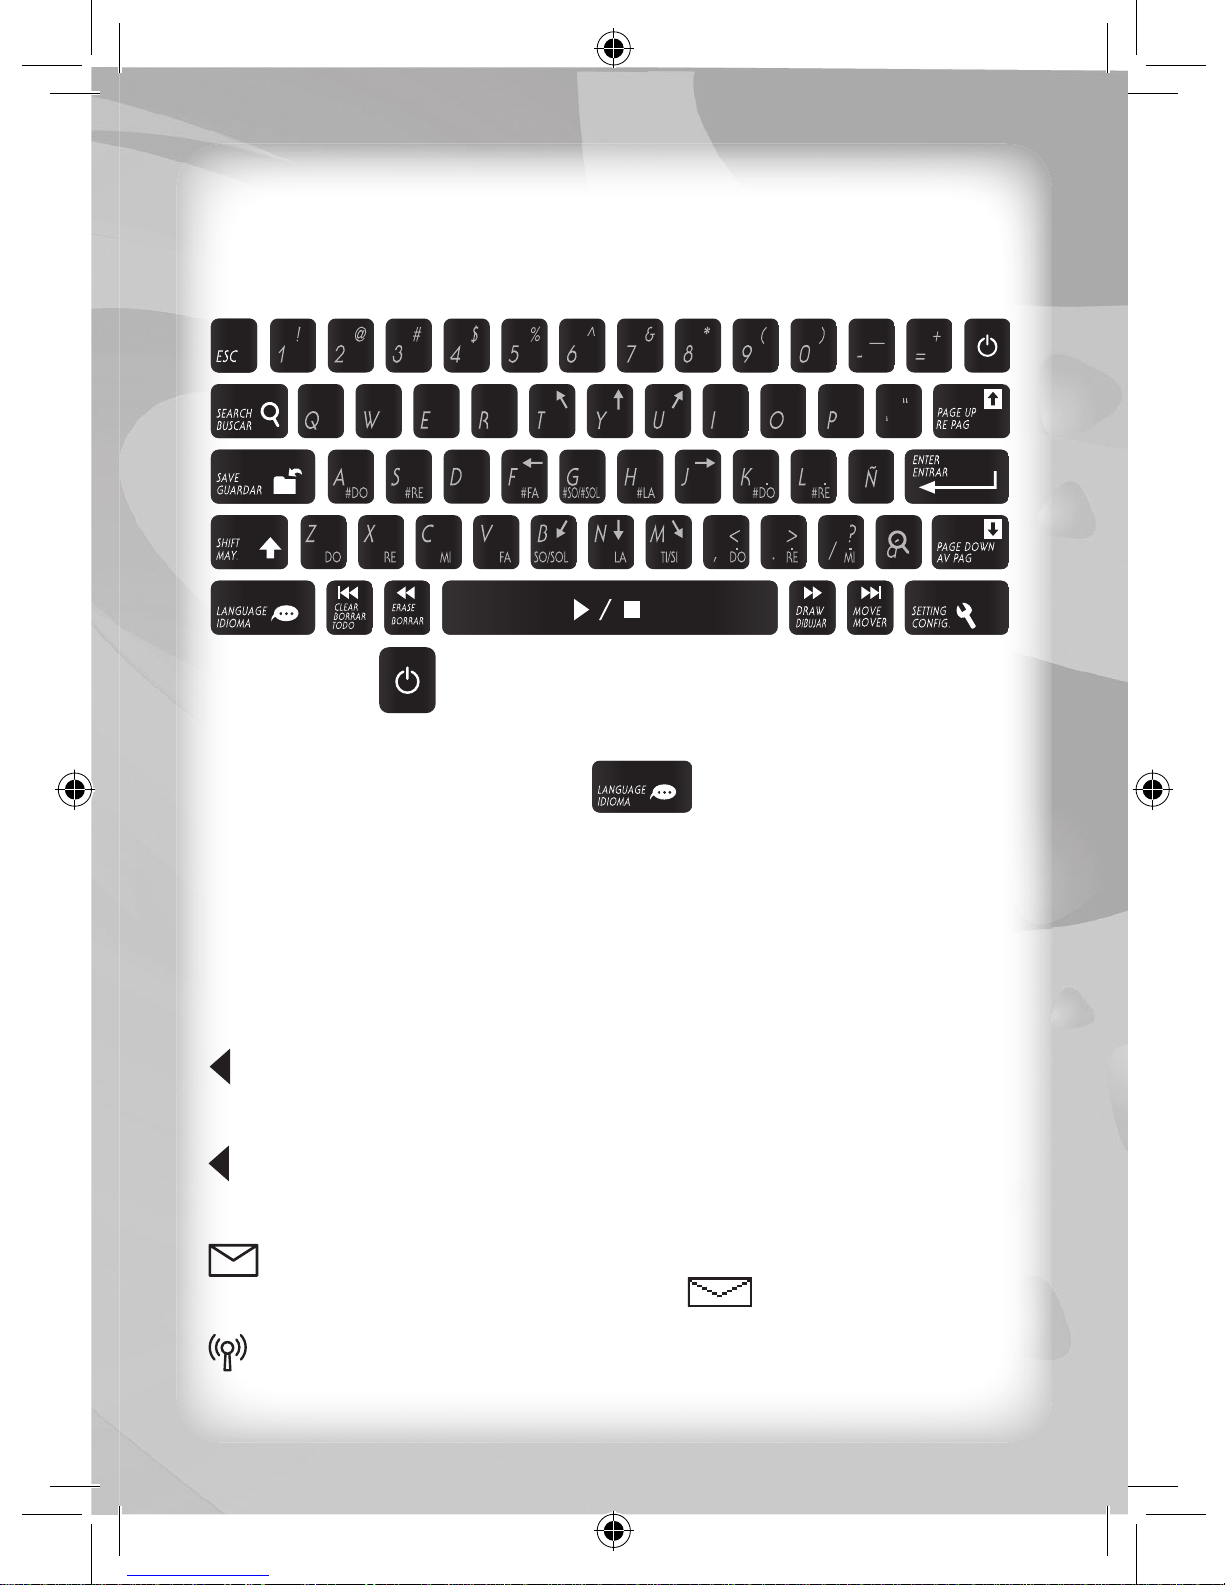
Keyboard Layout
POWER Key:
Press this key to turn the unit ON or OFF.
LANGUAGE SELECTION Key:
Press this key once to access the language selection window. You
can select one (1) of two (2) languages as the default operating
language.
LCD Screen Icons: Five (5) LCD screen icons can be found on the
LCD screen. The icons are as follows (from top to bottom):
Language 1: Displayed when language 1 is selected as the
operating language.
Language 2: Displayed when language 2 is selected as the
operating language.
New Message: Displayed when you have a new message. For
details please refer to the EMAIL activity .
Online Connection: Displayed after you entered into the
categories of ONLINE CONNECTION.

7
Volume: Displayed when the volume is on. You can choose
the volume level in the VOLUME activity . The icon will
indicate the relevant volume level.
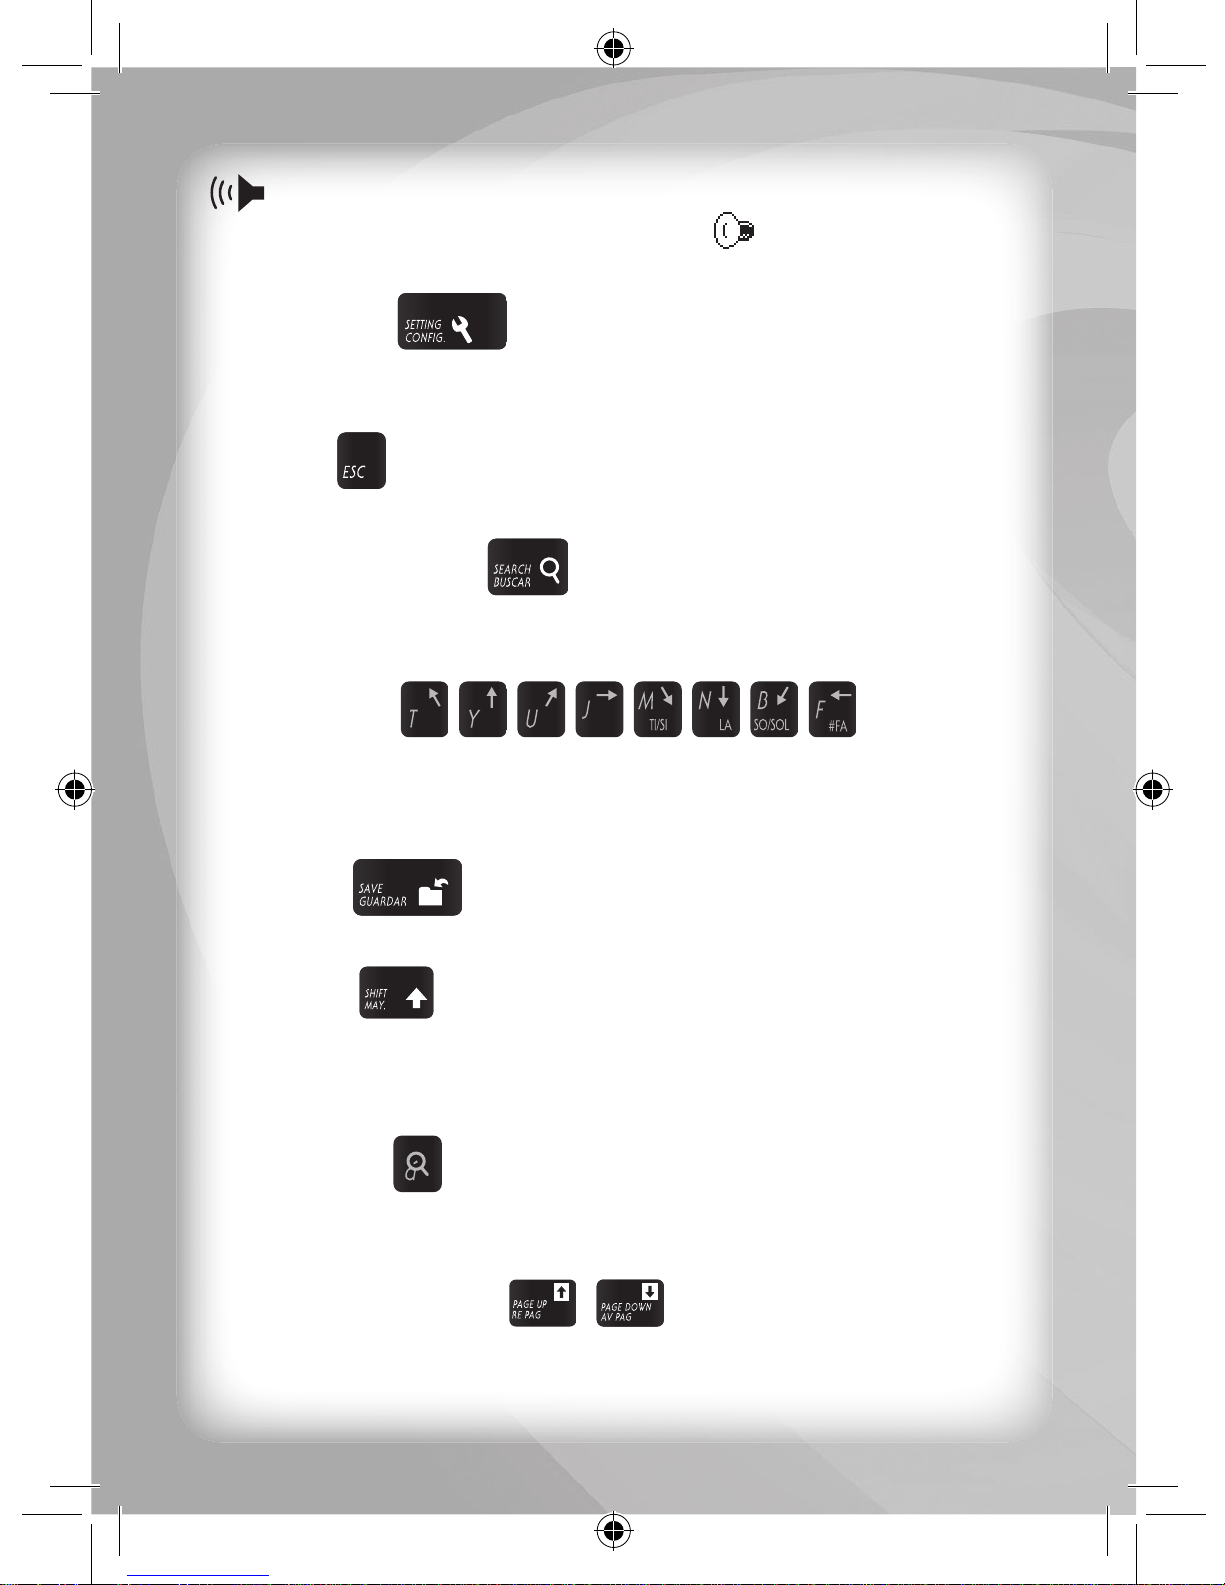
SETTING Key:
Press this key to change your settings. For details, please refer to
Description of Activities.
ESC Key:
Press this key to escape from the current activity.
QUICK SEARCH Key:
Press this key to access a category/sub-category/activity quickly.
For details, please refer to Activity Selection.
ARROW Keys:
Press these letter keys (‘T’, ‘Y’, ‘U’, ‘J’, ‘M’, ‘N’, ‘B’, and ‘F’) to select
an option or control the cursor in certain activities. For details, please
refer to Description of Activities.
SAVE Key:
Press this key to save all your data in the unit.
SHIFT Key:
Hold down this key and press an alphabet key to display the upper
case of the selected letter. Hold down this key and press a number
key to display the symbol shown on the selected key.
ACCENT Key:
Press this key after inputting certain letter keys (‘A’, ‘E’, ‘I’, ‘O’, and
‘U’) in any typing activity to select from a list of accented letters.
PAGE UP/DOWN Keys: /
Press these keys to scroll up or down in certain activities. For
details, please refer to Description of Activities.
Dieses Handbuch passt für folgende Modelle
1
Inhaltsverzeichnis
Andere Startright Laptop Handbücher