Super Star 3900 OLED Bedienungsanleitung

Superstar 3900 OLED
User Manual
13/08/2023
Page 1 / 13

Table of Contents
1. Overview..........................................................................................................................................3
1.1 Fr nt panel lay ut......................................................................................................................3
2. Operati n verview..........................................................................................................................4
2.1 VFO / Frequency m de..............................................................................................................4
2.1.1 Changing the pr grammable frequency step......................................................................4
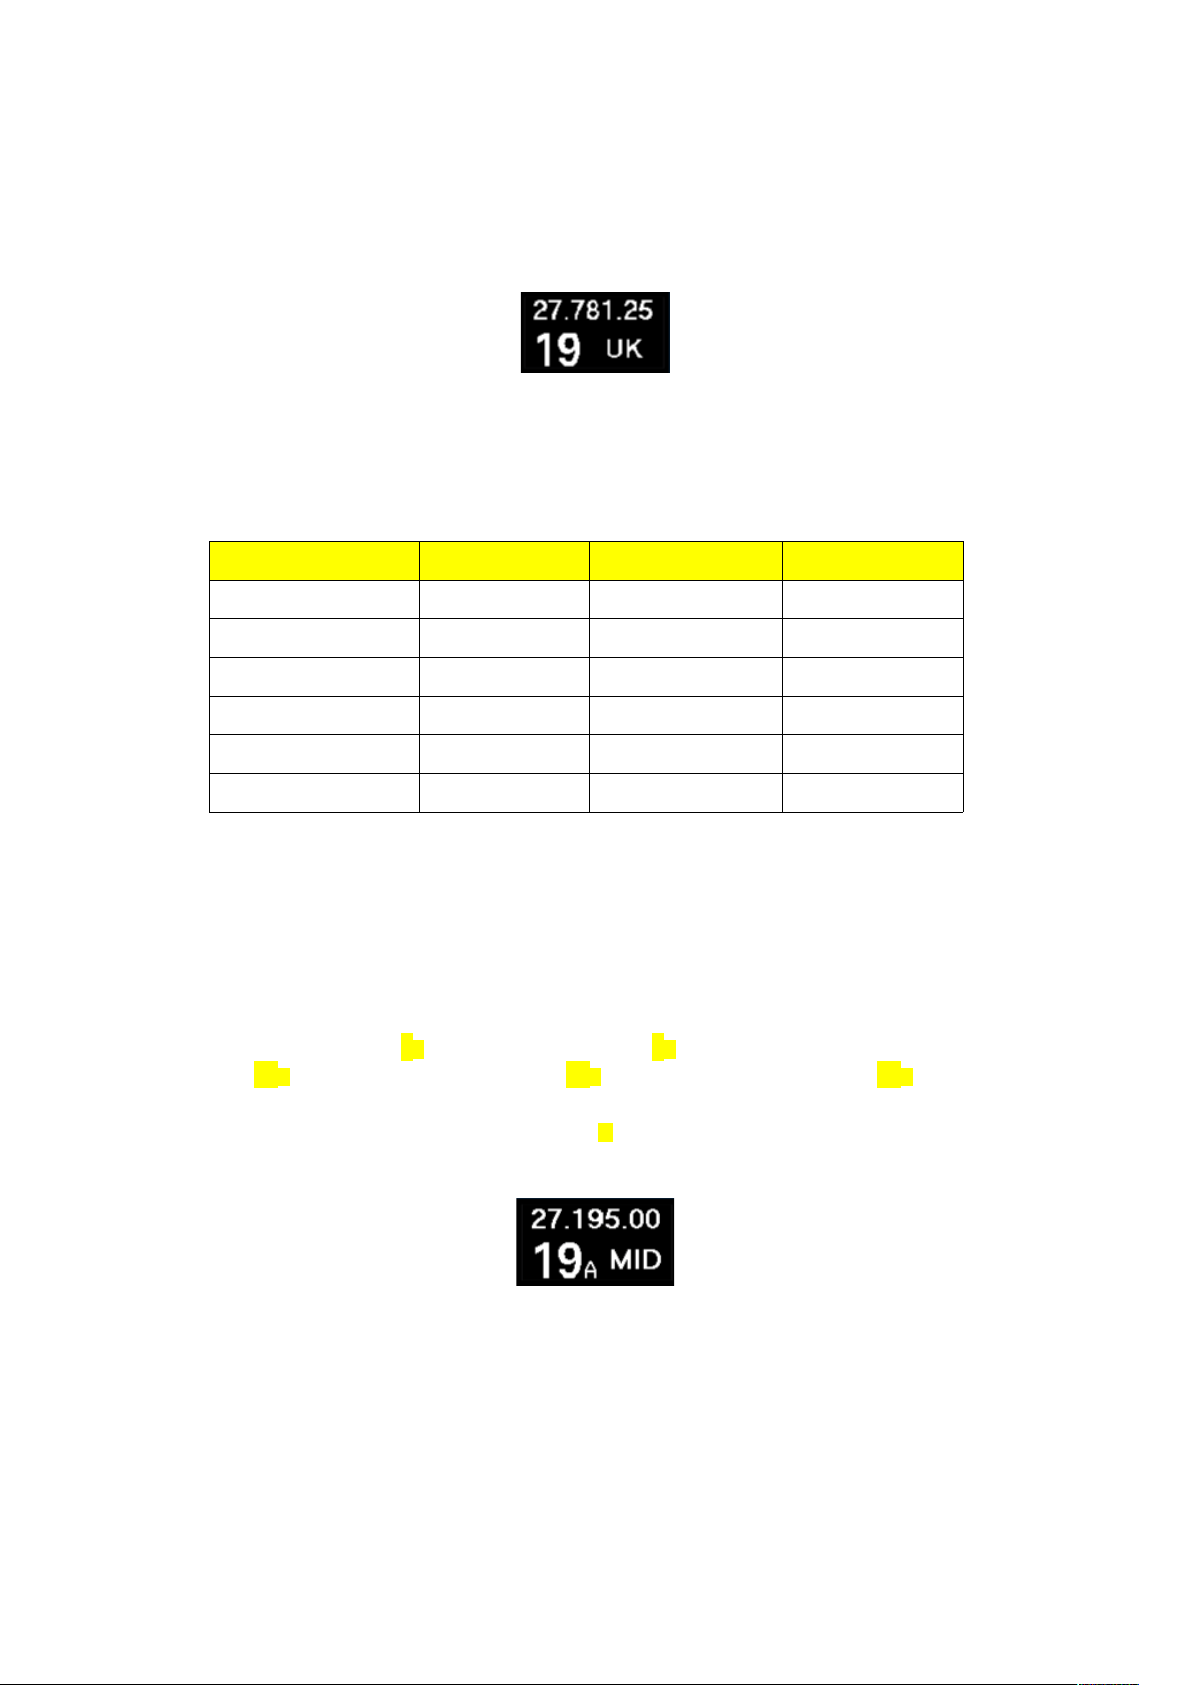
2.2 Channel M de............................................................................................................................5
2.2.1 Available perating bands..................................................................................................5
2.3 Alpha channels...........................................................................................................................5
2.4 Receive Scanning.......................................................................................................................6
2.4.1 Start scanning.....................................................................................................................6
2.4.2 Scan directi n.....................................................................................................................6
2.4.3 St p scanning.....................................................................................................................6
2.4.4 Scan feature in VFO / FREQUENCY m de......................................................................6
2.4.5 Scan feature in CHANNEL m de......................................................................................6
2.5 BLEEP perati n.......................................................................................................................7
2.5.1 Operati n verview............................................................................................................7
2.5.2 Bleep Selecti n..................................................................................................................8
2.5.3 Bleeps available.................................................................................................................9
2.5.4 K-T ne adjustments...........................................................................................................9
3. Main settings..................................................................................................................................10
3.1 Accessing the main settings menu...........................................................................................10
3.2 Fine centre setting....................................................................................................................10
3.3 C arse centre setting................................................................................................................10
3.4 Frequency setting.....................................................................................................................10
3.5 Transmit ffset setting..............................................................................................................11
3.6 Clarifier m de setting..............................................................................................................11
3.7 Switch message setting............................................................................................................12
3.8 Message delay setting..............................................................................................................12
4. Other inf rmati n...........................................................................................................................12
5. Frequency table..............................................................................................................................13
Page 2 / 13

1. Overview
The Superstar 3900 OLED is a standard Superstar 3900 with a micr pr cess r c ntr lled
m dificati n b ard and replacement OLED display fitted. The riginal channel select r is
replaced with an enc der pr viding a number f benefits:
•OLED display which displays a 6 digit frequency read ut, channel and band display
•Different perating m des: VFO and channel
•Operati n fr m 25.615 MHz t 28.065 MHz in VFO m de
•Operati n fr m 26.065 MHz t 28.065 MHz in channel m de
•UK 27/81 channels 27.60125 t 27.99125 with c rrect read ut in channel m de
•TXCO giving impr ved SSB frequency stability, typically better than 5PPM drift
•Selectable 100Hz / 1kHz / 5kHz / 10 kHz / 100 kHz steps in VFO m de
•Precise c arse c ntr l all wing -5kHz / 0 / +5kHz t be set easily in channel m de
•Three r ger bleeps can be sequenced with a ch ice f 10 t nes
•Band and full frequency range scanning functi n
1.1 Front panel layout
This radi has a cust m Superstar 3900 inlay fitted as bel w:
1.1.1 Switch mapping
S-RF / SWR / CAL – As n rmal
SCAN / OFF – Switches the scan n / ff
RB / OFF – R ger bleep n / ff
VFO / CHANNEL – Selects VFO (frequency) m de r Channel m de
1.1.2 Band selector
The band select r is used in channel m de nly and pr vides 6 bands f 40 channels.
1.1. Mode selector
FM / AM / USB / LSB perates as n rmal
Page 3 / 13

2. Operation overview
Tw perating m des are p ssible, VFO (frequency) and CHANNEL which is selected by the
+10kHz switch. The selected perating m de is briefly displayed n the frequency display
when the switch is changed. The c rrect channel and band is displayed aut matically as the
frequency is changed making identificati n f the frequency simple. The current channel r
frequency is st red s f r example y u can have VFO m de n 27.555 and CHANNEL m de
n ch19 UK.
2.1 VFO (frequency) mode
VFO (frequency) m de all ws full frequency range tuning by variable steps f 100kHz t
10Hz. When VFO m de is selected the frequency step indicat r is sh wn under the currently
selected digit in the OLED.
Note: In the VFO mode the band selector and coarse tune do not operate.
2.1.1 Changing the programmable frequency step
The pr grammable frequency step can be changed by pressing the channel select r and
bserving the tuning step indicat r. This meth d is similar in perati n t the President Linc ln
MK1 radi and all ws accurate c ntr l. Frequency steps are as f ll ws:
Note that both 5kHz and 1kHz steps show the tuning step indicator below the
1kHz digit but the small indicator is slightl thicker on 5kHz!
Page 4 / 13
100kHz 10kHz 5kHz 100Hz 10Hz1kHz

2.2 Channel Mode
In channel m de, the rig perates in a traditi nal manner with 6 bands f 40 channels selectable
by the band select r and tuning with the fine and c arse c ntr l. In this m de the frequency
step indicat r is n t sh wn as per the image bel w:
2.2.1 Available operating bands
In channel m de, 6 bands are selectable including the UK 27/81 band with c rrect channel and
frequency read ut.
Band Switch Label Band Start Frequency End Frequency
SL Super L w 26.065 MHz 26.505 MHz
LOW L w band 26.515 MHz 26.955 MHz
MID FCC 26.965 MHz 27.405 MHz
HI High band 27.415 MHz 27.855 MHz
SH Super High 27.865 MHz 28.305 MHz
UK UK FM 27/81 27.60125 MHz 27.99125 MHz
2. Alpha channels
Alpha channels are inserted aut matically in-between n rmal channels as y u turn the channel
select r as per the list bel w:
... 3 → 3A → 4 → 5 → 6 → 7 → 7A → 8 → 9 → 10 →
11 → 11A → 12 → 13 → 14 → 15 → 15A → 16 → 17 → 18 → 19 → 19A → 20 ...
Alpha channels can be identified by the small A t the right f the channel number as in the
example bel w:
Page 5 / 13

2.4 Receive Scanning
The scan feature all ws y u t l cate active frequencies in either current band segment r
acr ss the full frequency range.
2.4.1 Start scanning
T begin scanning, sl wly turn up the squelch c ntr l cl ckwise until the backgr und n ise
disappears. Next slide the SCAN switch up t start the scan perati n.
2.4.2 Scan direction
Scanning starts in the up directi n when activated h wever m ving the channel select r c unter
cl ckwise will change the scan directi n t d wn.
2.4. Stop scanning
T st p scanning, slide the SCAN switch d wn t the OFF p siti n. Note that pressing
transmit will temporaril stop the scan function until ou release the transmit switch
however scan will resume on receive if there is no signal.
2.4.4 Scan feature in VFO mode
In the VFO m de, the scan functi n will c ver the entire frequency range that the rig supp rts.
The scan step is based n the currently selected ‘frequency step’ which can be fr m 100Hz t
100kHz.
As an example, if y u have selected 5kHz step and start the scan n 27.555MHz, the scan will
increase the frequency by 5kHz each step until interrupted by a signal s the frequency will be:
27.555 → 27.560 → 27.565 → 27.570 → 27.575 → 27.580 ....
Selecting a 5kHz step is a g d way t find activity n the zer ’s (f r example 27.500).
2.4.5 Scan feature in CHANNEL mode
In channel m de, the scan functi n will be limited t the currently selected band. The scan step
is channel based rather than frequency.
F r example, if y u are n FCC / MID band, starting scan n channel 15 will step:
15A → 16 → 17 → 18 → 19 → 19A → 20 .…
And at channel 40 it will l p back t channel 1:
38 → 39 → 40 → 1 → 2 → 3 → 3A → 4 ....
Page 6 / 13

2.5 BLEEP operation
The r ger bleep is enabled by sliding the BLEEP switch t the UP p siti n. There are 3 bleep
‘sl ts’ that can be set t any available bleep which all ws the sequencing f up t 3 r ger bleeps
ne after an ther.
2.5.1 Operation overview
When the PTT butt n is released, the pr cess r will check t see if the bleep switch is n and if
s will check each bleep ‘sl t’ fr m 1 t 3 and play if selected in that rder.
Page 7 / 13
PTT RELASED
BEEP
SWITCHED
ON
SLOT 2
VALUE > 0
NO
YES
NO
PLAY BLEEP
IN SLOT 1
PLAY BLEEP
IN SLOT 2
SLOT 3
VALUE > 0
PLAY BLEEP
IN SLOT 3
YES
YES
NO
TRANSMIT RELEASED

2.5.2 Bleep Selection
Selecting which bleeps are enabled is d ne within the quick settings menu.
T enter the menu, press and h ld the channel select r f r ar und 3 sec nds. Once the display
changes y u can release the c ntr l.
The initial screen will display bleep sl t 1, in this case the C bra bleep is selected:
Turn the channel select r / enc der t the sl t y u want t change.
Menu Bleep sl t Order
BLEEP 1 Sl t 1 First
BLEEP 2 Sl t 2 Sec nd
BLEEP 3 Sl t 3 Third
After selecting the BLEEP sl t y u wish t change, press and release the channel select r
m mentarily. ADJUST is sh wn in the display:
Select the bleep required by r tating the channel select r then press and release the channel
select r t save the setting.
Note:
It is not possible to select NONE for BLEEP 1 since it is switched off using the bleep switch
T exit the quick settings menu, press and h ld the channel select r f r ar und 3 sec nds.
Page 8 / 13
PRESS AND HOLD
CHANNEL SELECTOR
RELEASE CHANNEL
SELECTOR

2.5. Bleeps available
Bleep available
N ne
C bra 148
Sadelta Ech Master Plus
K-T ne (adjustable)
Ham Internati nal
President Linc ln
P peye
Cl se Enc unters
Dixie
That’s it
Jingle Bells
2.5.4 K-Tone adjustments
The k-t ne bleep can be adjusted t suit the perat rs preference. B th frequency (pitch) and
time (speed) can be adjusted t replicate the s und f k-t ne bleeps f the past.
Altering the K-T ne bleep is d ne within the quick settings menu.
T enter the menu, press and h ld the channel select r f r ar und 3 sec nds. Once the display
changes y u can release the c ntr l.
Turn the channel select r / enc der t functi n y u want t change.
Menu
K-TONE FREQ
K-TONE TIME
Press and release the channel select r. The last decimal p int in the frequency display will light
and y u can adjust the value by r tating the channel select r with the current value sh wn in
the frequency display. Once y u are happy with the value, press the channel select r t save the
setting.
T exit the quick settings menu, press and h ld the channel select r f r ar und 3 sec nds.
Again nce the display blanks y u can release the c ntr l.
Page 9 / 13

. Main settings
The main settings menu all ws y u t change perating parameters f the pr cess r b ard.
These settings are intended to be accessed infrequentl . If y u intend altering these settings
be sure t write d wn the current values as it is p ssible t create pr blems if the settings are
changed with ut having at least a sec nd g d radi t check.
.1 Accessing the main settings menu
T enter the main settings menu y u need t f ll w the steps bel w.
•Switch ff the Superstar 3900 OLED if already n
•Turn n the Superstar 3900 OLED while pressing channel select r
•Wait until the p wer up text is displayed
•nce the display sh ws MAIN SETTINGS, release the channel select r
•Settings menu sh uld be entered
.2 Fine centre setting
This setting all ws the centring f the fine c ntr l
•Turn channel select r t FINE CENTER menu item
•Adjust the fine tune butt n t dead centre
•Press the channel select r butt n nce t save the alignment
. Coarse centre setting
This setting all ws the centring f the c arse c ntr l
•Turn channel select r t COARSE CENTER menu item
•Adjust the c arse tune butt n t dead centre
•Press the channel select r butt n nce t save the alignment
.4 Frequency setting
This menu all ws y u t set the frequency alignment f the pr cess r b ard.
Frequency adjustment can be d ne against a frequency c unter (best) r an ther radi (w rst).
Its als suggested that the adjustment is d ne when the rig has been n f r 20min under n rmal
temperature c nditi ns. It is rec mmended the radi has had the internal 10.695MHz scillat r
calibrated in advance.
With a frequency c unter:
•C nnect the frequency c unter pr be t TP3
•Turn channel select r t REF FREQUENCY menu item
•Press the channel select r, ADJUST is sh wn
•Set the m de t USB
•Adjust the fine and c arse c ntr ls t read 16.8625MHz n the frequency c unter
•Press the channel select r butt n nce, the alignment will be saved and the ADJUST text
will be blanked
Page 10 / 13
Inhaltsverzeichnis
Andere Super Star Transceiver Handbücher

Super Star
Super Star 120FM Bedienungsanleitung

Super Star
Super Star SS3 Bedienungsanleitung

Super Star
Super Star 3900 Bedienungsanleitung

Super Star
Super Star 2400 Bedienungsanleitung

Super Star
Super Star 120 Bedienungsanleitung

Super Star
Super Star 2400 Bedienungsanleitung

Super Star
Super Star SS-158EDX Bedienungsanleitung

Super Star
Super Star SS-3900EFT Bedienungsanleitung

Super Star
Super Star 3900 Bedienungsanleitung

Super Star
Super Star 360 Bedienungsanleitung


