
P1 P3500PWA Bedienungsanleitung
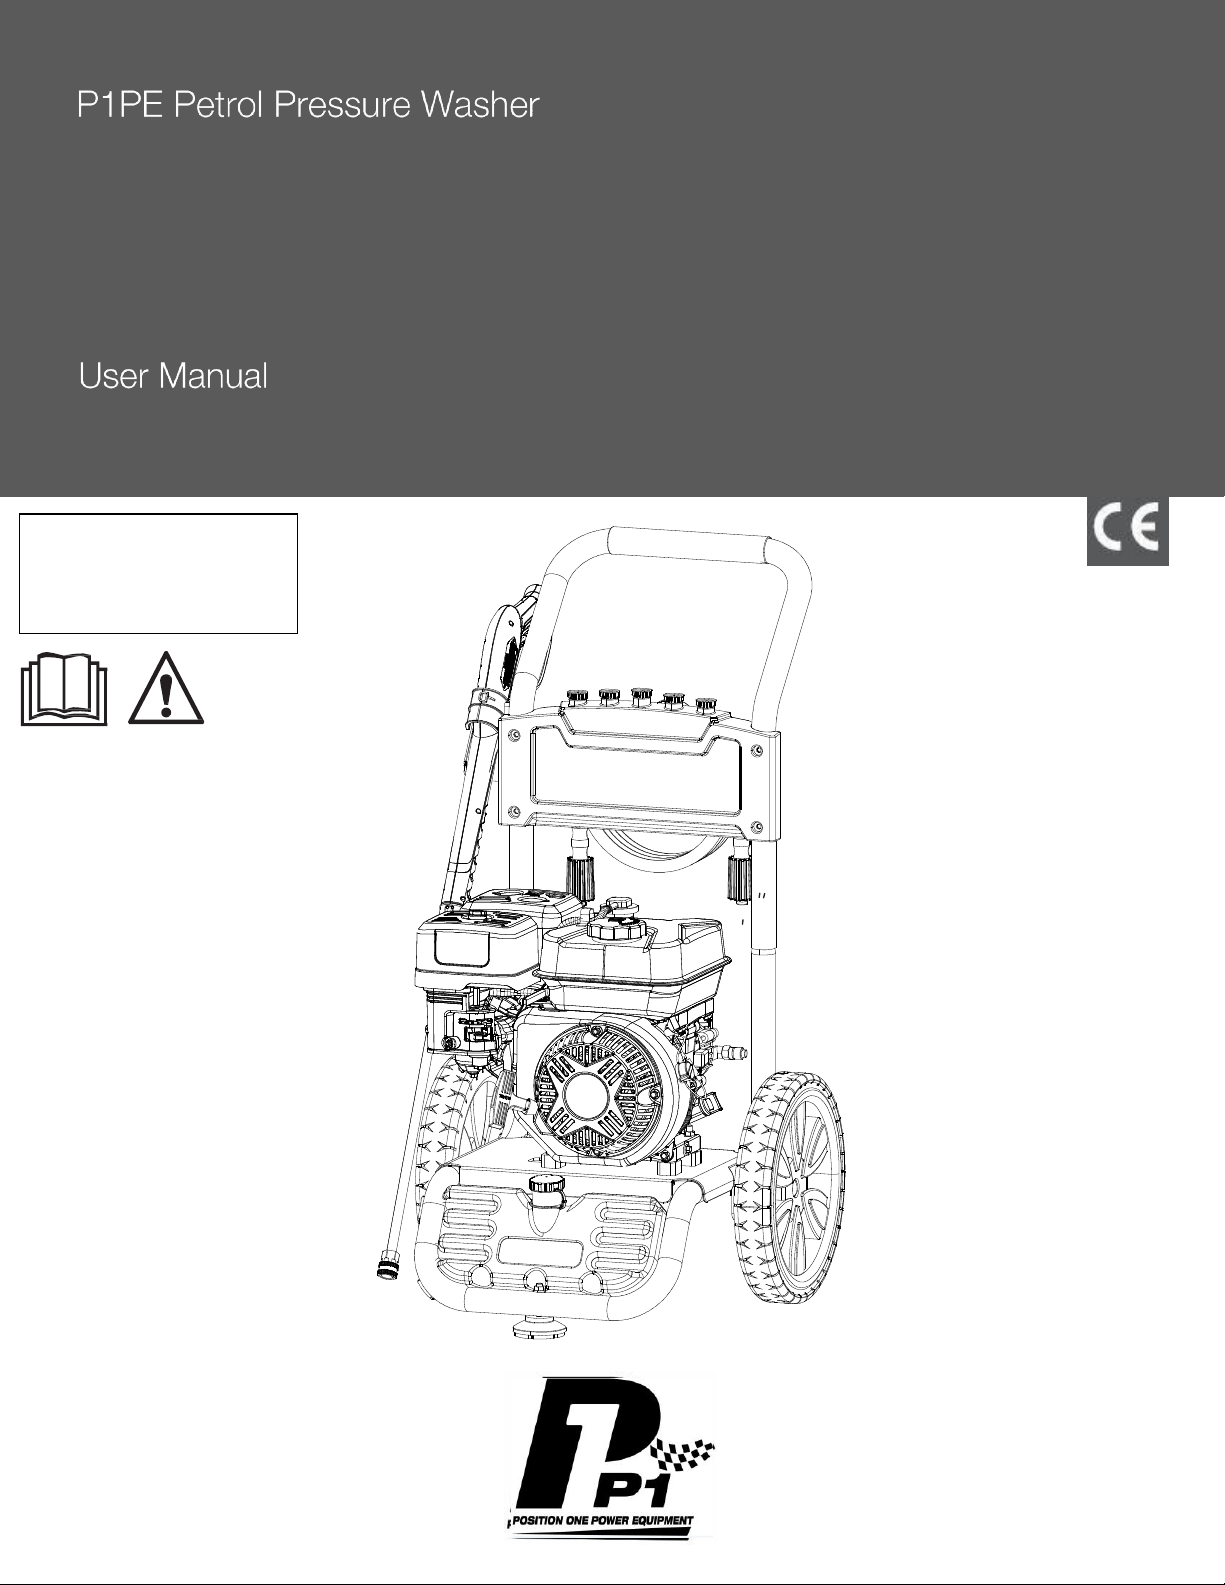
His
FOR YOUR SAFETY
You must read and understand
this manual before use.
Keep this manual for future
reference.
P3500PWA

TABLE OF CONTENTS
Introduction............................................................................................................................................................................3
Safety Rules .......................................................................................................................................................................4-6
Safety Symbols ...........................................................................................................................................................4
Safety Instructions ...................................................................................................................................................4-6
Pressure Washer Features....................................................................................................................................................7
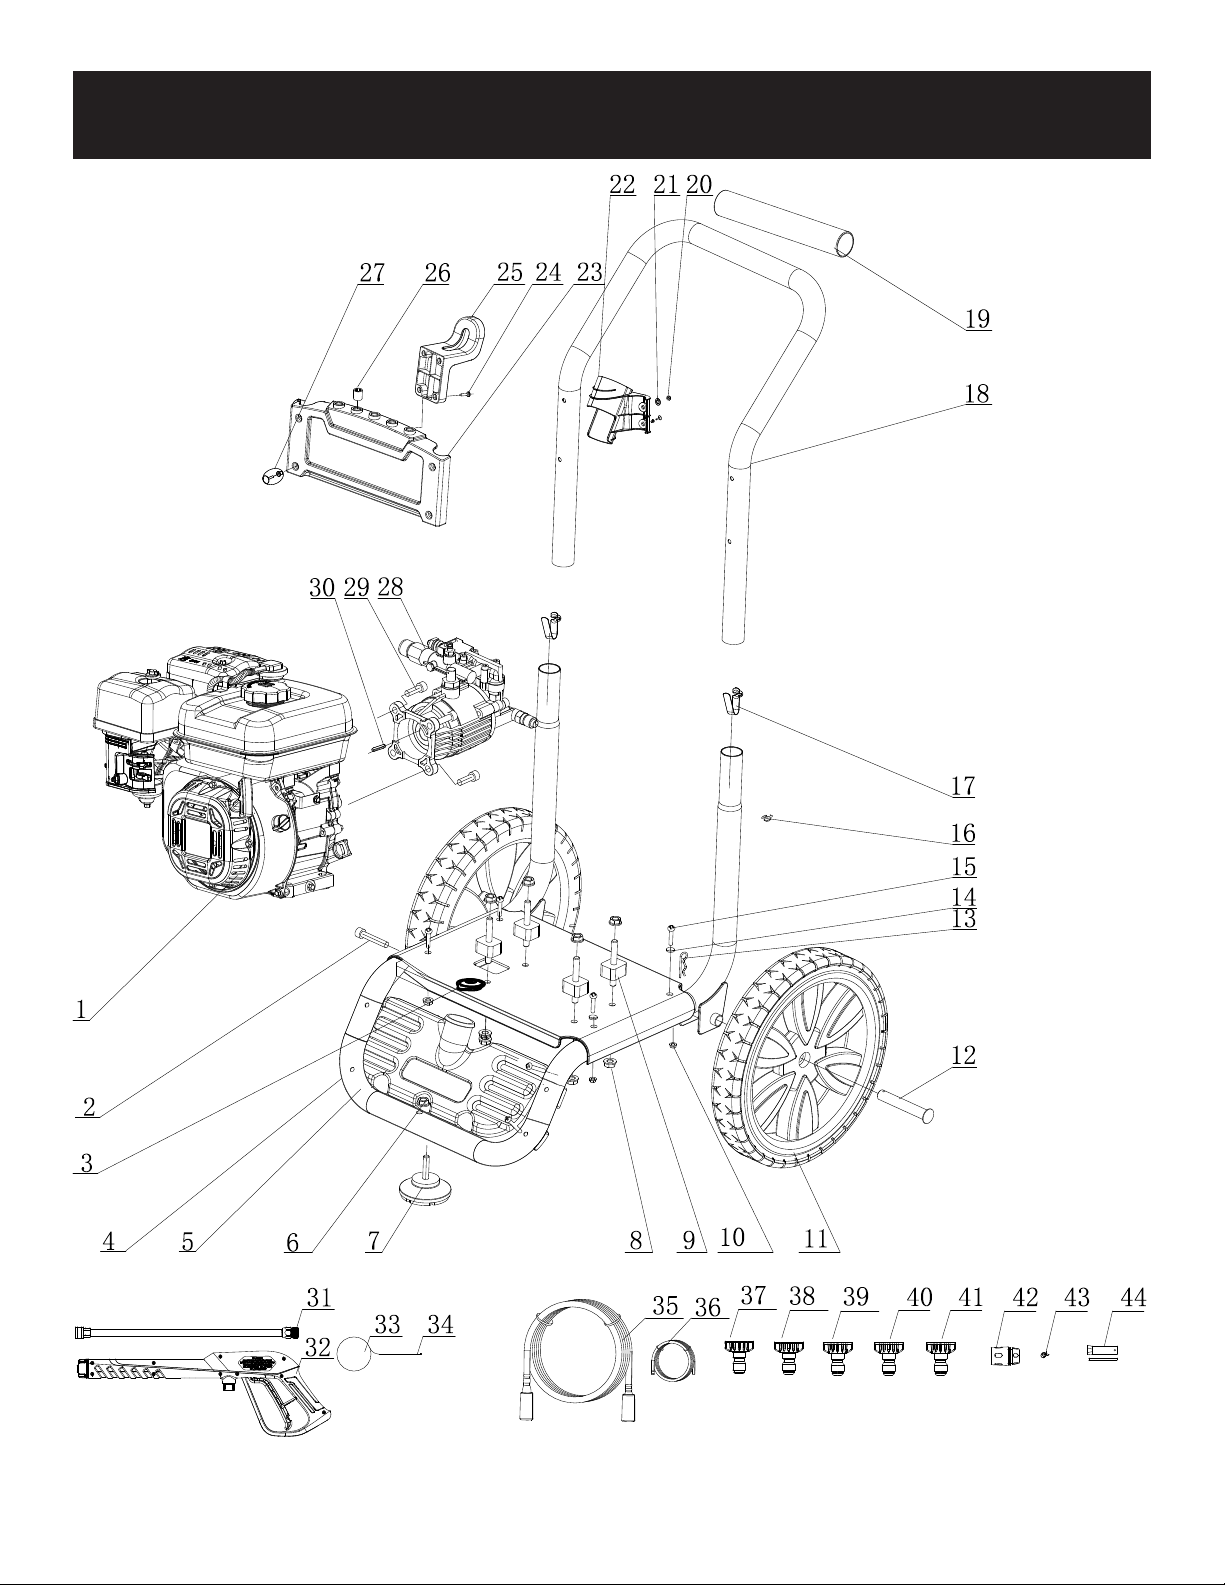
Pressure Washer Parts Assembly........................................................................................................................................8
Assembly............................................................................................................................................................................9-13
Packing List............................................................................................................................................................... 9
Unpacking.................................................................................................................................................................9
Attaching Foot Assembly..........................................................................................................................................10
Install Handle. ...........................................................................................................................................................10
Attaching Upper and Lower Gun Hooks.................................................................................................................... 10
Attaching Spray Gun.................................................................................................................................................11
Adding Engine Oil and Fuel ....................................................................................................................................... 12
Operation..........................................................................................................................................................................14-16
Starting.................................................................................................................................. ....................................14
Stopping....................................................................................................................................................................14
How to Use Spray Gun.............................................................................................................................................. 15
Using Spray Nozzle ..................................................................................................................................................16
How to Apply Detergent...........................................................................................................................................16
Maintenance ....................................................................................................................................................................17-19
Pre Operation Steps..................................................................................................................................................17
After Each Use..........................................................................................................................................................17
Maintenance Schedule..............................................................................................................................................17
Changing Oil.............................................................................................................................................................18
Engine Maintenance .................................................................................................................................................19
How to Store ............................................................................................................................................................19
Troubleshooting..................................................................................................................................................................20
Specifications....................................................................................................................................................................21
Useful Information.................................................................................................................................................................22
Recycling & Disposal............................................................................................................................................................23
Declaration Of Conformity.....................................................................................................................................................24
SAVE THIS MANUAL FOR FUTURE REFERENCE
This manual contains important information regarding safety, operation, and maintenance.
Connecting Garden Hose To Pressure Washer.........................................................................................................13
Connect High Pressure Hose To Pump.....................................................................................................................13
Rinsing With The Pressure Washer..........................................................................................................................16
Moving The Pressure Washer...................................................................................................................................16

3
INTRODUCTION
Thank you for purchasing this pressure washer. When operating and maintaining this product as instructed in this manual,
your pressure washer will give you many years of reliable service.
Product Specifications:
This high end residential use system features a 212cc engine, no flat foam filled tires, 25’ high pressure hose, and 4 quick-
connect nozzles.
The emissions control system for this pressure washer is compliant with all standards set by the Environmental Protection
Agency.
Product Applications:
•
This pressure washer is designed to remove dirt and mold from house siding, decks, garage floors, brick patios, and
cement walkways.
•
This unit can be used to clean cars, motorcycles, boats, RV’s outdoor furniture, lawn equipment, and grills.
Date of Purchase:
Model Number:
Serial Number:
4
SAFETY RULES
Safety Symbols
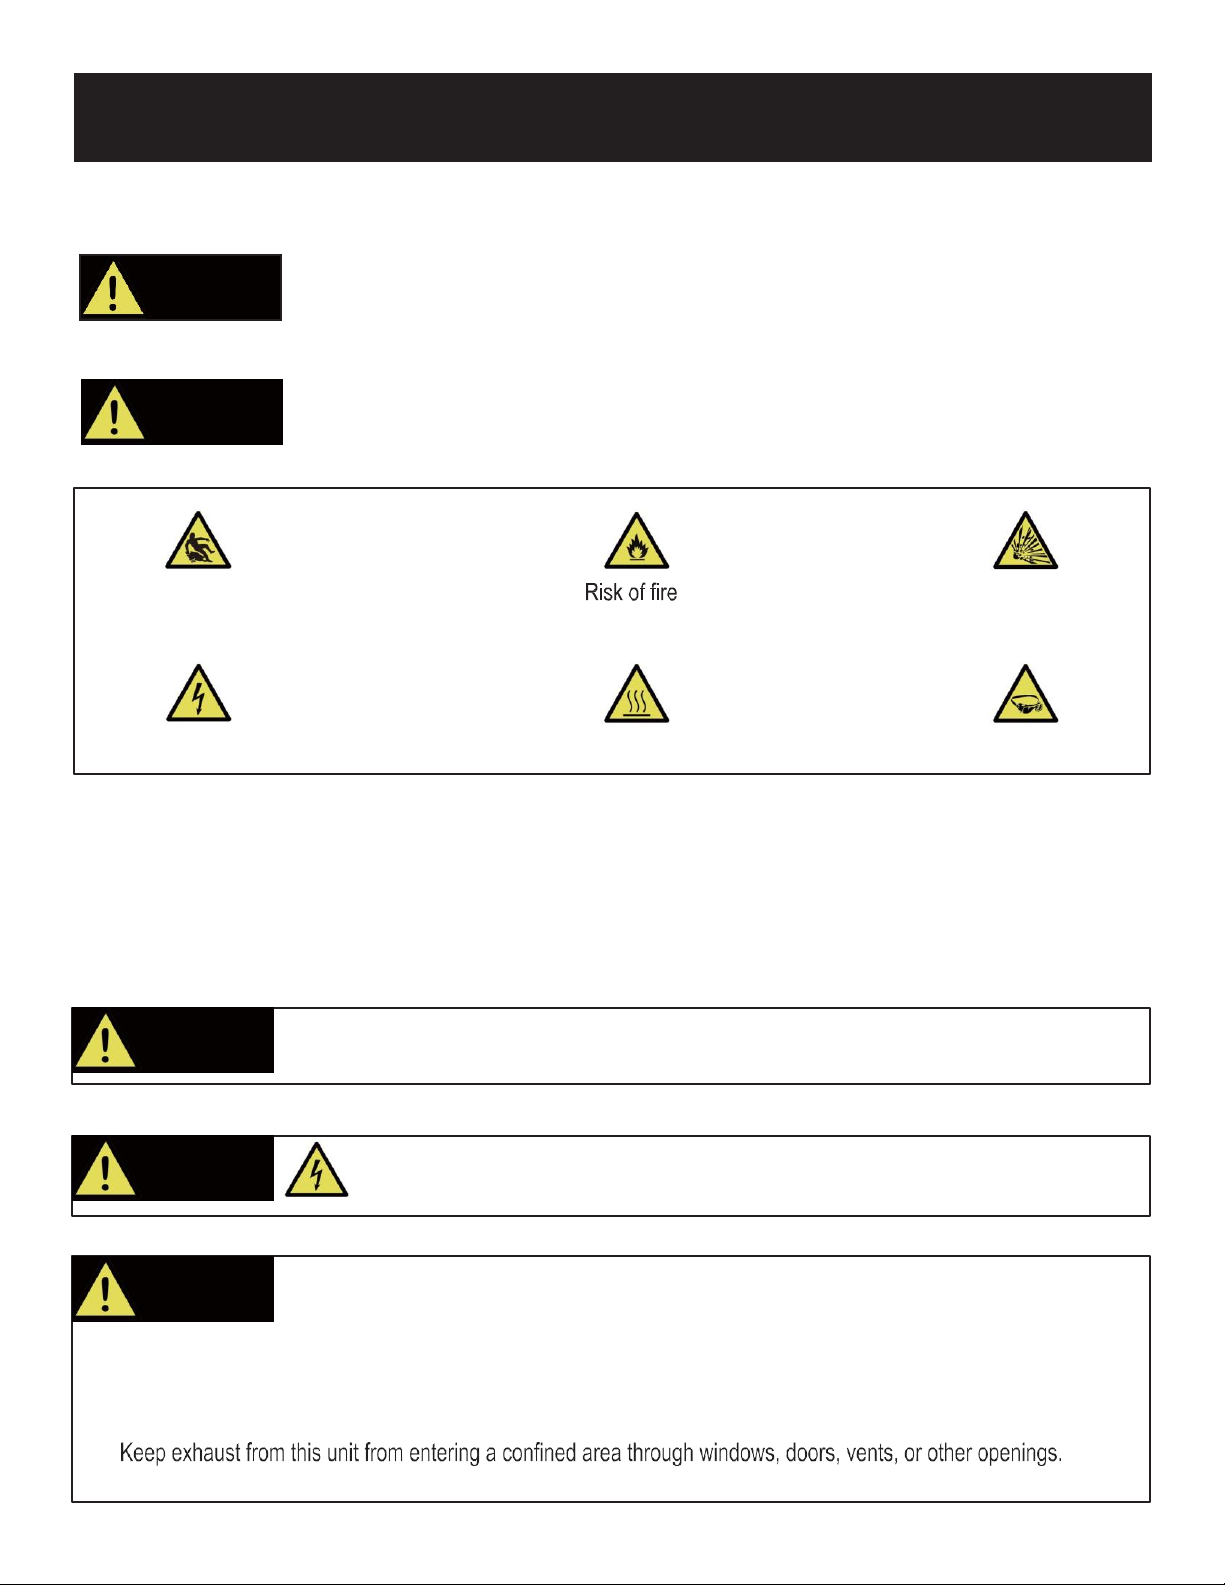
Indicates a potentially hazardous
situation which could result in
serious injury or death if not avoided.
Indicates a potentially hazardous
situation which could result in
damage to equipment orproperty.
Safety Instructions
The manufacturer cannot anticipate every possible hazardous circumstance that the user may encounter. Therefore, the
Warnings in this manual, on tags, and on affixed decals are not all-inclusive. To avoid accidents, the user must understand
and follow all manual instructions and use commonsense.
WARNING!
Do not operate indoors or in a confined space preventing dangerous carbon monoxide gas
from dissipating.
•
•
•
•
Carbon monoxide gas is a poisonous, odorless gas that can cause headache, confusion, fatigue, nausea, fainting,
sickness, seizures, or death. If you start to experience any of these symptoms, IMMEDIATELY get fresh air and seek
medical attention.
Never use indoors, in a covered area, or in a confined space, even if doors and windows are open.
When working in areas where vapors could be inhaled, use a respirator mask according to all of its instructions.
WARNING!
Never spray near a power source such as an electrical outlet. Making contact with
a power source could cause an electric shock or burn.
WARNING!
Read and understand this manual in its entirety before operating this pressure washer.
Improper use of this pressure washer could result in serious injury or death.
Slippery surface
Risk of explosion
Risk of electric shock
Hot surface
Eye protection
WARNING!
CAUTION!
5
SAFETY RULES
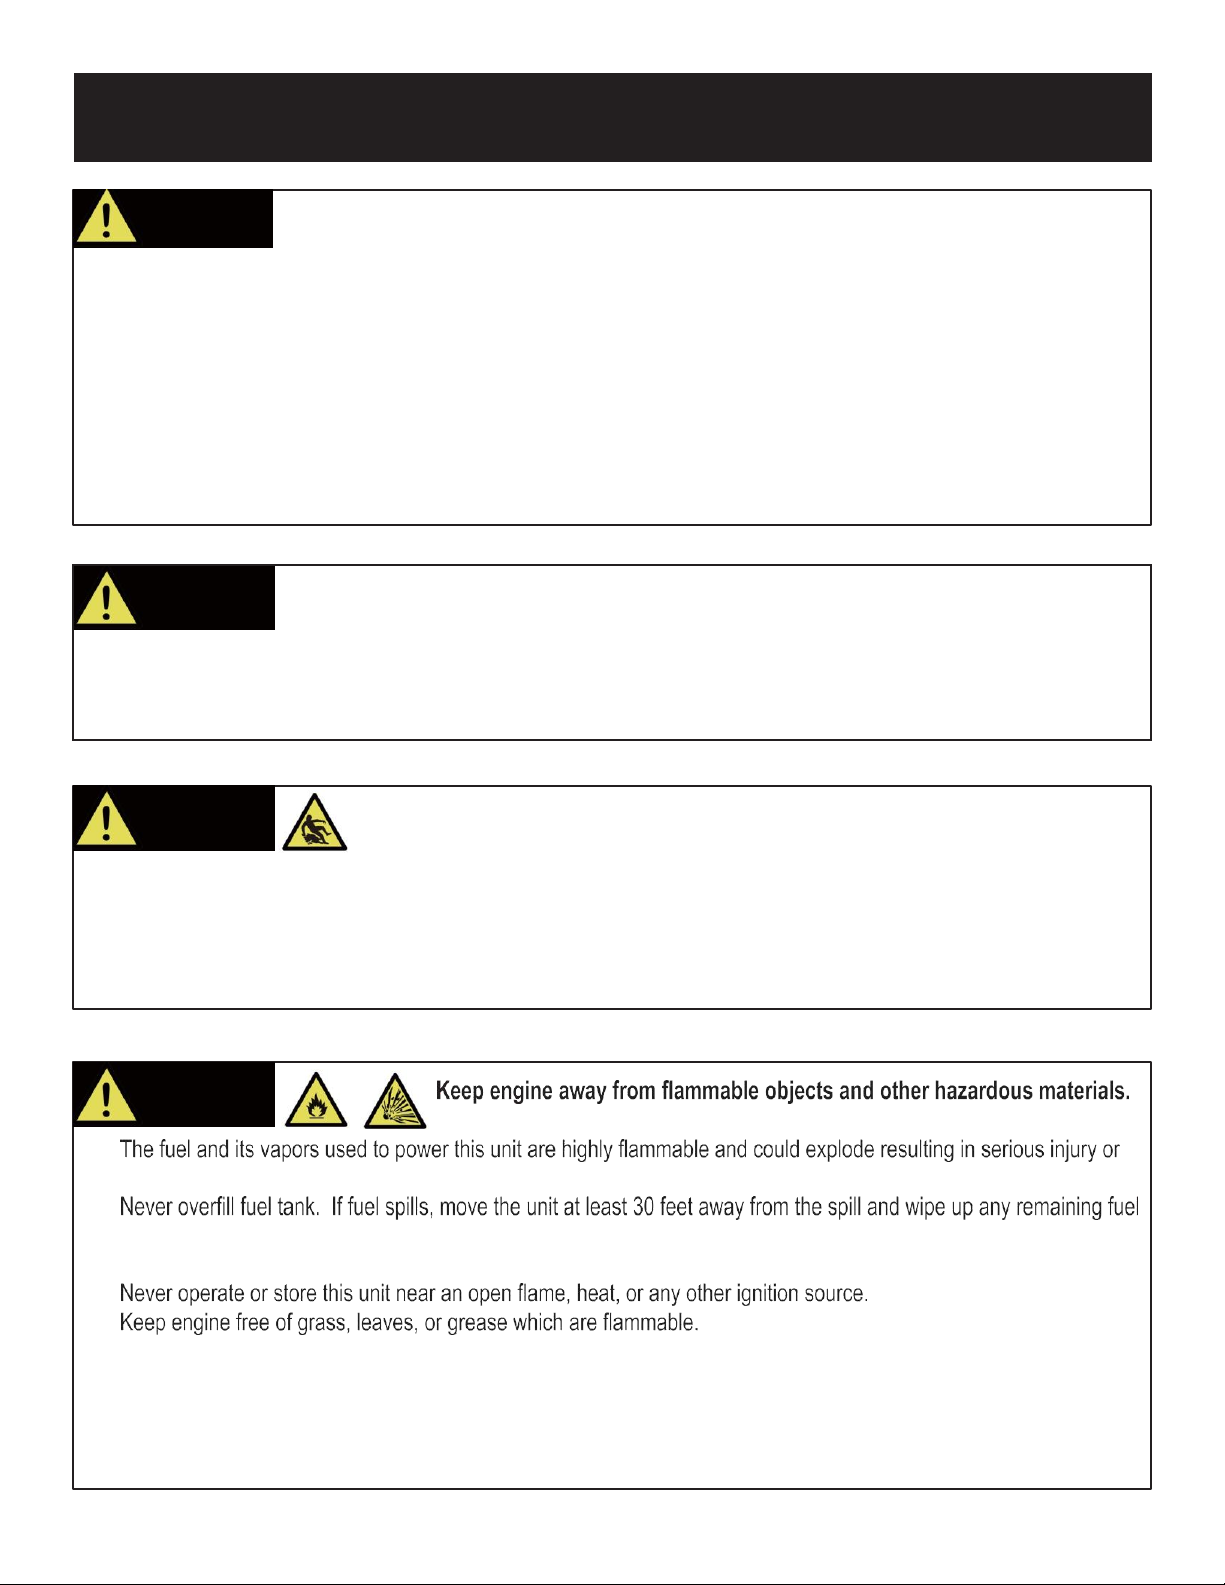
WARNING!
•
death.
•
on the unit before starting the engine.
•
Never smoke while operating or fueling this unit.
•
•
•
•
•
When adding or draining fuel, unit should be turned off for at least 2 minutes to cool before removing fuel cap. If unit
has been running the fuel cap is under pressure, remove slowly.
To keep fuel from spilling, secure unit so it cannot tip while operating or transporting.
When transporting unit, disconnect the spark plug wire and make sure the fuel tank is empty with the fuel shutoff valve
turned to the off position.
WARNING!
Pressure washer can create puddles and slippery surfaces.
•
Never wear sandals, always wear protectivefootwear.
•
Operate pressure washer from a level and stablesurface.
•
Do not operate from a ladder, scaffolding, or uneven surface as recoil from spray gun could cause you tofall.
•
Use both hands to control spray gun to control recoil.
•
Do not over-extend yourself in attempt to reach a little further.
WARNING! Moving parts can catch on clothing, jewellery, and hair.
•
Do not wear loose clothing or gloves.
•
Remove jewellery or anything else that could be caught in moving parts.
•
Tie back or wear protective head covering to contain long hair.
WARNING!
To reduce the risk of injection, injury or possible amputation, never direct water pressure
towards people or pets.
•
The high pressure stream of water produced can cut through skin and underlying tissue. Never squeeze the trigger or
point the spray gun at other people, animals, plants, or fragile objects such as glass, even if the engine is stopped.
•
This unit is not a toy. Keep unit away from children and pets.
•
Do not leave spray gun unattended while unit is running.
•
Make sure the spray gun, nozzle, and accessories are attached correctly.
•
Never attempt to repair high pressure hose, alwaysreplace.
•
Never attempt to repair leaks with sealant, always replace O-ring orseal.
•
Never attempt to connect or disconnect hose from pump or spray gun while system is pressurized.
•
Always release water pressure from unit every time you stop the engine.

6
SAFETY RULES
WARNING!
Only use detergents or soaps that are safe to be used with pressure washers. Chemicals
which are caustic, such as acids or bleach, can result in serious injury, property damage,
damage to pressure washer, or death.
WARNING!
Use indirect vented safety goggles designed for wet conditions to protect eyes from
injury.
•
Spray from this unit has extreme pressure and can ricochet back splashing water or propelling objects towards eyes.
•
Never substitute eye protection with dry conditiongoggles.
WARNING! Only use this unit as it is intended or serious injury or death could result.
•
Do not bypass any safety device. Moving parts are covered with guards. Make sure all protective covers are in place.
•
Inspect hoses and connections making sure they are secure before starting engine.
•
Use only recommended accessories to avoid damage to this unit.
•
Never transport or make adjustments to this unit while it is running.
WARNING!
Avoid contacting hot areas of this unit.
•
•
Allow hot components to cool before touching.
WARNING! Never operate this unit if there are any broken or missing parts and only use Pulsar
replacement parts specifically designed for this unit.
•
Improper treatment of pressure washer can damage the unit and shorten it’slife.
•
service center.
•
Never modify this unit in any way or modify governed speed.
WARNING!
Pull cord recoils rapidly and pulls arm towards engine faster than you can let go which
could result in injury.
•
Always relieve pressure from spray gun before pulling starter cord, including every failed attempt to start engine.
•
To avoid recoil, pull starter cord slowly until resistance is felt, then pullrapidly.
WARNING! Stay alert and use common sense. Do not operate this unit if you are under the influence of
alcohol, drugs, medication or you feel tired.
7
PRESSURE WASHER FEATURES
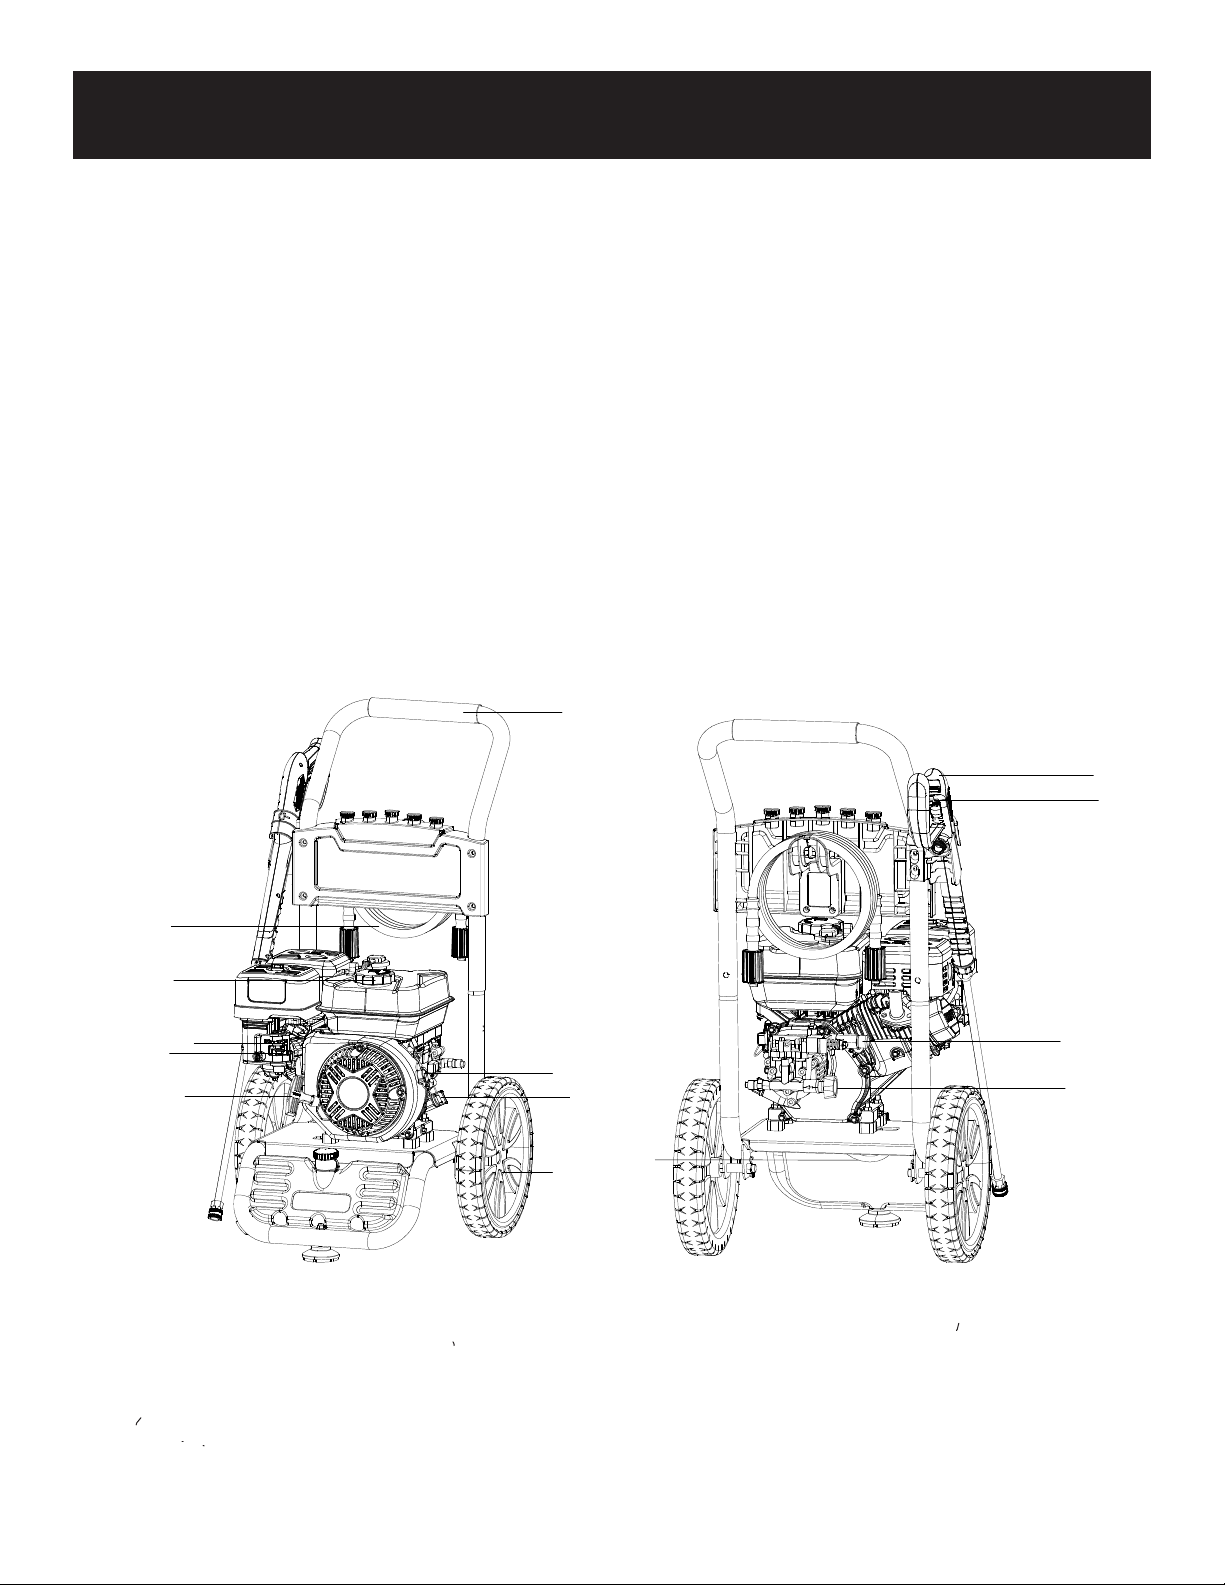
A - 25’ High Pressure Hose
B - Fuel Tank and cap
C - Choke
D - Fuel Valve Lever
E - Siphon Tube with Strainer
F - Handle
G – Pull Cord
J
A
B
C
D
E
GI
F
H
K
L
M
N
H - Engine On/Off Switch
I - Oil Fill and Dipstick
J - No Flat Foam Filled Tires
K - Spray Gun
L - Locking Trigger
M - High Pressure Hose Outlet
N - Water Inlet
8
PRESSURE WASHER PARTS ASSEMBLY
9
ASSEMBLY
Packing List
•
Pressure washer
•
Operator’s manual
•
Spray gun
•
Extension wand with quick-connect fitting
•
High pressure hose
•
Spray nozzles (5) - 0° , 15°, 25°, 40° and soap nozzle
•
Spray gun hook (upper)
•
Foot (1)
•
Nozzle cleaner
Unpacking
1. Remove the high pressure hose from box.
2. After the high pressure hose has been removed, carefully open product by cutting down the sides of the box.
3. Remove the product, parts, and all accessories. Make sure all items listed on the packing list are included and not
damaged.
WARNING!
Do not operate this pressure washer if any of the parts are damaged or missing until the
part is replaced. Using this product with damaged or missing parts can cause damage to
the machine or result in serious injury or death.
WARNING!
Do not attempt to assemble or operate this pressure washer until you have readand
understood this entire manual. If you have any problems assembling or operating this unit
10
ASSEMBLY
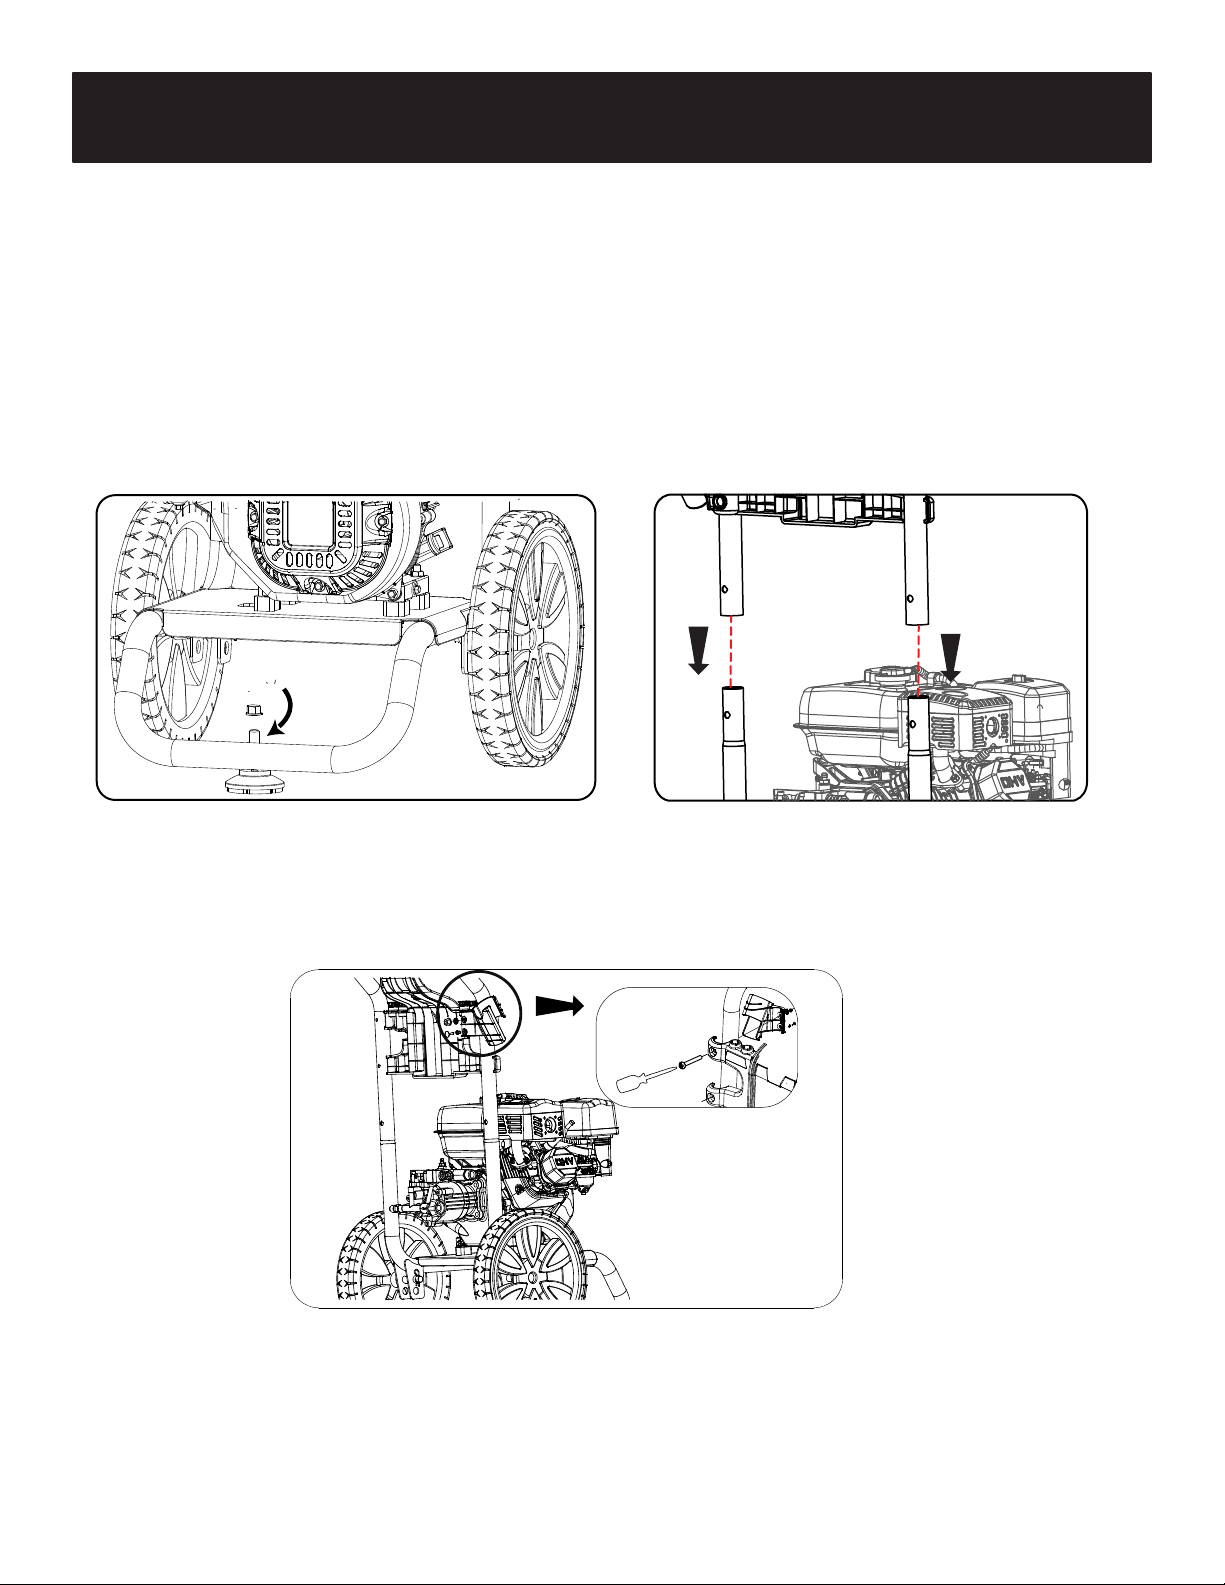
Attaching Foot Assembly (See fig 1)
•
Parts needed - 1 foot, 1 M8 lock nuts.
•
Raise or tilt pressure washer so you can line up foot with the hole located at the centre of theframe.
•
Align the rubber foot with the hole in the frame where the foot is to be located. Attach foot by inserting the bolt from the
bottom up and install the acorn nut. Wrench tighten until there is a slight crush on the frame tube. (Do not over tighten)
Install Handle (See fig 2)
•
Install upper frame (handle) onto the lower frame by sliding the handle over the two upright tubes on the lower frame
and pressing down firmly until the handle is seated and the two detent pins snap in place.
Attaching Upper and Lower Gun Hooks (See fig 3)
•
Align the gun stock with the armrest hole,then connect gun stock and panel with bolts,finally Install another gun
stock hole with an expansion screw.
FIG 3
FIG 2FIG 1
Inhaltsverzeichnis


