11. YOUR FIRST FLIGHT
If you are abeginner, we strongly recommend that you read the
whole of this section before actually flying. If you are an
experienced pilot, please read through the next three para-
graphs, which outline take-off technique for the Hoverfly.
For your first flights, choose aroom with as much unobstructed
space as possible. Do not attempt to fly outdoors. Place the
Hoverfly on the floor in the centre of the available flying area,
and facing away from you. Carry out the pre-flight checks
(Section 10) if you have not already done so. Position yourself
just behind the ECP and make yourself comfortable. After a
final check to ensure the command line will not snag on the
undercarriage or foul the tail, advance the collective about one
quarter. Wait while the rotor gets up speed, then continue to
advance the collective slowly, until you notice the Hoverfly
becoming light on its skids, and beginning to shake slightly. It
is now ready for take-off. Notice the collective setting, which
will probably be about halfway up. Note too the distinctive
sound of the motors at this point. Always remember to allow
time for the rotor to speed up when preparing for take-off.
THIS IS VITAL. The Hoverfly will blast off instantly if you
advance the collective far enough, but it will be unstable and
impossible to control until the rotor is up to speed.
If the Hoverfly topples over during the revving-up process, it is
asign that something is not quite adjusted perfectly for
take-off. Shut off the collective immediately, and look for the
problem. The ECP may be incorrectly trimmed; see Section 8,
Setting Control Trims for help with this. Also check that the
cyclic trim tabs on the transmitter are centred. Toppling will
also be caused if the Hoverfly is standing slightly crooked on
its skids. It is important to correct this, by adjusting the seating
of the undercarriage in the mainframe. Compressing the
undercarriage by pushing the helicopter against the floor will
often correct slight crookedness. Any tendency to topple will
prevent avertical take-off, probably causing anew pilot to
crash. DO NOT ATTEMPT TO TAKE OFF UNTIL THE
HOVERFLY IS REVVED UP TO SPEED ON THE
GROUND. The training undercarriage greatly reduces toppling
before take-off, and we strongly advise beginners to use it (see
Section 9for fitting instructions).
When revved-up and ready, advance the collective smartly to
achieve adecisive lift-off. With most transmitters, the Hoverfly
will leave the ground when the collective is just above the
central position. It will be tempting to linger at this point,
trying to hover an inch off the floor so as to prevent damage if
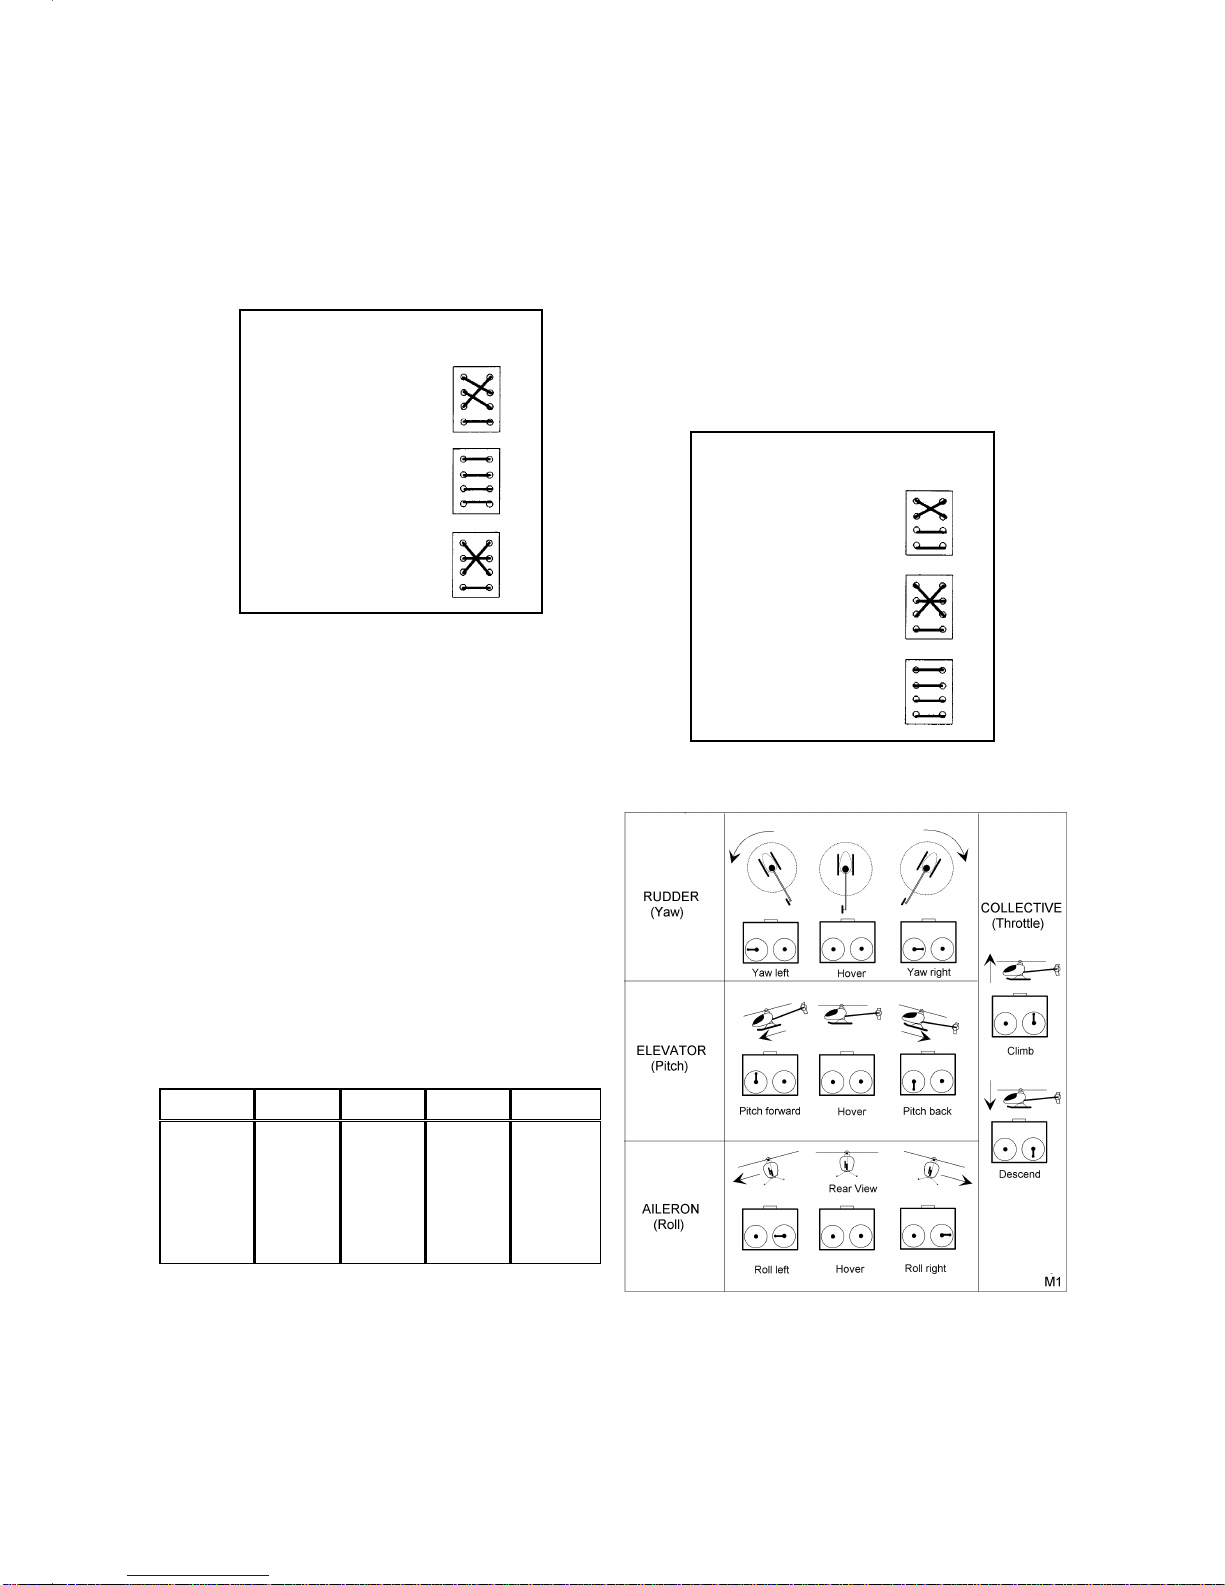
h) Hold the Hoverfly by the rotor hub, and advance the
collective alittle. Move the rudder stick, and check that the
aircraft steers in the correct direction. Incorrect steering
direction can be caused by incorrect belt fitting, or by
plugging in the tail motor electrical connector the wrong way
round. Arapid pirouette will result, because the gyro
response will reinforce rather than counteract tail move-
ments. It is important to find out about this before attempt-
ing to fly!
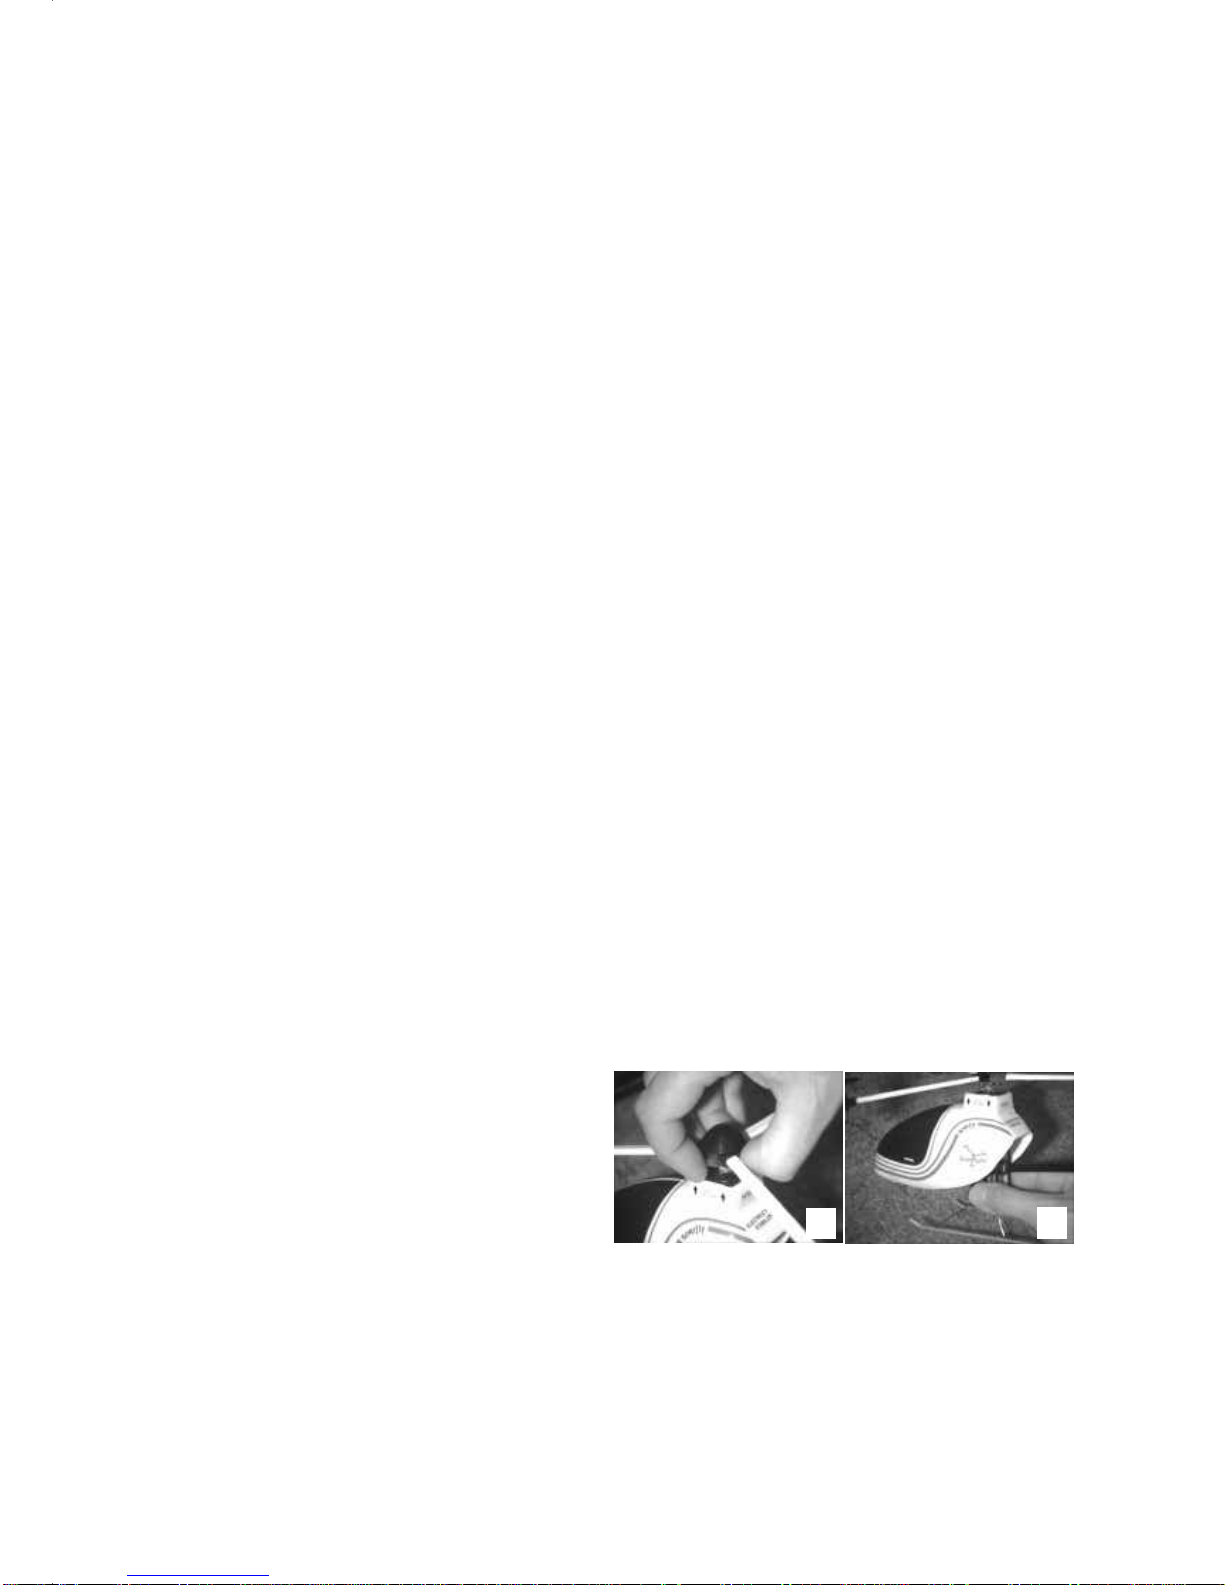
Tip: Beginners frequently crash. To facilitate frequent pre-
flight checks you may prefer to fly without the canopy fitted.
This is satisfactory if the tailboom is pushed 25mm forward in
its grommets to correct the balance of the Hoverfly. (Remove
the tailboom completely from the chassis before attempting to
move the grommets.)
you crash. Even experienced helicopter pilots do this! Unfortu-
nately, because the Hoverfly is so small, it is much harder to
control when this low, because of ground effect. It will tend to
skitter across the floor at high speed, until it bumps into
something. Be bolder, and give the collective aburst at take-off
to get the aircraft into the air quickly, to aheight of at least 12
inches. Control will then be alot easier. Provided that the
Hoverfly was up to speed without toppling over just prior to
take-off, it will leave the ground roughly vertically without the
use of any controls other than the collective. We strongly
recommend using this method to get into the air initially,
especially if you are anew pilot. Be ready to reduce the
collective almost immediately to prevent the Hoverfly hitting
the ceiling! Learning how to take off, reach asafe height and
then maintain it requires practice. Fortunately, the Hoverfly is
robust, and will withstand alot of bumping about.
Once in the air, it will immediately become apparent that the
Hoverfly will not stay there by itself. In addition to controlling
the height, you must learn how to use the rudder control to keep
it pointing in the direction you want, which will generally be
away from you. At the same time, you also have to learn to use
the all-important cyclic controls, which allow you to guide the
aircraft in the air or to keep it hovering in one place. Moving
the cyclic joystick will cause the Hoverfly to tilt in the direction
of stick movement, which in turn will cause it to accelerate in
that direction. To keep it hovering, you must learn to use this
joystick to compensate for the aircraft's random movements. It
is alittle like balancing abroom handle on your hand, though
somewhat harder to learn. The most common problem is one of
too much control, applied too late. This is followed by
over-compensation, and so on, which results in afurious
oscillation ending in acrash. It is important to learn to apply
small corrective control inputs in response to changes in aircraft
attitude.If you wait until the Hoverfly is actually moving before
applying correction, it will be too late.
If the Hoverfly is about to crash, it will often minimise damage
if you quickly shut off the collective and let the aircraft fall to
the floor. However, this reaction does tend to become in-
grained, and can be adifficult habit to break later on, causing
crashes in situations you would have been able to recover from.
When you do crash, check the Hoverfly over carefully (Section
10), then place it back in the middle of your flying area
before trying again.
The cyclic controls operate in relation to the aircraft itself. This
means that the aircraft will tilt towards its left when the cyclic
joystick is pushed to the left, etc. This gets very confusing when
the Hoverfly is facing you, or nose-in. This is why it is
important to learn to keep the aircraft pointing away from you
as early as possible. Pilots usually learn to fly in this orientation
first, before attempting nose-in flight.
Learning to fly will be much easier at the start if you can have
an experienced pilot help you. In particular, your helper will be
able to trim the Hoverfly accurately, so that the controls are all
truly at neutral when the joysticks are centred. The set-up
procedure trims the aircraft well enough to fly, but it is only
approximate. Awell-trimmed aircraft is easier to learn on.
Now practice, practice, and practice. Have fun, and Good Luck!
Note: Balance the rotor for smoother flight -see Section 14E.
Care of the command line -Section 14K, and tail maintenance
-Section 14F.
10