
ZEC Automation PY-800ACU Bedienungsanleitung

Sliding Gate Operator
User's Manual
soft start&slow stop
PY-500ACU/PY-800ACU
1
1. Products introduction
Please read the instructions carefully before proceeding.
MCU is supplied to control the gate operator.
Keypad / single button interface.
Photo beam safety beam interface.
User can select Auto-close function.
Manual key release design for emergency purposes.
2. Important safety information
Carefully read and follow all safety precautions and warning before
attempting to install and use this automatic gate operator.
Make sure the Power supply(AC220V or AC110V) of the gate
operator is suitable for the power supply in your area.
3. Main technical parameters
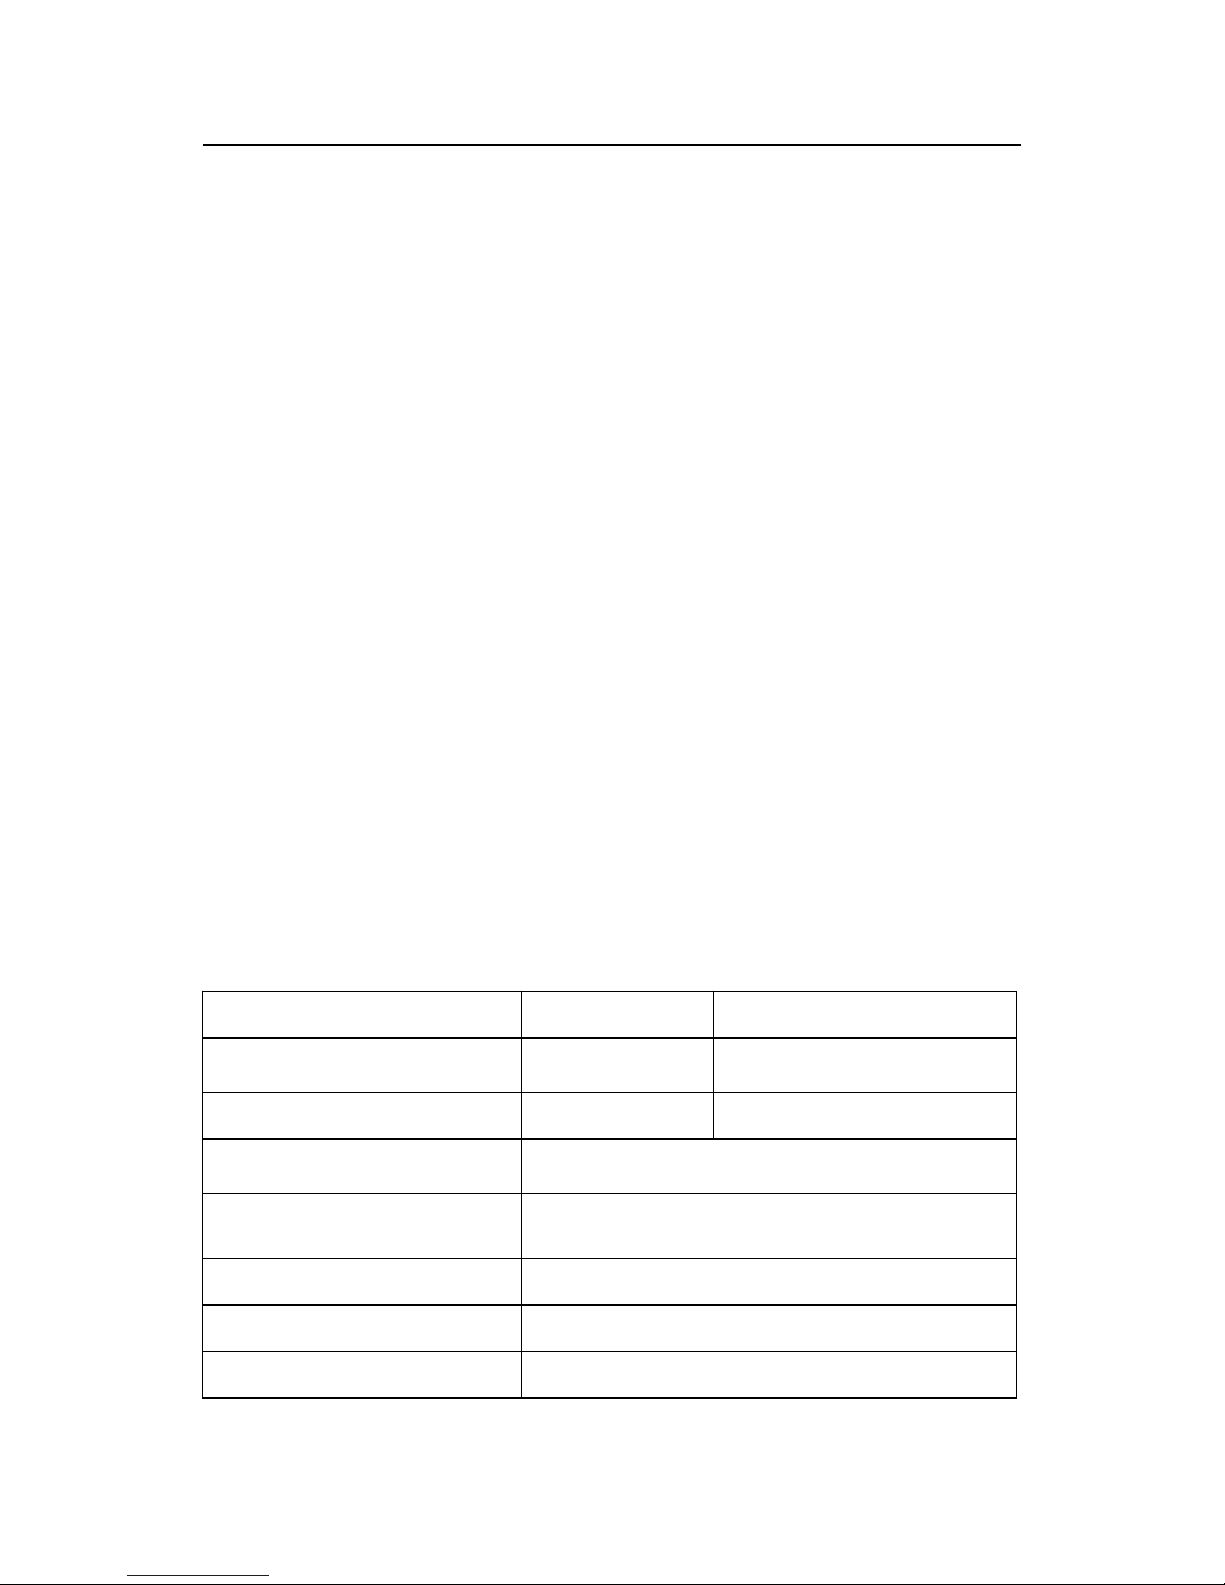
DKC500AC/DKC500ACU
Type
Power supply 220V, 50Hz 110V, 60Hz
Motor speed 55rpm 66rpm
Rated output power of motor 200W
Remote control operating
distance 30m (Frequency:433.92mHz)
Remote control mode Single button
Output shaft height 48mm
Max. gate weight 500Kg
PY-500ACU/PY-800ACU SLIDING GATE OPERATOR
PY-500ACU PY-500ACT

2
Output torque 14N·m
Limit switch Spring limit switch or Magnetic limit switch
Noise ≤56dB
Duty cycle S2, 15 minutes
extra remote control 20
Environmental temperature -20°C~+50°C
Gate Move speed 13m/min 15m/min
DKC800AC/DKC800ACU
Type
Power supply 220V, 50Hz 110V, 60Hz
Motor speed 55rpm 66rpm
Rated output power of motor 300W
Remote control operating
distance 30m (Frequency:433.92mHz)
Remote control mode Single button
Output shaft height 48mm
Max. gate weight 800Kg
Output torque 18N·m
Limit switch Spring limit switch or Magnetic limit switch
Noise ≤56dB
Duty cycle S2, 15 minutes
extra remote control 20
Environmental temperature -20°C~+50°C
Gate Move speed 13m/min 15m/min
PY-500ACU/PY-800ACU SLIDING GATE OPERATOR
PY-800ACU PY-800ACT

3
4. Mechanical Installation
The will handle gate weighting up to 500
kg/800kg and up to 8m/12m if the proper installation procedures
have been followed.
The gate operator operates by forcing a drive rack by a
drive gear. The entire configuration is shown in the diagram below.
The gate operator must be installed on the inside of the gate.
Fig.1
Gate preparation
Be sure the gate is properly installed and slides smoothly before
installing the sliding gate operator. The gate
must be plumb, level, and move freely.
Conduit
PY-500ACU/PY-800ACU SLIDING GATE OPERATOR
PY-500ACU/PY-800ACU
PY-500ACU
PY-500ACU/PY-800ACU

4
In order to protect the cable, use PVC conduit for low voltage power
cable and control wires. Conduit must be preset into the concrete
when it is poured. Wires within the conduit shall be located or
protected so that no damage can result from contact with any rough
or sharp part.
Concrete pad
The base unit of the gate operator requires a concrete pad in order to
maintain proper stability. The concrete pad should be approximately
450mm x 300mm x 200mm deep in order to provide for adequate
weight and structure to insure proper stable installation.
Spring limit switch
PY-500ACU/PY-800ACU SLIDING GATE OPERATOR

5
Magnetic limit switch
Fig.2
Anchors (see Fig.2)
You can use anchor bolts, anchors, washers and nuts. These
anchors must be set into the concrete when it is poured or you can
use wedge anchors to fasten the operator.
Operator base (see Fig.3)
After the concrete has hardened, mount the gate operator base to the
concrete pad. Verify that the base is properly leveled.
Using bolts and washers mount the gate operator to the base and
insert the cover. Check the operator and make sure it is lined up with
the gate.
PY-500ACU/PY-800ACU SLIDING GATE OPERATOR

6
Fig.3
Installation of Rack
Fix the three nuts (in the same package with rack) on the rack
element.
Lay the first piece of rack on the gear and weld the first nut on the
gate.
Move the gate manually, checking if the rack is resting on the
gear, and weld the second and third nut.
Bring another rack element near to the previous one. Move the
gate manually and weld the three nuts as the first rack, thus
proceeding until the gate is fully covered.
When the rack has been installed, to ensure it meshes correctly
with the gear.
The space between rack and gear is about 0.5mm.
PY-500ACU/PY-800ACU SLIDING GATE OPERATOR

7
Fig.4
5. Adjustment
Spring limit switch
To ensure safety, it is recommended to install limit switches at
both ends of the gate to prevent the gate from sliding out of the
rails. The rails must be installed horizontally.
Install the limit block as shown in Fig.5 and Fig.6. The spring limit
switch and blocks are used to control the position of the gate.
Release the gear with the key and push the sliding gate manually
to pre-determine the position, fix the block to the rack and lock
the gear by push up the release bar. Moving the gate electrically,
adjust the block to the proper position until the position of the
opening and closing meet the requirement.
Magnetic limit switch
To ensure safety, it is recommended to install limit switches at
both ends of the gate to prevent the gate from sliding out of the
rails. The rails must be installed horizontally.
Install the limit block as shown in Fig.5 and Fig.6. The magnetic
PY-500ACU/PY-800ACU SLIDING GATE OPERATOR

8
of limit switch and blocks are used to control the position of the
gate.
Release the gear with the key and push the sliding gate manually
to pre-determine the position, fix the block to the rack and lock
the gear by push up the release bar. Moving the gate electrically,
adjust the block to the proper position until the position of the
opening and closing meet the requirement.
Spring limit switch
PY-500ACU/PY-800ACU SLIDING GATE OPERATOR

9
Magnetic limit switch
Fig.5
Spring limit switch
Magnetic limit switch
Fig.6
PY-500ACU/PY-800ACU SLIDING GATE OPERATOR
Dieses Handbuch passt für folgende Modelle
1
Inhaltsverzeichnis


