2DI ThermaViewer Bedienungsanleitung

ThermaViewer
The BEST way to look at temperature
Installation and Use and Care Guide

22
Congratulations!
Your concerns about temperature are over! ThermaViewer is a high-quality temperature tracking
system that is designed to give you years of reliable service. It can be used to track room temperature
as well as temperatures in appliances such as refrigerators, freezers, salad bars, etc.
Please retain this booklet. It contains valuable installation and operational information.
Should you have any need for parts or service, you may phone or FAX us at one of the following
phone numbers:
For Parts and Accessories:
• Probes
• PC Interface Cables
• Batteries
Factory Service and Returns:
Please call J & S Instruments, Inc. for a return authorization (RA) prior to sending any
instrument for repair.
J & S Instruments, Inc.
3071 State Route 72 South
Springfield, OH 45505-5023
Phone 937-325-7499
Fax 937-323-9588

Table of Contents
3
Components and Packing List ..................................................................................... 4
Quick Start .................................................................................................................... 5
Installation ...................................................................................................................... 8
Power, Thermal, and Data Connections ....................................................................... 9
Battery Installation ......................................................................................................... 11
User Controls ................................................................................................................ 13
Features and Operation
Active Mode ............................................................................................................... 19
Sleep Mode ............................................................................................................... 23
Trace Mode ................................................................................................................ 23
Menu Mode
System Parameters ............................................................................................... 25
Probe One and Two Parameters/Setup ............................................................... 27
Downloading Temperature Data ................................................................................... 33
Warranty ........................................................................................................................ 35
3
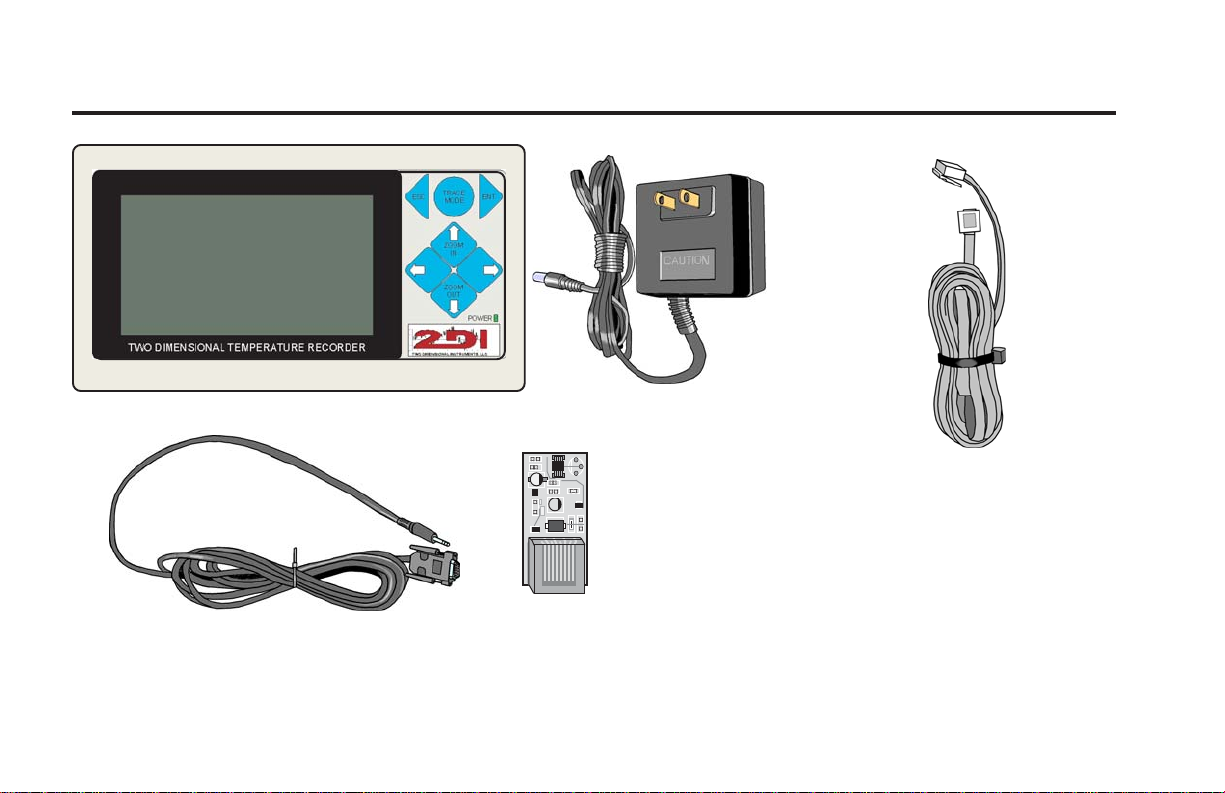
Components and Packing List
4
ThermaViewer
Power Cord
Plugs into any
120 VAC power
source.
PC Cable
Ten-foot cable for connection of PC to
ThermaViewer
Thermal Probe
A small PCB with a
digital temperature
probe permanently
affixed to it.
Probe Cable
Ten-foot cable for
connection of thermal
probe to ThermaViewer.
Longer cables are
available -- contact Two-
Dimensional Instruments
at (502)-243-0039

Quick Start
5
Your ThermaViewer can be installed and operating in minutes. Factory defaults are set to be used
with a refrigerator (21oF. min., 41oF. ref., 70oF. max.). If you are installing a ThermaViewer on an
appliance other that a refrigerator, additional set up will be required (see page 27).
Important: If your ThermaViewer came equipped with the nine-volt battery pre-installed, you may
skip step one.
Once you have unpacked all ThermaViewer components, follow the simple steps below:
1. Install the nine volt battery.
Slide the battery cover on the top of the ThermaViewer forward.
Retrieve the battery wiring harness and attach the connector to the battery.
Insert the battery into the unit and reinstall the battery cover.
2. Attach the probe.
Insert the probe cable into port one on the right side of the unit (see illustration on page nine).
Attach the thermal probe to the other end of the cable.
3. Position the probe.
Attach probe to appliance wall. For best results, the probe should be positioned away from the
door toward the back of the unit approximately one-third of the way down from the ceiling.
Tape or permanently affix probe cable to the inside wall of the appliance. In larger units, it may
be desirable to install a second probe near the door to monitor temperature spikes due to door
usage.
4. Connect power supply
Attach the power cord and insert the plug into a 120 volt power source.
6
> System Parameters
Probe 1 Parameters/Setup
Probe 2 Parameters/Setup
System Parameters
Time 0:00:00
Date 1/01/01
Auto-sleep after 10:00 (min:sec)
Reset to factory defaults no
Download Data yes
Password 1234 disabled
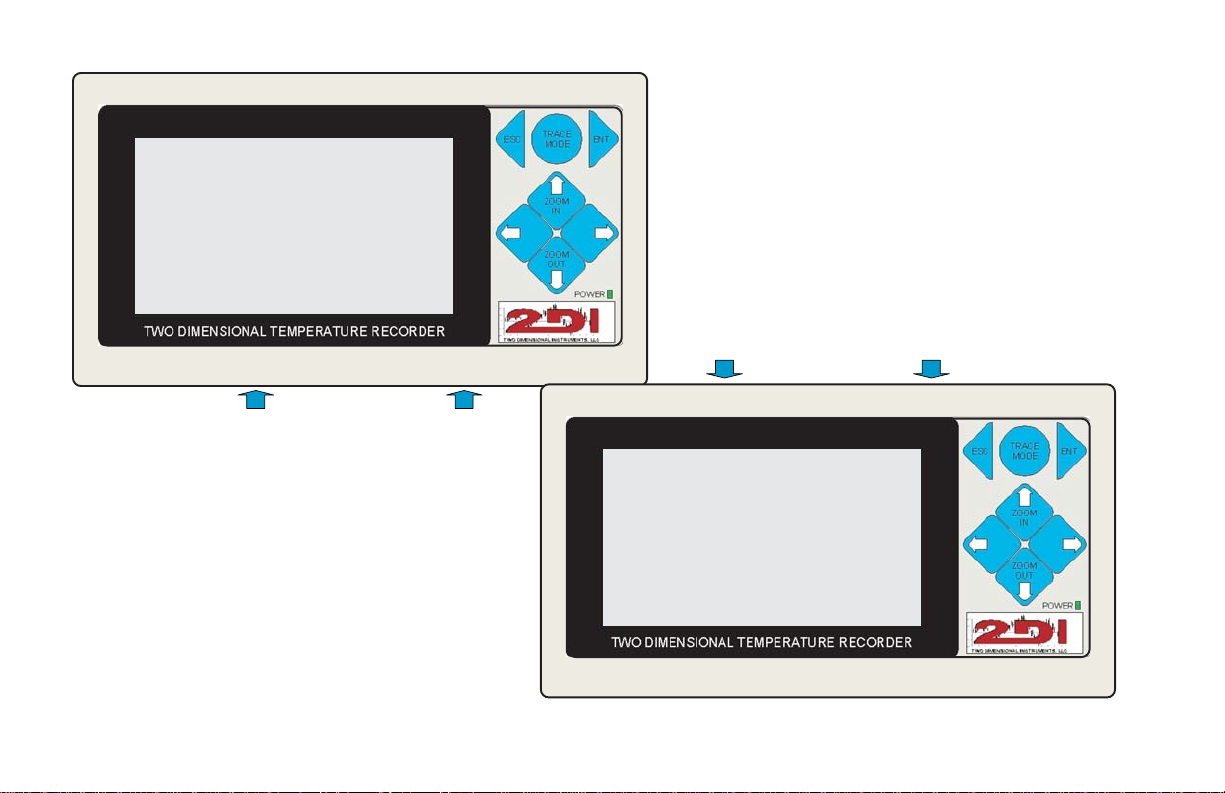
Illustration One
Illustration Two
Quick Start
7
5. Reset the display
Insert a straighten paper clip into the reset hole to reset the display (see illustration on page
nine).
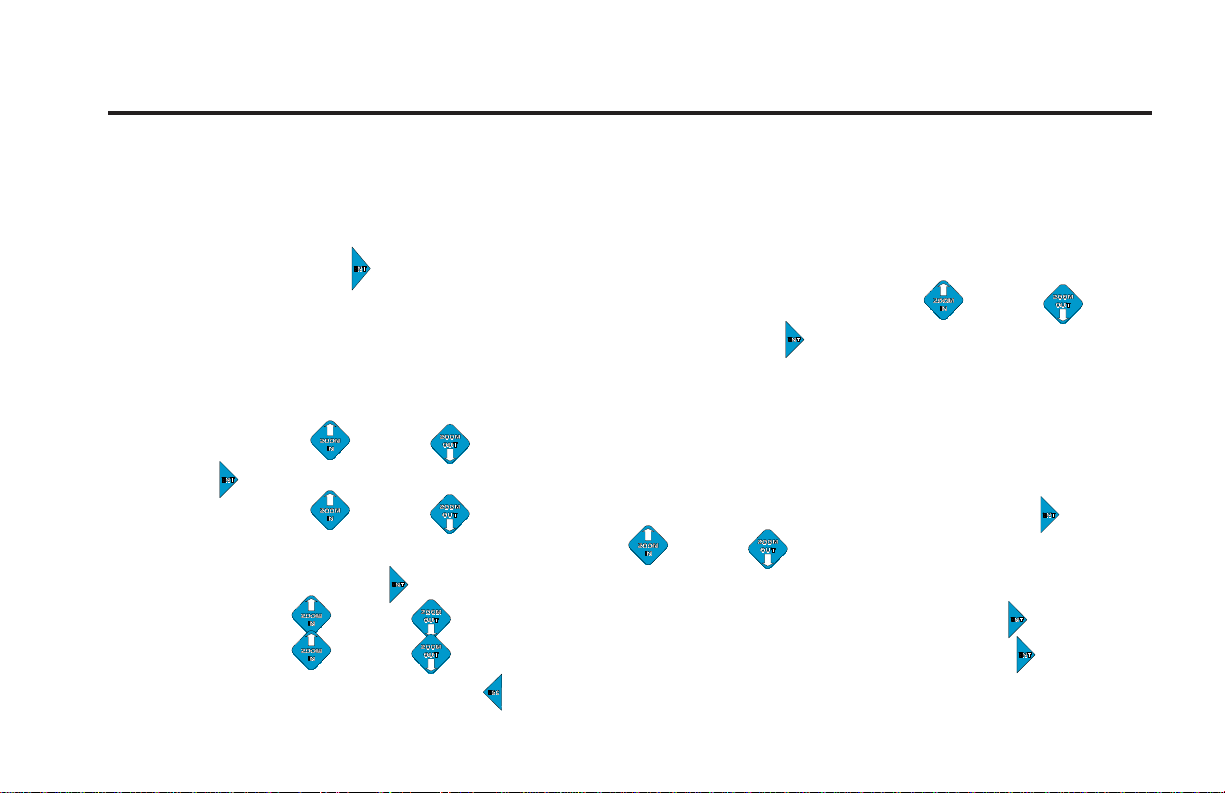
6. Set date and time.
Press Enter key
The menu pictured in Illustration One (at left) will appear. Using the Up Down arrow
keys, select System Parameters and press the Enter key
The menu pictured in Illustration Two (at left) will appear.
The cursor will be resting on the time of day.
Using the Up Down arrow keys, set the hour (24:00 time) and press the Enter
key
Using the Up Down arrow keys, set the minute and press the Enter key
The cursor is now on the date. Use the Up Down arrow keys to set the month and
press the Enter key
Use the Up Down arrow keys to set the day and press the Enter key
Use the Up Down arrow keys to set the year and press the Enter key
Continually press the Escape key until the temperature graph appears.
(continued)

Installation
8
Some advanced preparation, prior to installation, can assure you of many years of reliable and
accurate service. Here are a few installation tips:
1. Planning
To ensure adequate cable length, measure the distance from the desired ThermaViewer location
to the ideal temperature probe location. Be sure to consider the routing of cable around door
jambs and dressing the cable around obstacles. A 120 VAC power source is required at the
desired ThermaViewer location.
2. Temperature Probes and Cables
Probes and cables may be temporarily affixed to the appliance wall with tape or permanently
affixed. For best results, the probe should be positioned away from the door to minimize
temperature spikes. Ideal probe location is in the back of the unit approximately one-third of
the way down from the ceiling. Tape or permanently affix probe cable to the inside wall of the
appliance. In larger units, it may be desirable to install a second probe near the door to
monitor temperature spikes due to door usage.
3. PC interface Cable
The ten-foot cable with nine-pin (D9) connector on one end and a stereo plug on the other
facilitates easy downloading of data to a computer. The nine-pin D9 connector is compatible
with a computer serial port. The stereo plug connector is plugged into the ThermaViewer. If
the cable is too short to reach a computer, the ThermaViewer may be temporarily removed
from the wall and carried to the PC location. Prior to removing the unit from the wall, be sure
the nine-volt battery is in place to back up the power source. To prolong battery life and to
ensure an uninterrupted download, take the ThermaViewer power cord to the PC location with
you and plug it into a nearby 120 VAC power source.
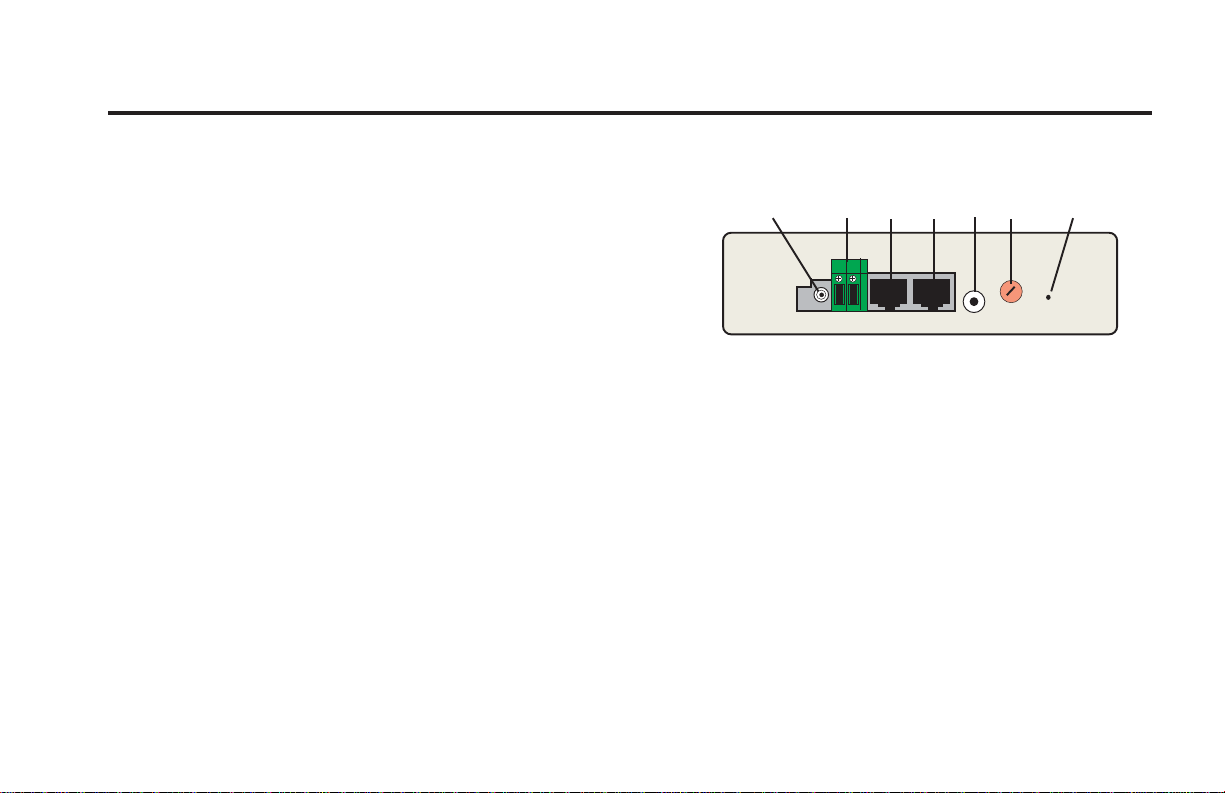
Power, Thermal, and Data Connections
9
1. PC Interface
PC cable output for downloading data.
2. Thermal Probe One
Jack for thermal probe cable number one.
3. Thermal Probe Two
Jack for thermal probe cable number two.
4. Power Receptacle
The power cord (wall transformer) plugs into this 12 VAC/500mA receptacle.
5. Reset Switch
The reset switch may be actuated by using a straightened-out paper clip.
6. Contrast Control
The contrast control for the LCD may be adjusted using a small flat bladed screwdriver.
7. Relay
The plug connects to a 15A/50V AC/DC passive relay. The relay closes and the speaker emits
an alert buzzer whenever the user-defined preset conditions are met. The set criteria can be
established for either probe in the probe menus.
➊
➋➌
➍➎➏➐
Side View

10
Battery Cover
Illustration One Illustration Two
Inhaltsverzeichnis
Andere 2DI Messgerät Handbücher


