Basalte BO.sensor Bedienungsanleitung

BO.sensor
Manual
1 / 39 v.1.7 © 2014 basalte
BO.sensor
Manual
basalte bvba
hundelgemsesteenweg 1a
9820 merelbeke
belgium

BO.sensor
Manual
2 / 39 v.1.7 © 2014 basalte
Table of Content
1.
General .................................................................................................................... 3
1.1
Introduction ....................................................................................................... 3
1.2
eo4 – getting started ........................................................................................ 4
1.3
Sources ............................................................................................................. 5
1.4
O.sensor ......................................................................................................... 7
1.5
eo commands .................................................................................................. 8
1.6
KNX control object .............................................................................................. 9
1.7
KNX transport and preset object .......................................................................... 10
2.
Configuration of parameters ...................................................................................... 11
2.1
General ............................................................................................................ 11
2.2
Controls ........................................................................................................... 12
2.3
Version ............................................................................................................ 27
3.
Appendix ................................................................................................................. 28
3.1
eo Commands ................................................................................................. 28
4.
List of KNX communication objects ............................................................................. 32

BO.sensor
Manual
3 / 39 v.1.7 © 2014 basalte
1. General
1.1 Introduct on
O.sensor integrates ang & Olufsen infrared remote controls with KNX systems and allows controlling
KNX lights, screens and scenes with the eo 4 and eo 6 remotes. The O.sensor also supports the
eoRemote One if configured to support eo4 products.
O.sensor supports all AV controls like TV, RADIO, DVD, allowing you to control the complete Asano
system.
Combined with the .link, the ang & Olufsen ( eo) remote can control any AV devices and powerful
macros can be started by a single button press.
The O.sensor sits behind the original eolink infrared sensor (not included), powering it directly
from the KNX-bus without any additional power supply needed. The O.sensor offers the following
KNX integration features from a eo4 and eo6 remote:
• Control of KNX lights, screens and scenes.
• Control of the Asano system using the eo audio controls.
• Combined with the .link, it becomes possible to control any audio and video devices using IR,
RS232 or IP.

BO.sensor
Manual
4 / 39 v.1.7 © 2014 basalte
1.2 Beo4 – gett ng started
The eo4 allows you to easily control different sources, typically grouped in audio, video or light
sources.
The display shows which source is currently active and displays
additional sources when pressing LIST button.
The eo4 source buttons are used to switch between most frequently
used sources like TV, RADIO, DVD, LIGHT,…
Additional sources can be selected using the LIST button. To select a
source press on the center button, to scroll in the selected list press the
LIST button.
uttons 1 to 9 are used to enter numbers for example to select TV or
radio channels, control individual lights, …
In Light mode, button 0 is used to switch off all lights.
The LIST button will bring up extra functions on the display and can be
used to select additional sources.
oth the arrow buttons and colored button can be used to control the
audio or video sources, using short and long press. Also the central
GO/SELECT button can be for controlling devices (left, right, up, down,
select).
In Light mode, the colored and GO/SELECT buttons control scenes the
arrow buttons control screens.
The volume buttons turns the volume up or down. To mute, press the up
and down buttons simultaneously.
The standby button (●) has a short and long press function. Short press
will switch the currently operated source to standby, long press will
switch all sources to standby.

BO.sensor
Manual
5 / 39 v.1.7 © 2014 basalte
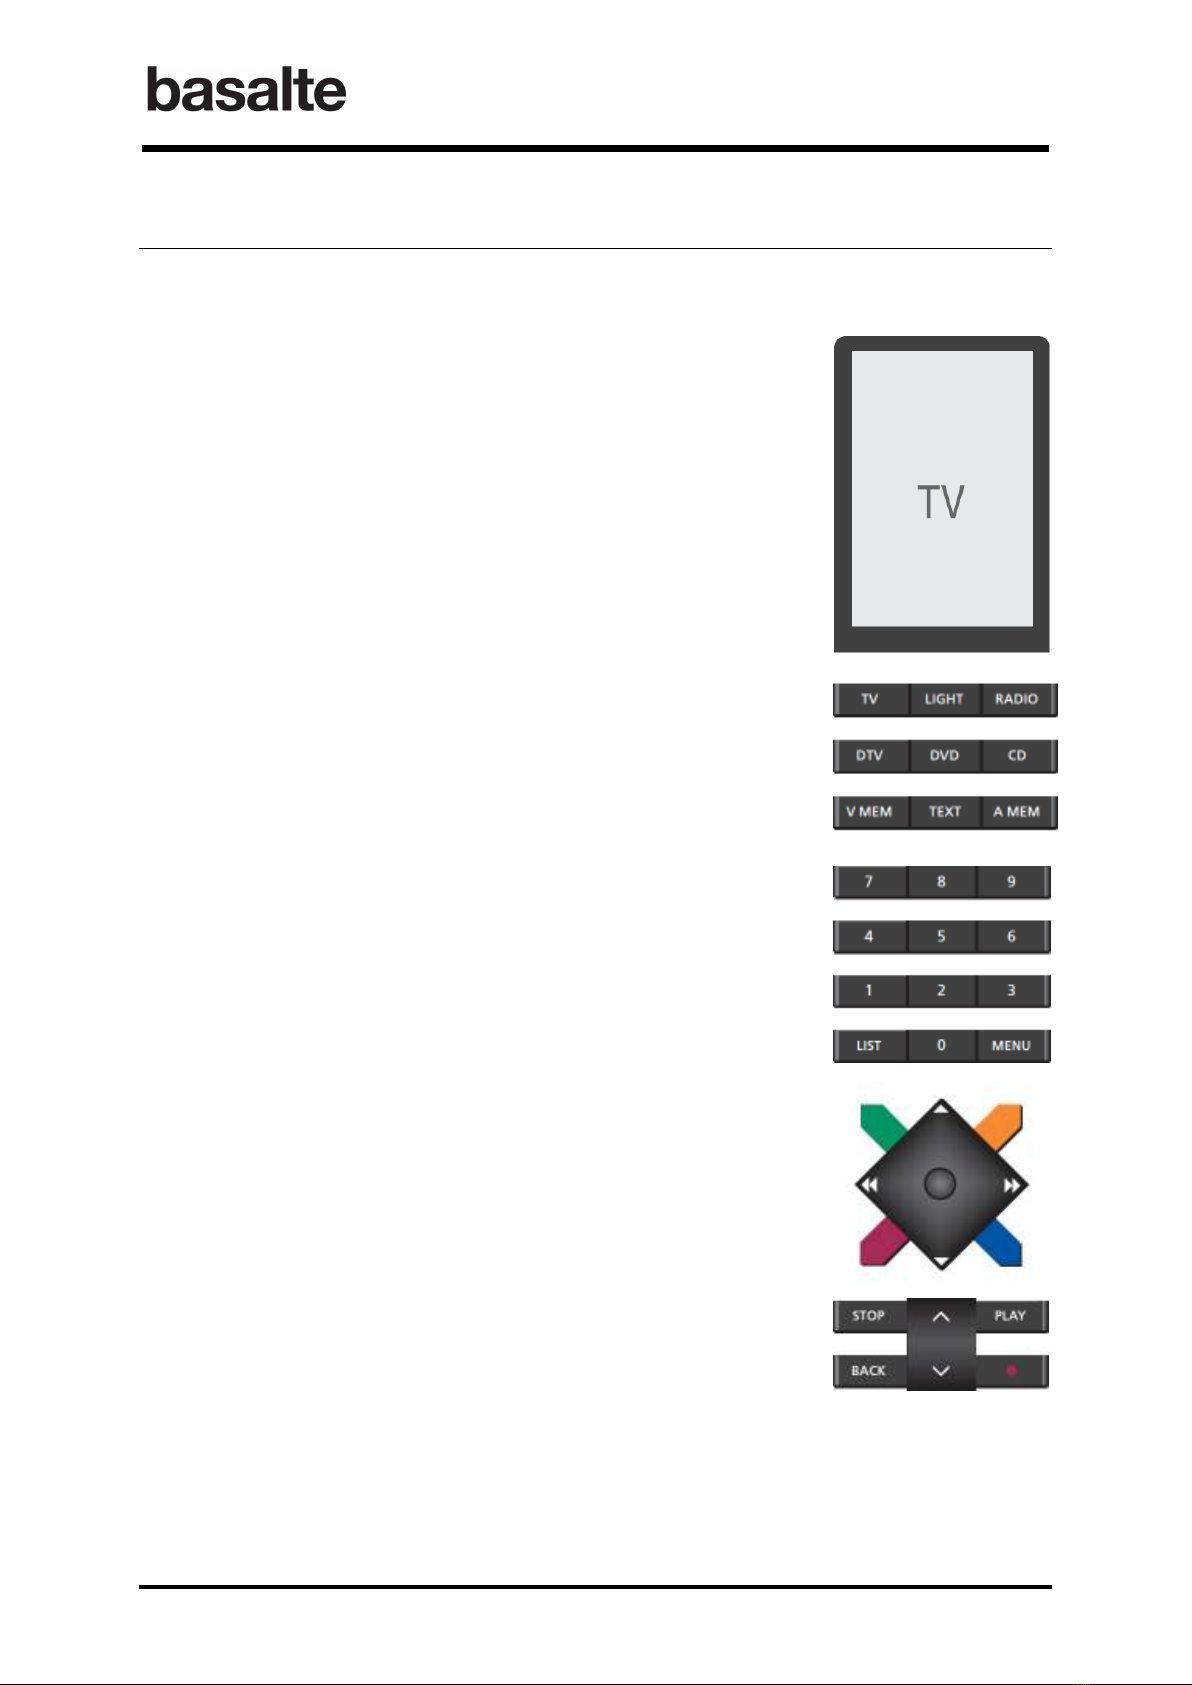
1.3 Sources
All sources are divided in 3 major source groups: VIDEO, AUDIO and LIGHT. Each source belongs
to one of these groups:
• VIDEO: TV, DTV, DTV2, DVD, V.MEM, CAMERA, PC
• AUDIO: RADIO, CD, A.MEM, SERVER, SERVER, DOCK
• LIGHTS: Lights, scenes, screens
In ETS, each group can be disabled or enable.
V deo Sources
1.3.1
Each individual video source must be enabled in ETS with a unique v deo source number
assigned. When pressing a v deo source button, e.g. TV, the corresponding source number will
be send on the v deo source object 6.
Each video source has a 1-byte control object (object 8-14) for transmitting a value
corresponding to the eo button pressed, e.g. 1 when pressing button “1”. Combined with a
.link, this control object can be used to fully controlling the video device.
The Video group have each following KNX objects:
• Source select on: a 4-byte object (object 6) to select the source (TV, DTV,…);
• Volume control: a 4-bit dimming object (object 30) or two 1-bit objects (objects 32 & 33)
are available to control the volume;
• Standby: 1-bit object controlled by a short press (object 40) or a long press (object 42) of
the standby button;
• Mute: 1-bit mute object and feedback object. (objects 36 & 37).
Aud o Sources
1.3.2
Each individual audio source must be enabled in ETS with a unique aud o source number. When
pressing an audio source button, e.g. RADIO, the corresponding source number will be send on the
aud o source object 7.
Similar to video sources, each audio source has a 1-byte control object (objects 15-18) for
transmitting a value corresponding to the eo button pressed. Combined with a .link, this control
object could be used to fully control the audio device.
Audio sources have additionally 1-byte preset and transport objects (objects 20-29) for
integration with the Asano system.
Presets are used to determine which audio content will be played from the Asano music server.
A preset can be a predefined playlist, an internet radio station or a music genre. The O.sensor
supports up to 18 presets (number 0-9; colored buttons short & long press) to be linked with the
presets defined in a MMS-link.
Using the transport object, following commands can be send to the Asano music server:
• Next : right arrow navigation button
• Previous : left arrow navigation button
• Play : PLAY button
• Stop : STOP button

BO.sensor
Manual
6 / 39 v.1.7 © 2014 basalte
The Audio group have each following KNX objects
• Source select on: a 4-byte object (object 7) to select the source (Radio, CD, server,…).;
• Volume control: a 4-bit dimming object (object 31) or two 1-bit objects (objects 34 & 35)
are available to control the volume;
• Standby: 1-bit object controlled by a short press (object 41) or a long press (object 42) of
the standby button;
• Mute: 1-bit mute object and feedback object. (objects 38 & 39).
L ght Sources
1.3.3
When enabling the Light sources, the eo remote control can be used to control lights, scenes and
screens using following KNX objects:
• Ten 1-bit l ght 0 - l ght 9 switch objects (objects 44 – 53) corresponding the number
buttons 0-9;
Remark: button 0 w ll sw tch off all l ghts.
• One 1-byte l ght value object (54) sending out the actual value (0-9) of the button
pressed;
• One 1-byte l ght scene objet (55) controlling scenes. Scenes can be triggered by the
colored buttons and GO/SELECT button. Long press on the colored buttons can be used for
activating a scene or for saving a scene;
• Two 1-bit motor control objects (57,58) for controlling screens using the UP and DOWN
navigation arrows;
• Two 1-bit motor control objects (59,60) for controlling screens using the LEFT and RIGHT
navigation arrows.

BO.sensor
Manual
7 / 39 v.1.7 © 2014 basalte
1.4 BO.sensor
The O.sensor is compatible with the following ang & Olufsen infrared sensors:
• Ref. n° 8089110 IR kit
• Ref. n° 8087030 IR eye (without auto contrast)
The O.sensor sits behind the original eolink infrared sensor, powering it directly from the KNX-
bus (A) without any additional power supply needed (IR sensor is not included). The connector pins
( ) of the O.sensor are screwed in the eolink connector (D) on the infrared sensor.
The O.sensor includes an IR output (C) that connects to ang & Olufsen device with an IR input
socket. This output allows you to send IR commands, either send by the remote or from KNX by
using a 14 byte command object (object 182: O command in).
The O.sensor can be placed in programming mode by pressing the programming button or by
pressing the PLAY and TIMER button simultaneously for 5 seconds, the feedback LEDs on the PLAY
and TIMER button will then commence blinking in turn.
The eo remote control itself doesn’t need to be programmed, all parameters can be configured in the
O.sensor using ETS.
A KNX connector
B Connector pins
C Beolink output
D Beolink connector
A
B
C
D

BO.sensor
Manual
8 / 39 v.1.7 © 2014 basalte
1.5 Beo commands
The eo remote control generates IR commands that are received by the O.sensor. The
O.sensor will translate each eo command into a KNX command.
Using the O.sensor eolink output, you can control &O devices
1
from KNX using a 14-byte
object. For instance this allows you to trigger native eo commands from the .link, making it
possible to create powerful macros.
Each eo command has 2 sections: a SOURCE ADDRESS and a COMMAND.
Beo Source Address
The eo source address defines the source group and therefore the corresponding KNX source
group object which will be used.
Beo source address Beo source Value Corresponding KNX Source object
VIDEO_ADDRESS 000 Video source
LIGHT_ADDRESS 027 Light source
AUDIO_ADDRESS 001 Audio source
VMEM_ADDRESS 00 Video source
ALL_ADDRESS 01
CONTROL_ADDRESS
2
160
Beo command
The command will be determined by the button pressed on the remote. See command list in
appendix A.
For instance, pressing the TV button will trigger eo command 000/128, with 000 being the video
source address and 128 the value corresponding with the TV button.
Pressing the Light button will trigger the value 027/155, with 027 being the light group and 155
corresponding to the light button. Pressing button 1 on the remote corresponds now to eo
command 027/001, since the Light source group is still active.
Debugging Beo commands
Debugging objects are available to analyze eo commands from the remote control. This allows
you to capture the commands in eo native syntax and use them to control &O from KNX.
Following two methods can be used for debugging:
• Command object in ASCII: Any button that has been selected on the IR remote will send
the native eo command in ASCII format using a 14 byte object.
(object 0: command-data in ASCII).
• Individual commands object for each eo source address: enabling this option will provide
you 5 KNX objects, each corresponding to one eo source. When a button is pressed the
eo command value will appear in the matching group addressee. The available group
objects are:
1. video command
2. light command
3. audio command
4. VMEM command
1
Only applicable for &O devices having IR input.
2
Only available on eo 4 with NAVI joystick and eo 5 & eo 6

BO.sensor
Manual
9 / 39 v.1.7 © 2014 basalte
5. all command
For example:
When you’ve selected TV on your remote you will receive the value 128 in the
group object 1 video command
When you’ve selected LIGHT on your remote you will receive the value 155 in the
group object 2 light command
NOTE: The Beo commands as descr bed n Append x A should be cons dered as nat ve
Beo commands. These values are not correspond ng to the values used by the KNX
control objects.
1.6 KNX control object
When enabling audio or video function, 1-byte control objects are used for transmitting KNX
commands. These objects are TV control, DVD control, RADIO control, CD control,… depending on
the sources enabled in ETS. Combined with a asalte .link, other A/V devices can be controlled by
the eo 4 or eo 6 remote control.
When you press a button on your remote, a value from the table below will be send to the
corresponding control object.
KNX CONTROL OBJECT
Beo Remote KNX Value Beo Remote KNX Value
utton 1 1 PLAY_LONG 21
utton 2 2 NEXT 22
utton 3 3 PREVIOUS 23
utton 4 4 NEXT_LONG 24
utton 5 5 PREVIOUS_LONG 25
utton 6 6 STEP_UP 26
utton 7 7 STEP_DOWN 27
utton 8 8 STEP_UP_LONG 28
utton 9 9 STEP_DOWN_LONG 29
utton 0 10 MENU 30
GREEN 11 NAVI_UP 31
YELLOW 12 NAVI_DOWN 32
RED 13 NAVI_LEFT 33
LUE 14 NAVI_RIGHT 34
GREEN_LONG 15 GO/SELECT 35
YELLOW_LONG 16 ACK/EXIT 36
RED_LONG 17 RECORD 37
LUE_LONG 18 TEXT 38
PLAY 19 GUIDE
(1)
39
STOP 20 INFO
(1)
40
(1) : Only applicable for BeoRe ote One

BO.sensor
Manual
10 / 39 v.1.7 © 2014 basalte
1.7 KNX transport and preset object
AUDIO functions have control objects as described above, but additionally also PRESET and
TRANSPORT objects. Combined with the Asano music system, these objects can be used to select
and control.
The PRESET object can be used to select a preset from the MMS.link. A preset can be a predefined
playlist, an Internet radio station or a music genre. The O.sensor supports up to 18 presets
(number 0-9; colored buttons short & long press) to be linked with the presets defined in a MMS-
link.
The Transport function is used on the MMS.link to scroll through a playlist, to play and to stop.
PRESET OBJECTS
Beo Remote KNX Value
utton 1 1
utton 2 2
utton 3 3
utton 4 4
utton 5 5
utton 6 6
utton 7 7
utton 8 8
utton 9 9
utton 0 10
GREEN 11
YELLOW 12
RED 13
LUE 14
GREEN_LONG 15
YELLOW_LONG 16
RED_LONG 17
LUE_LONG 18
TRANSPORT OBJECTS
Beo Remote KNX Value
PLAY 1
STOP 2
PLAY_LONG 3
NEXT 5
PREVIOUS 6
Inhaltsverzeichnis
Andere Basalte Zubehör Handbücher


