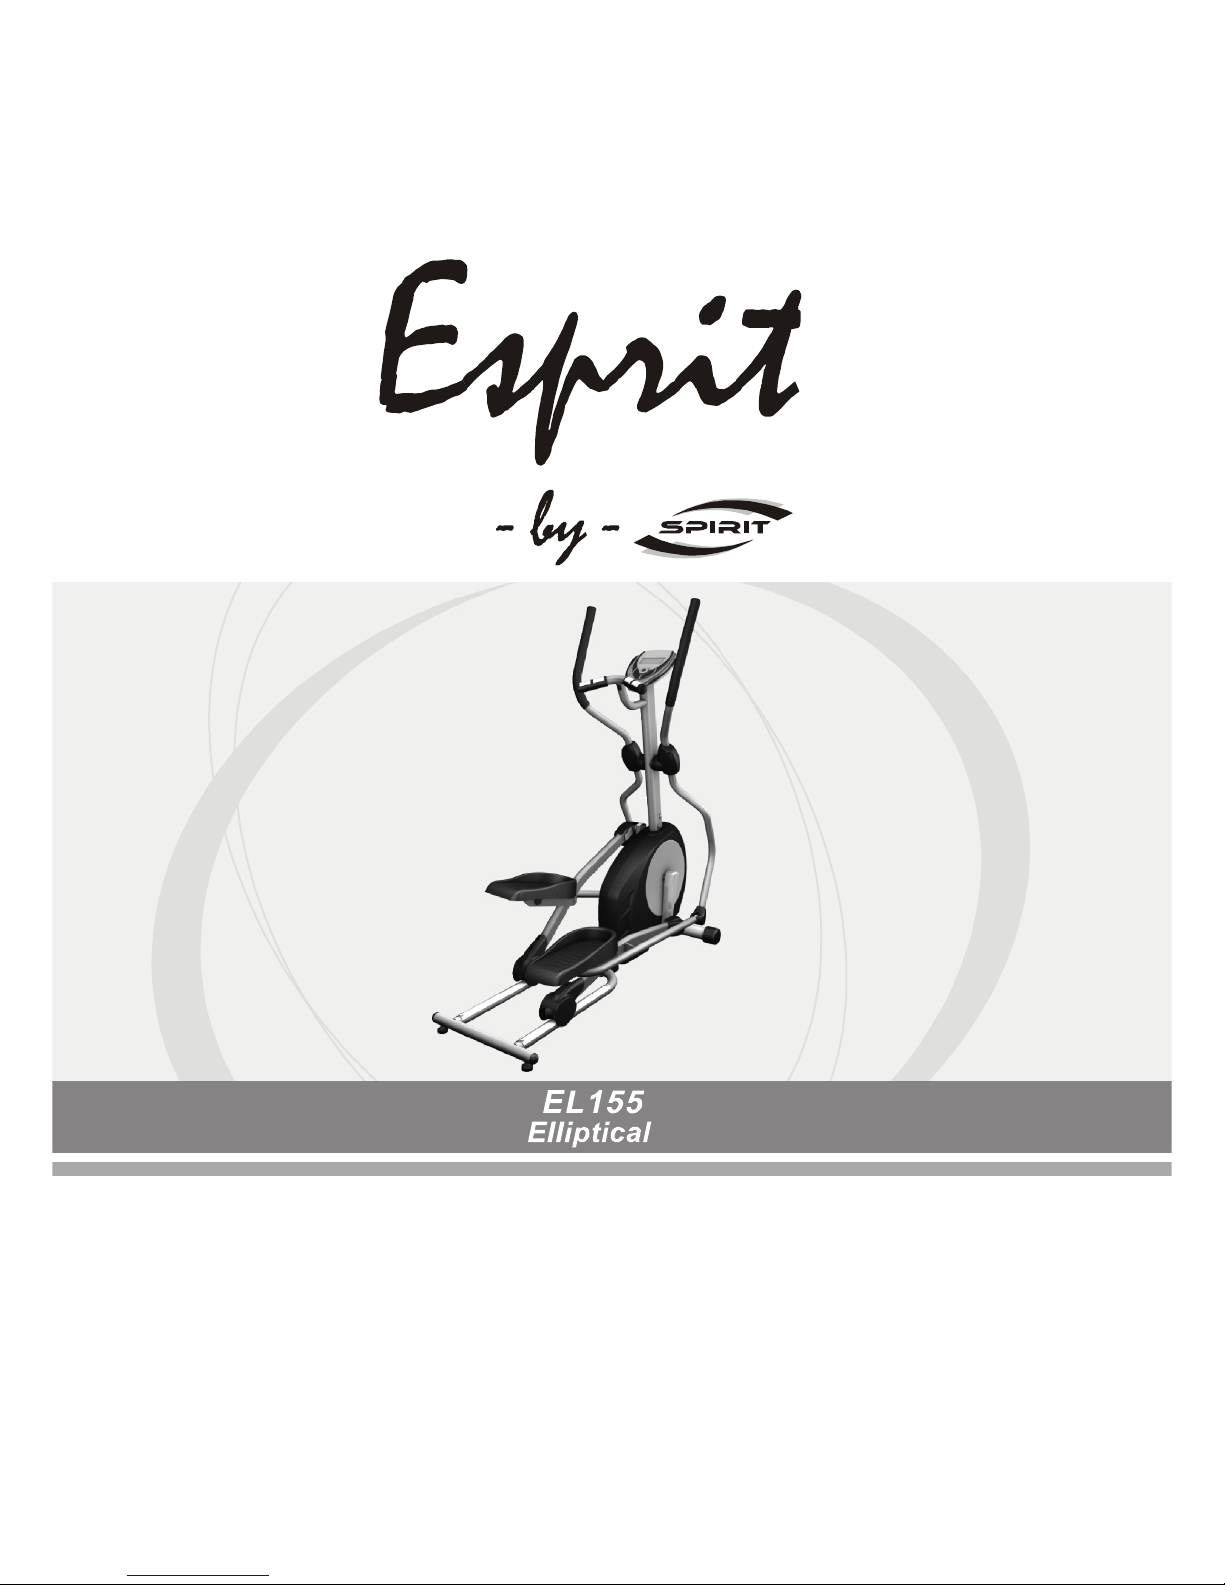
ESPRIT EL155 Bedienungsanleitung

ESP0027
PLEASE CAREFULLY READ THIS ENTIRE MANUAL BEFORE
OPERATING YOUR NEW ELLIPTICAL!
Z100 / Z300 Z500 Z700
OWNER’S MANUAL

EL155 Elliptical
1
Product Registration…………………………………………………………………………..2
Important Safety Instructions………………………………………………………………… 3
Important Electrical Information……………………………………………………………… 4
Important Operation Instructions…………………………………………………………….. 4
Assembly Instructions…………………………………………………………………………. 5
Features……………………………………………………………………………………….. 12
Operation of Your New Elliptical…………………………………………………………….. 13
Maintenance……………………...…………………………………………………………… 18
Parts List and Explode Drawing.…………………………………………………………… 19
Manufacturer’s Limited Warranty……………………………………………………………. 23
Table of Contents

EL155 Elliptical
2
Thank you for your purchase of this quality elliptical trainer. Your new elliptical was
manufactured by one of the leading fitness manufacturers in the world and is backed by
one of the most comprehensive warranties available.
Please take a moment at this time to record the name of the dealer and the date of
purchase below to make any future, needed contact easy. We appreciate your support
and we will always remember that you are the reason that we are in business.
Yours in Health,
BOYLES FITNESS Equipment Pty Ltd.
Name of Dealer______________________________________
Purchase Date_______________________________________
EL155/ESP0027_Ver.B
CONGRATULATIONS ON YOUR
NEW ELLIPTICAL AND WELCOME
TO THE SPIRIT FAMILY!

EL155 Elliptical
3
WARNING - Read all instructions before using this appliance.
■
Do not operate elliptical on deeply padded, plush or shag carpet. Damage to both carpet and
elliptical may result.
■
Keep children away from the elliptical. There are obvious pinch points and other caution
areas that can cause harm.
■
Keep hands away from all moving parts.
■
Never operate the elliptical if it has a damaged cord or plug. If the elliptical is not working
properly, call your dealer.
■
Keep the cord away from heated surfaces.
■
Do not operate where aerosol spray products are being used or where oxygen is being
administered. Sparks from the motor may ignite a highly gaseous environment.
■
Never drop or insert any object into any openings.
■
Do not use outdoors.
■
To disconnect, turn all controls to the off position, then remove the plug from the outlet.
■
Do not attempt to use your elliptical for any purpose other than for the purpose it is intended.
■
The hand pulse sensors are not medical devices. Various factors, including the user’s
movement, may affect the accuracy of heart rate readings. The pulse sensors are intended
only as exercise aids in determining heart rate trends in general.
■
Wear proper shoes. High heels, dress shoes, sandals or bare feet are not suitable for use on
your elliptical. Quality athletic shoes are recommended to avoid leg fatigue.
SAVE THESE INSTRUCTIONS - THINK SAFETY!
Important Safety Instructions

EL155 Elliptical
4
WARNING!
●NEVER remove any cover without first disconnecting AC power supply.
●If A.C. voltage varies by ten percent (10%) or more, the performance of your elliptical may be
affected. Such conditions are not covered under your warranty. If you suspect the voltage
is low, contact your local power company or a licensed electrician for proper testing.
●NEVER expose this elliptical to rain or moisture. This product is NOT designed for Use
outdoors, near a pool or spa, or in any other high humidity environment. Maximum
environmental ratings are 40-120 degrees Fahrenheit, 95% humidity non-condensing (no
water droplets forming on surfaces).
●NEVER operate this elliptical without reading and completely understanding the results of
any operational change you request from the computer.
●Understand that changes in resistance do not occur immediately. Set your desired level on
the computer console and release the adjustment key. The computer will obey the command
gradually.
●NEVER use your elliptical during an electrical storm. Surges may occur in your household
power supply that could damage elliptical components.
●Use caution while participating in other activities while using your elliptical such as watching
television, reading, etc. These distractions may cause you to lose balance, resulting in
serious injury.
●Always hold on to a handrail or hand bar while making control changes.
Do not use excessive pressure on console control keys. They are precision set to properly
function with little finger pressure. Pushing harder is not going to make the unit go faster or
slower. If you feel the buttons are not functioning properly with normal pressure, contact your
dealer.
Important Electrical Information
Important Operation Instructions

EL155 Elliptical
5
ASSEMBLY PACK CHECK LIST
Step 1
Assembly Instructions ( EL155 )
#110. 3/8" × 2T
Split Washer (4pcs)
#104. Ø8.5× 26 × 2.0T
Flat Washer (2pcs)
#112. 3/8" × 23 × 1.5T
Curved Washer (2pcs)
#102. 3/8" × 25 × 2T
Flat Washer (4pcs)
#84. M5 × 10m/m
Phillips Head Screw (2pcs)
#81. 3/8" × 3/4"
Button Head Socket Bolt (4pcs)
#74. 5/16" × 15m/m
Hex Head Bolt (2pcs)
#96. 3/8"
Cap Nut (2pcs)
#82. M5 × 15m/m
Phillips Head Screw (1pcs)
#77. 3/8" × 3"
Carriage Bolt (2pcs)

EL155 Elliptical
6
Step 2
Step 3
#105. 5/16" × 20 ×1.5T
Flat Washer (4pcs)
#113. 5/16" × 23 × 1.5T
Curved Washer (2pcs)
#80. 5/16" × 15m/m
Button Head Socket Bolt (6pcs)
#111. 5/16" × 1.5T
Split Washer (6pcs)
#84. M5 × 10m/m
Phillips Head Screw (4pcs)
#82. M5 × 15m/m
Phillips Head Screw (4pcs)
#105. 5/16" × 20 ×1.5T
Flat Washer (2pcs)
#104. Ø8.5× 26 × 2.0T
Flat Washer (2pcs)
#91. 5/16" × 7T
Nyloc Nut (2pcs)
#82. M5 × 15m/m
Phillips Head Screw (4pcs)
#74. 5/16" × 15m/m
Hex Head Bolt (2pcs)
#75. 5/16" × 1-1/4"
Hex Head Bolt (2pcs)

EL155 Elliptical
7
Step 4
Tools
#76. 5/16" × 1-3/4"
Hex Head Bolt (6pcs)
#113. 5/16" × 23 ×1.5T
Curved Washer (4pcs)
#91. 5/16" × 7T
Nyloc Nut (6pcs)
#87. Ø3.5 × 12m/m
Sheet Metal Screw (6pcs)
#118. Combination M5 Allen Wrench
& Phillips Head Screw Driver (1pcs)
#116. 12 mm Wrench (1pcs)
#115. 13&14 mm Wrench (1pcs)
#117. M6 Allen Wrench (1pcs)

EL155 Elliptical
8
Step 1. Stabilizer Assembly
1. Install the Front Stabilizer (14) on the front stabilizer holding plate at the bottom of the main frame with the
transportation wheels facing forward and secure them with 2pcs of 3/8" ×3" Carriage Bolts (77), 2pcs of 3/8"
×23 ×1.5T Curved Washers (112) and 2pcs of 3/8" Cap Nuts (96) by using 13&14m/m Wrench (115).
2. Connect the Rear Rail Assembly(2) to the beam of main frame and secure with 4pcs of 3/8" ×3/4" Button
Head Socket Bolts (81), 4pcs of 3/8" ×2T Split Washers (110) and 4pcs of 3/8" ×25 ×2T Flat Washers(102)
by using M6 Allen Wrench(117).
3. Connect the Pedal Arm (L) to the left Crank Arm Assembly and connect the Pedal Arm (R) to the right
Crank Arm Assembly, and secure them with 2pcs of 5/16" ×15m/m Hex Head Bolts (74) and 2pcs of Ø8.5
×26 ×2.0T Flat Washers (104) by using 12 m/m Wrench (116).
4. Install the Pedal Arm Cover (L) and (R) (61&62) respectively on the left and right Pedal Arm, and secure
them with 2pcs of M5 ×10m/m Phillips Head Screws (84) by using Combination M5 Allen Wrench & Phillips
Head Screw Driver (118). Secure the Middle Stabilizer Cover (71) on the Rear Rail Assembly with 1pc of M5
×15m/m Phillips Head Screw (82) by using Combination M5 Allen Wrench & Phillips Head Screw Driver
(118).

EL155 Elliptical
9
Step 2. Console Mast Assembly
1. Use cable tie to guide the 1150m/m Computer Cable(36) through Console Mast(11) and then pull out of
the console holding plate, and Insert the console mast into main frame and secure with 6pcs of 5/16" ×
15m/m Button Head Socket Bolts (80), 6pcs of 5/16" ×1.5T Split Washers (111), 4pcs of 5/16" ×20 ×1.5T
Flat Washers (105) and 2pcs of 5/16" ×23 ×1.5T Curved Washers (113) by using Combination M5 Allen
Wrench & Phillips Head Screw Driver (118).
2. Take off the cable tie which ties the 1150m/m Computer Cable (36) and plug in the connectors of the
Computer cable and the two 800m/m Handpulse W/Cable Assemblies (40) on the Console. Secure the
Console on the Console Assembly (35) with 4pcs of M5 ×10m/m Phillips Head Screws (84) by using
Combination M5 Allen Wrench & Phillips Head Screw Driver (118). Pay attention to Avoiding scratching the
cables.
3. Install the two Slide Wheel Covers (65) respectively upon the left Slide Wheel and right Slide Wheel, and
secure with 4pcs of M5 ×15m/m Phillips Head Screws (82) by using Combination M5 Allen Wrench &
Phillips Head Screw Driver (118).
Inhaltsverzeichnis
Andere ESPRIT Ellipsentrainer Handbücher
Beliebte Ellipsentrainer Handbücher anderer Marken

Weslo
Weslo Momentum 4.0 Elliptical Bedienungs- und Wartungshandbuch

Progear Fitness
Progear Fitness Air elliptical pro 1307 Bedienungsanleitung

Torque Fitness
Torque Fitness XPLLP Bedienungsanleitung

Octane Fitness
Octane Fitness PRO3700C Bedienungsanleitung

Xterra
Xterra FS5.8e Bedienungsanleitung

Bodyguard
Bodyguard E-40 Bedienungsanleitung

Bonn Germany
Bonn Germany Concept 2.2 Bedienungsanleitung

Precor
Precor Resolute RSL 620 Bedienungsanleitung

NordicTrack
NordicTrack E 9.2 Elliptical Bedienungsanleitung

Vision Fitness
Vision Fitness X6600iNetTV Bedienungsanleitung

Matrix
Matrix MX-A5x Bedienungsanleitung

SportsArt Fitness
SportsArt Fitness ECO-NATURAL Elite E874 Bedienungsanleitung


