
Racelogic Performance Box Touch V2 Bedienungsanleitung
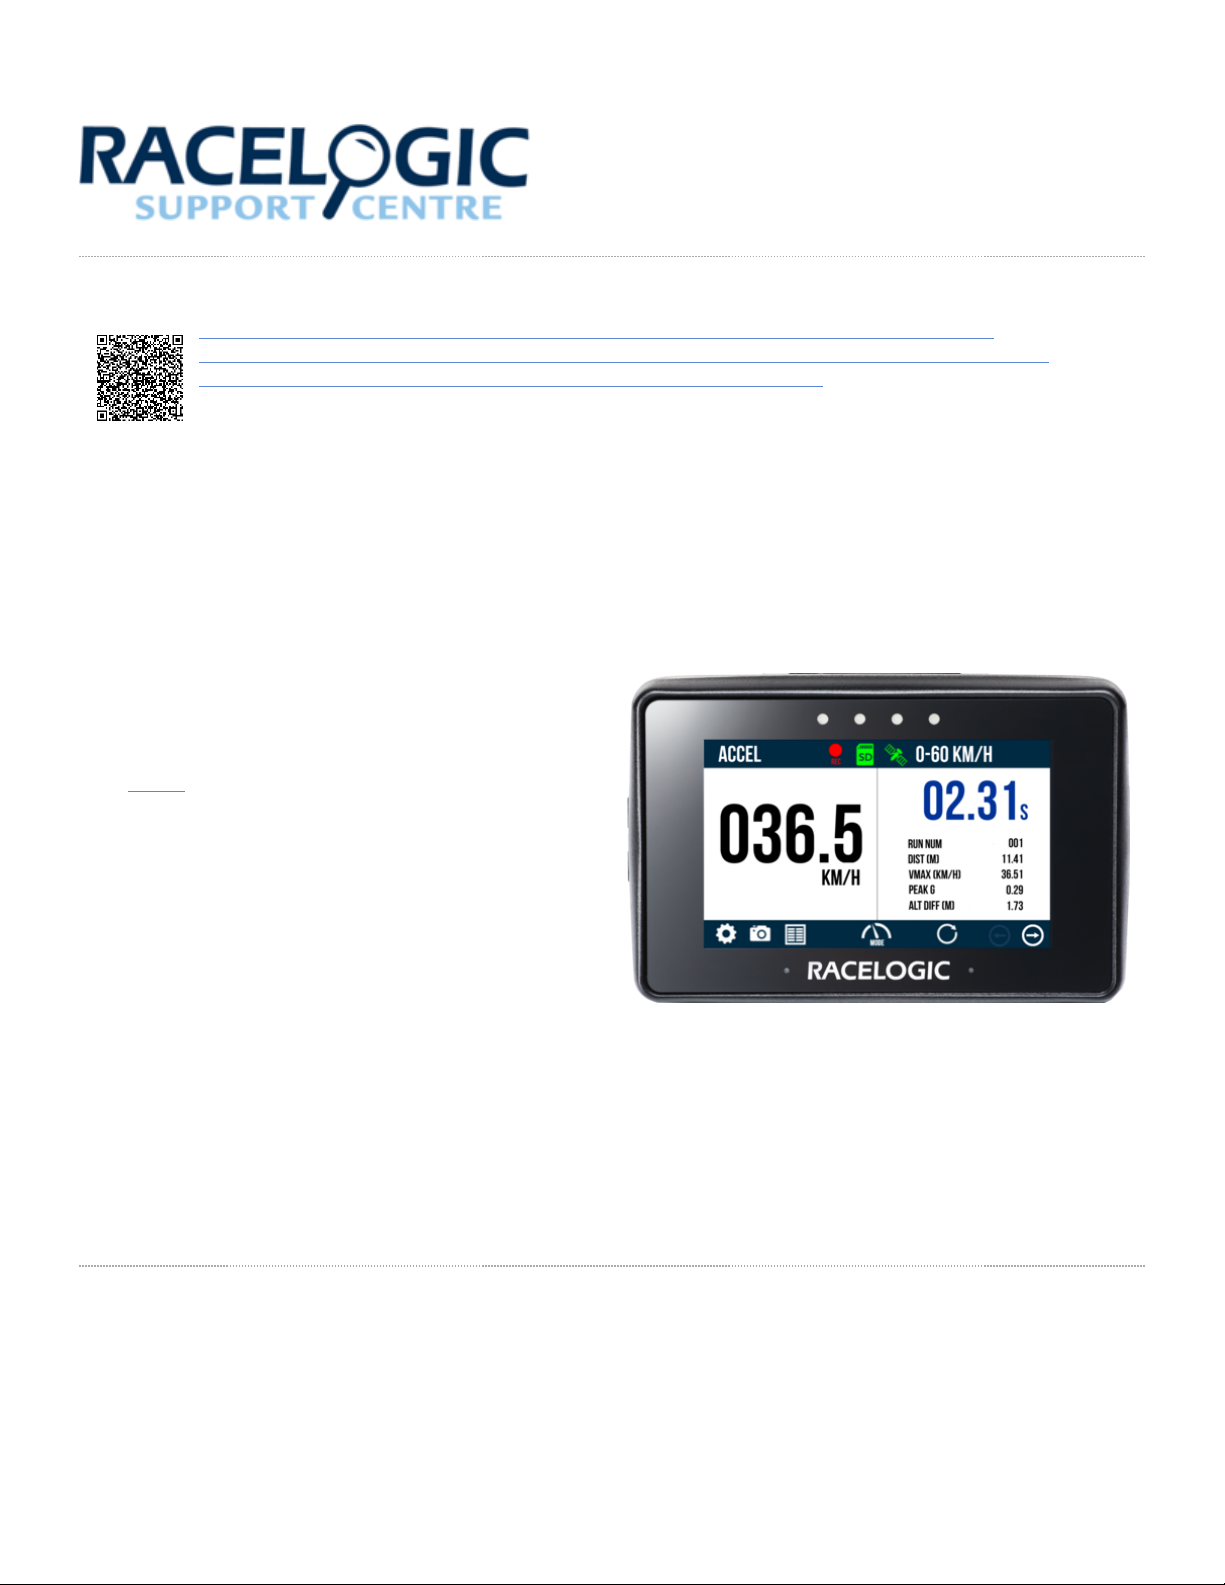
Quick Start uide: Accel Mode - Performance Box Touch V2
https://en.racelogic.support//Product_Info/Performance_Meters/Performance_Box_Touch/
Performance_Box_Touch_V2/Quick_Start_ uide_%E2%80%93_Performance_Box_Touch_V2/
Quick_Start_ uide%3A_Accel_Mode_-_Performance_Box_Touch_V2
The Performance Box Touch provides you with a wealth
of information combined with easy installation and
use. Performance Box Touch V2 contains an
integrated high-performance, 25 Hz NSS engine and
antenna, as well as a port for an external antenna.
Performance Box Touch has 4 modes
available; Accel,Decel,ap Timing and Speed.
They allow you to conduct a range of performance tests
and functions and can be changed by pressing
the Mode button at the bottom of the screen.
• Acceleration tests include 0–60, 0–100, 0–100–0
and 0–¼ mile.
• Custom speed, distance or 0-speed-0 tests can be
configured, and other options include enabling or
disabling an alert at end of the test, one-foot rollout
and slope correction.
• Can display up to 4 concurrent test results.
• Screen displays time, run number, distance, VMAX,
Peak and altitude difference. Units of
measurement for speed or distance can be easily
swapped between metric or imperial.
Registration
Please register your Performance Box Touch so that Racelogic can continue to inform you about the latest software
releases and firmware upgrades and offer technical support.
1

Register your unit here.
What is in the box?
Performance Box Touch V2 (R PBT-V2)
Product Code Quantity Description
PBT-V2 1 Performance Box Touch Unit
R ACS184 1 Cigar Plug USB Adapter
USB2-007241 1USB 2.0 A to Right Angle Micro B
data and Charging Cable, 1.5 m
R ACS313 18 B SD Ultima Pro UHS-1 Memory
Card
ACS318MOUNT 1 Suction Cup Windscreen Mount
Performance Box Touch V2 Bundle (R PBT/B)
Product Code Quantity Description
R PBT-V2 1Performance Box Touch Kit (see
content table above)
R ACS290 1Performance Box Touch Battery and
Cable
R ACS284 1PS/ LONASS Low Profile
Antenna, 2 m
R ACS281 1 Plastic Carry Case
Power
The supplied USB cable (USB2-007241) plugs into the Power socket on the right-hand side of the unit. Use the supplied
Cigar Plug USB Adapter (RLACS184) and the vehicle's 12 V cigar power socket to power the Performance Box Touch.
You can also power the Performance Box Touch with the optional battery (RLACS290 – available from Racelogic). You
can find more information on the battery below.
When booting up, the Performance Box Touch will display a splash screen and automatically look for satellites and
2
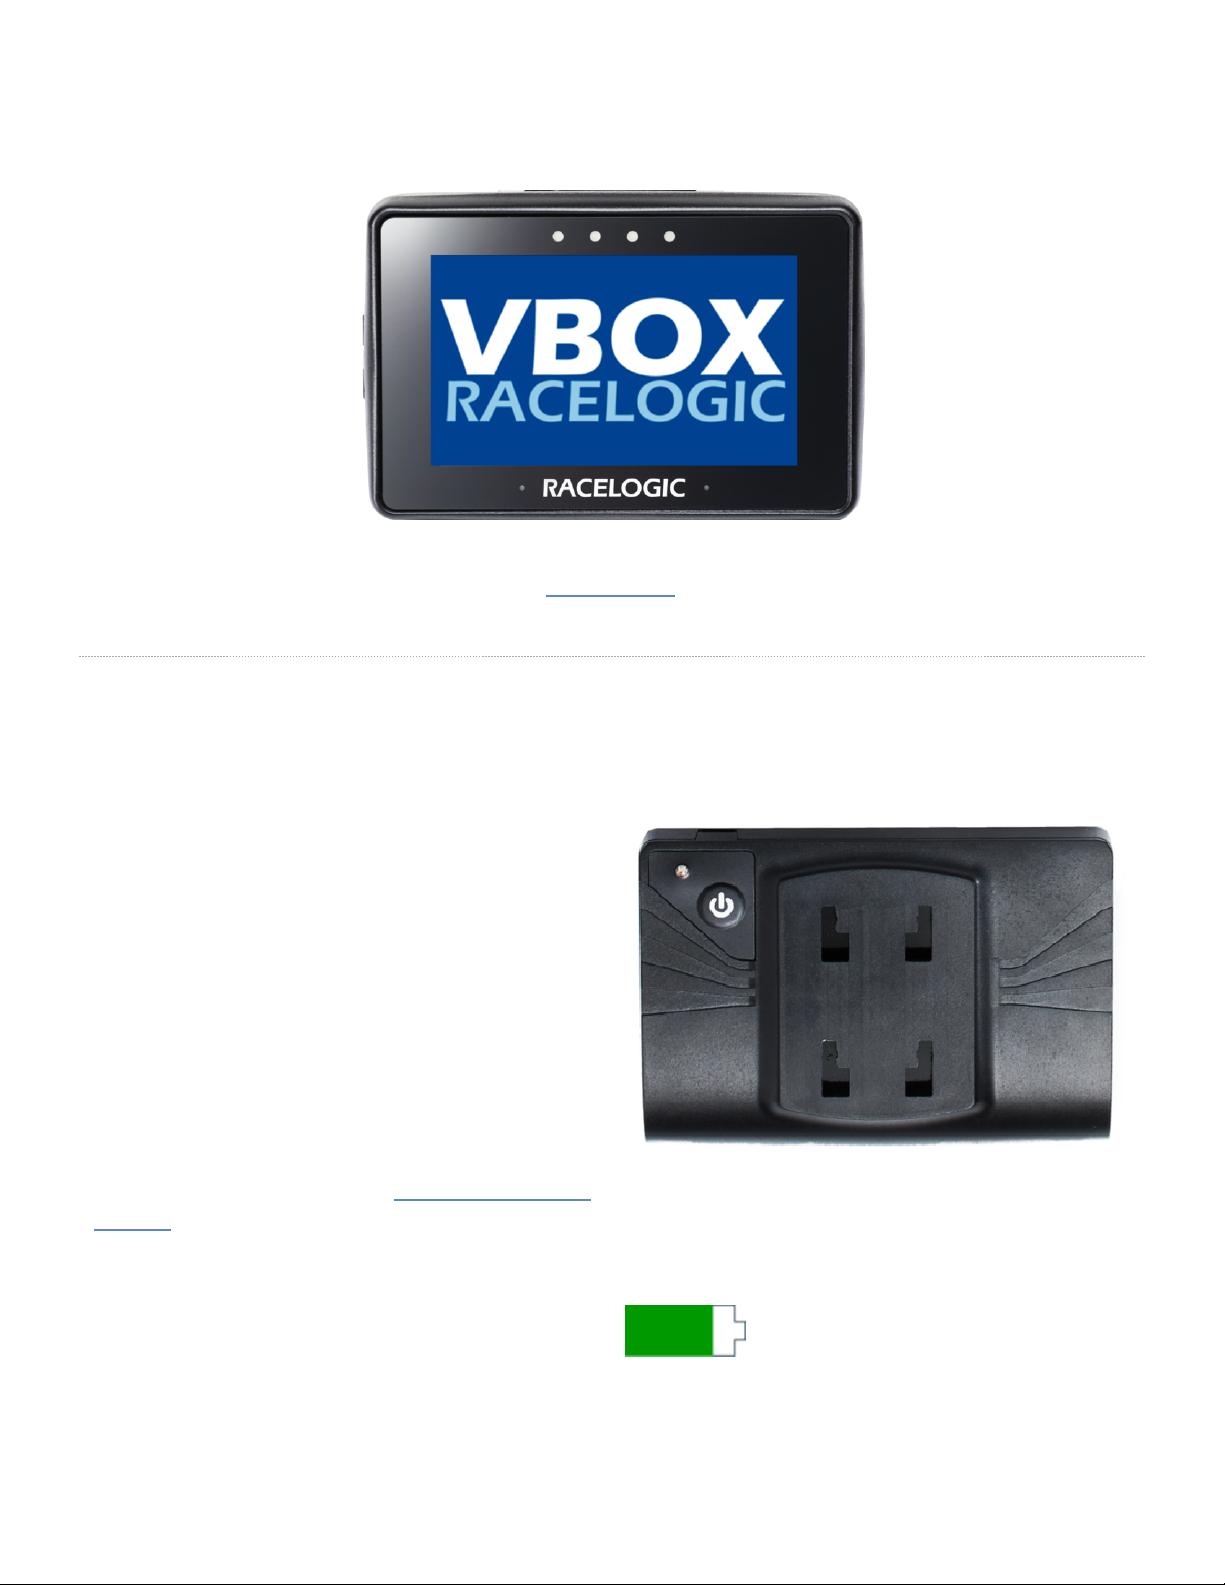
media.
The first time the unit is booted up, it will present the Display Mode screen. Every time after this, it will present the
previously used display mode.
Battery
To give you the opportunity to use the unit without
connecting it to a power source, we have an
optional battery (RLACS290) available for the
Performance Box Touch.
When the battery is installed, you can press and hold the
Power button on the battery for a few seconds to turn
the unit on or off.
If you plug the power cable into the unit when the battery
is already attached to the unit, the unit will turn on
automatically.
The battery will provide at least 6 hours of battery
life. However, you can increase the battery life to a
maximum of 9 hours by using the minimum brightness
settings.
When Performance Box Touch is on, and the battery
is installed, you will see a Battery Status
Indicator displayed in the top right corner of the screen.
This will provide you with a visual representation of the
remaining battery charge. The indicator is split into 10
3
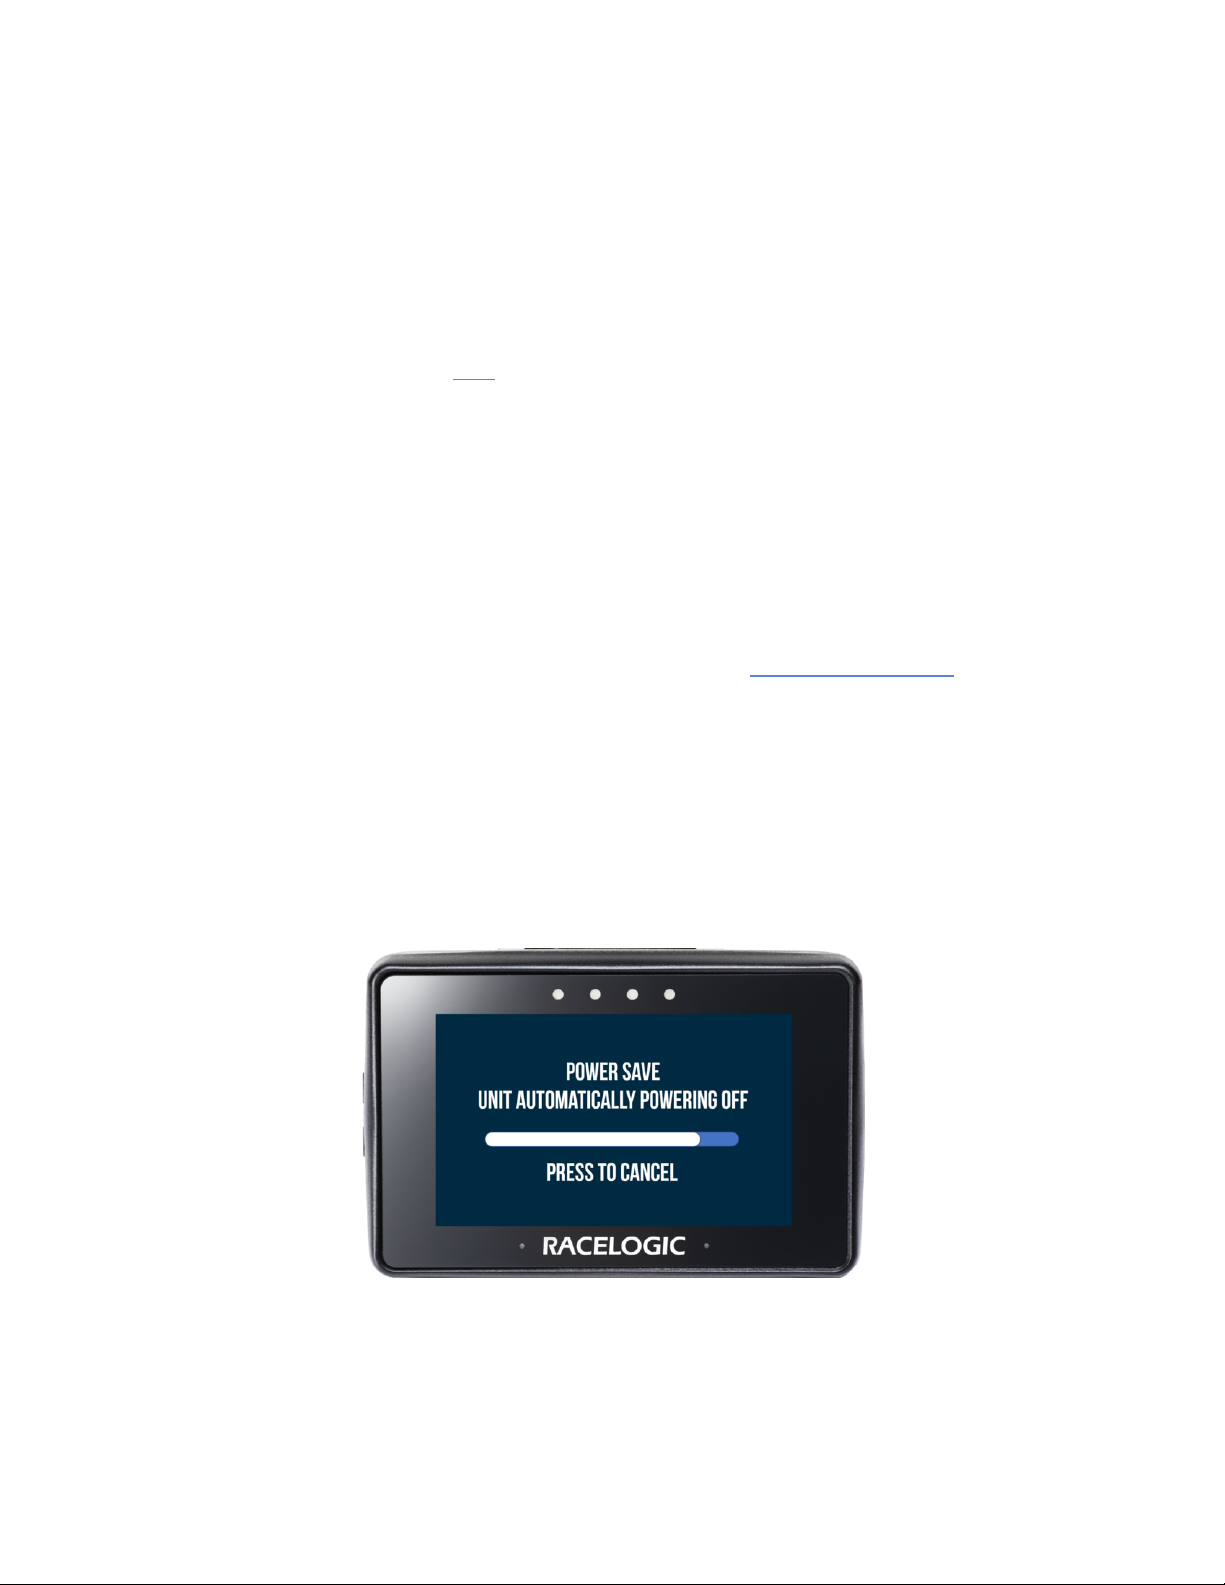
bars, each representing a 10% charge. When the battery
is charging, you will see a charging symbol appear over
the battery symbol.
If the battery has less than a 10% charge left, you will
see a warning screen appear on the display, which will
be displayed for 10 seconds. To cancel the warning,
press anywhere on the screen.
You can find the full battery specifications here.
Charging
When the battery is installed in the Performance Box Touch, it will charge while the unit is being powered via a power
source. You can also charge it while it is removed from the unit by using the supplied USB cable (USB2-007241). Note
that the USB port on the battery is located above the Power button.
The battery needs approximately 3.5 hours to charge. To shorten the charging time, we recommended that you charge
the battery from a mains power source while it is disconnected from the Performance Box Touch.
If you are experiencing issues when charging the battery, take a look at our troubleshooting page.
Auto Power-Off
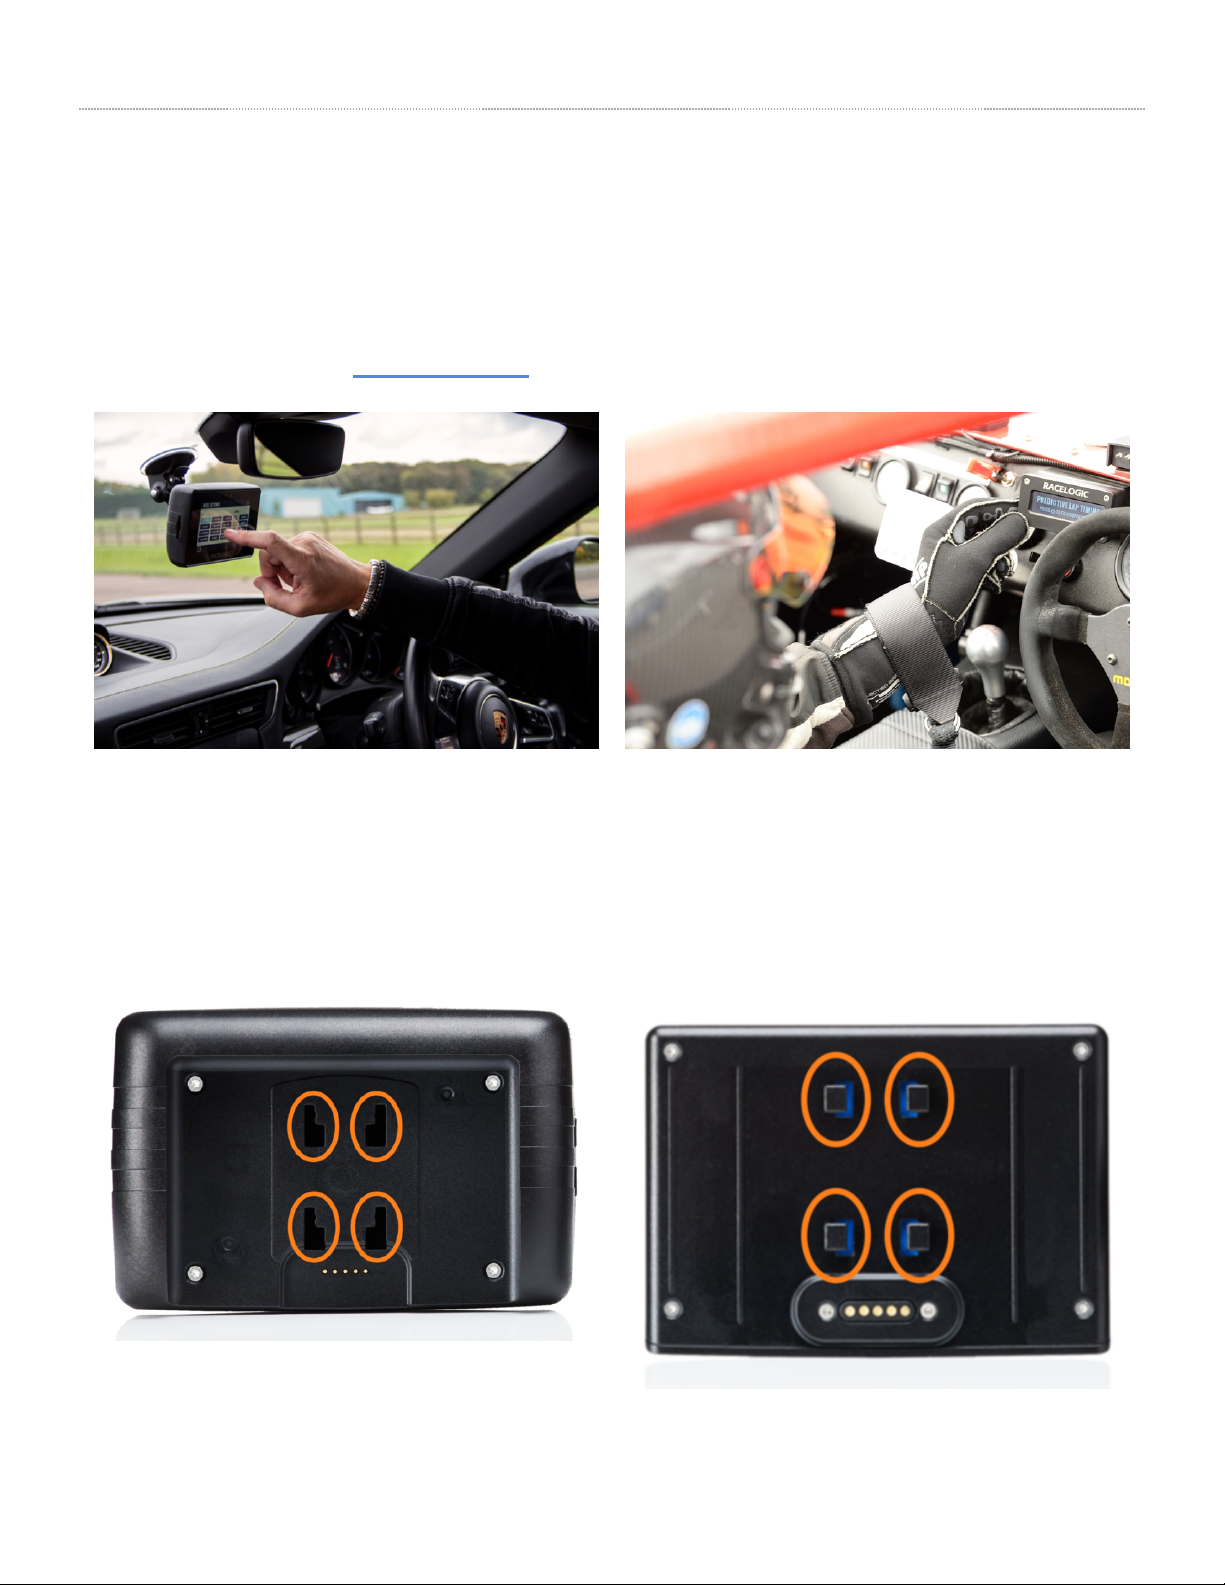
When Performance Box Touch is 'idle' (tracking zero satellites, not logging and has no screen interactions for 5
consecutive minutes), it will power off to preserve the battery.
Before it powers off, it will display a warning screen. If you do not want it to power off, you can cancel the process by
pressing anywhere on the screen within the 10 second time limit.
Auto Power-off Warning Screen
4
Using loves with Performance Box Touch
Just like modern mobile phones and tablets, Performance Box Touch is operated using a capacitive touch screen
display. However, this does mean that if you are wearing gloves, they will need to be capacitive touch compatible to
allow for interaction with the touch screen.
There are many types of capacitive touch compatible gloves available for purchase. If you are unsure which gloves you
need, please do not hesitate to contact Racelogic.
Installation
The battery is connected to Performance Box Touch with a Richter mounting system on the rear of the unit. Insert
the prongs from the back of the battery into the rear of the Performance Box Touch unit and push upwards to
secure.
Richter mounting system on the back of
5

Performance Box Touch
Richter mounting system on the rear of battery
(R ACS290)
Performance Box Touch comes supplied with a Suction Cup Windscreen Mount (ACS318MOUNT) so you can
mount it on the vehicle's windscreen. It attaches to the Richter mounting system on the back of the unit, or at the
back of the Battery if this is connected to the unit.
Richter mounting system on the rear of Performance
Box Touch
Richter Mounting system on Suction Cup
Windscreen Mount (ACS318MOUNT)
Insert the prongs from the mount into the back of the unit or the battery and push upwards to secure. Attach the
suction cup to a suitable location on your windscreen and adjust as necessary.
6

Satellite Reception
Performance Box Touch has an internal patch antenna. This means that, in many circumstances, the unit
does not require an external antenna if it has a clear view of the sky without any interference (e.g. roof
bars, athermic windscreen, windscreen wipers). However, if you are struggling to maintain a stable
satellite lock (indicated by a flashing red satellite icon), you can use an external antenna (RLACS284).
IMPORTANT
The first time you use the unit, it may take 10 to 15 minutes to acquire satellites fully. After this, it will usually
only take 1 to 2 minutes to acquire satellites.
External Antenna (If Required)
The placement of the NSS antenna is crucial to the quality of the data recorded by Performance Box Touch. Any
metal close to a NSS antenna can unpredictably disturb the signal due to interference from reflections of weak
NSS signals.
For best results, use the antenna in the centre of a metal roof at least 5 cm away from any roof bars or radio
antennas. Do not mount the antenna close to the edge of the roof as reflections from the ground may interfere with
the signals. Avoid the edges as reflections from the A-pillars will cause problems.
Mount the antenna as high up as possible and keep it above any roll bars. Pieces of metal close to and above an
antenna will badly disrupt the NSS signal.
If the vehicle you are using does not have a metal roof, you need to place the NSS antenna on a flat piece of
metal at least 10 cm in diameter. If this is not possible, you can use copper or aluminium foil to create a shaped
ground plane underneath the antenna. For example, on a fibreglass roof, mount the antenna on top of the
7

roof, and place some adhesive-backed metal foil underneath, on the inside of the roof.
Acquiring Satellite ock
Tall buildings or trees can block NSS signals, causing a reduction in the number and quality of satellites being
tracked. The reduced number of satellites can lead to inaccurate position measurements and a noisy velocity signal.
GNSS works best in open areas. Avoid tree-lined roads.
GPS Coldstart
If Performance Box Touch is struggling to acquire a satellite lock, you may need to perform a PS coldstart. This
may be necessary when the unit hasn’t been used for several days or has moved location significantly since it was
last used.
To perform a coldstart, press the CO DSTART button in the Diagnostics Settings menu.
Media, iframe, embed and object tags are not supported inside of a PDF.
8
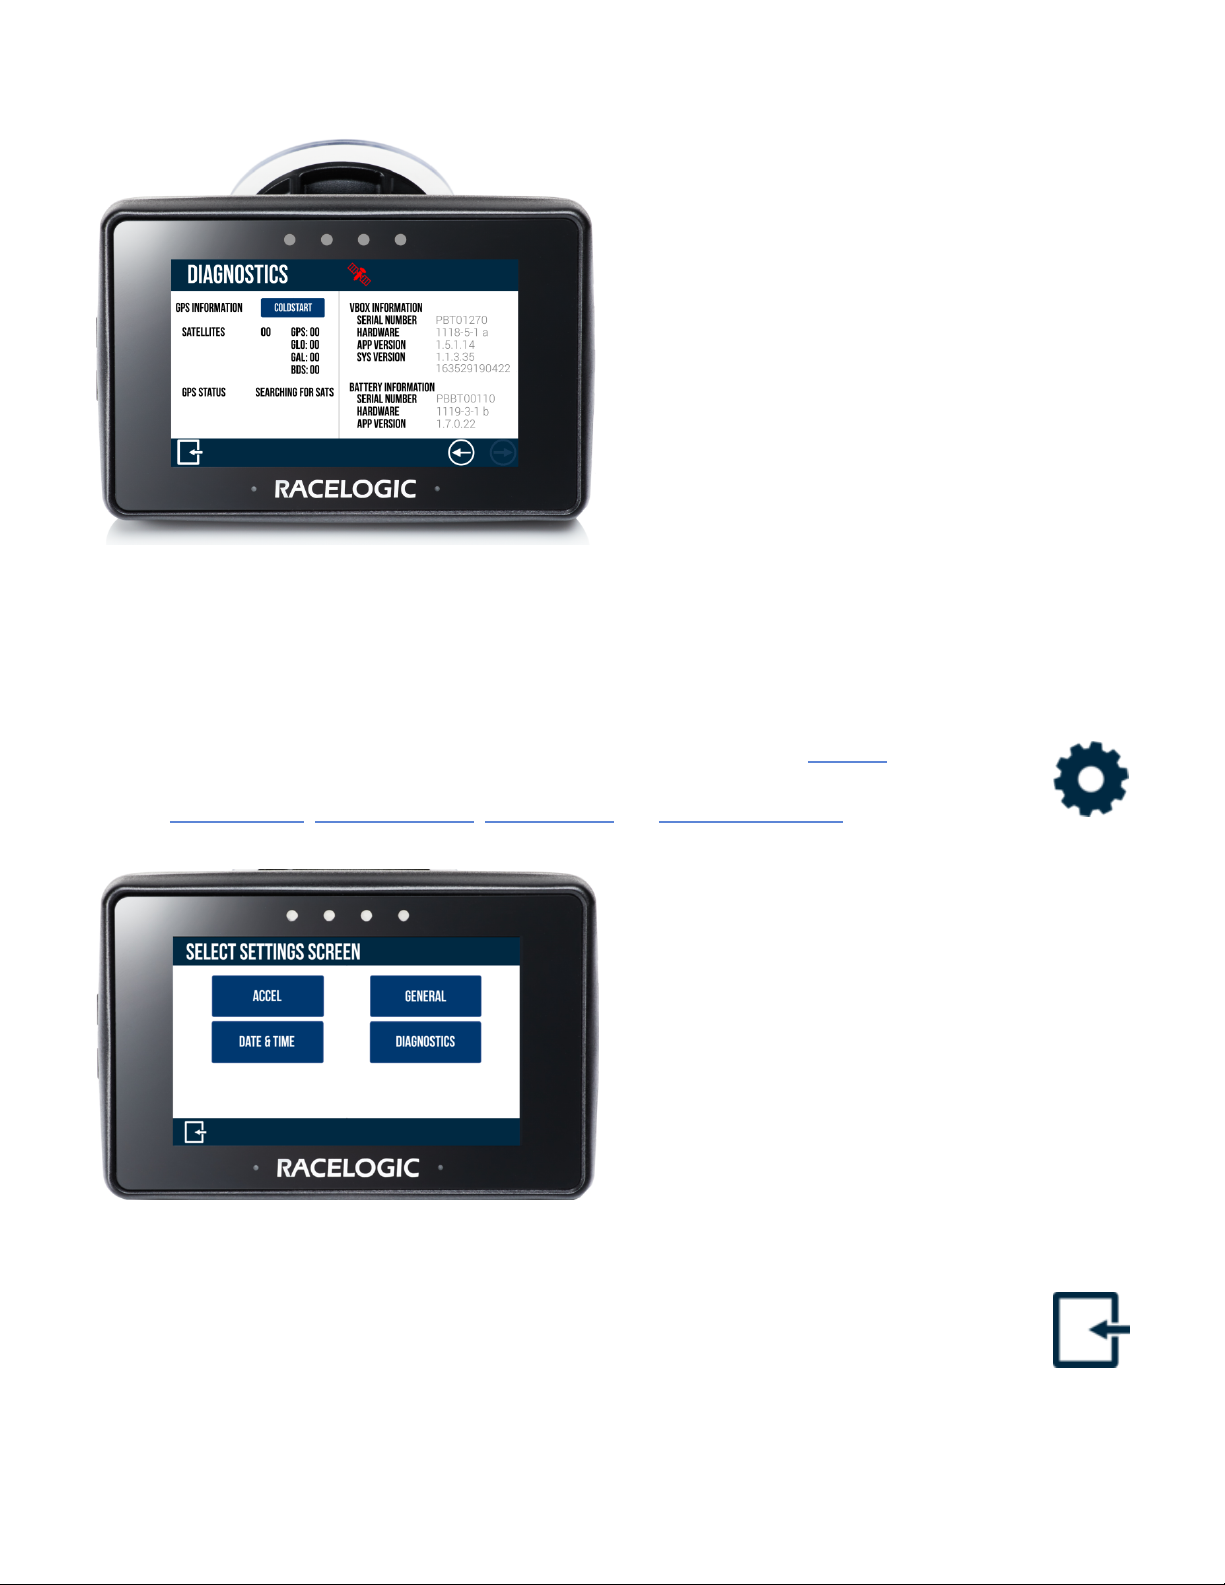
When you press the button, the unit will make an audible sound and you will see a ‘P EASE WAIT’ message
counting down from 3. Until the satellite lock has been acquired, the number of satellites will be displayed as '00' and
the PS status will show ‘SEARCHING FOR SATE ITES’. It will take approximately 25 to 30 seconds for the unit
to reacquire the satellite lock.
You can access the Settings menu on Performance Box Touch by selecting the Settings button on the
bottom left of the screen when in a mode. You will see a Select Settings Screen with 4 Settings
options: Mode settings,General Settings,Time settings and Diagnostic settings.
You can change the settings by pressing the corresponding button next to an option.
To return to the Select Settings Screen, press the Exit button at the bottom left. Pressing it again in the
Select Settings Screen will return you to the main screen.
9

In these settings menus, you will be able to configure your Performance Box Touch to suit your purpose. The settings
included are:
Accel Settings
The mode-specific settings option presented in the Settings screen depends on the Display Mode you have selected.
In the Accel Settings, you can choose the test parameters and they also include other test options.
eneral Settings
This menu has settings for units, logging mode, format for saving and the screen and LED brightness.
Time Settings
This menu contains date and time settings.
Diagnostics
The Diagnostics menu displays basic information about the NSS receiver and the VBOX unit and its battery.
Performance Box Touch V2 – Accel Mode
Acceleration Mode is where you can perform acceleration tests by using either pre-defined
configurations or your own specified values. You can also display up to 4 concurrent test results
on the screen. You can access this display mode by pressing the Mode button at the bottom of
the screen and selecting Accel.
10
Andere Handbücher für Performance Box Touch V2
6
Dieses Handbuch passt für folgende Modelle
1
Inhaltsverzeichnis
Andere Racelogic Autozubehör Handbücher

Racelogic
Racelogic PerformanceBox Bedienungsanleitung

Racelogic
Racelogic Performance Box Touch Accel Mode Bedienungsanleitung

Racelogic
Racelogic VBOX HD-SDI Bedienungsanleitung

Racelogic
Racelogic Performance Box Touch V2 Bedienungsanleitung

Racelogic
Racelogic VBOX LapTimer Bedienungsanleitung

Racelogic
Racelogic VBOX 3i Bedienungsanleitung

Racelogic
Racelogic VBOX Touch Bedienungsanleitung

Racelogic
Racelogic Performance Box Touch V1 Bedienungsanleitung

Racelogic
Racelogic Performance Box Touch V2 Bedienungsanleitung

Racelogic
Racelogic DriftBox Bedienungsanleitung


