Rennsteig eForce E-PEW12 Bedienungsanleitung

Opera ng Manual
Rev.: 2019-05-06 1 / 18
Read these Opera ng Instruc ons before star ng work!
Operating Manual
Rev.: 2019-05-06
1 / 18
Read these Opera ng Instruc ons before star ng work!

Operang Manual
Rev.: 2019-05-06 2 / 18
Table of Contents
1 Intended use 3
2 Generalsafetyinstrucons 3
3 Terminologyused 5
4 Symbolsusedontheequipmentandrangplatedetails 5
5 Scopeofdelivery 6
6 Technicalspecicaons 6
7 Briefdescriponofthecrimpingtool 7
8 Firstuseandoperaon 10
9 Cleaning,maintenanceandrepair 15
10 Disposal 17
11 Warranty 17
12 ECDeclaraonofConformity 18
Rennsteig Tools, Inc.
411HackensackAvenue,
Suite200
Hackensack,NJ07601-6331
Phone.:330-315-3044
Fax: 330-319-8135
Email info@rennsteig.us
www.rennsteig.us

Operang Manual
Rev.: 2019-05-06 3 / 18
2 General safety instrucons
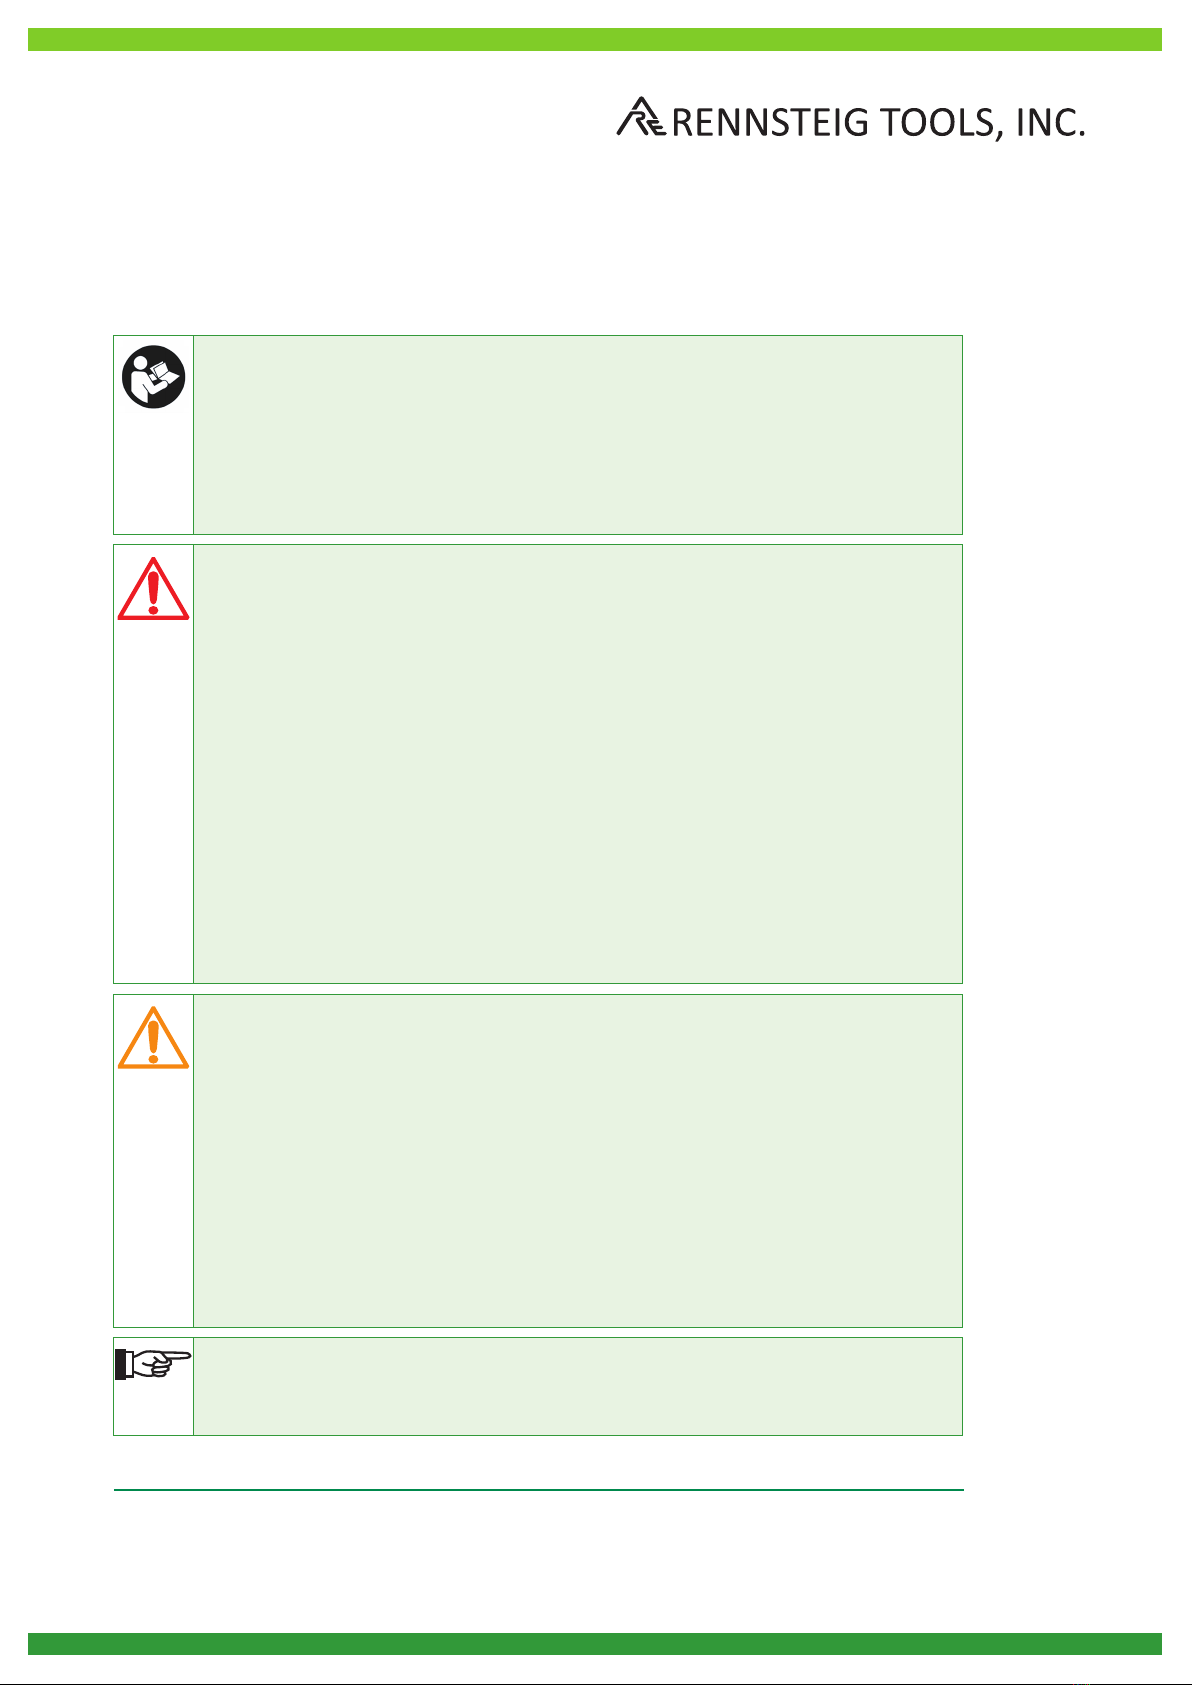
Icons are used to mark secons of text as described below. Ensure you follow these
instrucons and take especial care in such situaons. Also provide other users and
technicianswithafullsetofhealthandsafetyinstrucons!
1 Intended use
Thecrimpingtoolsaredesignedexclusivelyforusewithdiesetsthatareeitherdistributedby
RENNSTEIGorwhichRENNSTEIGhasdeclaredasbeingcompable.
ThetoolsandthediesetsmustbeusedsolelyforthepurposeasenvisagedbyRENNSTEIG.The
toolisnotintendedforuseindierentormorespecialisedapplicaons.
Anyworkperformedwiththistoolthatisnotinlinewithitsintendedusecancausedamageto
thecrimptool,itsaccessoriesandthecrimpcontacts.
RENNSTEIGacceptsnoliabilityforlossesresulngfrom
· theuseofunsuitablecrimpingtoolsorcrimpingtoolsfromothermanufacturers;
or
· theuseofthetoolinapplicaonsthatareoutsidethescopeofthetool’sintendeduse.
Usingthetool“asintended”alsoimpliesfollowingtheOperangManual,performinginspecons
andmaintenanceworkasinstructedandcompliancewithallapplicablesafetyprovisionsintheir
latestpublishedversion.
Please note!
Theinformaoninthisseconisofparcularrelevancetothedescriponofafunc-
onoranoperangprocedure.
WARNING!
Thisseconwarnsthereaderaboutapotenallydangeroussituaonthatcanlead
todeathorseriousphysicalinjury.
CAUTION!
This secon cauons the reader about a potenally dangerous situaon that can
leadtominorormoderatephysicalinjuryand/ordamagetoproperty.
Operang Manual
Rev.: 2019-05-06 4 / 18
Read this Operang Manual carefully!
Follow all safety instrucons as provided!
Ensure compliance with naonal safety standards!
WARNING!
Read and follow all safety instrucons and guidelines!
Any failure to follow the safety instrucons and guidelines as given can cause
electricalshock,reand/orseriousinjury.
Accordingly:Ensurethatyouretainallsafetyinstruconsandguidelinesforfuture
useandalwaysincludethesewhenpassingtheequipmentontoothers.
WARNING!
Danger of injury from airborne fragments!
Ifthetoolisusedincorrectly,orifwornordamageddiesetsandcrimpingtoolsare
used,theoperatorrisksinjuryfromairbornefragments.
Accordingly:
· Crimpingtoolsmustbeusedsolelybyqualiedpersonnel.
· Maintenancemustbeperformedattherequiredintervals.
· Beforeeachuse,inspectthecrimpingtoolsanddiesetsforcracksandothersigns
ofwear.
· Crimpingtoolsanddiesetswithmaterialawsorothersignsofwearmustbe
takenoutofserviceimmediatelyandnolongerused.
· Onlyusecrimpingtoolsanddiesetsiftheyareinperfectworkingorder.
· Ifcrimpingtoolsordiesetshavebeenusedincorrectly,theymustberemoved
fromserviceandinspectedbyanauthorisedservicecentre.
CAUTION!
Damage to/malfunconing of the crimping tool and die set as a result of improper
handling!
Accordingly:
· Donotconnuetouseworncrimpingtools–replacethemimmediately.
· Fortransportaonandstorage,usethecarryingcaseandstorethecrimpingtools
anddiesetsinadryplace.
· Ensurealldamageisinspectedwithoutdelaybyanauthorisedservicecentre.
· Observethesafetyinstruconsfordetergentsandcorrosionproteconagents
used.
Please note!
Forworkingandinstallaoninstruconsforcrimpcontacts,consultthedocuments
assuppliedbythemanufacturer.
Operang Manual
Rev.: 2019-05-06 5 / 18
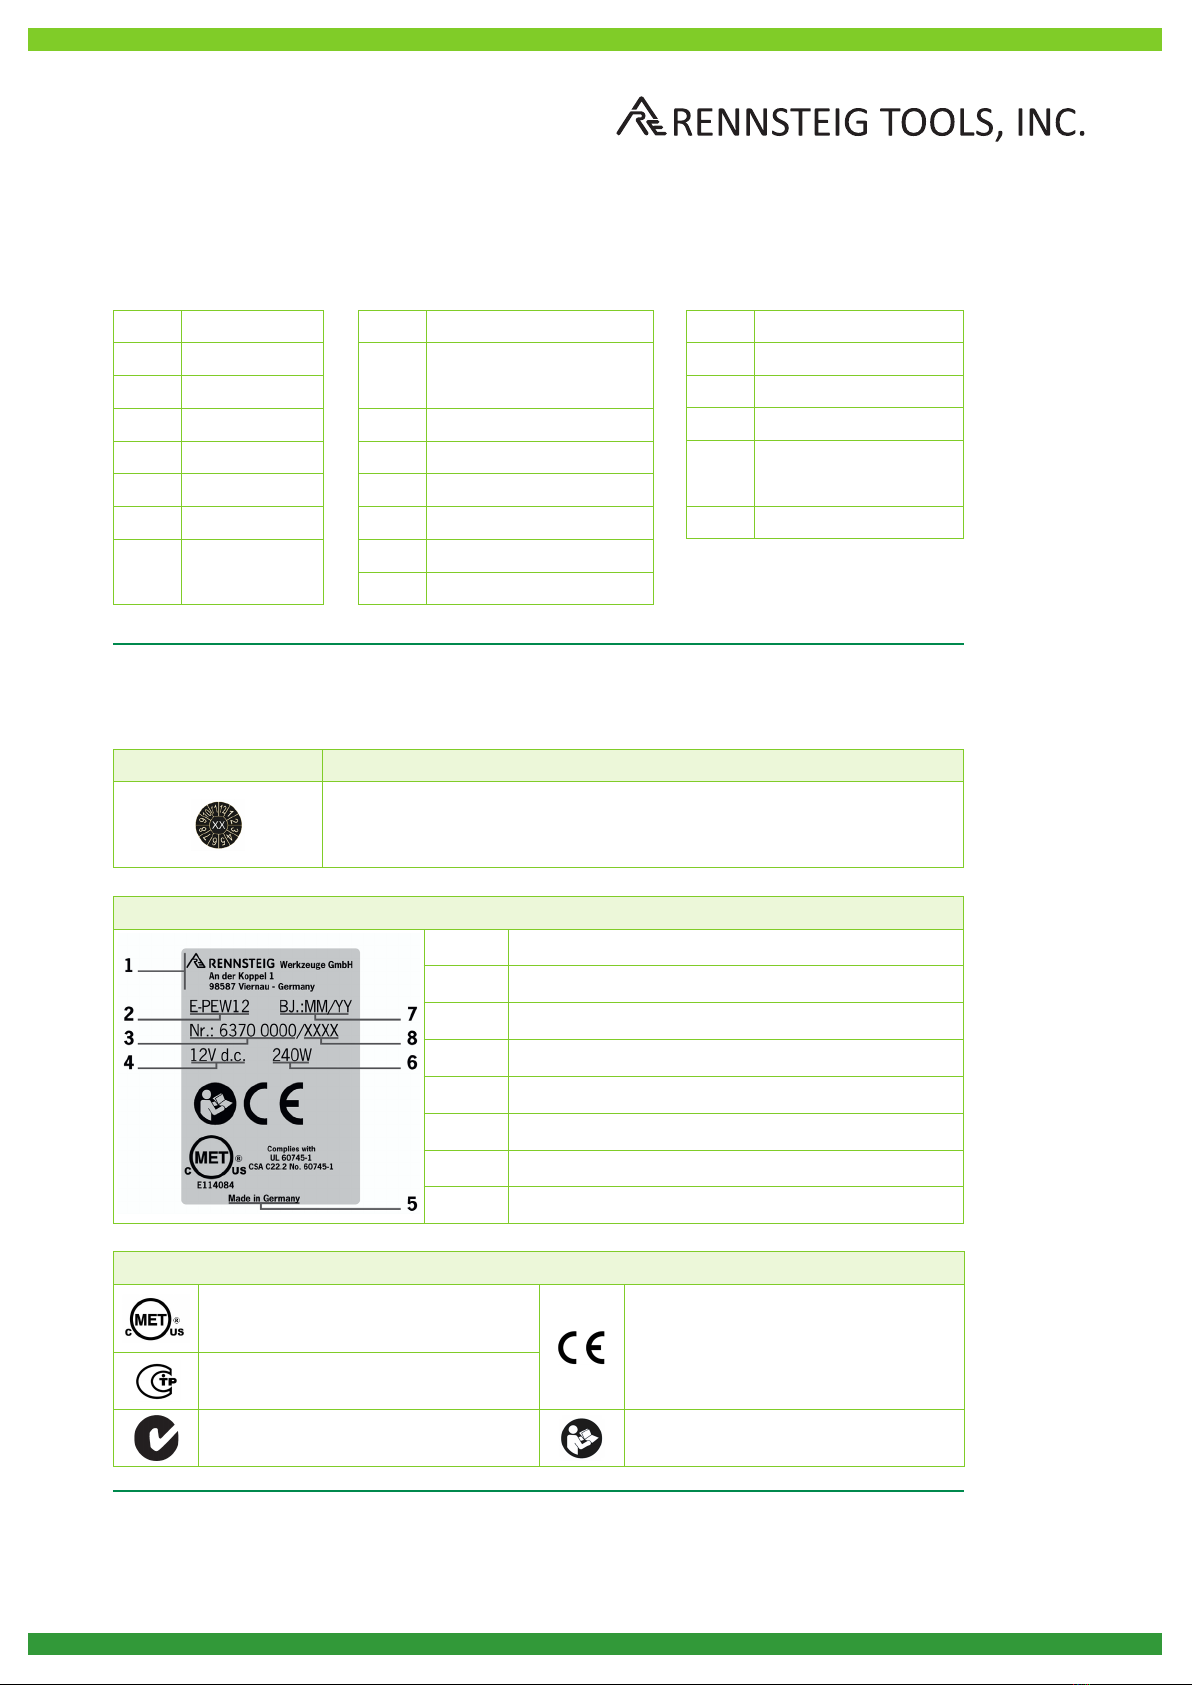
4 Symbols used on the equipment and rang plate details
Rang plate details
1Manufacturerlogowithaddress
2Modeldesignaonforthetool
3Arcleno.
4Permiedvoltagerangeinvolts
5 Countryofmanufacture
6 Powerconsumpon
7Yearofmanufacture
8Serialno.
3 Terminology used
V Volt
A Ampere
Hz Hertz
WWa
kW Kilowa
g Gram
kg Kilogram
Bj Year of manu-
facture
Ah Amp-hour
db(A) Decibel
(sound pressure)
bar Bar
°C Degrees Celsius
kN Kilonewton
AC Alternang current
DC Direct current
FForce
Ø Diameter
h Hour
min Minute
s Second
m/s2Metres per second
squared (acceleraon)
No. Number
Symbol Meaning
Maintenancescker,withdateofnextservice.
Locatedinthebaerycompartment.Toreadthescker,pullout
thebaery.
Explanaon of possible rang plate icons used
Cercaonmark,CanadaandUSA CEmark–productsecurityin
Europe
Cercaonmark,Russia
Cercaonmark,Australia ReadtheOperangManual

Operang Manual
Rev.: 2019-05-06 6 / 18
6 Technical specicaons
Ratedvoltage/baery 12VDC(lithium-ion)/1.5Ah/3.0Ah
Powerconsumpon 240W
Height Approx.142mm
Length Approx.274mmwith1.5Ahbaery;
approx.300mmwith3.0Ahbaery
Width Approx.50mm
Netweight Approx.2.0kg(with1.5Ahbaery)
Crimpingarea Conductorinnercross-secon:0.08mm²to50mm²
Max.soundpowerlevel 83db(A)(measurementuncertainty3db(A))
Soundpressurelevelatoperatorear 70db(A)(measurementuncertainty3db(A))
Vibraonlevel <2.5m/s²(measurementuncertainty1.5m/s2)
Proteconclass IP20
Operangtemperaturerange -10°Cto+50°C
Thevibraonemissiongurestatedhasbeenmeasuredusingastandardtestprocedureandcan
beulisedwhenmakingcomparisonswithotherequipment.
Thegurecanalsobeusedforaninialesmaonofexposurelevels.
Aenon: During actual use of the equipment, the vibraon emission gure can dier to the
value stated, depending on the specic applicaon for which the equipment is being used.
Depending on the actual operaons condions experience (exposure while working), it may
be necessary to draw up safety precauons for operang personnel.
For informaon about charger operaon and funconality, please consult the operang
instruconsenclosedforthecharger.
5 Scope of delivery
Thestandardscopeofdeliveryincludes:
· eForce®-BaeryPoweredCrimpingTool,incl.OperangManual
· Charger,incl.operanginstrucons
· Withone(637003001RT)ortwo(637003001-2RT)Li-IonBatteries(MilwaukeeM12)
· Safetyinstrucons
· Carryingcase
Informaonaboutotheraccessories–suchasdiesets,posioningguides
(locators),wirestops,etc.–canbeobtainedonlineatwww.rennsteig.us
onlineorscanQRcode.

Operang Manual
Rev.: 2019-05-06 7 / 18
$
7 Brief descripon of the crimping tool
LED (1)
TheLED(1)illuminatesthecrimpposion.ThisLEDlightsupwhenthecrimpingtoolisreadyfor
use.
Allen key (2)
AnAllenkey(2)isrequiredforchangingthediesets.Thiskeyisclippedtothecrimpingtool.The
key(2)isremovedforuseandthenpressedbackintotheclipholder.
Key ring (3)
Thecrimpingtoolisequippedwithakeyring(3)towhichacarrystraporcatchmechanismcan
beaached.
Figure1

Operang Manual
Rev.: 2019-05-06 8 / 18
PressandholdtheStartbuon(7)toclosethejawsofthecrimpingtool.
IftheStartbuon(7)isreleased,thetoolhaltsimmediatelyatitscurrentposion.
Whenthetoolreachesitsnalposionandnishescrimping,thejawsautomacallyopenagain.
PressingtheResetbuon(8)cancelsthecrimpingoperaonandswitchesothecrimpingtool.
7.2 Reset buon
7.2.1 Cancelling a crimping operaon
· The crimping operaon can be interrupted by releasing the Start buon (7).
Thiswillhaltthetoolatitscurrentposion.
· Tore-openthetool,brieypresstheResetbuon(8).
· Thetoolreturnstoitsstarngposion.
7.2.2 Switching o the crimping tool
· PressandholdtheResetbuon(8).
· AllLEDsgooutandthecrimpingtoolswitchesitselfo.
or
· Thetoolswitchesitselfoautomacallyifnotusedforapprox.5min.
7.3 Baery
Please note!
Thebaeriesarenotchargedatthefactory.
Accordingly:Chargethebaerybeforerstusingthetool!
Please note!
Specictemperaturesapplytochargingperformanceandbaerystorage.
Accordingly:Ensureyoufollowthecharger’soperanginstrucons!
7.1 Operaon

Operang Manual
Rev.: 2019-05-06 9 / 18
Baery status indicator
The4greenLEDs(6)showthebaery’schargelevel.ThenumberofLEDsilluminatedindicates
thechargelevel.IftheLED(5)ashes,thebaeryisemptyandcrimpingisnotpossible.
Inserng the baery (Figure 3)
Push the baery into the tool as shown unl it
locksintoplace.
7.4 eForce® baery usage
Please note!
TheeForce®-BatteryPoweredCrimpingToolmustbepoweredbya12V
lithium-ionrechargeablebattery.
Behaviour of the crimping tool aer prolonged non-use or on baery change
The crimping tool switches itself o if it is not used fora while or if its baery is removed.
NoLEDisilluminated.Toswitchonthecrimpingtool,presstheStartbuon(1).
Behaviour of the crimping tool when baery is empty
IfthegreenLED(5)ashes,thebaeryisemptyandcrimpingisnotpossible.Thebaerymust
berecharged.
$
Removing the baery (Figure 2)
Depress(1)bothunlockingbuons(A)andthen
pulloutthebaery(2).
Figure2
Figure3

Operang Manual
Rev.: 2019-05-06 10 / 18
Thecrimpingtoolandthediesetscanbedamagedby
·Assemblingnon-matchedupperandlowerdieset
partstogether;andby
·Failingtoassemblethediesetpartsproperly.
Accordingly:
·Ensurethatyouorientthediesetpartsproperlywhen
ngthem
·Topreventdamagingonthetoolitneedstobeused
asshownonFigure4a
8 First use and operaon
Withoutadiesetinserted,theoperator’sngerscan
slipbetweenthejawsofthetool.Starngthetool
wouldthencrushtheoperator’sngers.
Accordingly:Neveroperatethetoolwithoutadieset.
Keepngersoutofthejawsofthetool.
Please note!
Thecrimpingtoolisnotintendedasareplacementforastaonarycrimpingmachine.
8.1 Preparing the eForce®
8.1.1 Fing die sets without addional posioning guides, e.g. for insulated/non-
insulated cable connectors, through and coax connectors, wire-end sleeves, RJ
plugs, etc. (Figure 5, 6)
Figure4
Figure4a
CAUTION!
Fingercrushhazardwhenoperangthetoolwithoutcrimpingdiesets!
(Figure4)
CAUTION!
Riskofdamagingthecrimpingtoolandthediesets!
WARNING !
Donotworkwiththecrimpingtoolatlivewires!
Alwaysverifytheworkpieceisnotenergized.
Inhaltsverzeichnis
Andere Rennsteig Crimpwerkzeuge Handbücher

Rennsteig
Rennsteig PEW 8.87 plus Bedienungsanleitung

Rennsteig
Rennsteig PEW15 Bedienungsanleitung

Rennsteig
Rennsteig 815130 Bedienungsanleitung

Rennsteig
Rennsteig PEW 8.75 Bedienungsanleitung

Rennsteig
Rennsteig PEW 12 Bedienungsanleitung

Rennsteig
Rennsteig 618 075-3 6 Bedienungsanleitung

Rennsteig
Rennsteig CM 25-1.3 Bedienungsanleitung
Beliebte Crimpwerkzeuge Handbücher anderer Marken


Milwaukee
Milwaukee M18 Bedienungsanleitung

HOGERT
HOGERT HT1P169 Bedienungsanleitung

Textron
Textron ESG105L Bedienungsanleitung

Tyco Electronics
Tyco Electronics 90035-3 Bedienungsanleitung

Emerson
Emerson Klauke ES 20RMCCFB Bedienungsanleitung

Continental Refrigerator
Continental Refrigerator PC150HD Bedienungsanleitung