6
Electrical Cable Installation Guide For Camera
The instructions below outline a standardised guide on how to connect the camera’s wiring to
the reversing light (see Figure 2).
1. Once the camera has been mounted, either via the buttery bracket or onto the licence
plate, you will need to thread the wiring from the outside of your vehicle to your reversing
lights. First, ensure the cable is fully unravelled. And make sure your vehicle is fully
switched off. Never attempt to connect the wiring when the vehicle is switched on.
2. Depending on your vehicle, locate either a pre-drilled hole or grommets so you can
thread the camera’s wire through inside. If your vehicle does not have these holes, you
will need to drill a hole to feed the cable through.
3. Then, refer to your vehicle’s handbook to locate the positive and negative wires that
lead to your vehicle’s reversing light.
4. Using the supplied wiring buckles, connect the red buckle to the positive wire of the
reversing light and the black buckle to the negative wire of the reversing light.
5. Once connected, switch on your vehicle and follow the operating instructions overleaf.
Fig. 2
Red wire connects to reversing light positive wire
Black wire connects to reversing light negative wire
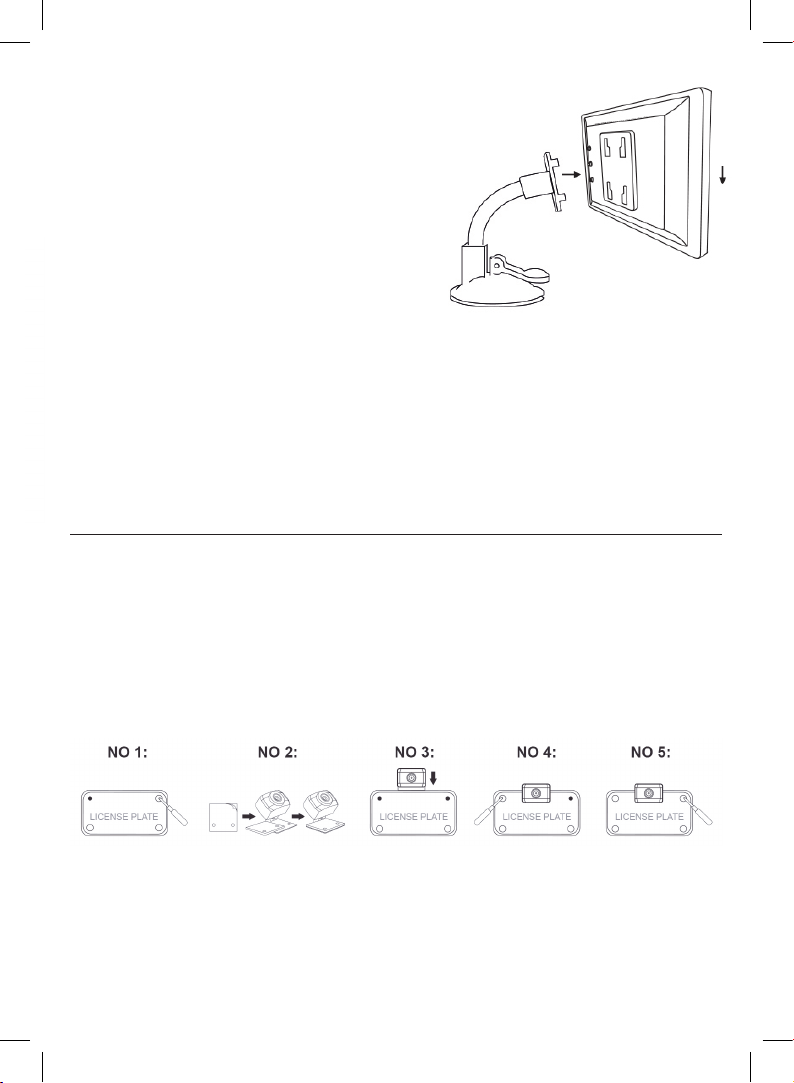
Mounting the Buttery bracket
Please note: The waterproof camera is already attached to the license plate mounting
bracket. To replace this with the buttery bracket, simply remove the two screws behind the
camera which attaches to the licence plate bracket. Then replace it with the buttery bracket
and attach it to the camera using the two screws that were used for the license plate bracket.
1. First, attach the buttery bracket to the waterproof camera. Then nd a suitable location
on the rear side of your vehicle.
2. Clean the area where you are going to mount the camera using a clean cloth (not
included) to remove any dirt, dust or grease.
3. Stick on the double-side tape on the rear side of the buttery bracket, then attach the
bracket with the camera to your vehicle. Press the bracket rmly onto your vehicle so
that the bracket is stuck on.
4. Screw the supplied xing screws via the bracket’s slots, but don’t fully tighten the
screws.
5. Adjust the angle of the camera if required, then tighten the bracket screws.